DIY Glitter Rainbow Slides

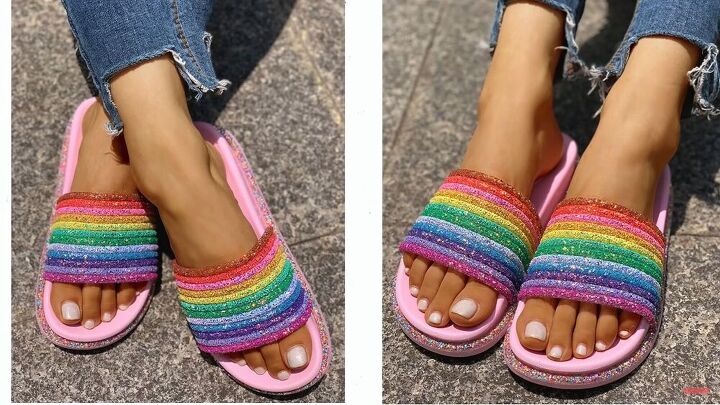
If you have not been living under a rock, then you will have seen this ad on Instagram for these glitter, gummy, rainbow slides. They are so amazing, and I've found out how to DIY them - they’re so easy to make! Let’s jump on in.
Tools and materials:
- Slide sandals
- Neon chunky glitter set
- Paracord
- Glossy Mod Podge
- Paintbrush
- E6000
- Sharp scissors
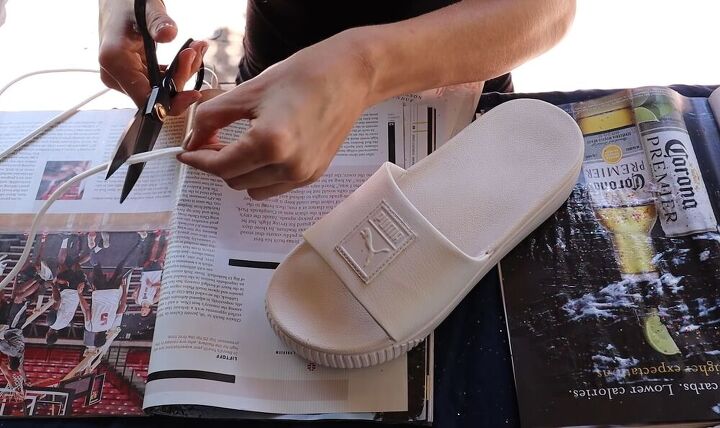
Cut the paracord
Start by cutting your paracord into strips. Give yourself about a half-inch overlap on either side as an extra allowance. Paracord will unravel if you don't seal it, so you can either seal it with a flame or with your Mod Podge.
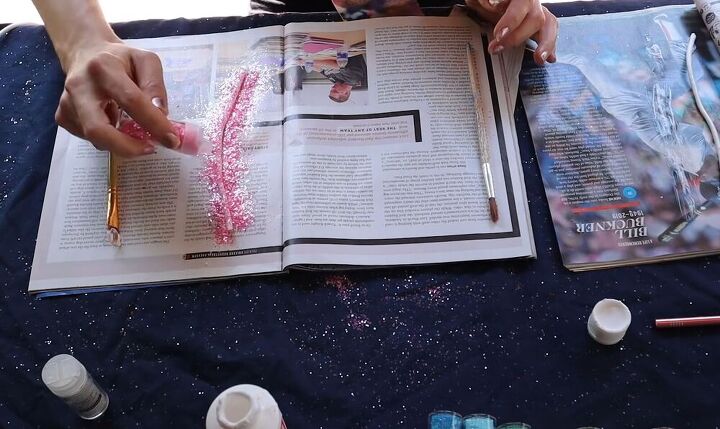
Cover strips in glitter
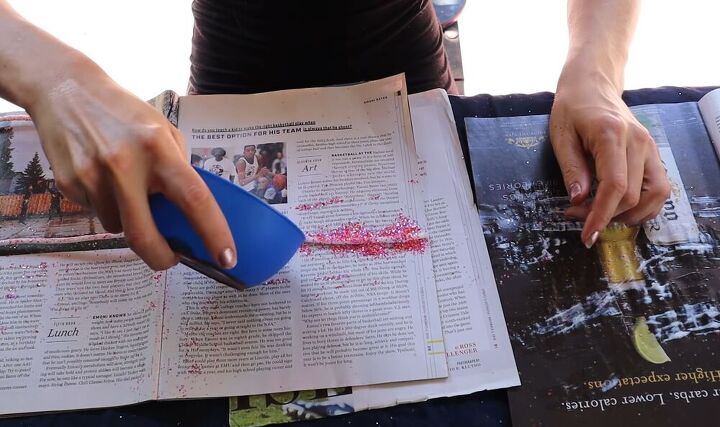
It's really important that you have two separate working spaces, one space where you're adding your Mod Podge and the other where you're adding your glitter. If you mix the spaces together, you're going to end up with a lot of wasted glitter that will get stuck to the paper that you won't be able to reuse. Take your Mod Podge and use a paintbrush to cover the entire piece. You could also dip each piece in the bottle of Mod Podge if you want. Then take it over to the other workspace you're using for the glitter (I'm using two magazines as my work surfaces) and sprinkle on a hefty amount of glitter. There will be a ton of excess glitter that you'll want to save, so fold your magazine in half, point it into a v-shape and then funnel it right back into the tube.

Double coat
You'll find that some of the lighter glitter colors are very translucent, so you're going to want to do quite a few coats of those colors to get a good saturation. Wait until each coat is dry before you add a second layer. I also recommend spot-checking. Look at each piece of your paracord and if you see any of the white underneath, add more glitter. When you're happy with the glitter coverage of each piece, you're going to want to cover them with Mod Podge, which will seal them and ensure that the glitter doesn't flake off.
Create the long piece
On the shoe in the picture, you can see that there is a mixed color piece all the way around the base. To create this piece, you need to mix a little bit of glitter of every single color into a bowl. Measure a piece of paracord that is long enough to go all the way around the shoe, plus a few inches for good measure. Cover the piece with two coats of glitter and then seal it with Mod Podge.

Glue the long piece onto shoe
Take your E6000 and start with the long piece that is going to go all the way around. Find the center of the piece and lay it down in the front of the shoe. Use your fingers to press it down all of the way around and cut off any excess paracord at the back. Tip: if you want to make sure that the seam doesn't show, you can add more Mod Podge and glitter to cover it.
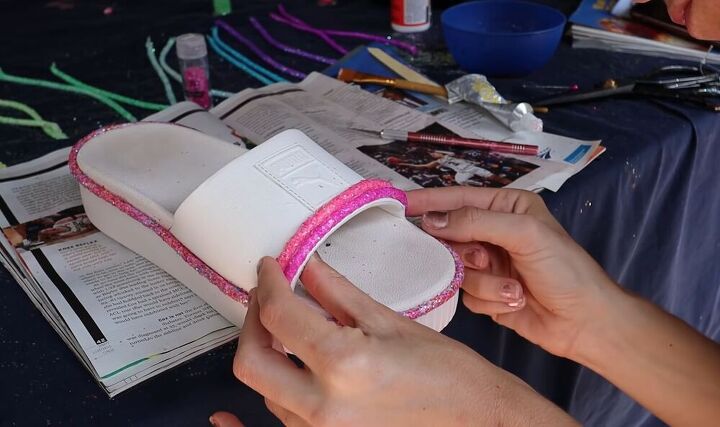
Glue the rest of the pieces on
To glue the individual strips on, place glue on the part of the shoe that you want to stick it on as well as some glue on the color strip before it. Doing this will allow you to sandwich the pieces together so that there are no gaps in between each color and each row. When laying the pieces down, push them into the edge of the shoe and squeeze the pieces together. I recommend holding them down for 20-30 seconds until they set in before you move on to the next piece. Another tip is to thin out the very edge of each side of the paracord from underneath. This will thin out the overall thickness of the cord so that it can lay much more flat.
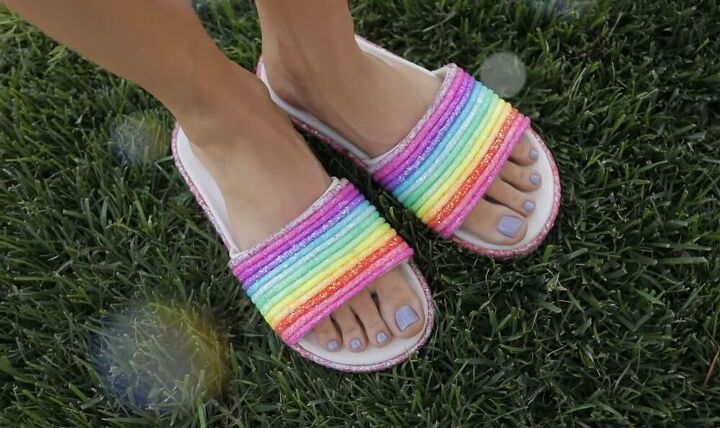
And there we have it! Check out these gorgeous glitter slides - guaranteed to put a smile on anyone’s face. I can’t get enough of all the colors and glitter. It’s like they filled a hole in my heart that I never knew was empty! I hope you enjoy making them as much as I did.
The author may collect a small share of sales from the links on this page.


Comments
Join the conversation
When I first saw these, I thought you'd used those chunky ponytail elastics. My next thought was, "She didn't, but I will!" (Cheap at Dollar Tree and just about the right size.)
Thank you for the inspiration!
This is a fantastic idea. So pretty too. Oh my lil glitter living heart is doing cartwheels right now. Thank you thank you. Brilliant idea!! Ur so creative.