How to Make Embellishments for Shoes: 3 Cute DIY Shoe Decorating Ideas

In this shoe embellishments DIY tutorial, I will be showing you how to transform one sandal into three different looks. These DIY shoe decorating ideas are quick, easy, and removable, so you can always change them up!
Let's learn how to make embellishments for shoes.
Tools and materials:
- Tulle
- Scissors
- Thin ribbon
- Candle
- Needle
- Thread
- Wide ribbon
- Chiffon
- Hot glue gun
- Stick-on Velcro
Tulle bow
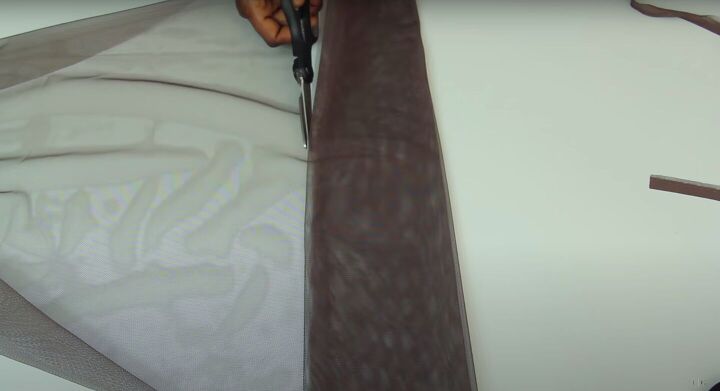
1. Prep the tulle
Fold your tulle lengthwise three times, then cut.
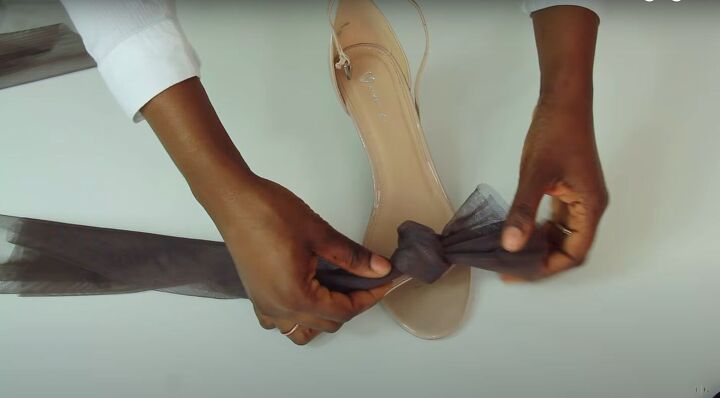
2. Tie
Pass your tulle through the strap and tie it around the strap.

3. Cut
Cut the tulle at the length you would like the bow to be, then fluff the bow out.
Trim and adjust the bow until it is the exact size and style you want.
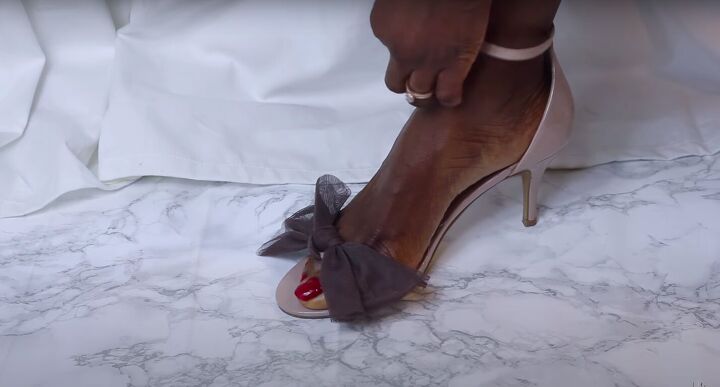
That’s it for this look! This bow is completely removable and re-attachable. This is a great way to elevate your look whenever you feel like it.
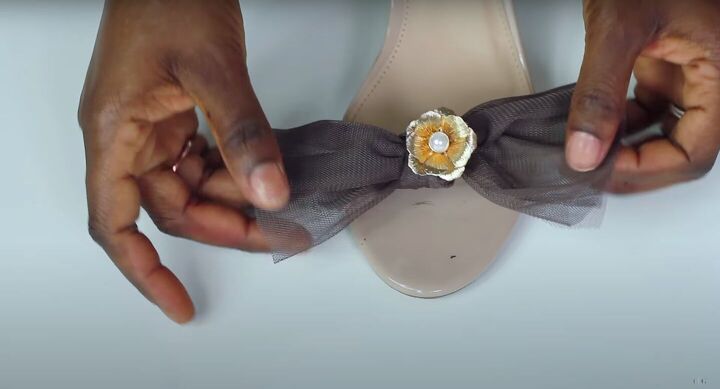
*Bonus: You can also add an earring or ornament to the center of the bow for an added bit of glam.
However, I like mine simple and without an extra ornament.
Ribbon bow
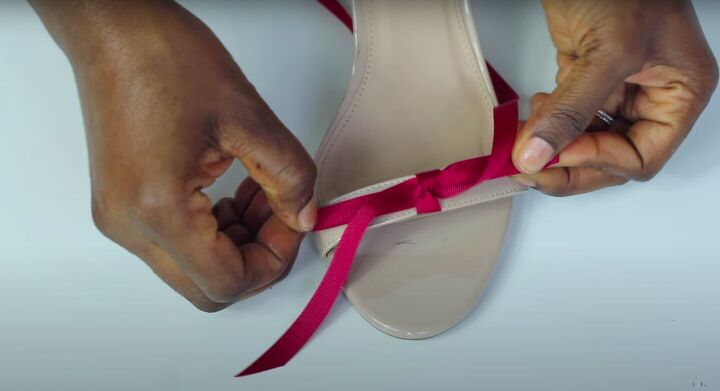
1. Tie the ribbon
For this one, all you have to do is tie a ribbon bow around the strap.

2. Cut
Cut the ends of the ribbon.
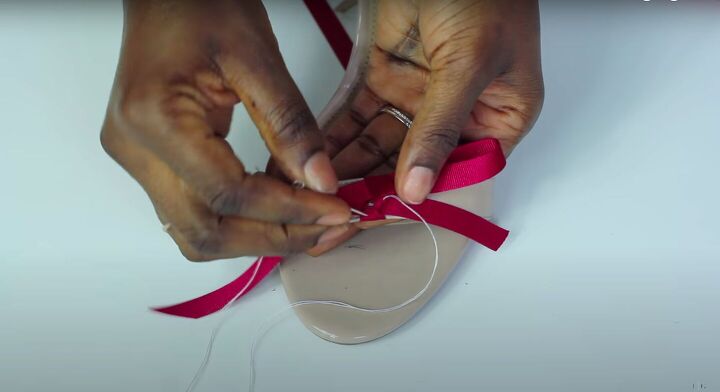
3. Secure in place
Sew an invisible stitch by hand in the center of the bow to secure in place.
I am using a white thread so that it is easy to see on camera but you should use a thread that matches the color of your ribbon.
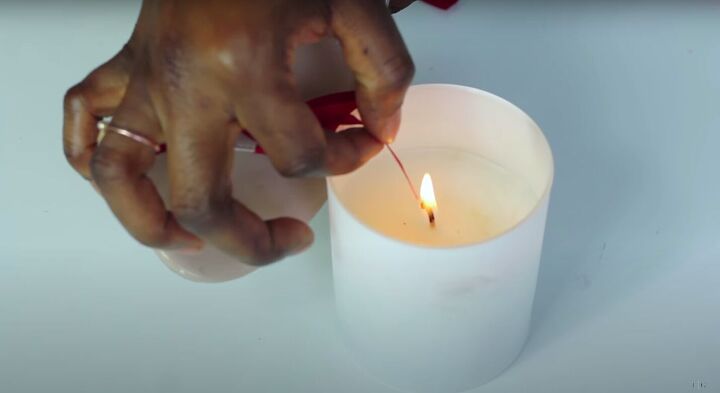
4. Seal the ends
Seal the ends by slightly burning them with fire so that they don’t fray.
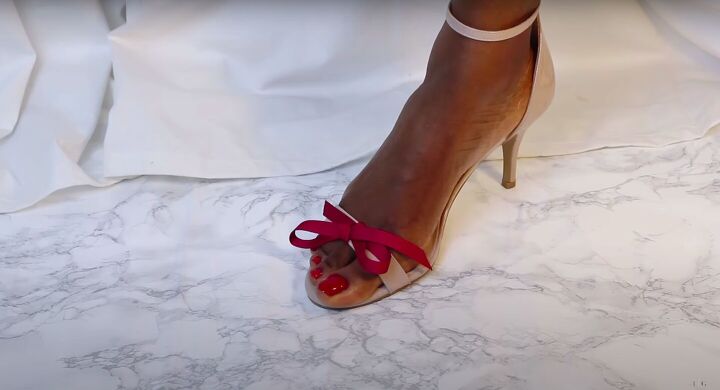
That is it for look two! This is an amazing pair of sandals that you can detach whenever you feel like it.
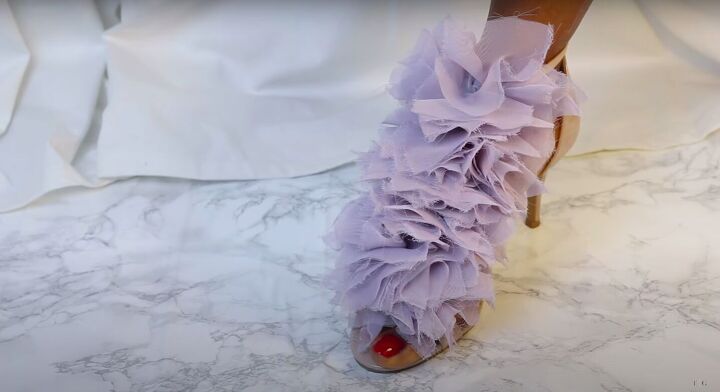
Chiffon flower ruffle strap
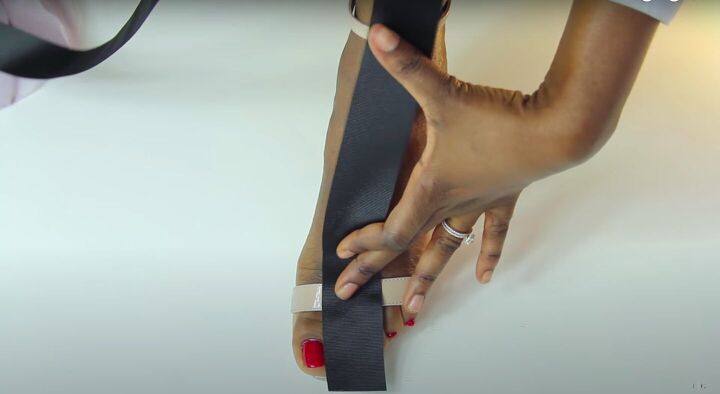
1. Measure
Measure the space between the sandal's toe strap and the ankle strap using a wide black ribbon.
I used some thread to mark the place so that I know where I am working from.
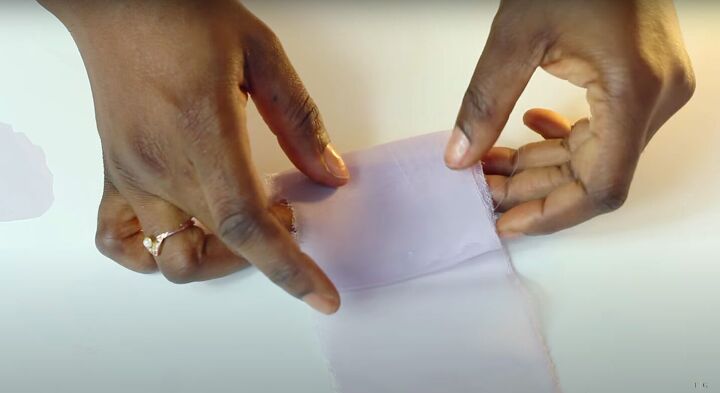
2. Measure the chiffon
Using chiffon fabric, fold a strip into squares. The squares can be whatever size you would like them to be.
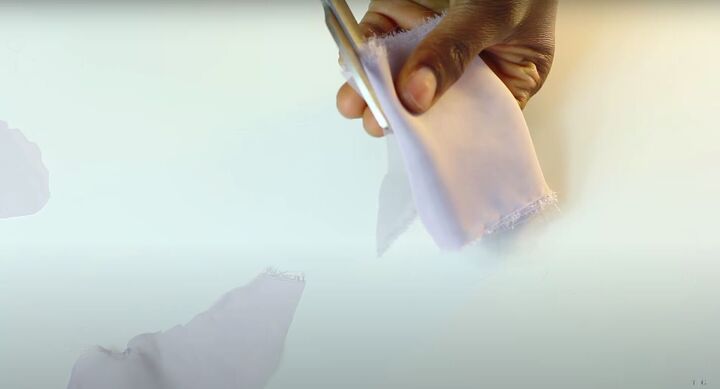
3. Cut
Hold the folded-up strip in your hand and cut the sides to create individual squares.
The squares do not need to be perfectly shaped or anything. The more imperfect the better!
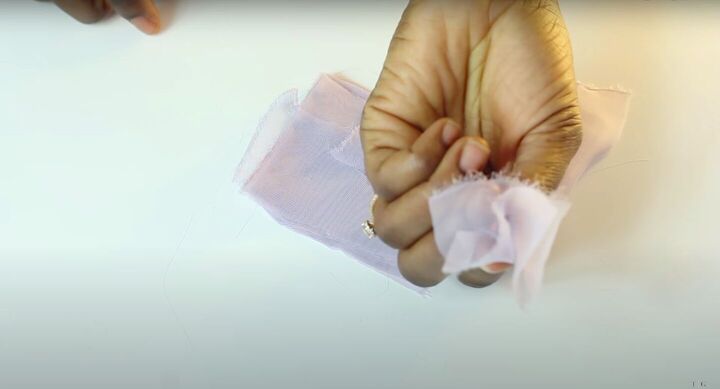
4. Create the flowers
Pinch the center of the square using your fingers and bring it up to create a bunch that looks like a flower.
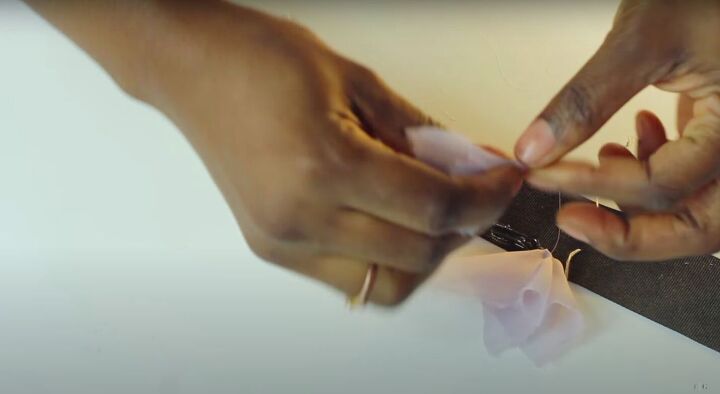
5. Glue on the flowers
Using a hot glue gun, glue the flowers in a line down one side of the wide black ribbon.
Repeat the same process down the other side of the ribbon, creating two lines of flowers.
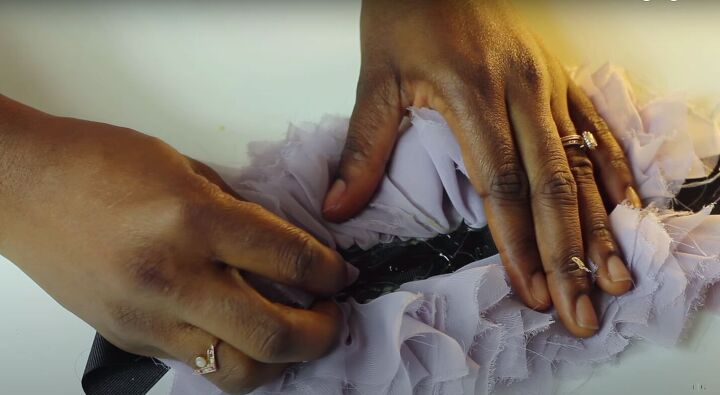
6. Glue the center
Push the two lines apart with your fingers, then glue more flowers down the center to fill in the gap.
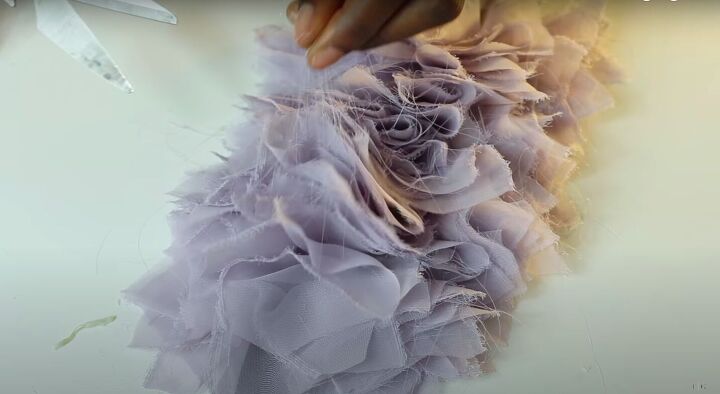
7. Clean up
Trim any stray threads to clean up the look
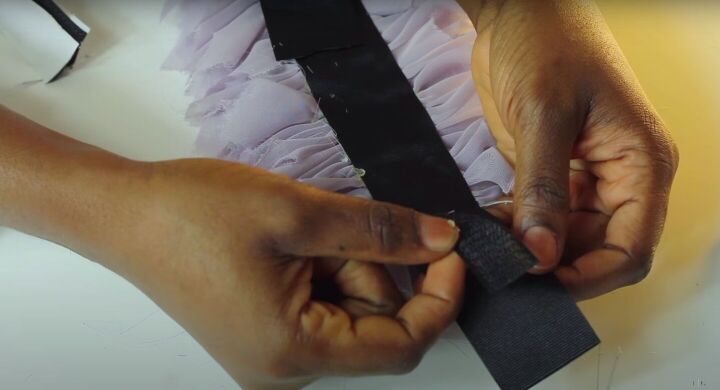
8. Apply Velcro
Apply stick-on Velcro to the bottom and the top of the ribbon to create a totally detachable strap.

9. Seal
Seal the ends of the ribbon with fire so they don’t fray.

10. Attach the ribbon
Slip the ribbon through the bottom and top strap and attach!
Shoe embellishments DIY tutorial
Now you have three different ways to create beautiful and unique shoes! I hope these three looks inspire you to add creative embellishments to your shoes.
You can get as creative and fun as you would like. Let me know in the comments what you think of these looks, which you plan to try out, and any other DIY shoe decorating ideas you've tried before!
The author may collect a small share of sales from the links on this page.


Comments
Join the conversation
Very smart! Love the different looks. Still have a collection of some purchased back in the late 70's and 80's. The wheels are spinning . . . Thanks for sharing.
Ah so sweet and feminine…I like the red ribbon on the front you can change color to wear with different clothes..and thank you for the tip to keep ribbon from fraying by burning the ends…