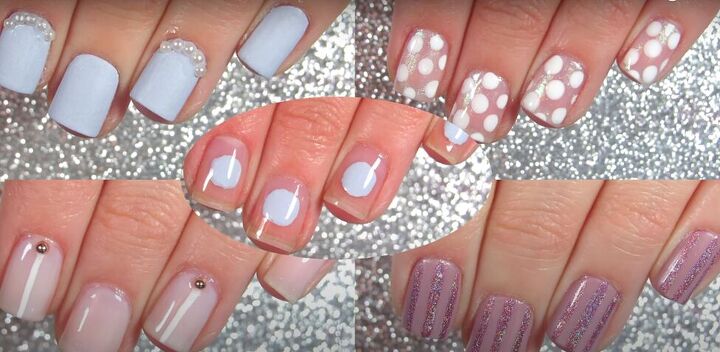
5 Really Easy But Super-Cute Short Nail Designs For Beginners

Short nails can be just as beautiful as long nails, and if you follow this tutorial, you will learn some wonderful, classy short nail designs. This is easy nail art for short nails, so you don’t need to be a nail art pro to get these looks.
Let's get started!
Tools and materials:
- Assorted colors of nail polish
- Nail polish brushes
- Nail dotting tool or bobby pin
- Nail decorating pearls and studs
- Nail top coat
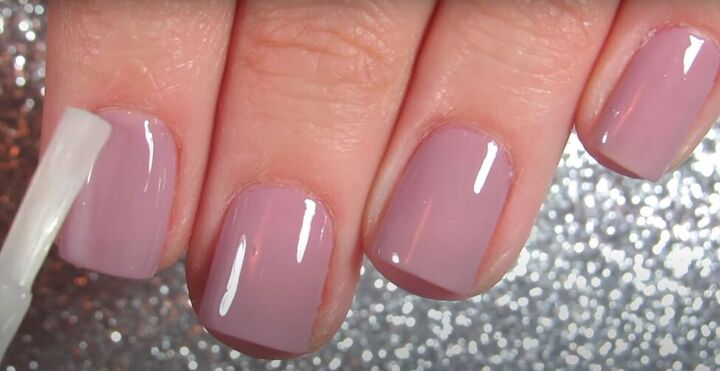
1. Glittery stripes
Apply colored nail polish to your nails. Follow with a matte top coat and let your nails fully dry.
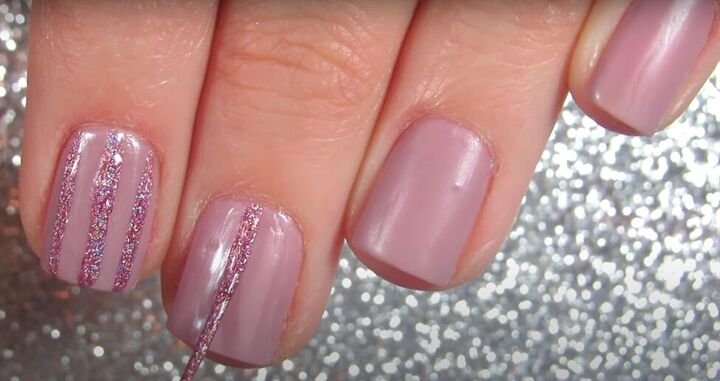
Using a sparkly holographic nail polish, paint three stripes, evenly spaced, on each nail from nail bed to tip.
The glitter stands out even more against the matte finish and these stripes will create an illusion of longer nails.
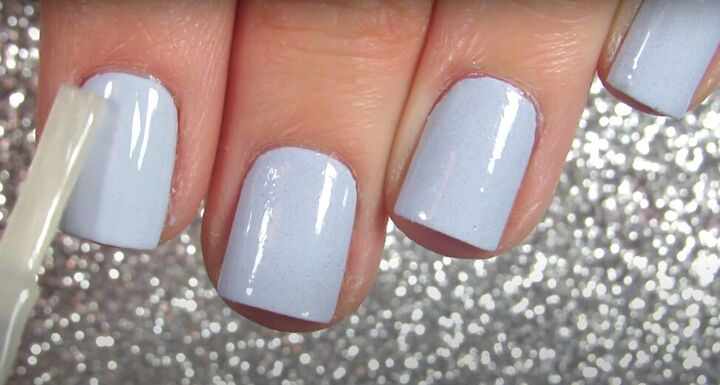
2. Cuticle decorations
Paint your nails with a pale-colored or white nail polish, followed by a matte top coat.
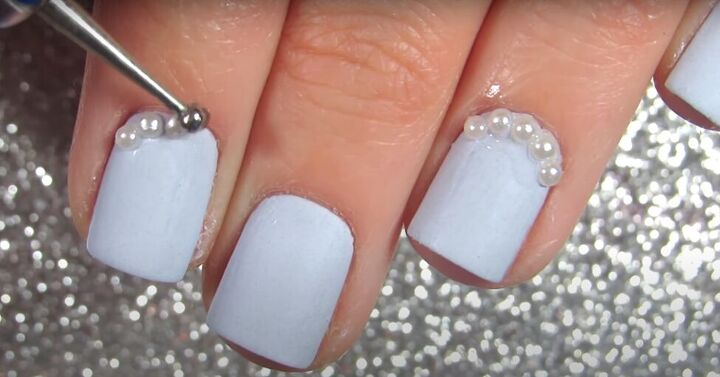
Now, apply 5 or 6 small pearl nail decorations around the bed of your nails, following the nail bed curve. Use nail glue or your top coat, if you think it's strong enough.
You can do every nail or just every other nail, as I did in this tutorial.
This design is simple but looks very classy. It's a way of looking like you put in effort without having to do too much.
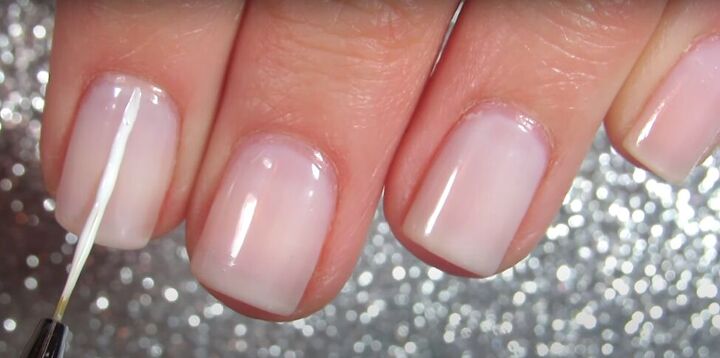
3. Manicure with a twist
Paint your nails with a nude-colored polish followed by a matte top coat.
Now use white nail polish and a very thin brush to paint thin stripes on your nails from nail bed to tip.
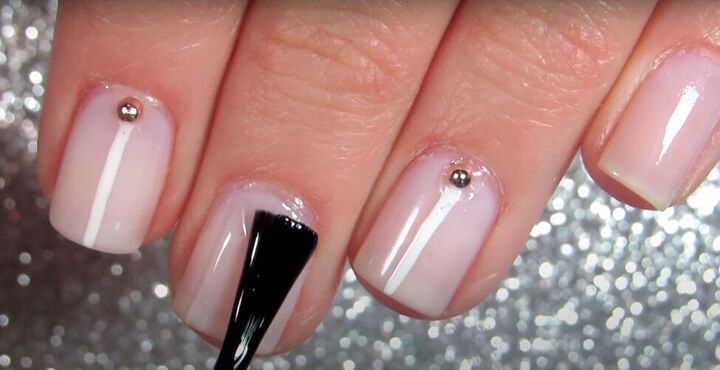
Try just one single line on every other nail and top it with a small nail stud decoration at the nail bed end of the stripe. Add a top coat to the undecorated nails.
This short nail art uses classic manicure colors but in a contemporary, edgy way.
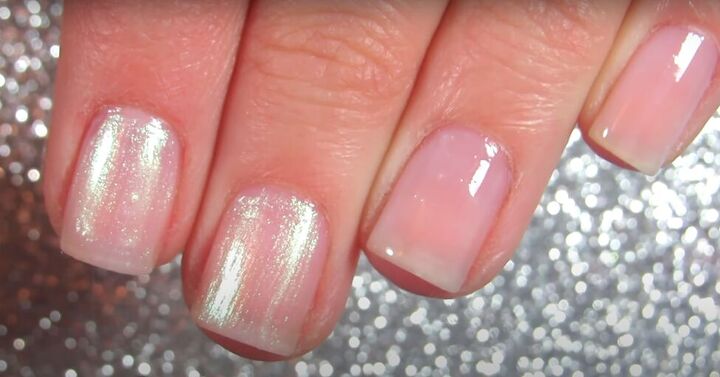
4. Polkadot nails
This short nail art design is very simple, but an elegant way to make your short nails beautiful!
Apply a shimmery or glittery light-colored polish to your short nails. You can just leave your short nails like that, and they will have a shimmery, shiny glow.
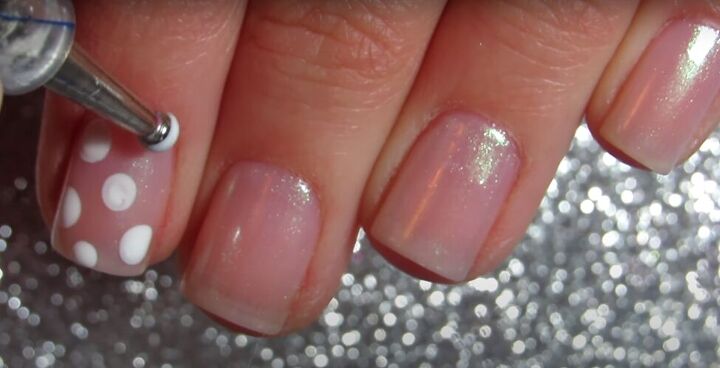
You can also take this nail art design up a notch by adding dots. To add the dots, you can use a dotting tool, but if you don’t have one, the end of a bobby pin will do the trick.
If you do decide to add polkadots to your short nail art design, apply a top coat over the dots. This is a lovely, playful, and easy short nail design.
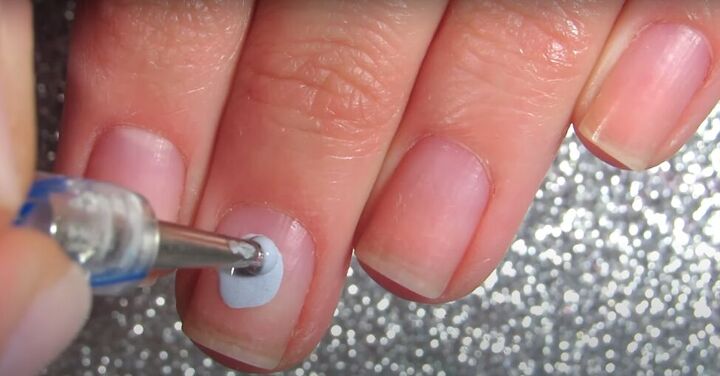
5. Colored dots
Here’s another very simple nail art design. Without applying any base coat of nail polish, simply use your dotting tool or bobby pin to make large dots with colored nail polish in the center of each nail.
You choose any color you want for the dots – white, black, or something to match your outfit. You could do them all the same or choose several different colors.
Finish with a top coat. The great part about this is that you don't have to worry about the color chipping!
Short nail designs
Now that you know how beautiful your short nails can be with these short nail art designs, there’s no stopping you from creating your own original short nail art designs.
Let me know in the comments what designs you came up with.
The author may collect a small share of sales from the links on this page.


Comments
Join the conversation
Please can you tell me the make and colour of the first nails you do on the video? It’s a very pretty pink, then you put the stripe on. I don’t want the stripe, just the pink. Are they gel nails? I have no equipment for gel nails but I love that pink colour.
great tutorial, thanks for sharing 😊