From Old Pants to a New DIY Shorts and Halter Top Set

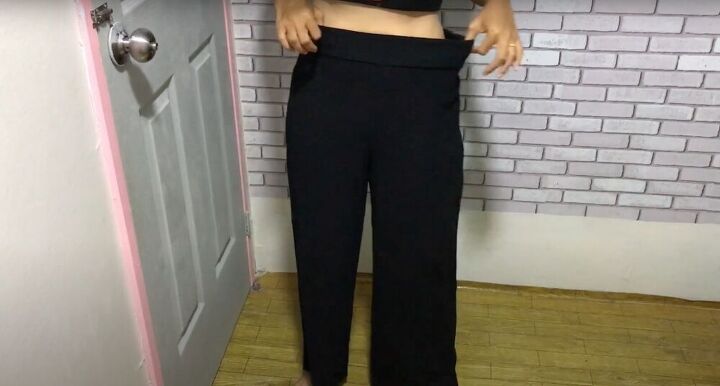
A couple of days ago, I found an old pair of pants that used to belong to my mom. They were long, big, and baggy - the perfect thing to completely transform. Instead of simply adjusting the pants to fit me, I decided to turn them into easy DIY shorts and a halter top.
Tools and materials:
- Baggy pants
- Seam ripper
- Sewing machine
- Tailor’s chalk
- Pins
- Scissors
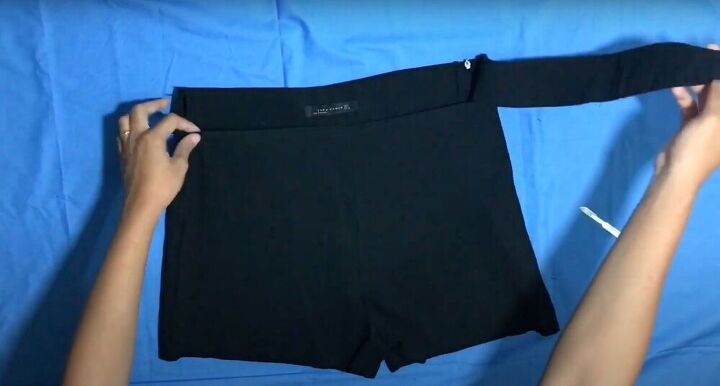
Cut the pants
Start by seam ripping the front of the waistband off the rest of the pants and cutting the legs of the pants off. Remember to keep enough length for seam allowance before cutting. To make sure both legs are cut even, fold them over each other and match up the length.
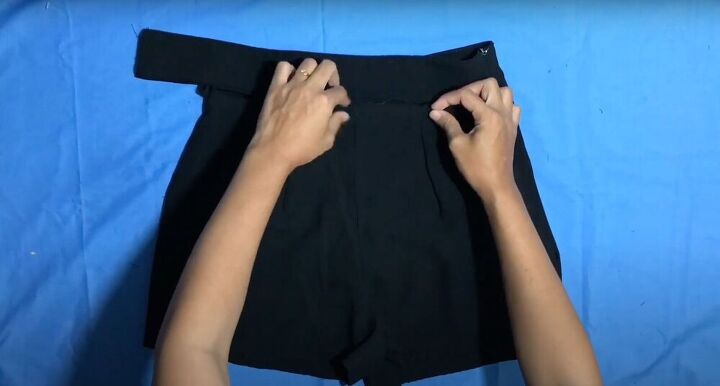
Adjust the pants
Turn the shorts inside out and use a measuring tape and some chalk to trace out some darts. Squeeze the fabric together - right sides touching and pin. Repeat this on both sides of the front and then sew. Now, line up the front of the waistband with the body of the shorts again and pin. Cut off any excess fabric (as the waistband should be smaller now with the darts) and sew. Finally, fold the bottom of the legs inwards, pin it down and sew for a clean finish.
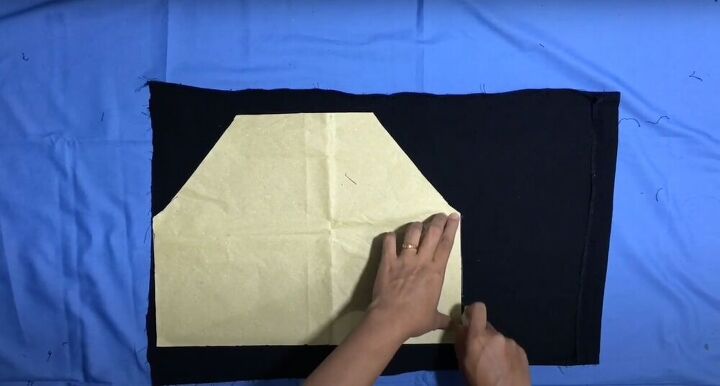
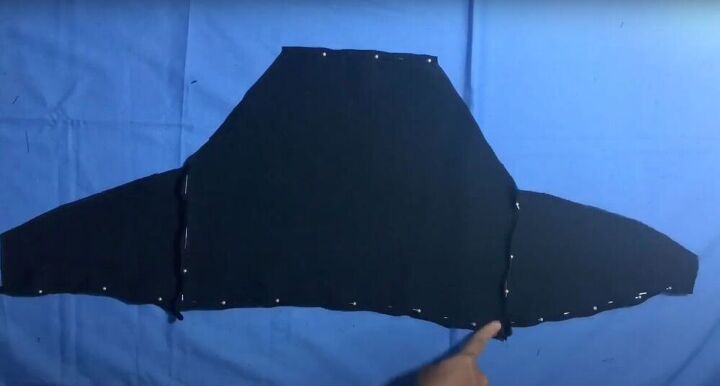
Cut out your pattern pieces
Cut out a piece of the pant legs you left to be the body of your shirt. Seam rip the sides. Now, with the fabric still aligned and the wrong sides together, place the halter top pattern onto your fabric, trace, and cut. Repeat this process with the rest of your pattern pieces.
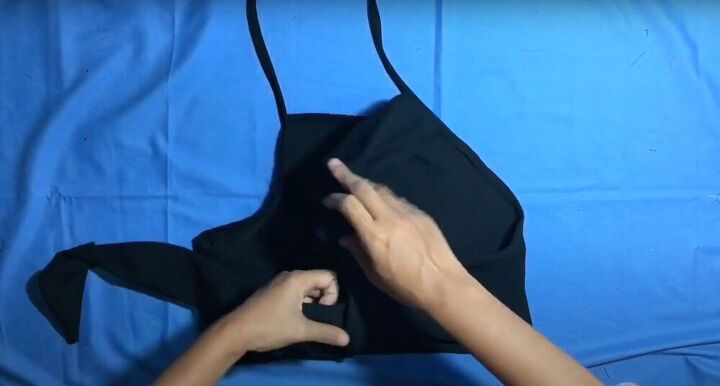
Build the shirt
Place your three fabric pieces together, aligning the body piece with the sides of the side panels. Fold the bottom of the top inwards and pin it down. Sew along all the pinned edges. Next, measure out the length of your top and cut out a bias tape. Fold it (in on each edge and then in half by the center) and wrap it around all the raw edges of the sides. Make sure your bias tape is long enough to turn into your straps.
Finish the top
Cut out two larger rectangles, fold them in half, and pin. Sew them together, right sides touching, and then turn them right side out. Pin them to the two sides of your shirt and sew. Bring them around back and tie them in a bow to secure the top and finish your shirt!
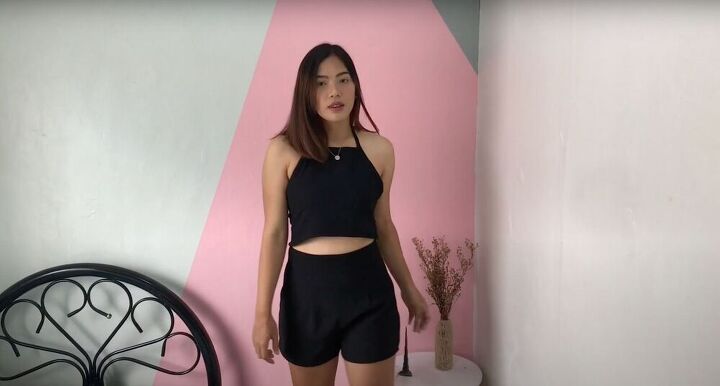
I love how this halter top and DIY shorts tutorial turned out. It’s way easier than expected and makes for an awesome summertime beach outfit!
The author may collect a small share of sales from the links on this page.


Comments
Join the conversation