How to Sew Shorts & a Matching a Tote Using an Old Beach Towel

Today, I’m going to show you how to sew shorts and a matching tote bag by doing a really fun upcycle on an old beach towel. This is the ultimate summer DIY project. Let’s get started!
This post was transcribed by a member of the Upstyle editorial team from the original UpstyleTV episode.
Tools and materials:
- Towel
- Shorts
- Ruler
- Tailor’s chalk
- Scissors
- Sewing machine
- Clips and pins
- Iron
- Elastic
- Straps

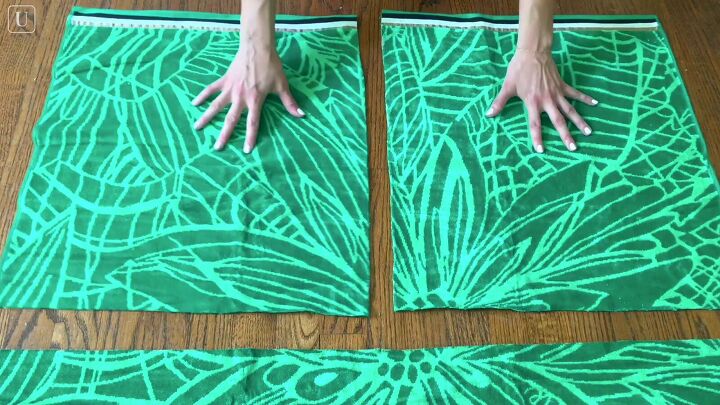
1. Fold your shorts and place them on the towel
I’m going to show you how to make shorts first. Lay your towel out flat and place a pair of stretchy shorts that fit you well on the towel. Fold them in half so that the front side of the shorts is facing up.
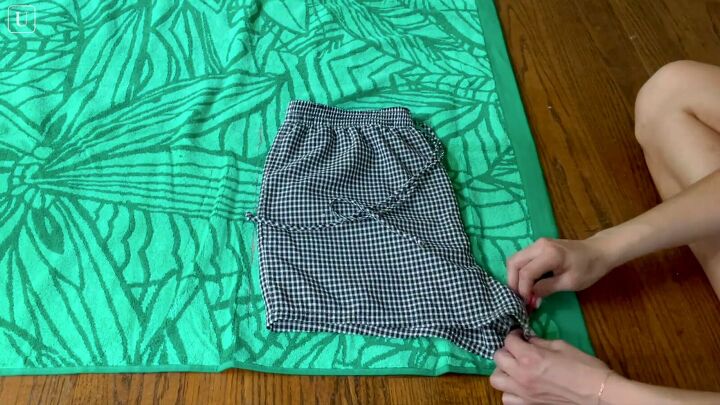
2. Trace
Trace along the outside of the shorts with some tailor’s chalk to create an outline.
Use a ruler to straighten up the lines while also adding seam allowance all around, adding an extra inch at the top for some elastic and at the bottom for the hem.
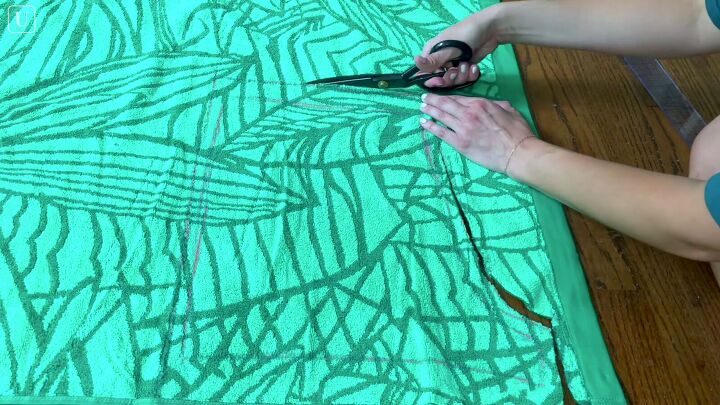
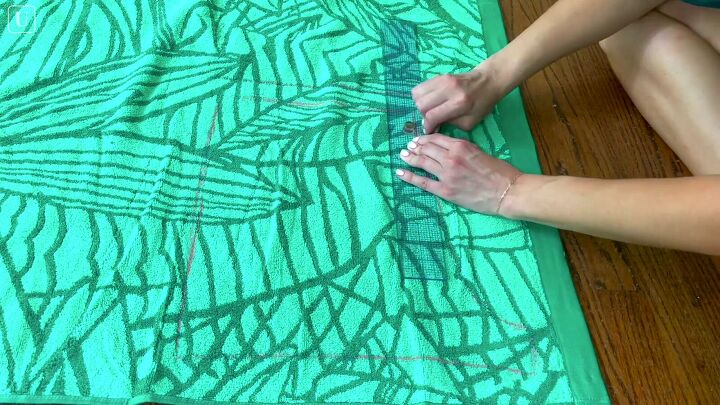
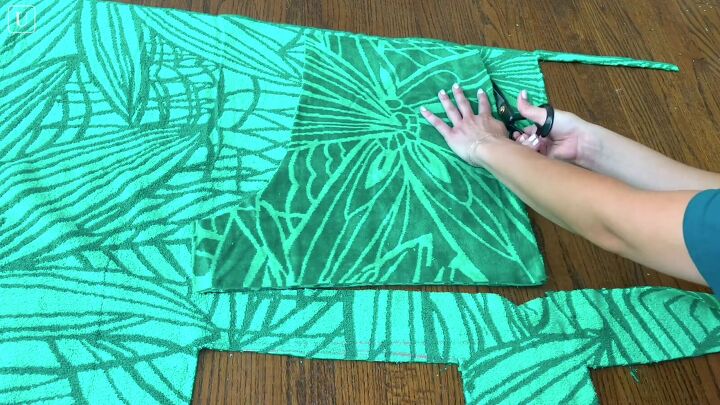
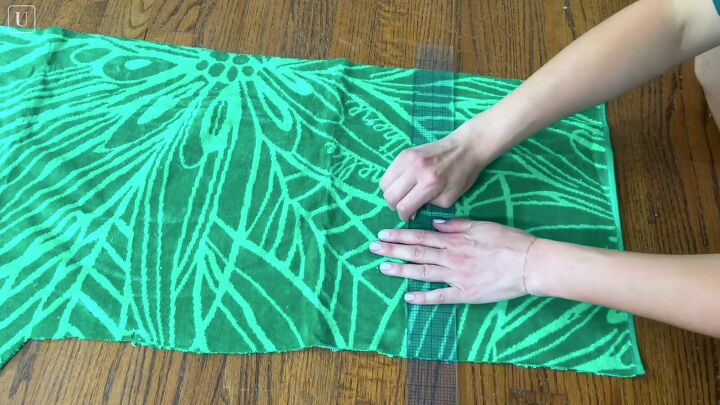
3. Cut
Now you can cut it out.
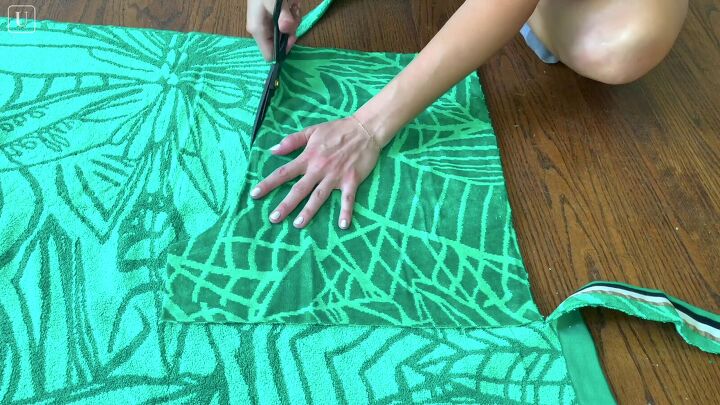
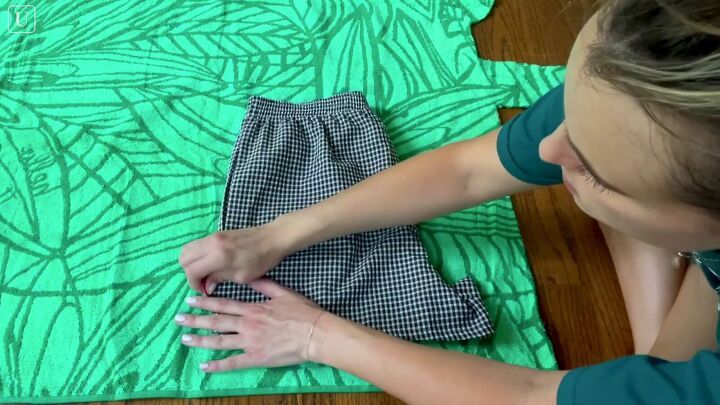
Lay the piece you just cut out onto the towel and use it as a template to cut so you have a right front leg and a left front leg.
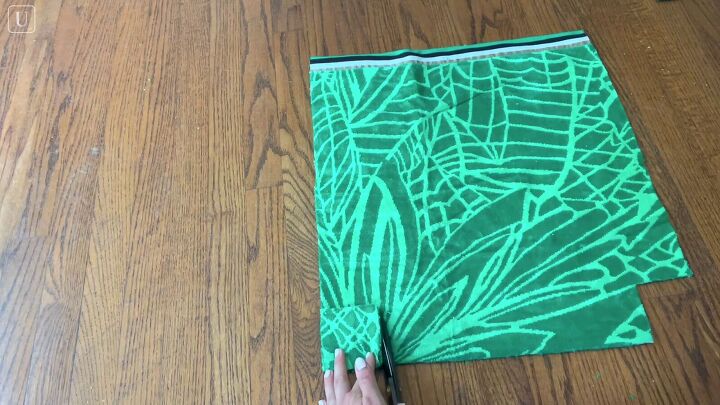
4. Repeat
Repeat steps 1-3 for the back side of your shorts, starting by folding them in half so that the back side is facing up.
As you’re cutting, you want to make sure that the front and back sides of the shorts match the side seams and the inseam. They need to be the same length. To keep track of which pieces are on the back side of the shorts, I put little X’s on them.
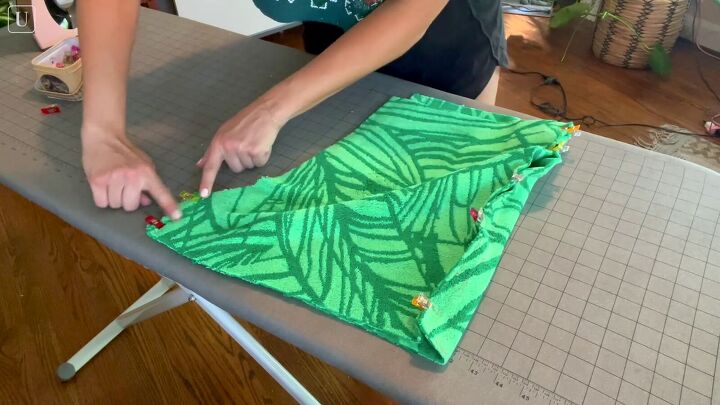
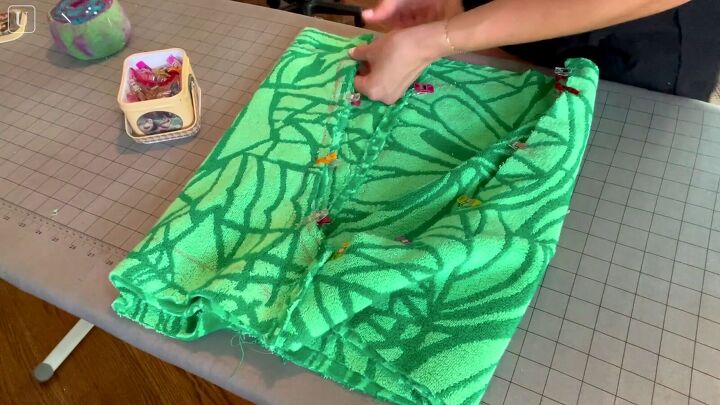
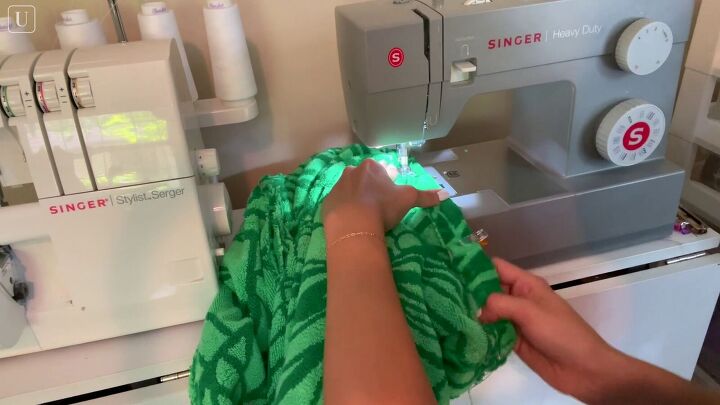
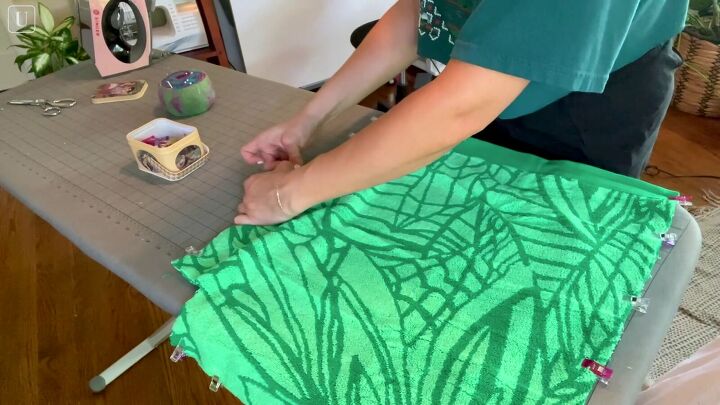
5. Clip the front and back sides together and sew
Lay the back side of the shorts down and lay the front side right on top, right sides together. Attach them at the side seams and the inseams using some small clips. Do the same thing with the other leg of the shorts.

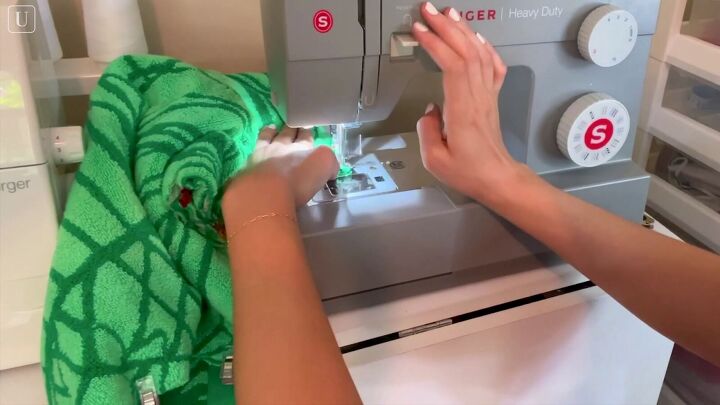
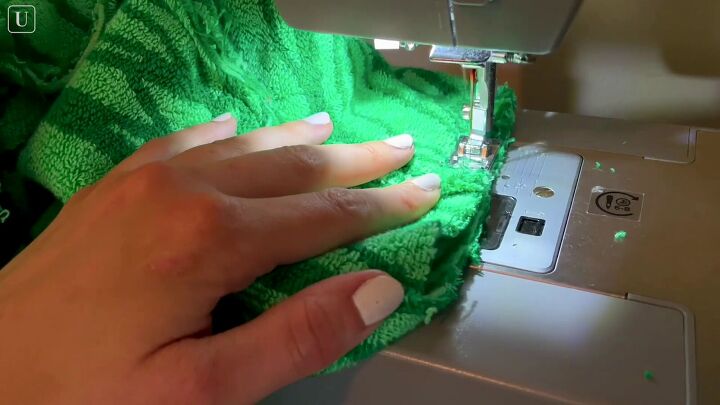
Sew the clipped edges.
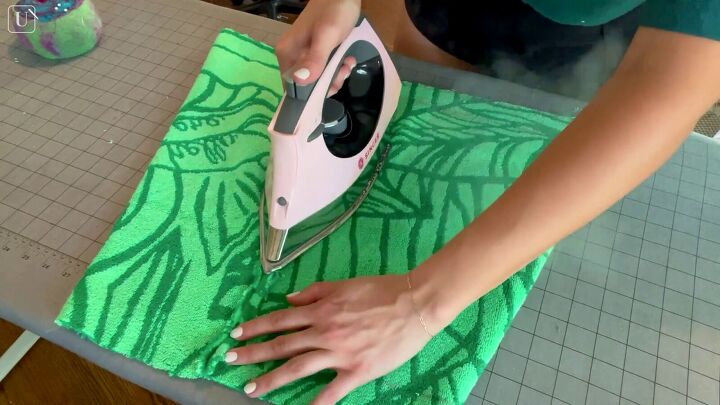
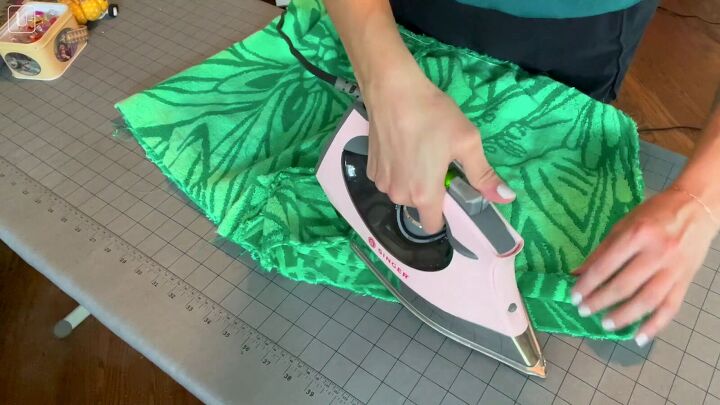
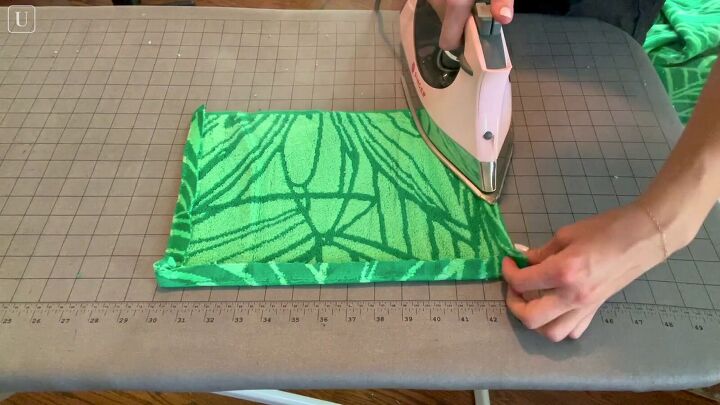
6. Iron
Once it’s sewed, press the seams nice and flat with an iron and your two legs are done.
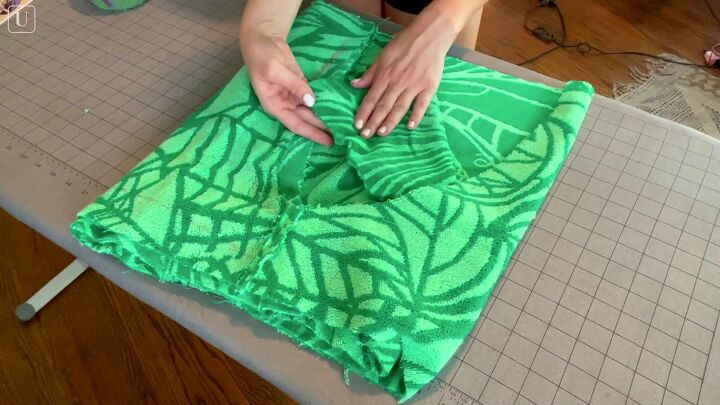
7. Align the two leg pieces, clip, and sew
Take one of the shorts’ leg pieces and put it inside the other leg piece, right sides together. Match it up at the inseams and make sure the back sides of the shorts are touching and the front sides of the shorts are touching.
Clip along the center seam.
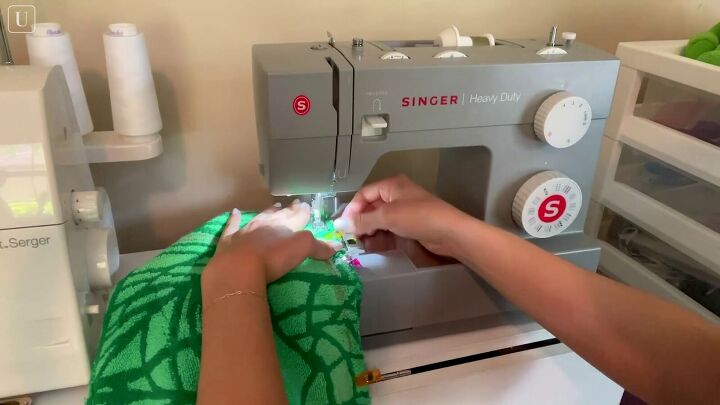
Sew.
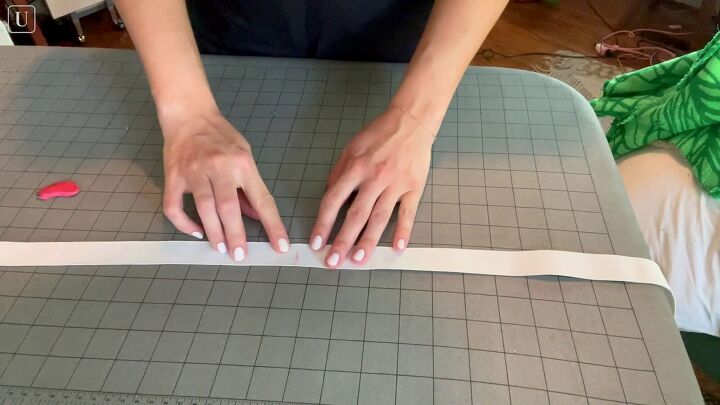
8. Mark elastic
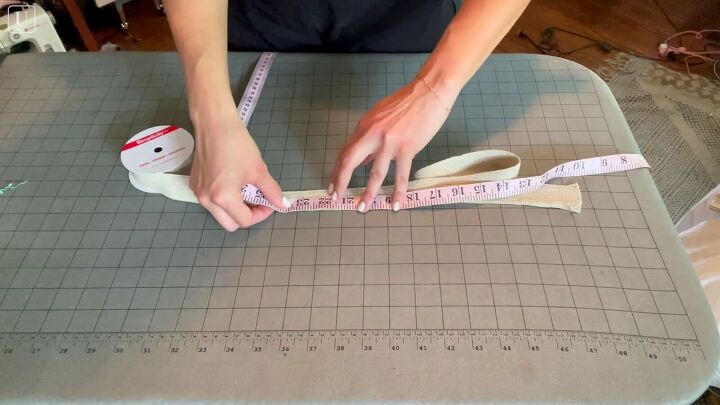
Take a piece of 1-inch elastic that’s cut to the width of your waist plus seam allowance and mark at the center point of the elastic.
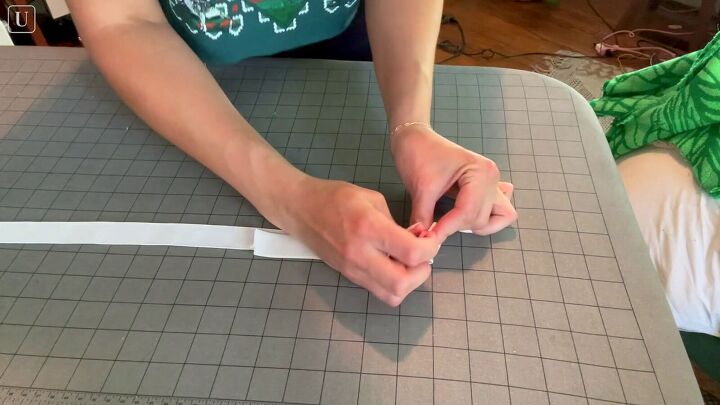
Fold each end in and make a mark at the quarter point, so you have four lines marked on your elastic.
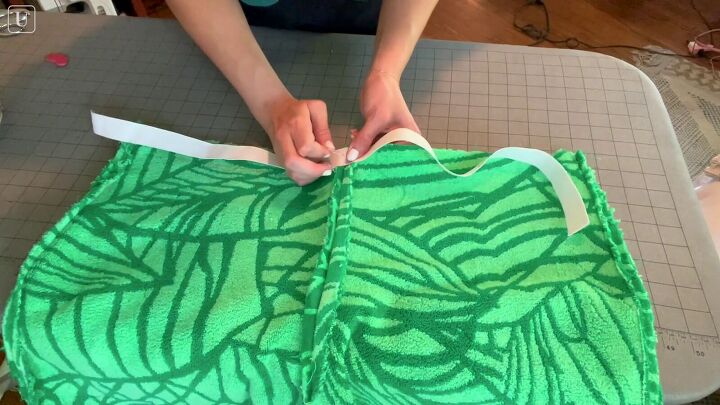
9. Pin your elastic to the shorts
Now, we’re going to pin the elastic to your shorts. Match up the center point of the elastic to the center of your shorts.
Then, match up the quarter points to the side seams. You want to evenly distribute the elastic around the waistband of your shorts.
Now you can sew the elastic. Make sure to pull on the elastic gently as you sew to help bunch the elastic up.
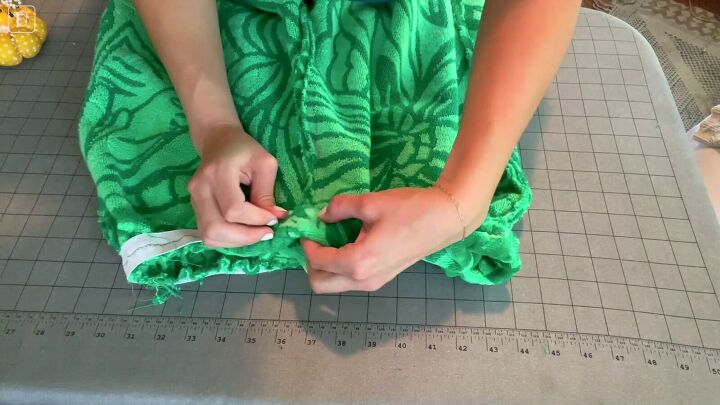
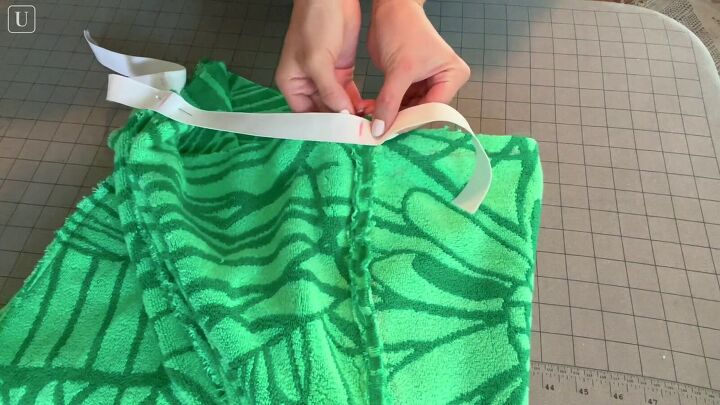
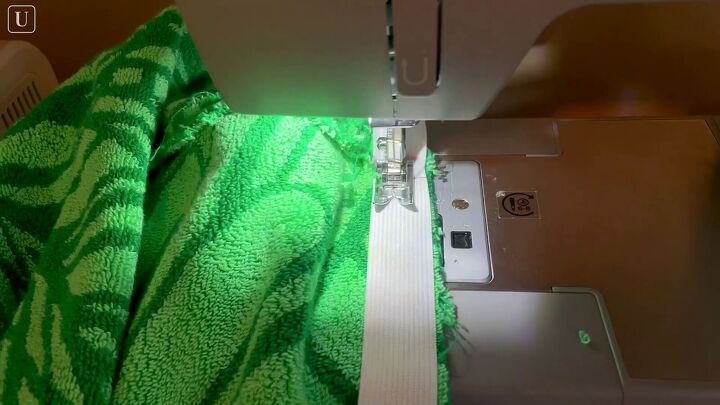
10. Pin and sew the edge down
The waistband is almost done. Now just fold the edge down onto the wrong side of the shorts, just to give us a nice, neat edge and pin.
Sew, and again, gently pull along the elastic as you sew it.
11. Hem the bottom edge
To finish off our DIY shorts, let’s hem the bottom edge.
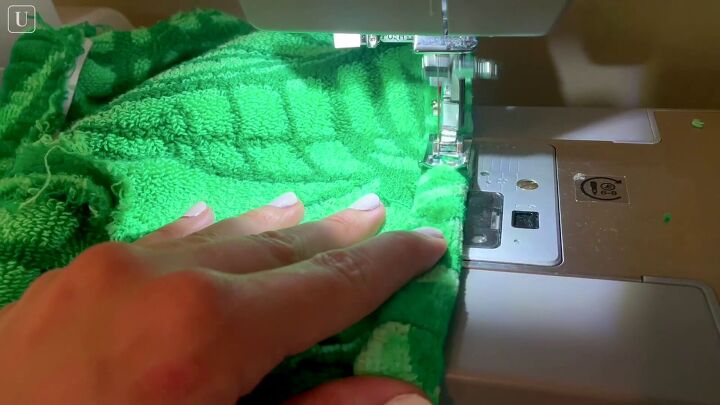
Fold the bottom up twice by about half an inch and sew it down.
12. Cut out rectangles
Take the rest of your beach towel and cut out a rectangle. Our next towel DIY is going to be a little tote bag, so make it whatever length and width you want your bag to be. You’ll need two pieces, one for the front and one for the back.
Cut out an additional rectangle so you can make a little pocket for the front of your tote bag.
13. Cut
Cut out 3inch x 3inch squares in the bottom of your tote bag. Do this for the front and back pieces.
14. Press the edges of the pocket rectangle
Take the rectangle you cut out for your pocket and press down each of the edges by about half an inch except for the top edge since it’s already hemmed and ready to go.

15. Pin and sew the pocket
Pin the rectangle to the tote bag and sew.
16. Pin and sew the front and back of the tote
Now place the front and back sides of the tote right sides together. Pin along the bottom and sides of the tote.
Sew those three edges.

17. Pin and sew the corners
Once that’s done, take the corners that we made and pull on them a little bit diagonally. Lay them nice and flat and then pin them down.
Once we sew these little edges, it’s going to create a bottom for our bag and it’s super easy.
18. Attach shoulder straps
Next, cut some shoulder straps.
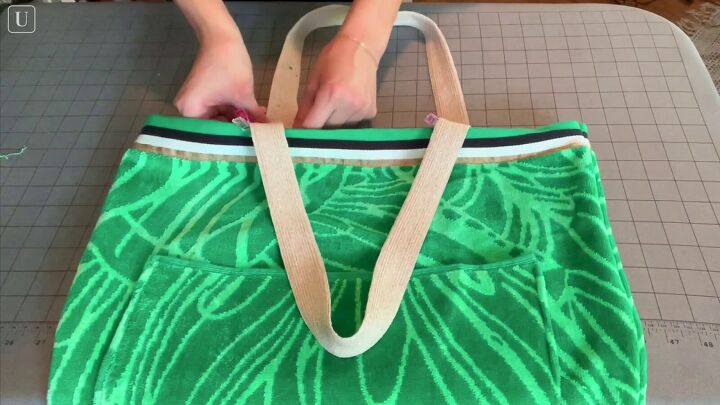
Place them onto the bag.
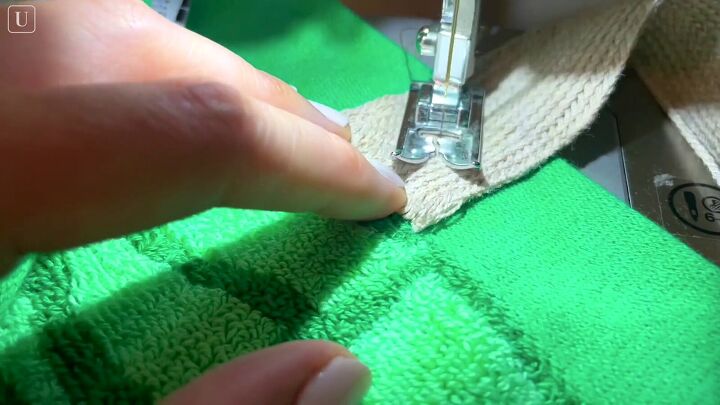
Sew.

How to sew shorts and a matching tote bag
Now, we have this adorable matching set! It’s so comfy and so easy to throw on for a pool day. It’s a really fun way to upcycle an old or unwanted beach towel.
The author may collect a small share of sales from the links on this page.


Comments
Join the conversation
I love terry cloth for summer fabrics! This is adorable!
Very cool!!