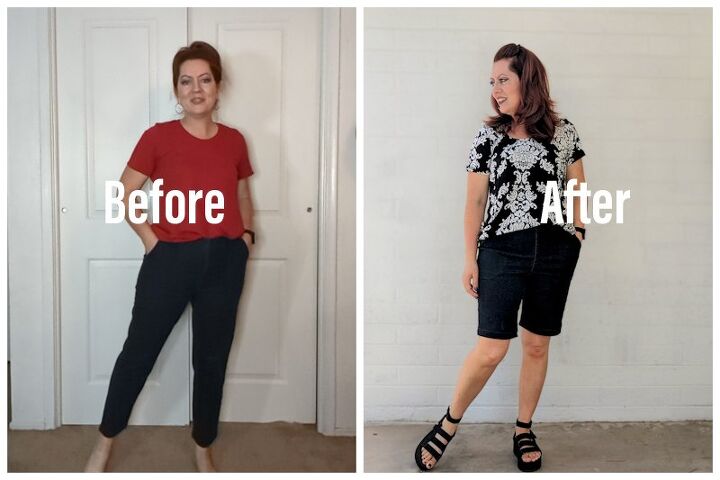
Quick and Easy Denim Short Refashion!

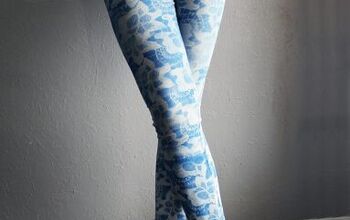
Need some summer shorts quick?! Let me show you how to refashion a pair of comfy denim jeans into shorts! You can even add back pockets if you want. It’s so easy and quick you’ll want do it right away. These will surely be a staple in your summer wardrobe.
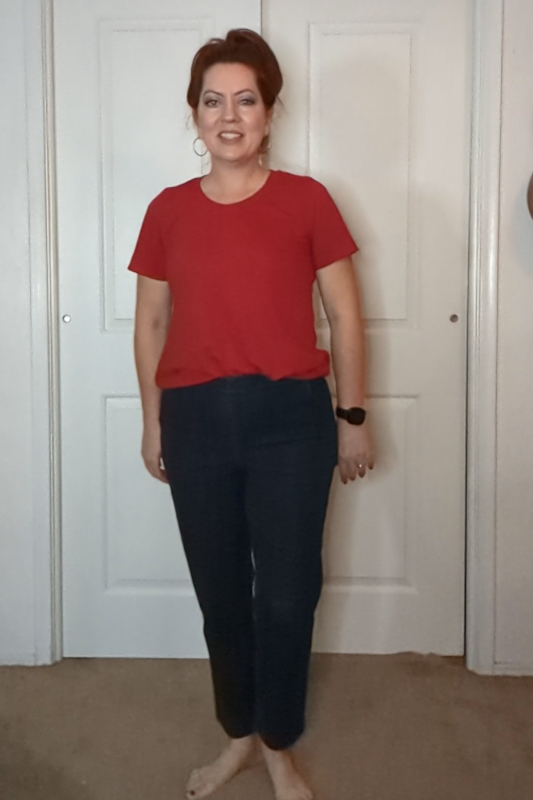
I was out thrifting a few weeks ago looking for things for my kids to use as projects when I came across these stretchy jeans. They had a flat front waist, elastic back and front pockets. I prefer not to wear denim pants and these were much too short anyway. Other than that, they fit me quite nicely so I decided they were coming home with me. I was gonna make them my new Summer Shorts!
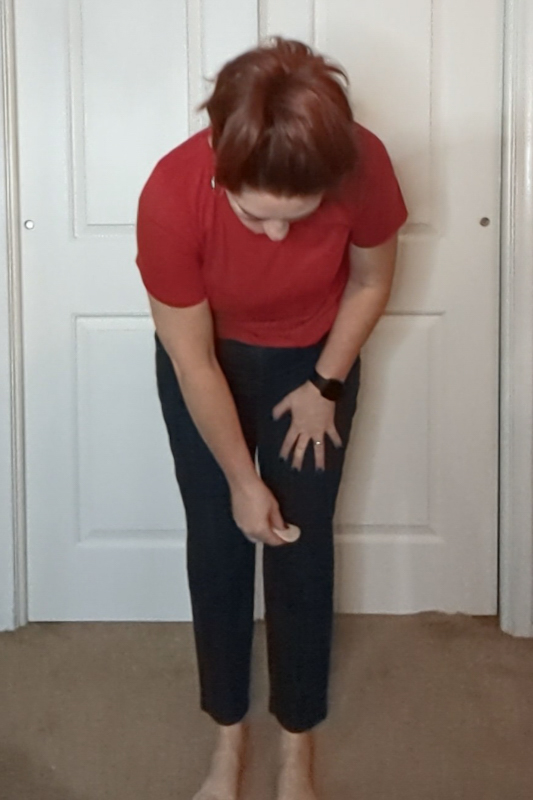
Decide The Length
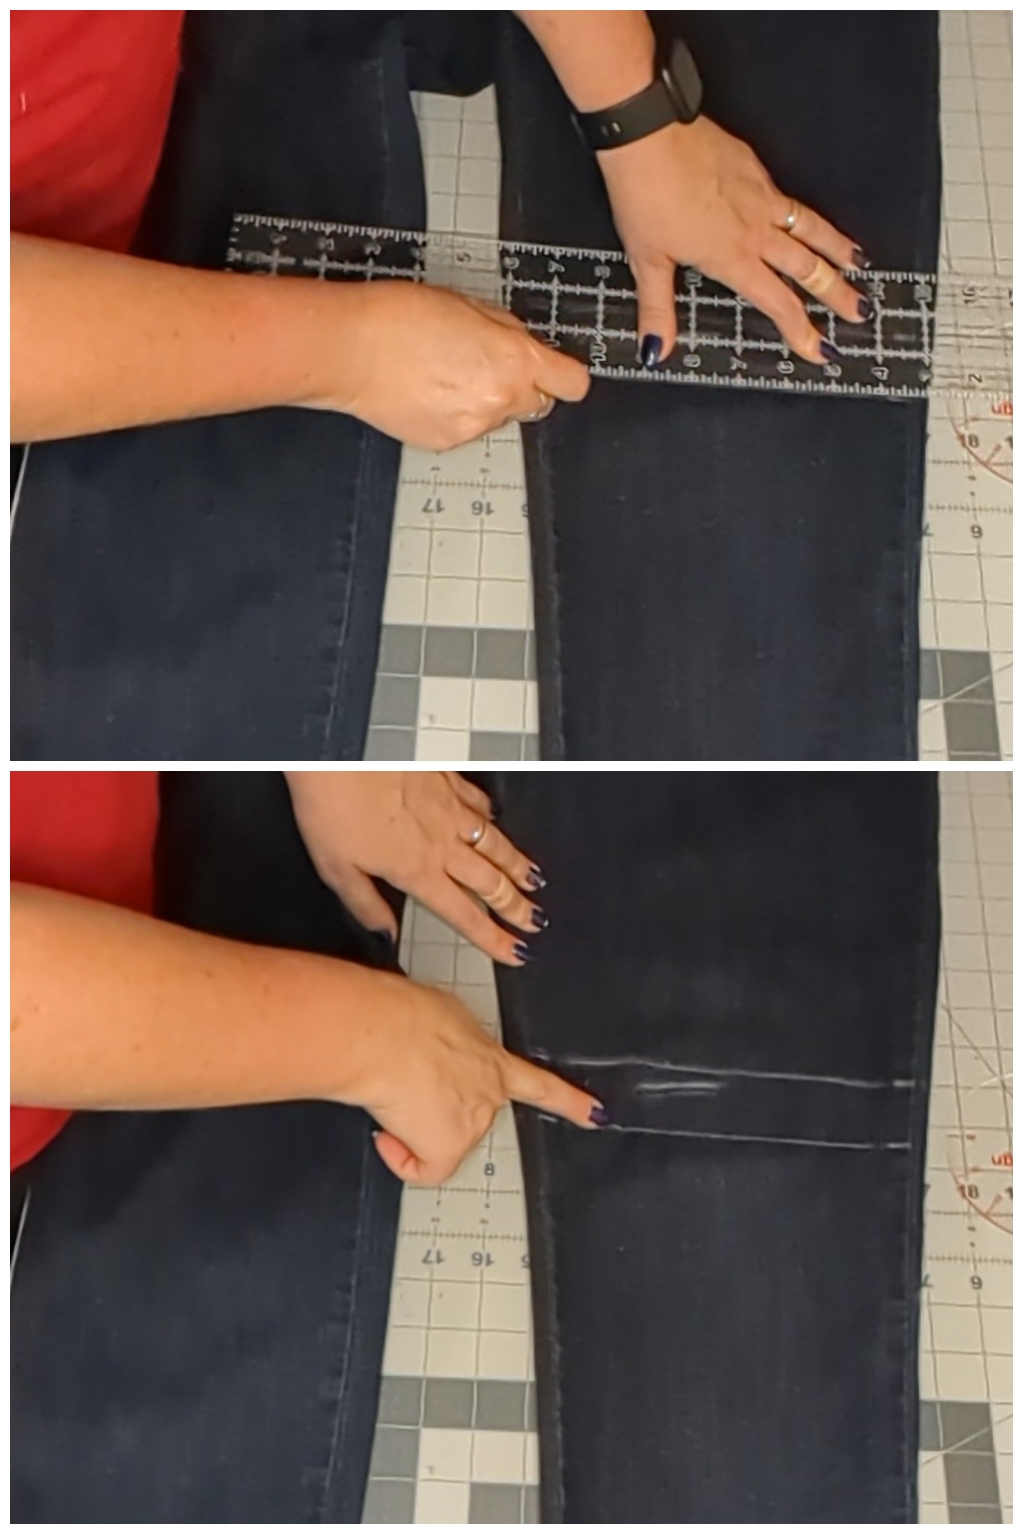
First I tried them on and marked the top of my knee on the pants with tailors chalk. I wanted them to sit above my knee so I used that mark as a reference point not the actual cutting point. This is not where I intended to cut them.
Then I took them to my cutting table and laid them out so I could mark a straight line for where I wanted the length to actually be. I used a clear ruler for this because it allows me to see the line I already drew.
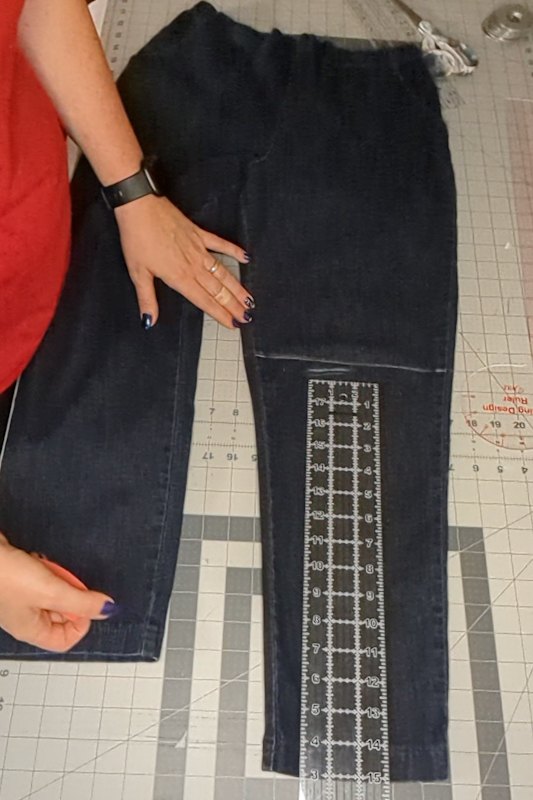
Adding Hem Allowance
I wanted a wide, 1 inch hem so I measured down 1.5 inches from the first line and drew another line across the pant leg. That’s where I would actually be cutting the pants leg.
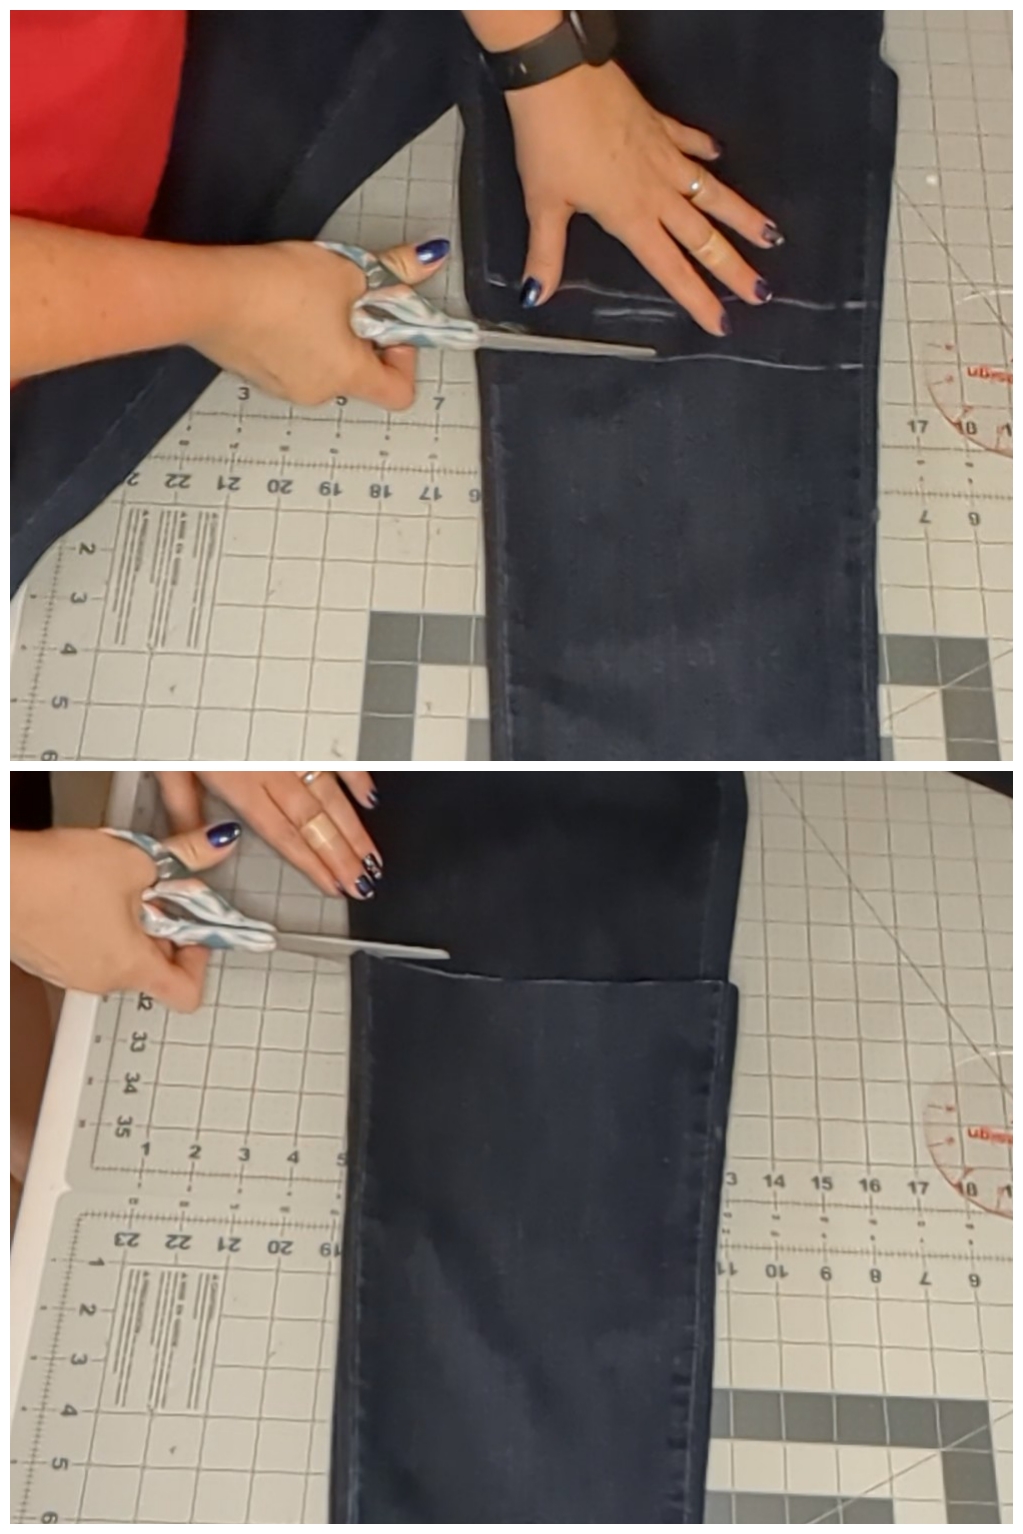
Cutting Even Lengths
To make sure they were both even, I cut the first leg and then used the pants leg I cut off to cut the other side. I did this just by placing the removed pant length on to the intact pant leg.
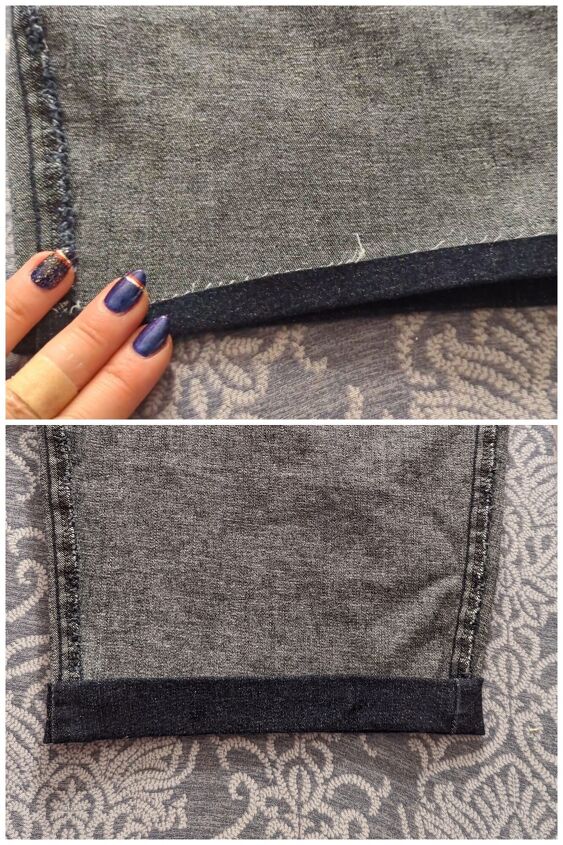
Iron the Hems
Next, I took them to my ironing board and ironed under the raw edge ½ inch all the way around on both legs. Then I folded and ironed it 1 inch on both legs. This encloses the raw seams and makes for a nice finish. You can absolutely use a serger instead of folding it under twice if you want to. I just prefer this look.
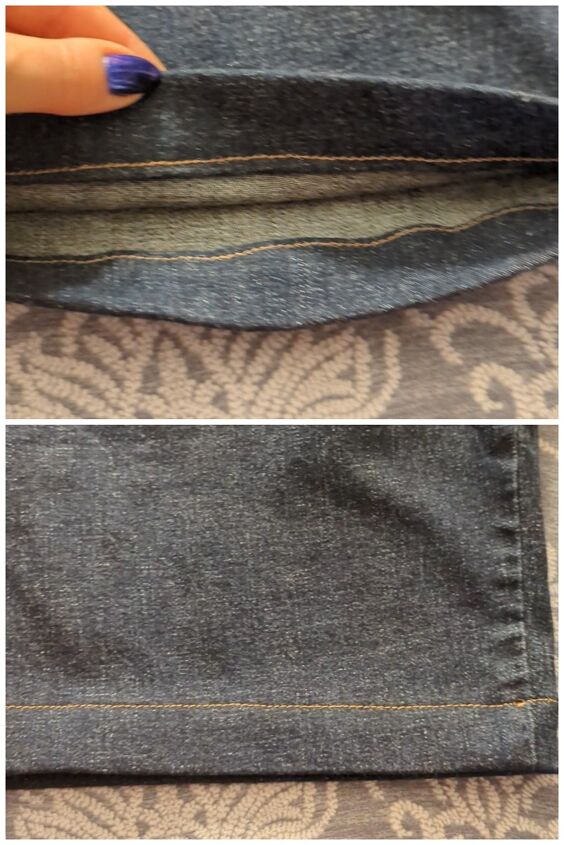
Sew the Hems in Place
Then I threaded my machine with some topaz colored denim thread and stitched the hems in place. You’re all done! But keep reading if you want back pockets.
Back Pockets
**This next step is optional.**
I thought these shorts would look more complete if they had pockets on the back. To do this I simply made my own pocket pattern piece the shape I wanted and big enough to fit my hand. Here’s a picture of just the pattern piece if you want to make one too.
Pocket Pattern
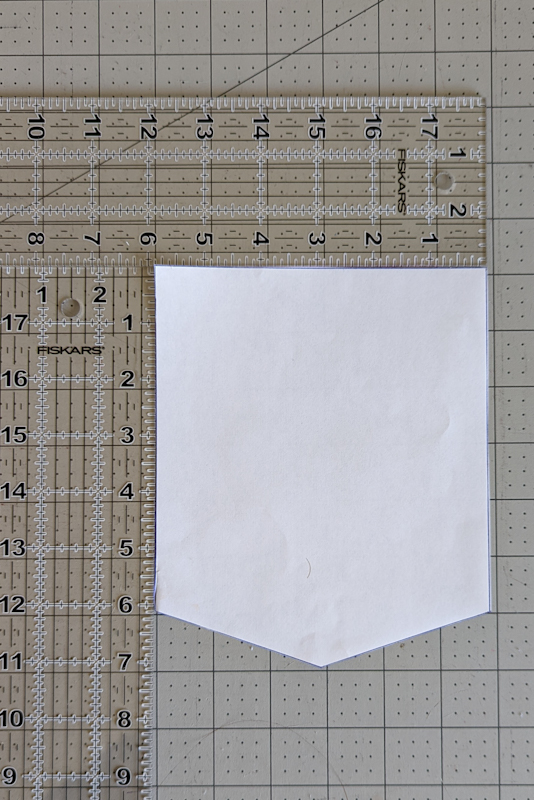
As you can see the pattern piece is roughly 7 x 6 inches. I cut out two back pockets by using one of the discarded pant legs.
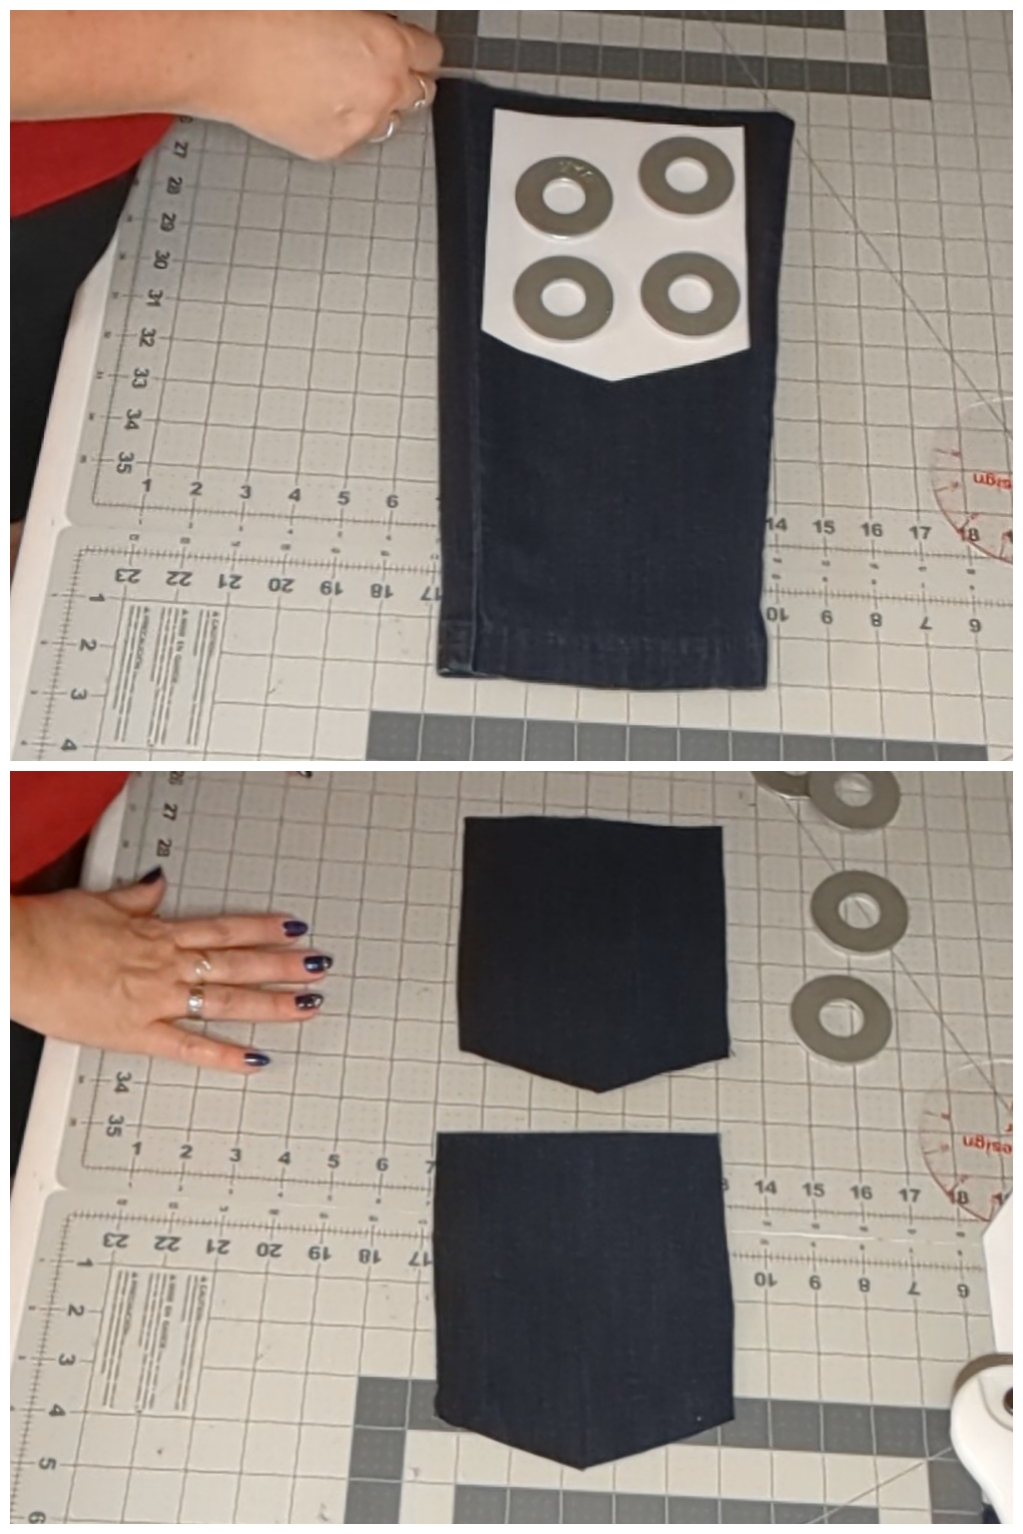
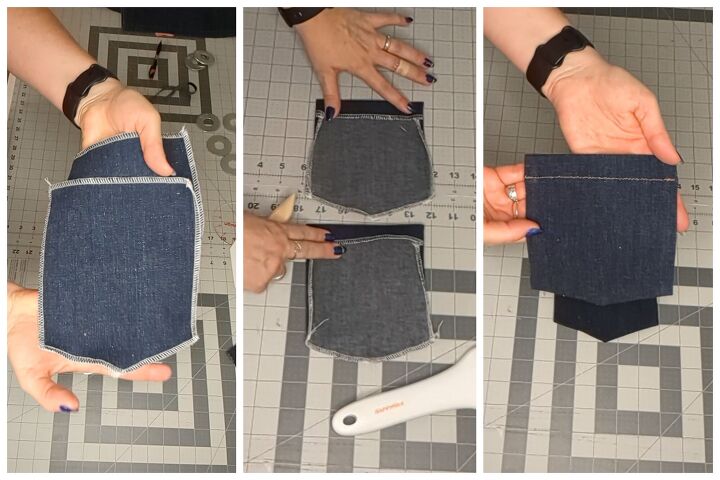
Assembling the Pockets
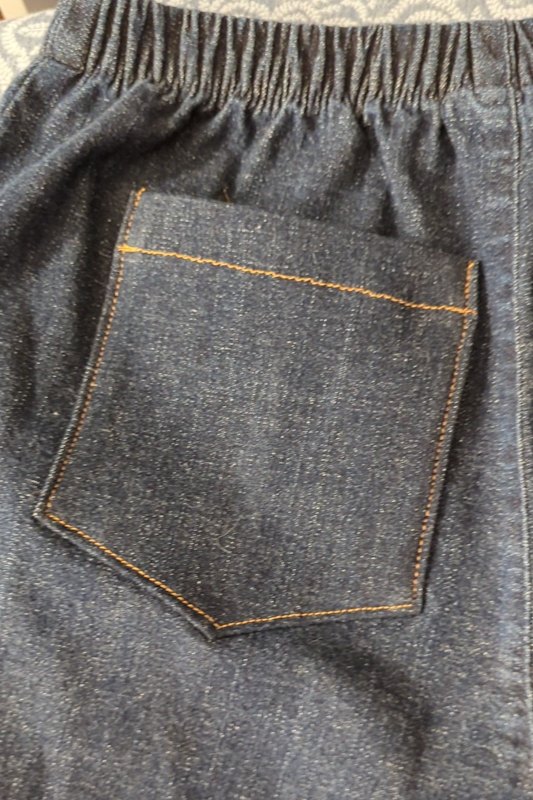
I finished both pocket’s edges with my serger and turned the top of the pocket under 1 inch and stitched it in place. Then I turned the sides and bottom edges under ¼ inch.
Pocket Placement
I pinned them to the back of my pants and tried them on to make sure I liked the placement. Pocket placement is everything so take your time with this part. You don’t want to have crooked pockets. I find it helpful to take a picture or have someone help with placement.
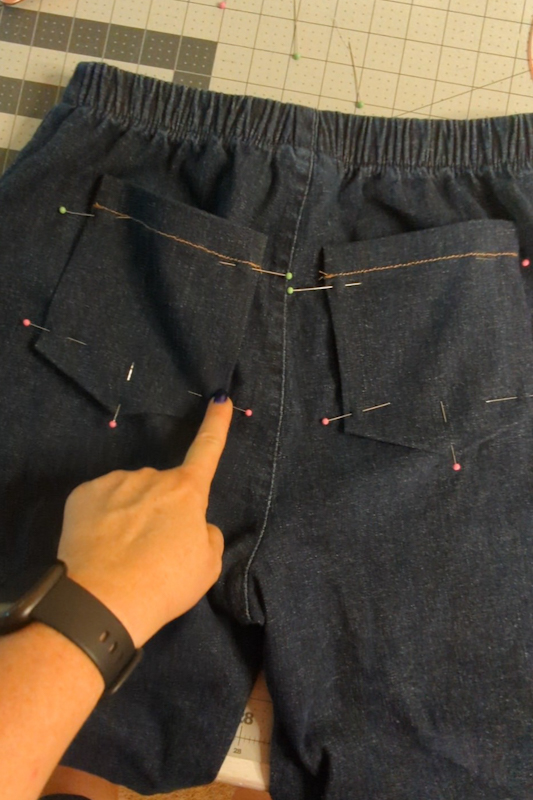
Once you are satisfied with the placement, sew them in place using the same thread you did the hem with. Be careful to just sew the pocket to the back and not to the front of the pants too.
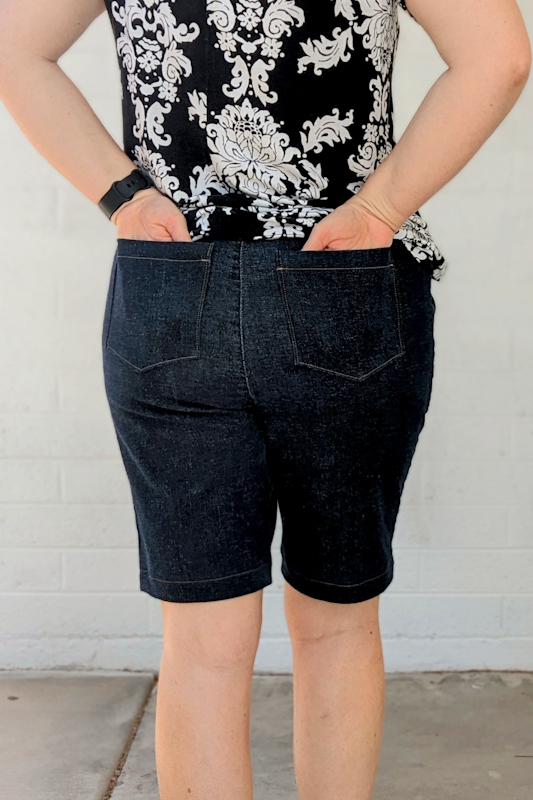
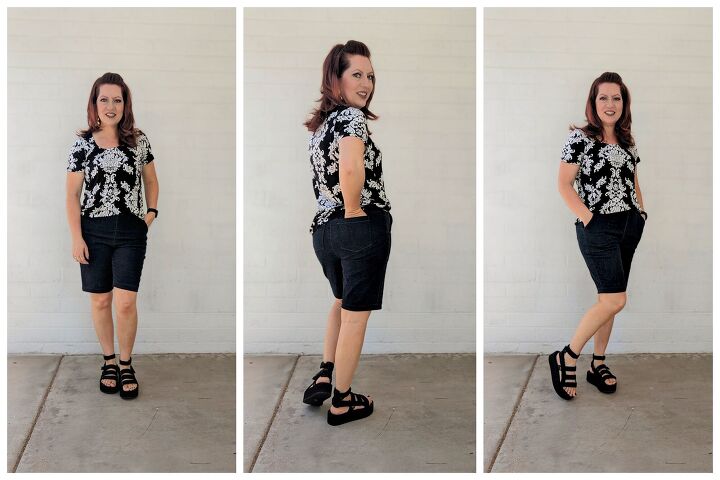
Wah-lah! You have some new shorts for the summer!! I love thrifted denim so much! It’s soft and already broken in plus I can usually pick up some jeans for under $3. These were $2.50. You can’t even buy denim fabric for that price.
Maybe a simple project like this is just what you need to jump start your sewing! Thrifting shorts is always my go to for my boys but this is a first for me. Are you a thrifter, yay or nay? Let me know in the comments!
The author may collect a small share of sales from the links on this page.


Comments
Join the conversation