Replacing a Denim Waistband With Elastic

Hello Readers. Summer means hot weather and shorts. I had an idea to fix the tight waistband of these shorts so I could wear them comfortably. A tight waistband is not what anyone wants. Especially after a year of Corona virus snacking. Let's get to work.
These shorts were plenty roomy enough in the hips and the rear but the waistband was really tight. Like painfully tight! I needed to do something because I don't wear clothes that hurt me.
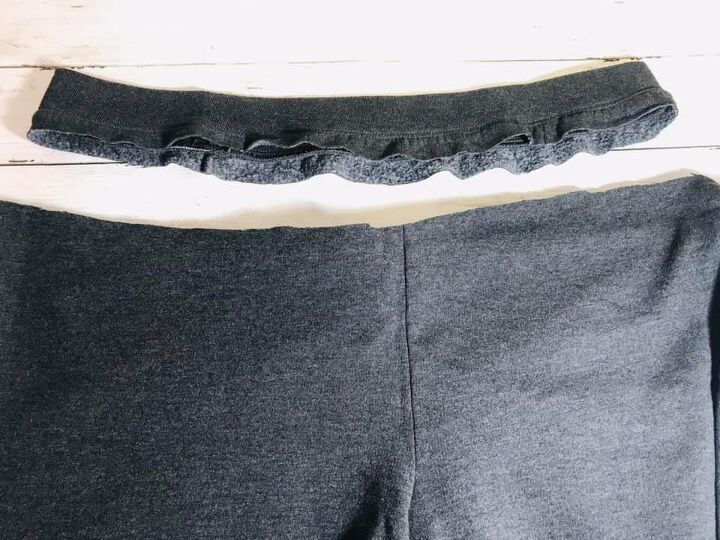
My first step was to find a new waistband. I decided to cut the waistband off these dark gray sweats that my mom gave me. (Thanks Mom!) I cut the elastic band off and made sure to leave about 1/2 an inch extra for the seam. I wanted to have enough extra fabric to attach it to the shorts.
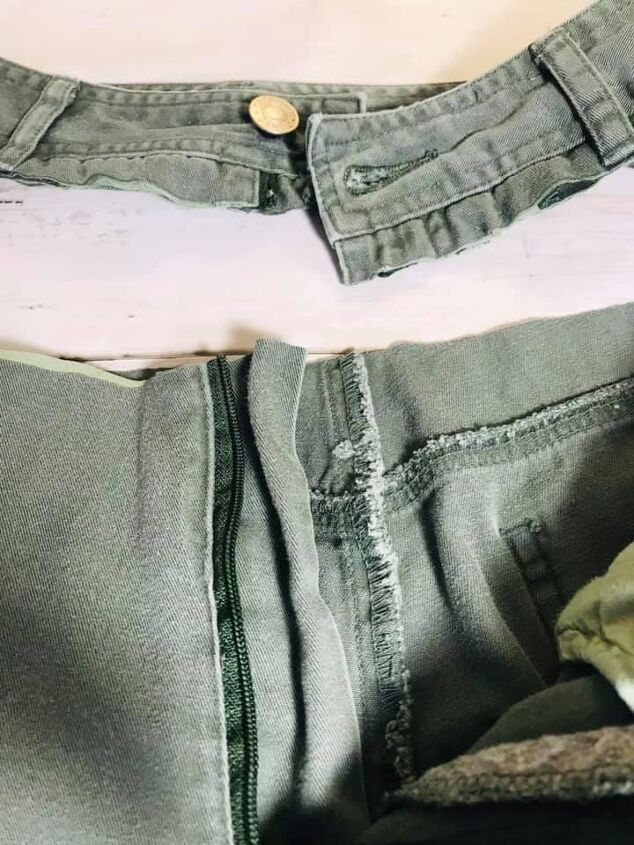
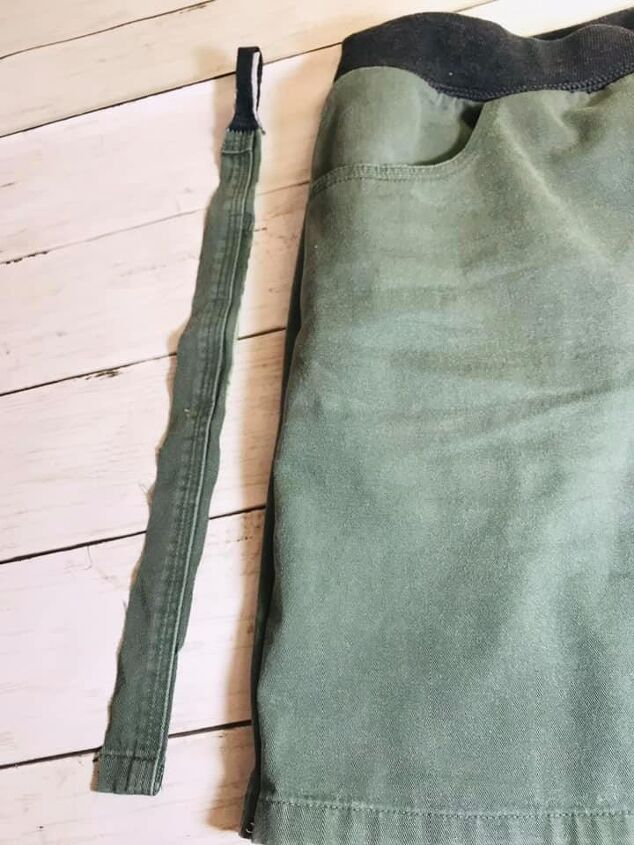
Then I cut the waistband off the shorts. I just cut all the way around also removing the belt loops. I won't need a belt with these shorts so I won't need belt loops either. *Notice the zipper is down. You can't cut through the zipper pull. Don't try it. You will ruin your scissors. This zipper is plastic so it was easy to cut through. If the zipper is metal, you need to cut between the zipper teeth.
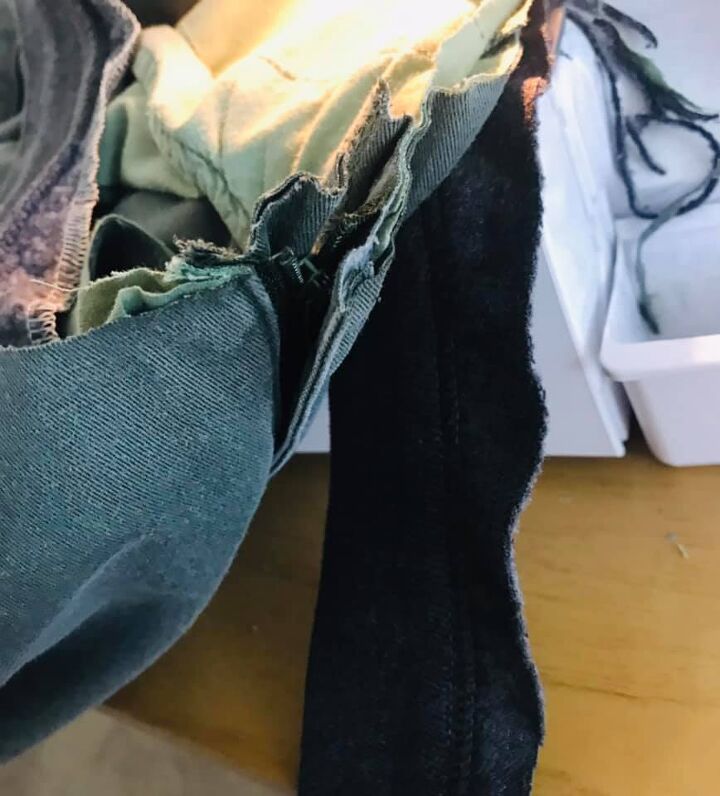
The next thing I did was attach the new waistband. It was easy to attach. I put the right sides facing each other and then stitched them together. A zigzag stitch or a serger will keep the cut fabric of the shorts from fraying. I do not recommend trying to sew over the zipper. Skip that part and do it by hand so you do not break your sewing machine/serger needles. *After you sew the waistband in place, you can zip the zipper as you normally would.

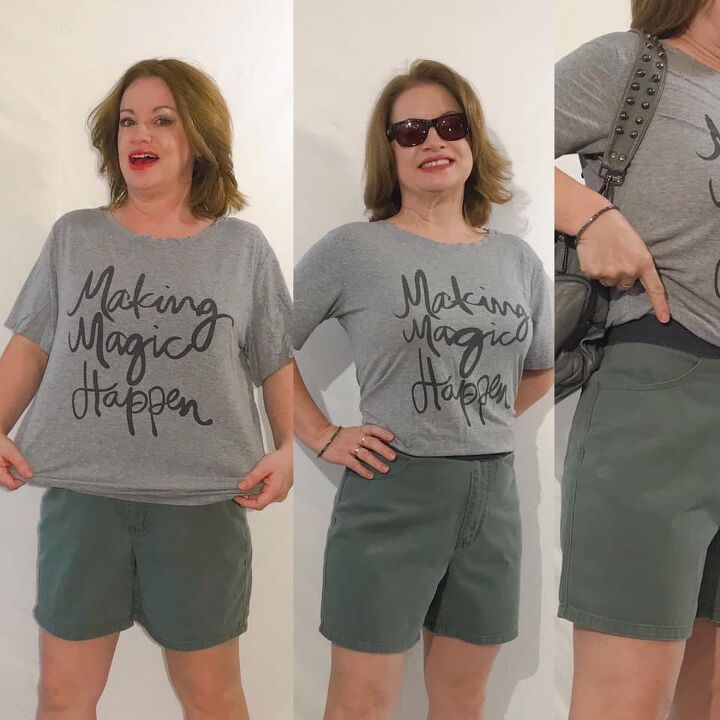
You can see here that the new waistband here. It is enough stretch in the waistband and the shorts to get the shorts on and off. And this new waistband does not dig in to my mom-belly. (I have 3 kids, and I like snacks, the tummy is what it is.) These "new" shorts will get a lot of wear this summer now that they fit well and feel good.
I also took in the side seams of these shorts. They were just a little too roomy in the legs. I only needed to remove about an inch from each side seam. I used my machine and stitched a new side seam inside the shorts. I followed along the existing side seam, just 1 inch over. You can see the original side seam I removed. It has a lot of strong stitching. When you make new side seams remember how strong they were originally. You need to try and match that strength. Sew over the new seam more than once if you need too. That will make clothes that can last a long time.

My "new clothes' fit so much better now. I found this shirt at a swap and I loved the graphic. Sewing always feels a little like magic to me. Thanks for reading along, now go make something fun for yourself.
The author may collect a small share of sales from the links on this page.


Comments
Join the conversation
Wow! This is so smart!
How wide is the elastic? Looks great!