DIY a Super Cute Crop Top and Ruched Skirt Two-Piece

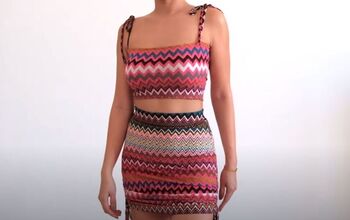
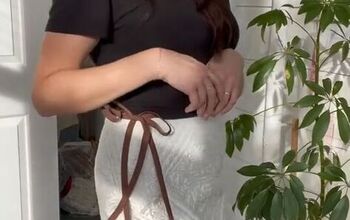
I had an old duster that I knew I was never going to wear again. I decided to refashion it into a totally gorgeous two-piece that has become a closet favorite! I absolutely adore my new crop top and ruched skirt and they were both so easy to make. If you want to learn how to DIY this stunning set for yourself, this tutorial is definitely for you! Follow my step-by-step guide and get started on this amazing DIY.
Tools and materials:
- Fabric
- Needle and thread
- Pins
- Tailor’s chalk
- Ruler
- Measuring tape
- Scissors
- Sewing machine
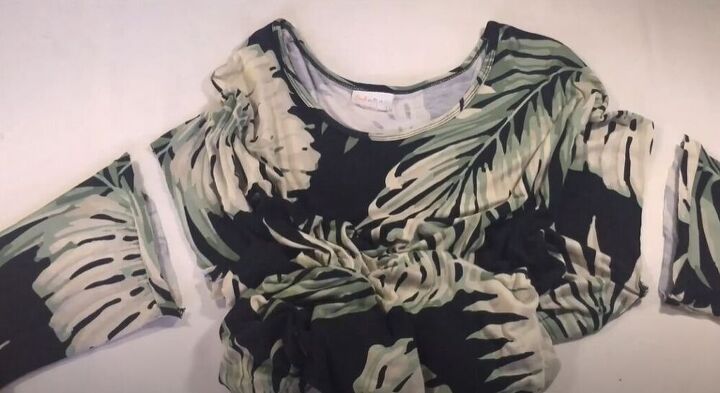
To get started on this amazing crop top, I started by removing the sleeves from the old duster.
Next, I turned the shirt inside out and cut open the two shoulder seams and the side seams. I was left with two pieces of the fabric and I couldn’t wait to start creating!
Using a ruler, measuring tape, and a piece of tailor’s chalk I started drawing out the shape of my crop top on the piece of fabric.
Once I had drawn the shape I wanted, I pinned along my markings. I then got out my scissors and started cutting the fabric. I couldn’t wait to see how this crop top would turn out!
With the basic shape already cut out, I made sure to cut at the neckline to get the exact look I wanted for my new top.
I then sewed the side seams and shoulder seams together.
To get the perfect finish on my top, I made sure to hem the neckline included the inner edge of the straps.
I cut open the seams on the sleeves of the original duster.
I folded the sleeves, right sides together, and placed them next to the armholes of the crop top. When they were perfectly positioned, I sewed them on.
With the sleeves sewed on, I pinned their seams back together and hopped back over to my sewing machine to sew the sleeves closed.
For the final step of this stunning top, I wanted to create a slightly more fitted look in the front. I hand sewed at the center neckline, gathering the fabric.
To get started on making the stunning matching ruched skirt, I used a skirt I already owned as a pattern.
With my markings and pins in place, I started cutting out my fabric.
I made sure that my fabric was right sides together and then I sewed the two side seams of the skirt.
Next, I needed to cut a few strips of fabric. I folded over a spare piece and cut 4 long strips and two shorter, rectangular ones.
I folded the longer strips in half and sewed along the long edge.
Using a stick, I turned the strips right side out.
I folded the skirt so that the side seams were in the center. I placed one long strip on each side of the seam and then covered it with the rectangular piece of fabric. Once I had pinned the pieces in place, I made sure to sew them down. The pieces of strip left hanging out the bottom of the skirt would make the ruched effect.
To create the perfect fit for my new skirt, I drew two darts. I folded and pinned along my marking and then sewed the darts.
The last thing I had to do was hem the waistline of the skirt to give it a gorgeous finish.
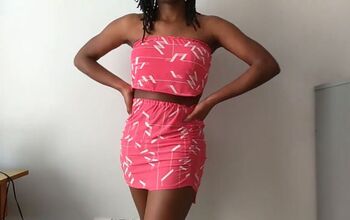
I am totally obsessed with this crop top and ruched skirt two-piece! How would you accessorize this amazing outfit? Let me know in the comments below!
Enjoyed the project?
Suggested materials:
- Fabric
- Needle and thread
- Pins
- Tailor's chalk
- Ruler
- Measuring tape
- Scissors
- Sewing machine
The author may collect a small share of sales from the links on this page.






Comments
Join the conversation