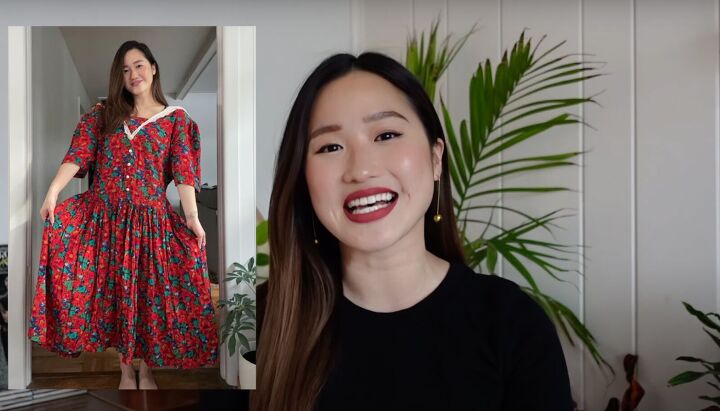
How to Make a Cute Two-Piece Set From an Old Dress & Pants

Today, I'll show you how to make a two-piece set from a dress and corduroy pants. While this tutorial is for experienced sewers, do watch for inspiration! I loved the fabric and love the results.
Let me show you how to sew a DIY two-piece set!
Tools and materials:
- Long dress
- Black corduroy pants
- Sewing machine
- Scissors
- Pins
- 1-inch-wide elastic
- Needle and thread
- Pattern paper
- Tailor’s chalk/pen
- Safety pins
- Iron
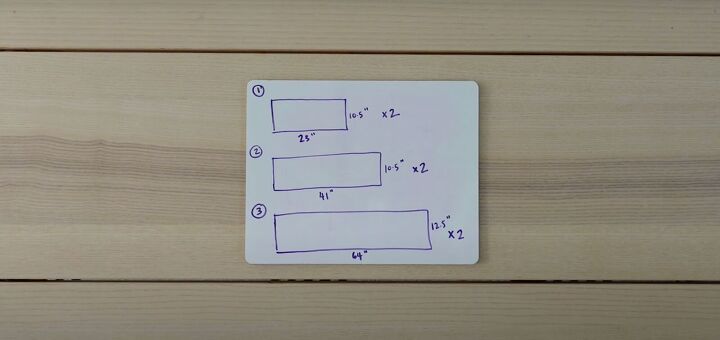
1. Make the skirt pattern
These measurements were salvaged from the dress. Cut 2 rectangles of each:
- Top tier: 10.5 X 23 inches
- Second tier: 10.5 X 41 inches
- Third tier: 12.5 X 64 inches
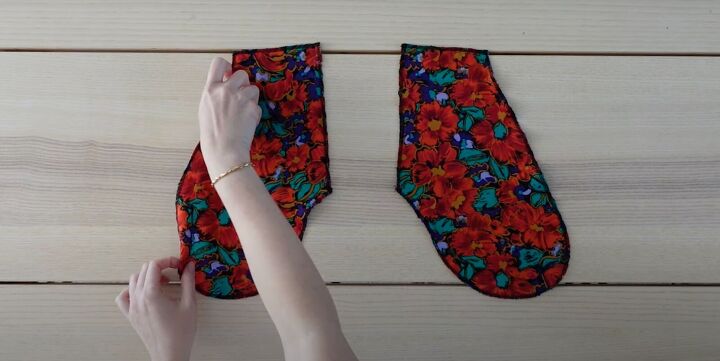
2. Make the pockets
Make a standard pocket pattern on paper, then cut out the fabric. Mirror the first pocket and copy to make the second pocket.
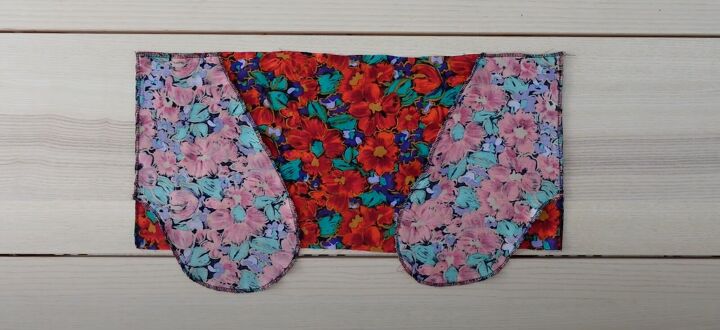
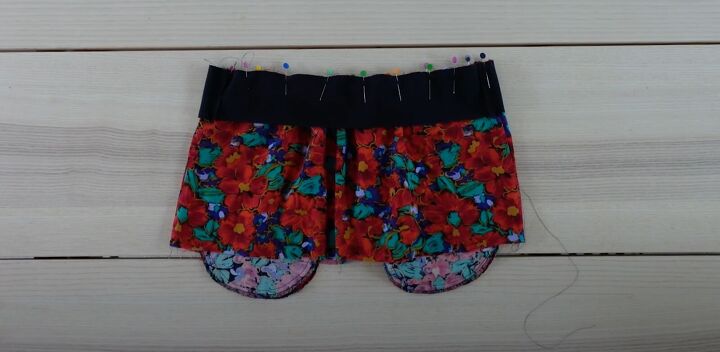
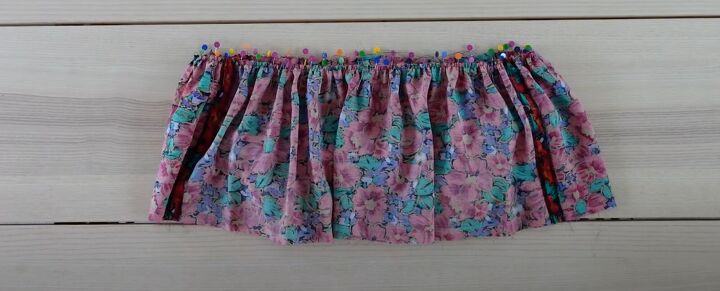
3. Make the first tier
Lay the top tier rectangles right side facing up. Lay the pocket pieces with the flat edge on the seam, right side facing down.
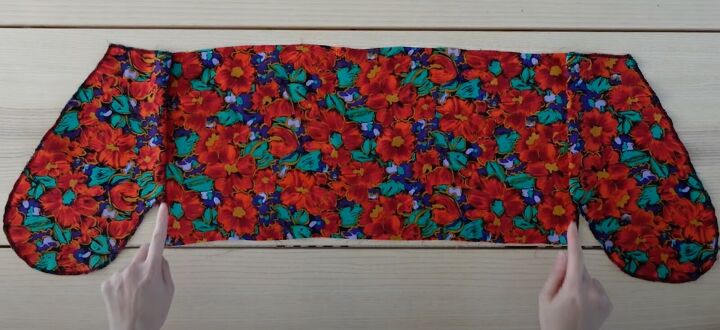
Sew them together by the side seam. Give it a good press. Understitch the pocket to the seam allowance. Repeat these steps to make the second piece.
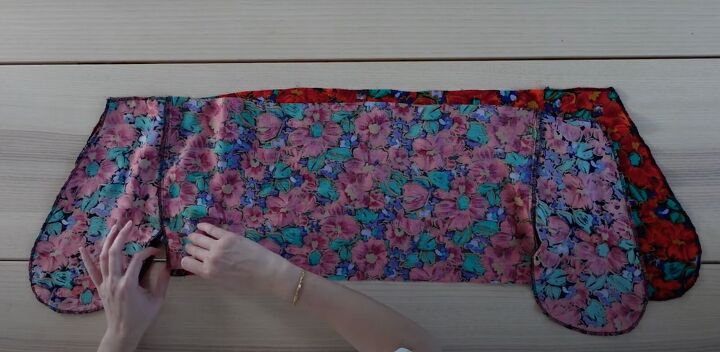
Lay both pieces out right sides together. Sew around the pocket and the side seams on both sides, sewing about 1 inch from the top down from the waist on both sides.
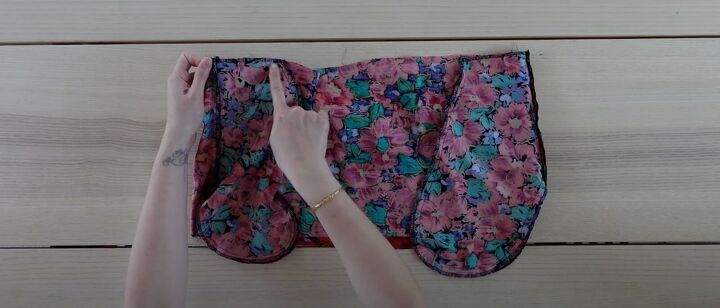
Sew the pockets just to the top layer of the skirt.
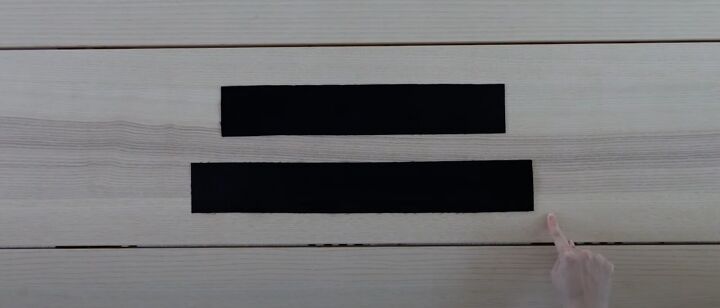
4. Make the waistband
Cut the corduroy pants into 2 strips:
- 3 X 16 inches
- 3 X 19 inches
This measurement should be wide enough to fit over your hips.
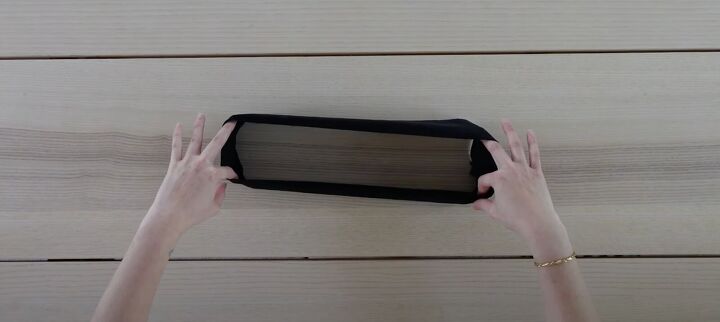
Place these strips right sides together and sew along the sides to make a loop.
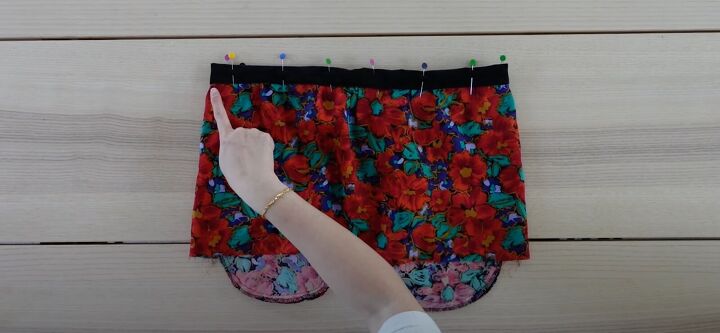
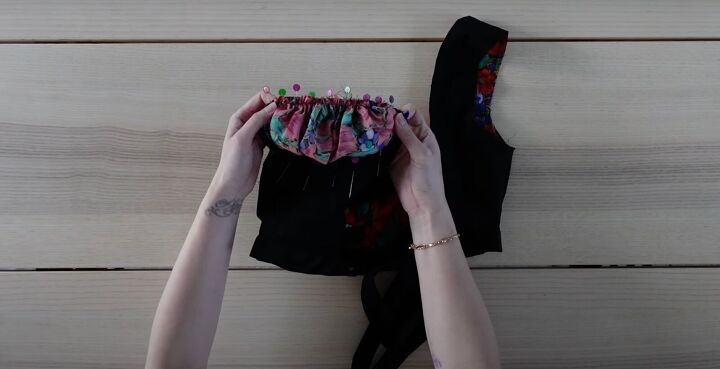
5. Attach the waistband
Sew a basting stitch along the top of the skirt. Place the waistband and skirt right sides facing, aligning the seams on one side to start.
Pull the gathering threads until the first tier fits the waistband. Spread the gathers evenly. Pin in place. Sew together.
Press the seam allowance towards the waistband. Turn inside out.
Fold the waistband to measure 1 inch toward the wrong side. Pin in place.
Stitch in the ditch on the back of the skirt, starting about 1 inch left of the side seam and stopping 1 inch right of the other side seam on the back to create a channel to insert the elastic.
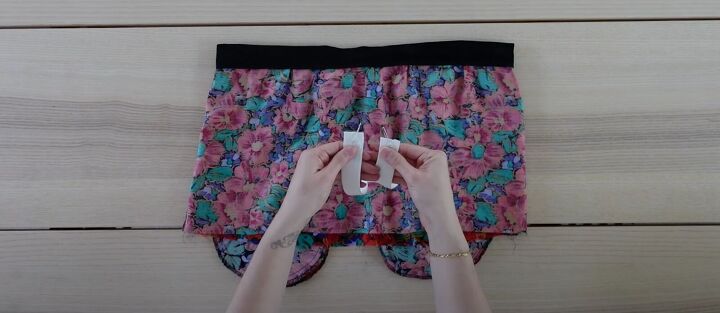
6. Insert elastic
Place 2 safety pins on either side of the elastic and insert the elastic through. Pin in place and sew to secure the elastic to the waistband on both sides. The elastic is only in the back.
Fold the front of the waistband down 1 inch. Stitch in the ditch.

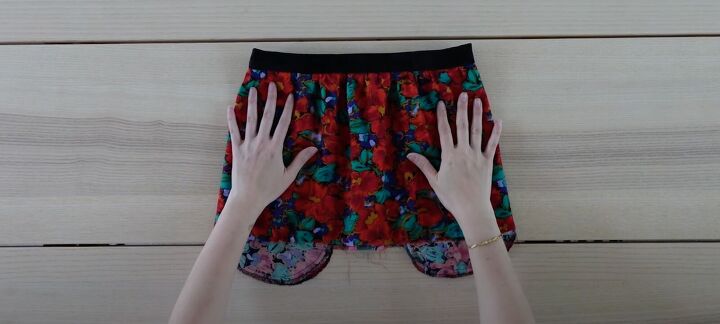
7. Add the second tier
Sew the two pieces together to create one big loop. Sewing a basting stitch to the top.
Distribute the gathers evenly and pin to the first tier. Sew with a straight stitch to secure on the wrong side. Turn to the right side.
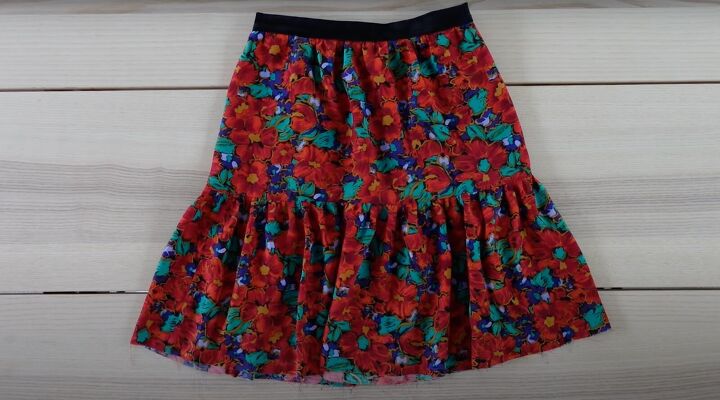
You could stop right here and hem for an adorable knee-length skirt or continue for a maxi-length.

8. Add the third tier
Make a large loop and hem the bottom with a double fold. Do a basting stitch at the top.
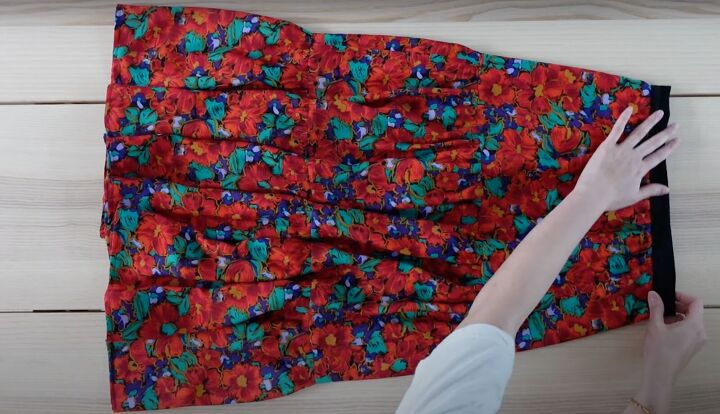
Distribute the gathers, pin, and sew in place.
9. Make the top pattern
I used the same pattern that I used for the DIY Jocelyn Reformation dress, which was the free Calanthe Dress pattern from Mood Fabrics, with some modifications.

Shorten the pattern by 2 inches on the bottom. For the center piece, remove length from the bottom, 1 inch from the top and 1 inch from the width.
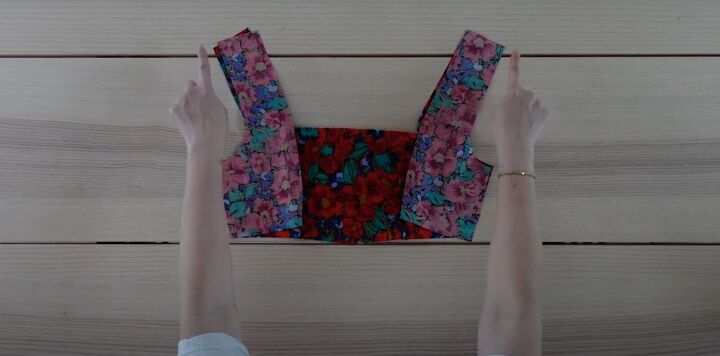
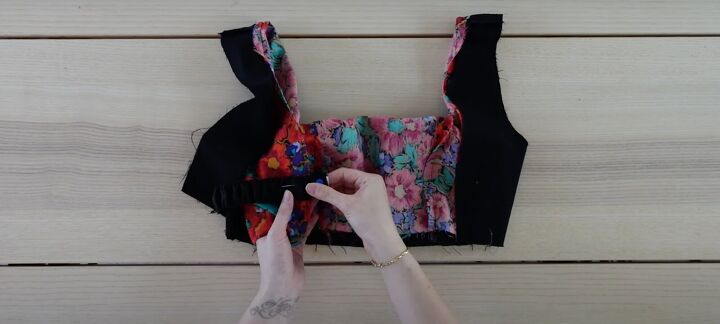
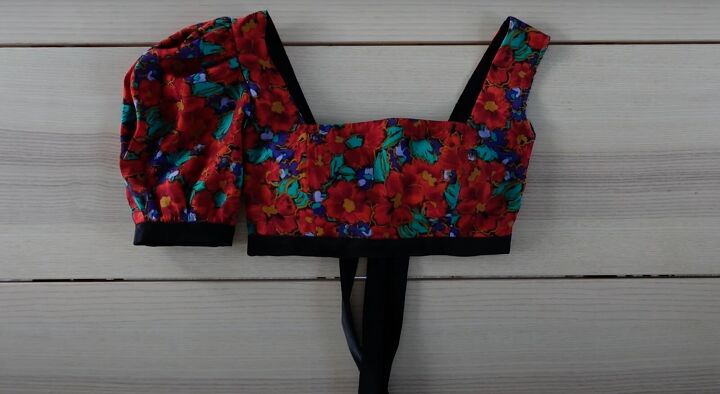
10. Sew the top
Sew the center piece with the 2 front pieces, right sides together, along the princess seams. Add the corresponding back pieces and sew along the shoulder and side seams.
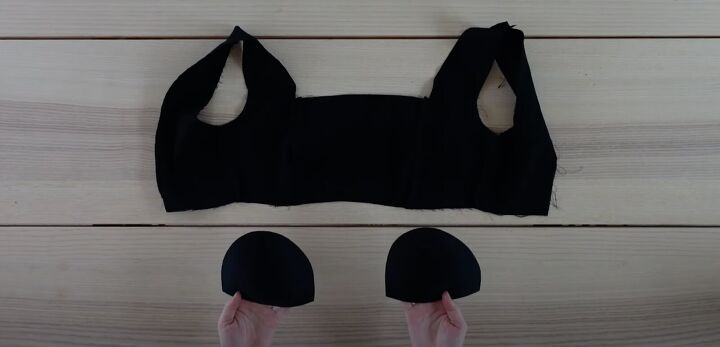
11. Make the lining
Make a lining using the same technique.
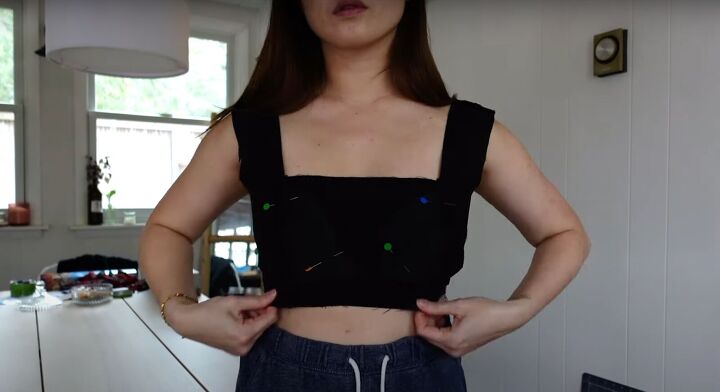
12. Add bra cups
Add bra cups to the lining by trying on the lining and pinning the bra cups in place.
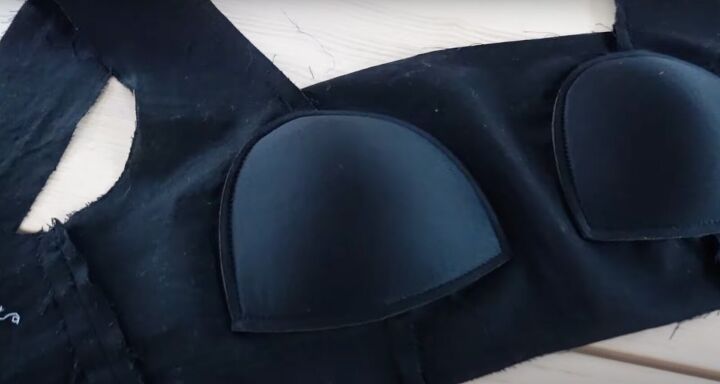
Sew to the wrong side of the lining with a straight stitch.
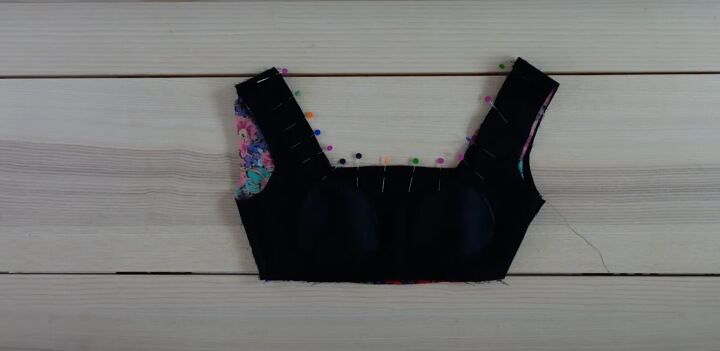
Attach the lining to the shell by placing the pieces right sides together and pin the entire neckline in the place from the shoulder seams to the other shoulder seam. Once sewn, press and then understitch.
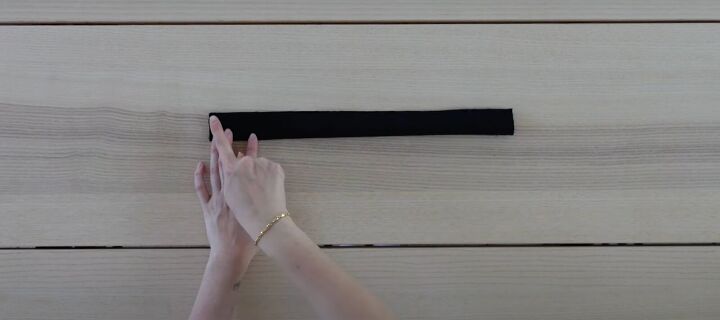
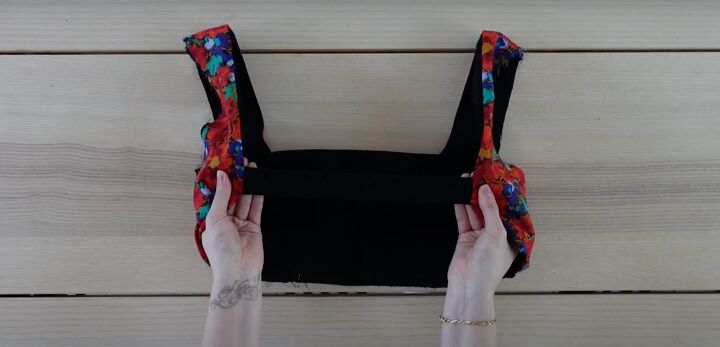
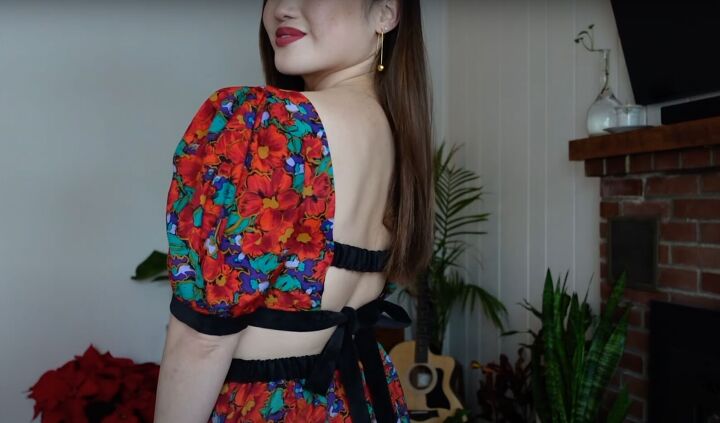
13. Add straps to the back of the top
To close up the back, make a casing for the elastic with a 3 X 15-inch piece of corduroy. Fold the corduroy right sides together. Sew across. Flip to the right side.
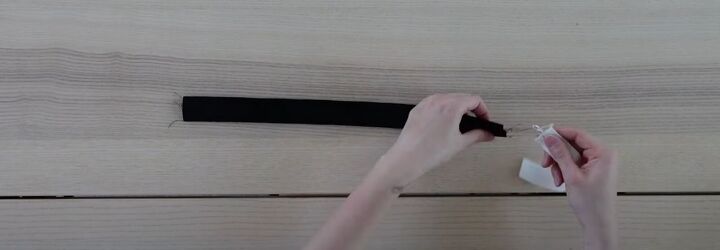
Insert the elastic into the casing. Sew the elastic to the casing at the entry side.
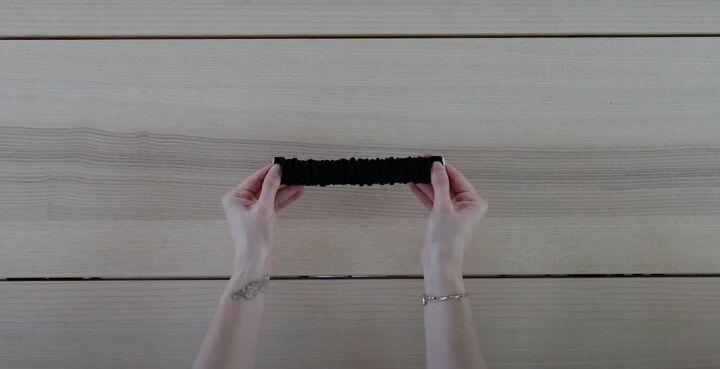
Feed the elastic through and sew the casing on the other side.
Sandwich the elastic between the shell and the lining. Pin the layers together and sew. Turn the top right side facing. Watch from 9:50 to 10:15 in the video to do the other side because it is a bit tricky.
Sew, press, and then understitch.

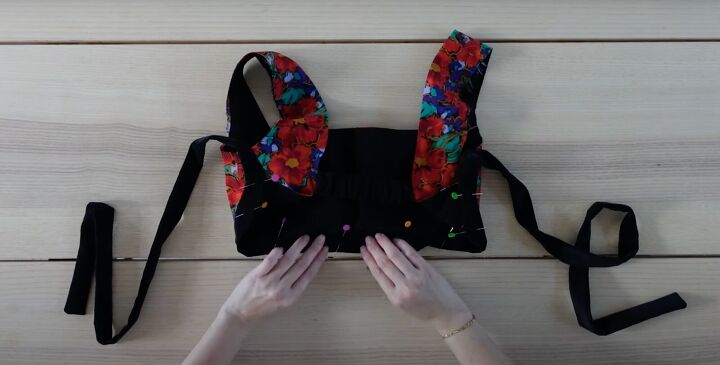
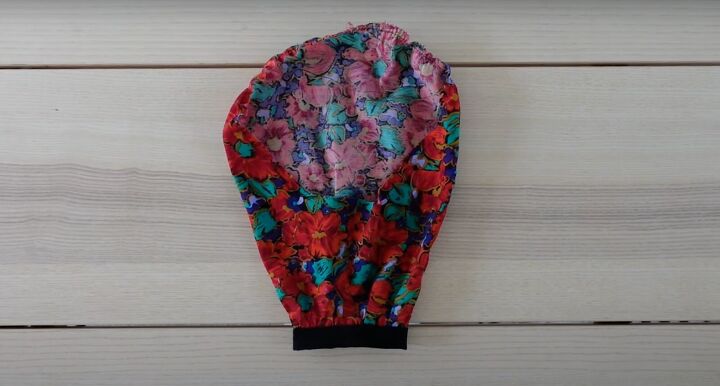
14. Make a band for the bottom
Measure the front and cut a piece of corduroy that length X 3 inches. Here it’s 15 X 3. Then cut two long strips the length of the pants that are 3 inches tall.
Sew the pieces together, with the short piece in the center.

Pin the short center piece to the front of the top. Sew to secure all the way around. To finish the long ends, fold them right sides facing, pin, and sew as close to the end as possible. Turn right side out.
Fold the front band in half, tucking the raw edges under and pinning in place all around. Stitch in the ditch or handsew with a blind stitch.
15. Add sleeves
Use the existing sleeves of the dress, adding a corduroy cuff. You can watch my previous video from 8:20 to see how I do this in more detail. Sew a basting stitch across the sleeve cap.
Pin the sleeve to the shoulder and armhole with the seams lining up. Gather the top of the sleeve to match the size.
Sew with a straight stitch. Sew the second sleeve.
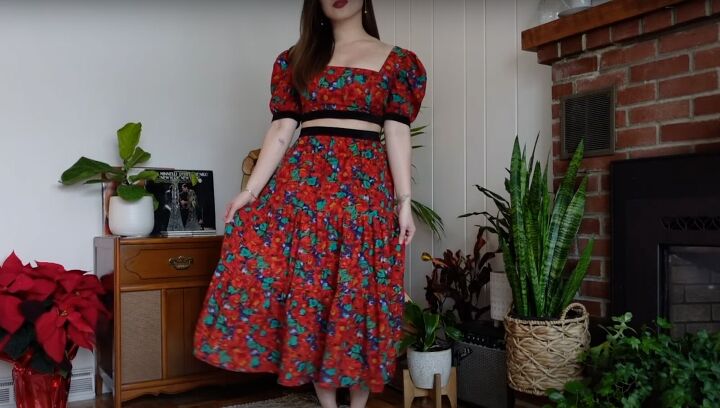
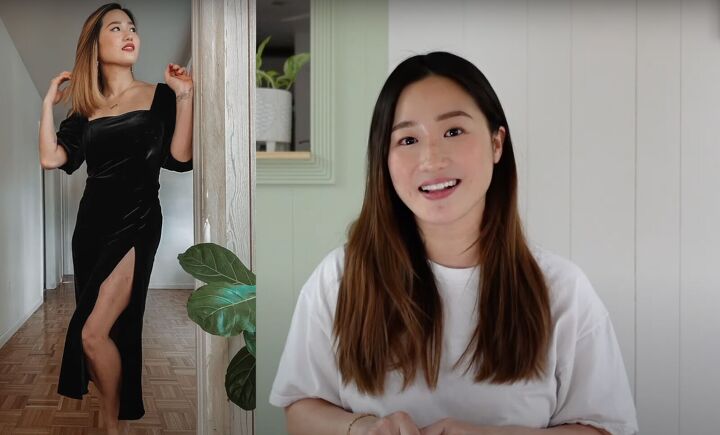
How to make a two-piece set from a dress
I hope my tutorial helped you learn how to make a two-piece set from a dress. Please let me know in the comments what you think of the final result. Thanks for joining!
The author may collect a small share of sales from the links on this page.


Comments
Join the conversation
You knocked that out of the park! And of course, you look beautiful in your creation. Thanks for sharing.
Great work! We wore the dresses like that in the 1980s. There is a lot of material in those dresses. Great job using the material for an updated style.