How to Make a Super-Cute DIY Two-Piece Pants Set in Gingham

I was inspired by Pinterest and other social media platforms to make this DIY two-piece set in super cute gingham. I love to wear it as a set, with a denim jacket, or as separates. So fresh and adorable!
Tools and materials:
- Pajama pants to serve as a pattern
- Pattern paper
- Ruler
- Measuring tape
- Pen
- Scissors
- Gingham fabric
- Elastic: wide for pants and thin for top
- Pins or clips
- Safety pin
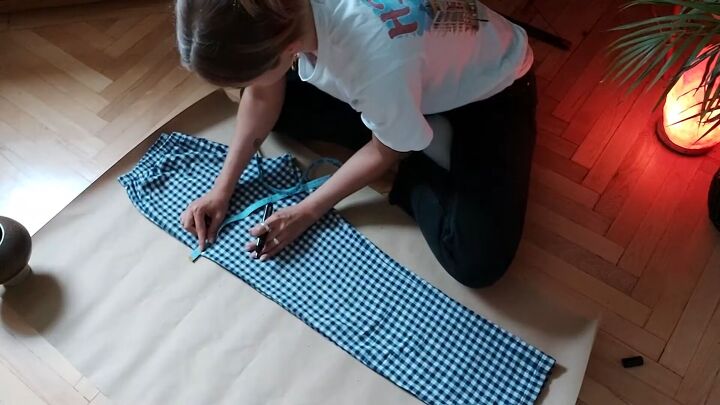
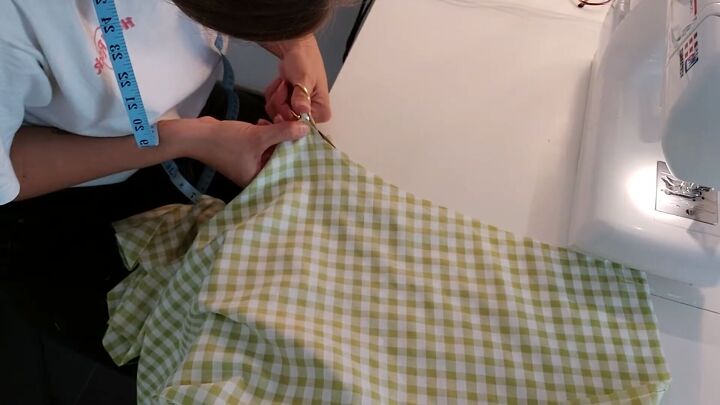
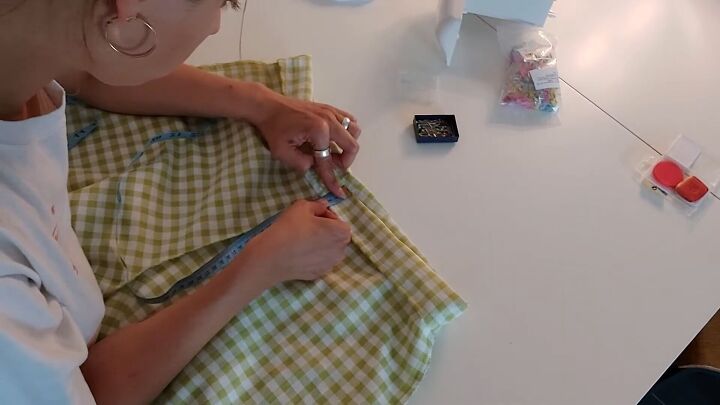
1. Make the pattern
I used my boyfriend’s pajama pants as a pattern and he has a different body shape to mine, so I added 3 cm (1.2 inches) all around after tracing the pants.

You could also use pants that fit you well and just add a standard seam allowance.
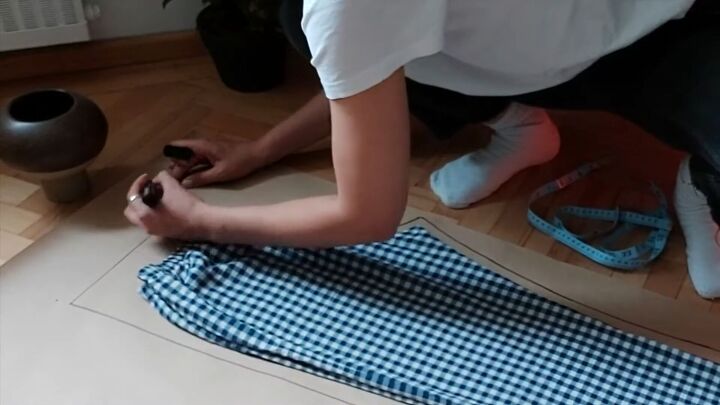
Trace the front. Then trace the back on another piece of paper for the back. Most pants are longer in the back than the front to cover the butt. I added some additional seam allowance at the waistband to make sure my butt is adequately covered!
If you’re a beginner, use the same type of fabric in the gingham set as the pants you’re using as a pattern. If the pattern pants are stretchy, use a stretchy fabric. This way your pattern will work better.
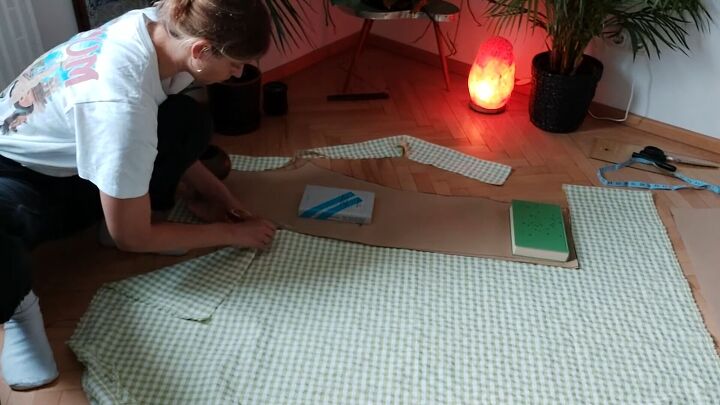
2. Cut the pieces
Fold the fabric in half. Cut the front, then cut the back.
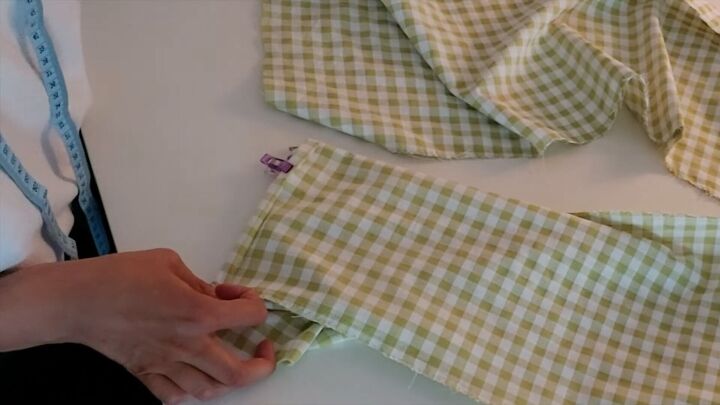
3. Sew the pants
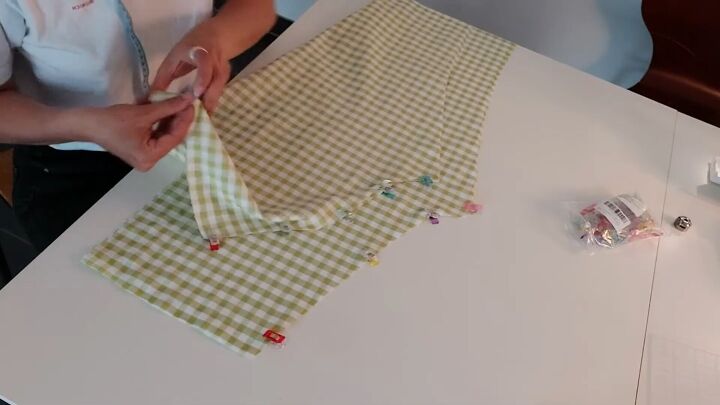
Sew the middle seam together of the front piece, right sides facing in. Clip or pin in place. Then sew with a straight stitch.
Remove any excess with scissors. Finish with a zigzag stitch
Lay the middle seams on top of each other. Have the right sides kissing.
Sew the inner seam, one pant leg at a time from the crotch area down toward the ankle. Sew using a straight stitch.
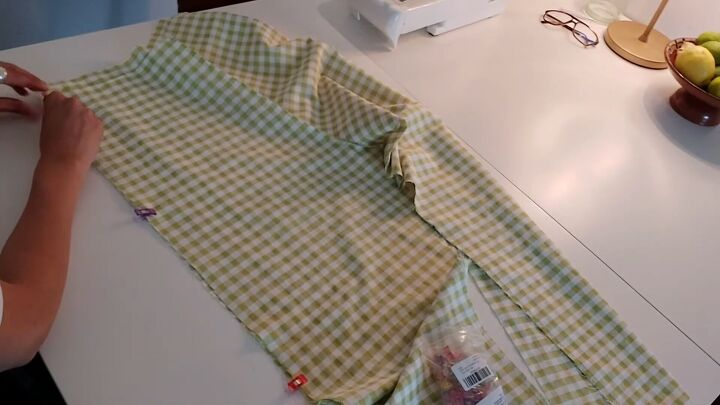
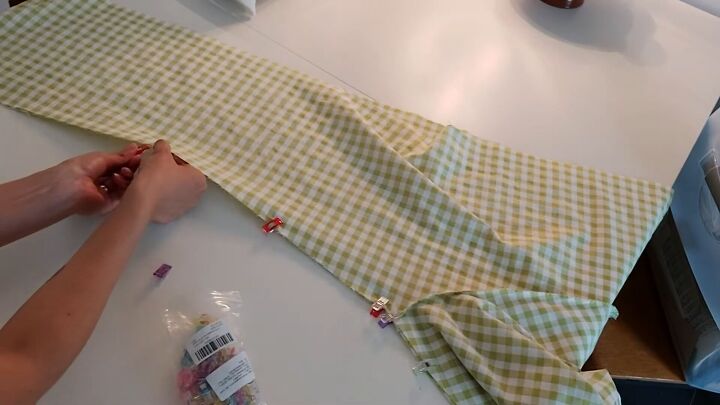
Clip or pin the outer seams in place. Sew them using a straight stitch.
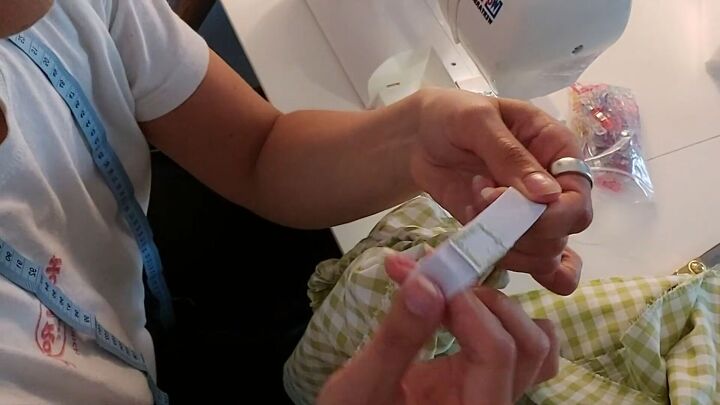
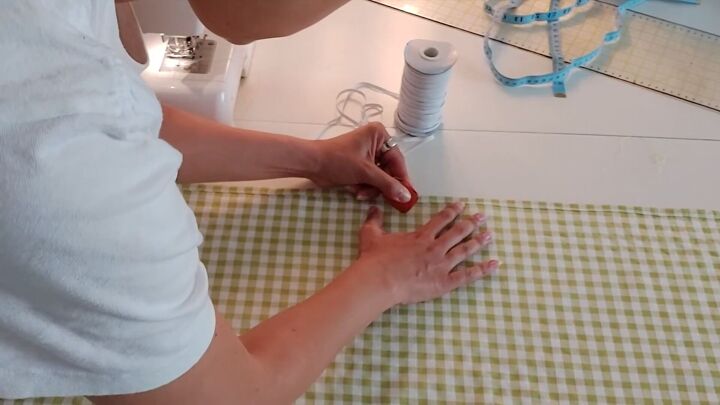
4. Make the waistband
Fold the fabric down about 1 cm (0.4 inches). Clip into place. Sew all around with a straight stitch.
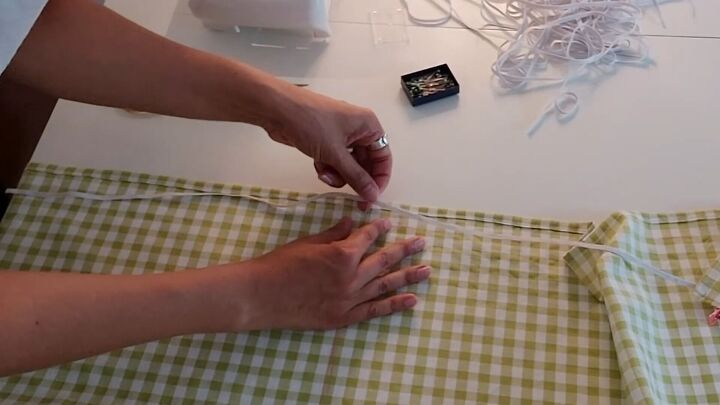
Fold this hemmed end downward about 3.5 cm (1.4 inches) wide. Make sure this measurement is even all around the waistband. Pin or clip into place, creating a tunnel for the elastic. Sew all around, leaving a space for the elastic.
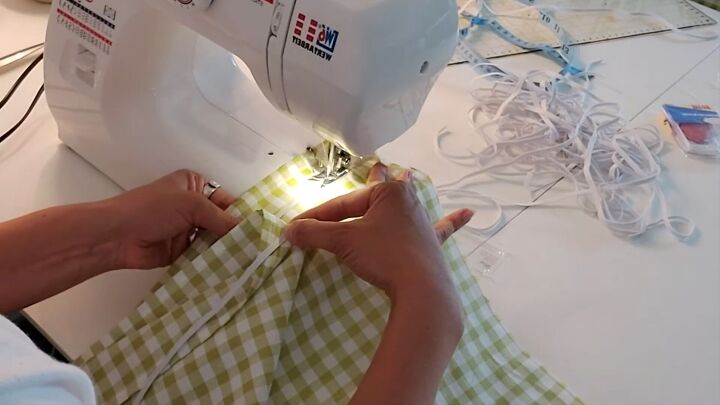
Try the pants on to see how tight or loose the elastic has to be. Measure, mark, and cut the elastic to the right size. Use a safety pin to pull the elastic through. Once the ends reach, join them together with a zigzag stitch.
Go back and forth using the zigzag stitch to make sure the elastic is sewn tightly. Cut any excess elastic off. Finish up the hole at the waistband.
5. Hem the pants
Clip or pin the pant leg bottoms. Hem using a straight stitch.
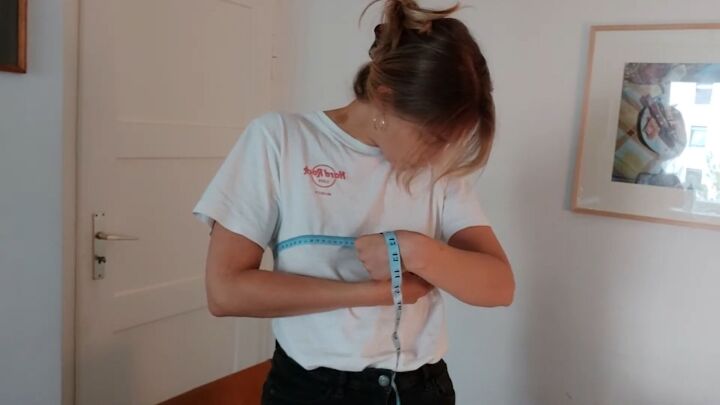
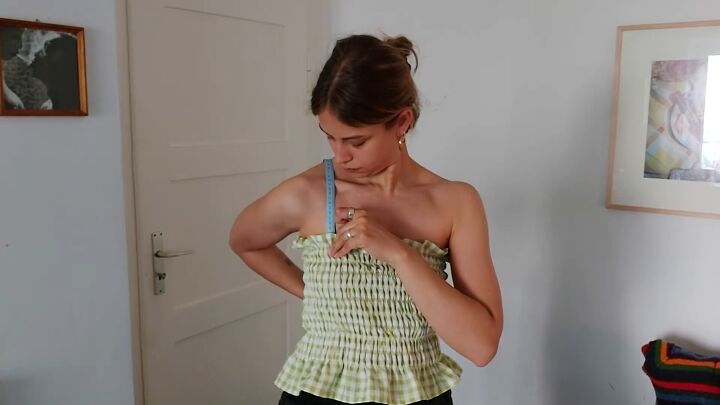
6. Take measurements for the top
Take your bust measurements and multiply by 1.5 to determine how much fabric you need to go around your bust and chest.
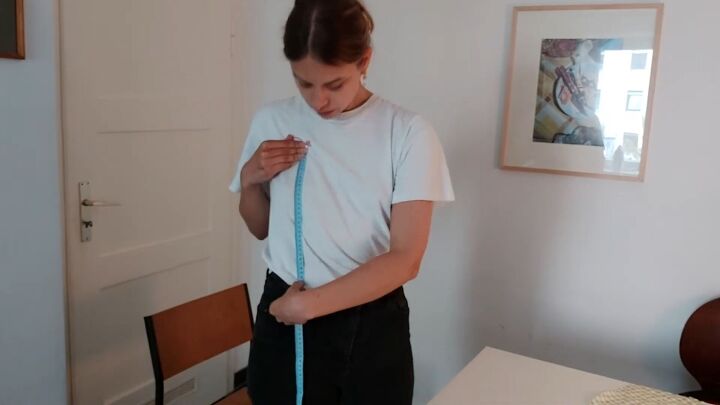
Also, measure how long you want the top to be. Add 1 cm (0.4 inches) seam allowance to your measurements.

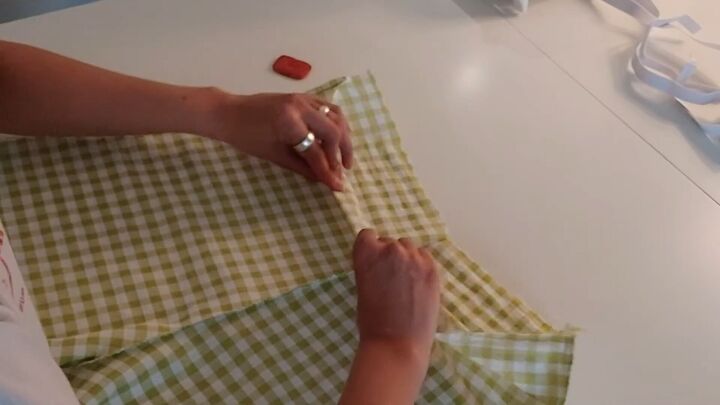
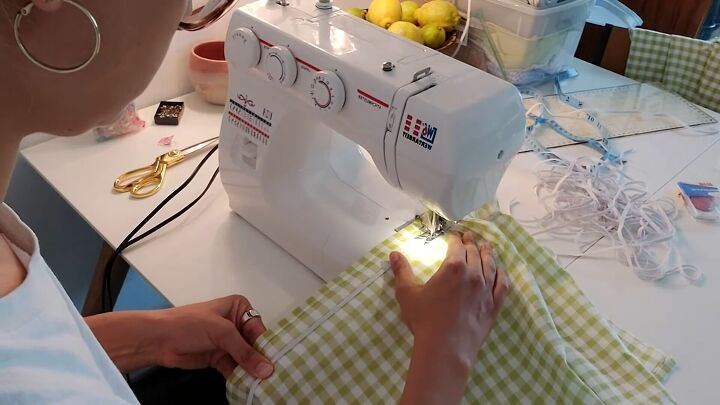
7. Make the top
Cut out the fabric for the top, which will look like a long rectangle. With the wrong side facing, clip or pin the bottom for hemming. Sew the hem in place using a straight stitch.
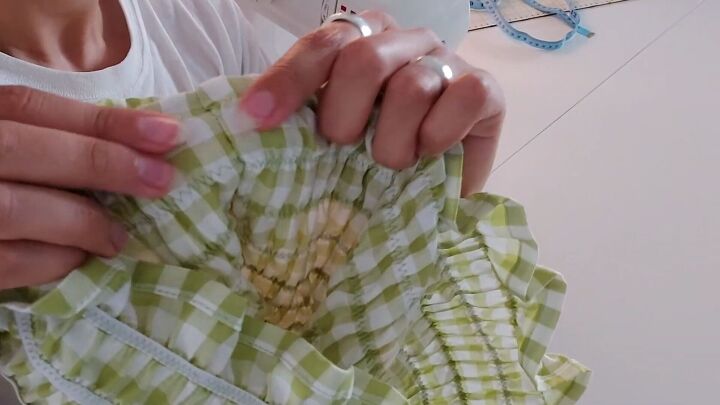
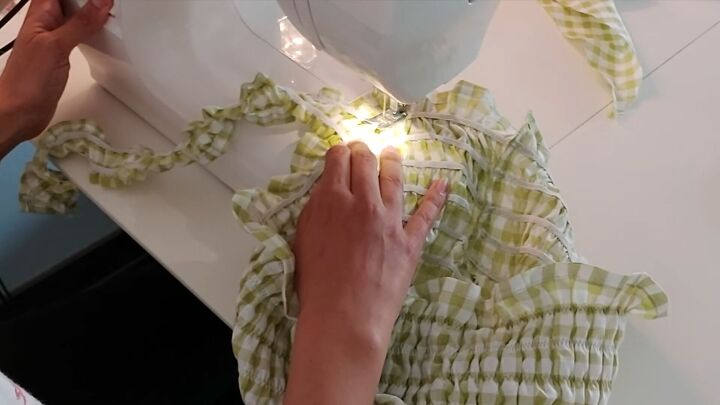
To ruche the top, I mark 3 cm (1.4-inch) marks at the top to start the ruching and a 5 cm (2-inch) mark from the bottom up to stop the ruching. I cut the elastic into 10 pieces. I mark the middle of my elastic and pin it to the middle mark.
Place the elastics 2 cm (0.8 inches) from each other.
Clip both ends of the elastics. Fix the elastic into place by going back and forth in place at the edge of both the fabric and elastic with a zigzag stitch.
To shir the fabric with this method, pull the elastic taut and sew it into place on the fabric. Work in 2 directions: start at the front towards the middle and then the middle to the end.
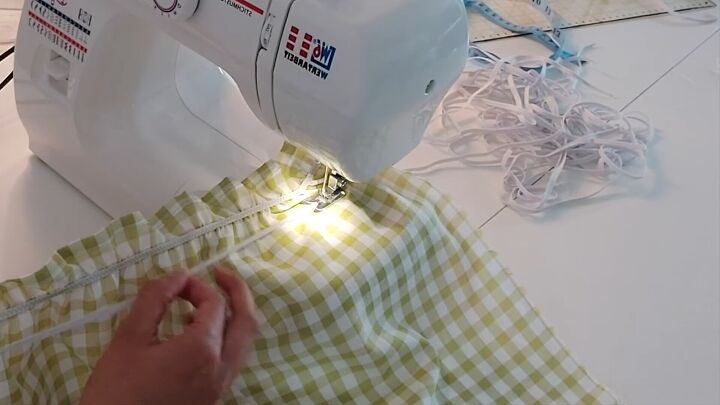
Sew with a zigzag stitch.
This ruching method is fast and easy!
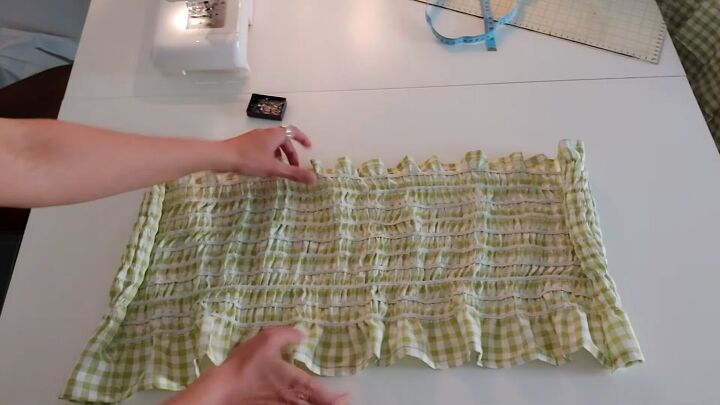
Once it’s completely shirred, flip it over with the right sides kissing.
Sew the side seam with a zigzag stitch. Remove any excess and finish all the edges with a zigzag stitch.
8. Make the straps
I measured from the inside of the front of the top to the back for the straps. I use 2 elastics per strap. The fabric will need 1.5 times the elastic length.
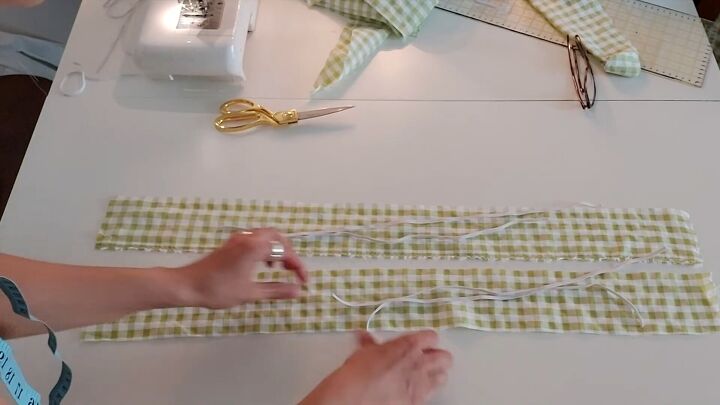
Cut the fabric so the width will be 5 cm (2 inches) when finished. Hem all the raw edges. Mark the spot for the elastics: about 1 cm (0.4 inches) in on the wrong side of the strap. Clip or pin the elastic in place.
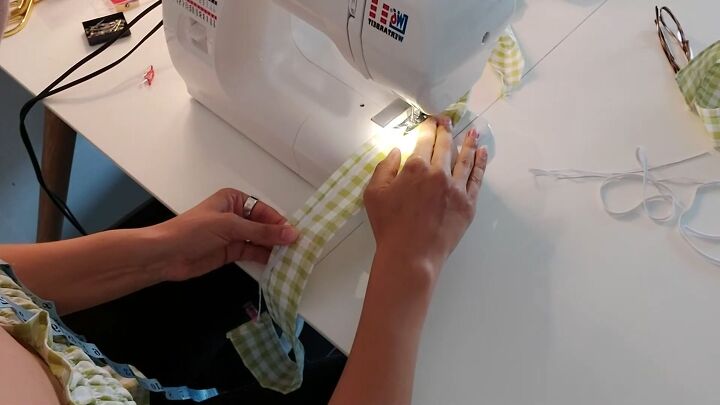
Sew each elastic down starting at one end, stop in the middle and then start again from the middle to the end. Use a zigzag stitch.
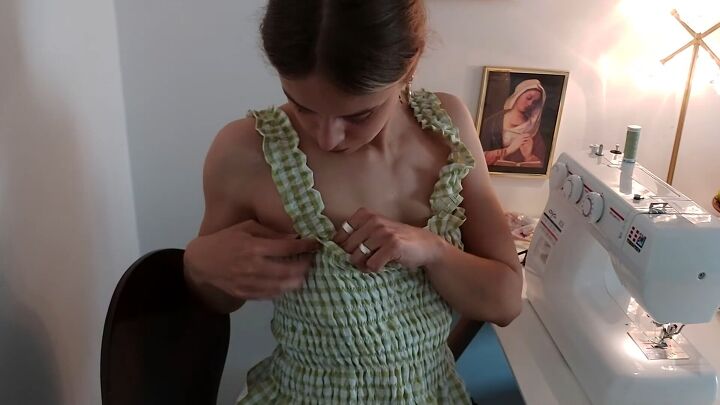
Before you attach the straps to the top, measure again for accurate placement.
Then sew into place using a zigzag stitch.
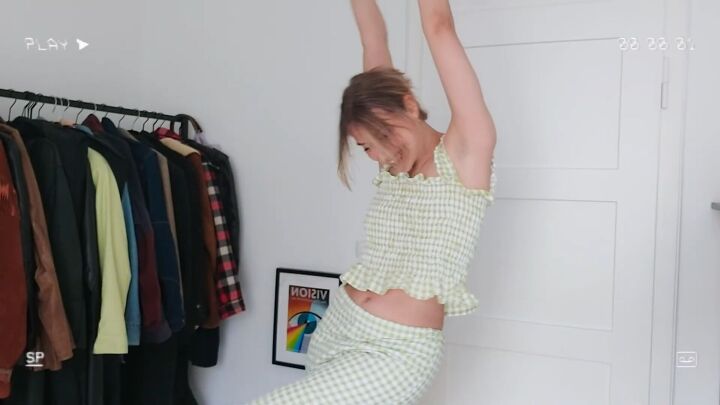
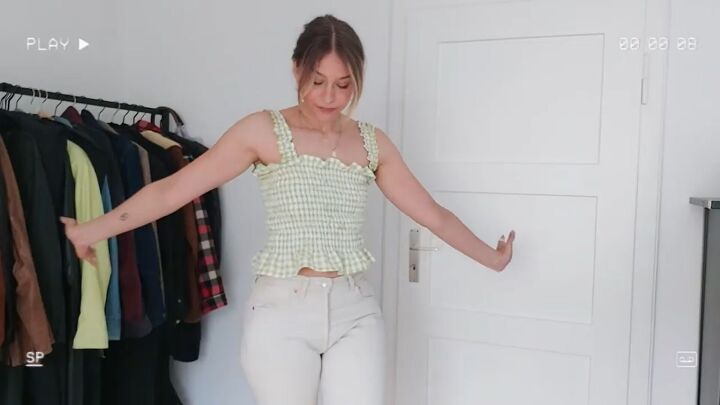
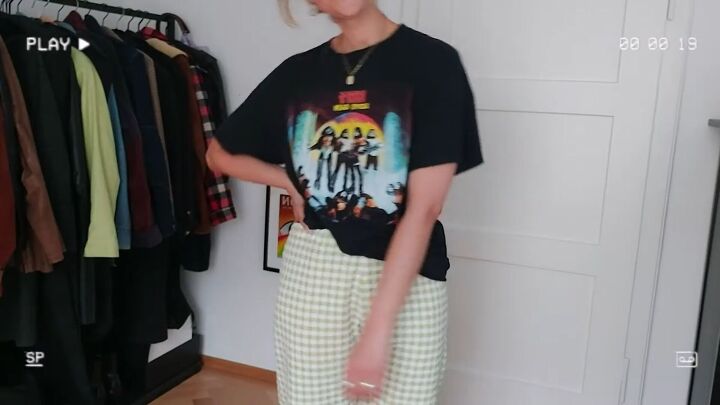
DIY two-piece pants set tutorial
There you go! A charming and perfect DIY two-piece pants set in summer gingham. Please let me know in the comments what you think and if you made this adorable gingham crop top and pant set.
The author may collect a small share of sales from the links on this page.


Comments
Join the conversation