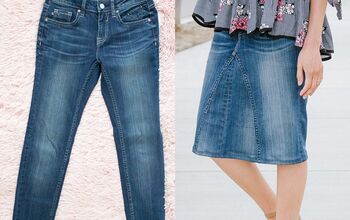
The Panelist Skirt: A Pants to Skirt Refashion
Once upon a time, I had another blog where I mostly showed my family what I was up to. But one glorious day, I got to guest post on Tatertots & Jello for a skirt I made from a pair of trousers. This pants to skirt refashion was I thought I’d share that tutorial with you here now. Because I can. And because it’s a fun tutorial. 🙂

The Panelist Skirt Tutorial
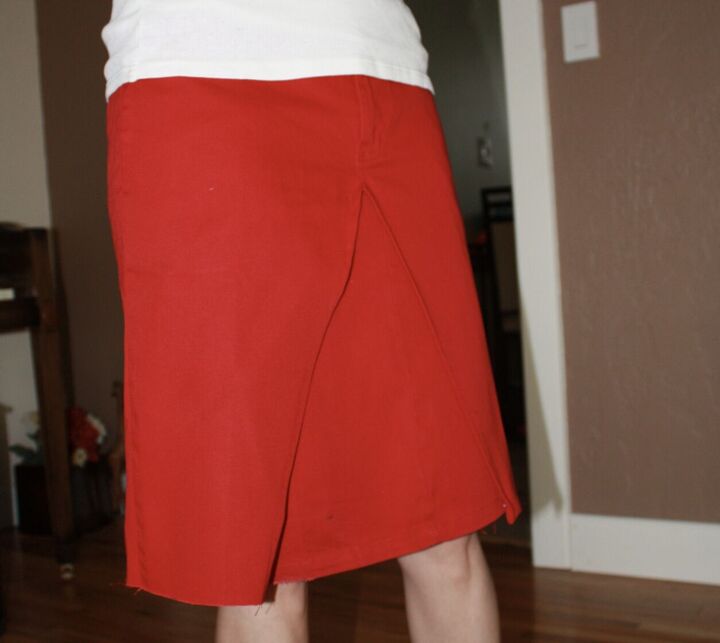
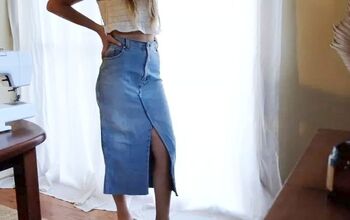
The Panelist Skirt has the sleek look of a tailored skirt, but is extra comfy because of the inside panel. When you’re standing still, it looks like a slim pencil skirt. But when walking or sitting, you see this is no ordinary skirt. I love the split look when sitting and the fact that it doesn’t crawl up when you sit down like a fitted skirt would. And the panel goes far enough around that you don’t have to worry about being modest–you’re covered even if a small child squirms in your lap.
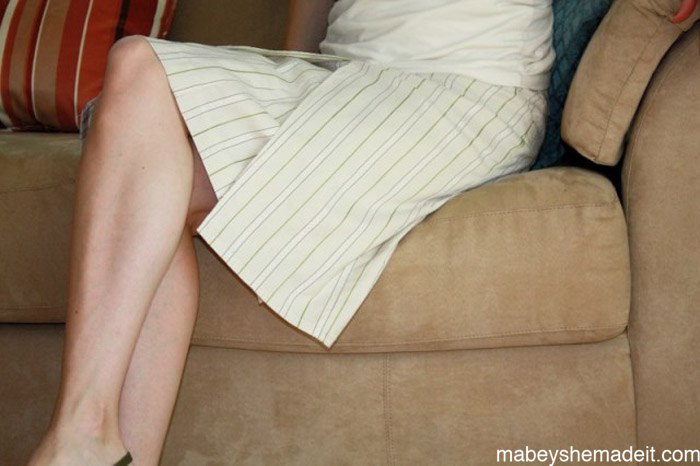
And then there’s walking or even running (i.e. after small children). Once again, you’re covered and there’s no worries about having to take small steps.
Let’s get started.
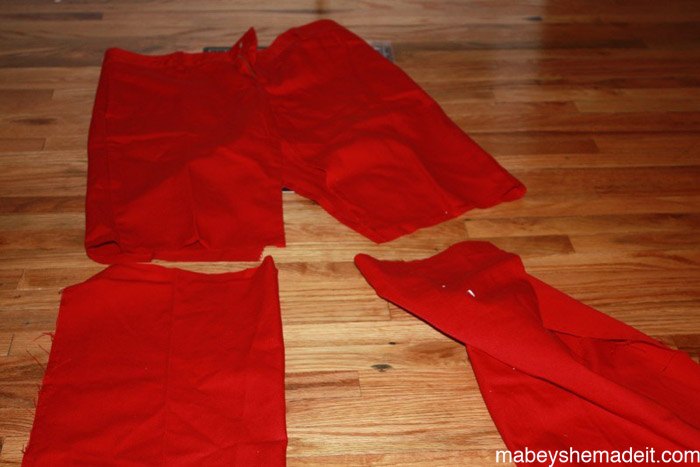
Start by ripping out all the inside leg seams and up the front and back seams (just below the zipper in the front and a couple inches from the waistband in the back) from a pair of pants that still fits somewhat. I like my skirts to sit low on my hips, so it’s okay if they’re a size or two bigger than you normally wear.
Next, decide how long you want your skirt and mark it (remember that you’ll need enough length to also create a panel of almost equal length, so keep this in mind). Now cut off both legs to the same length. Set the cut-off legs aside for the moment.
With the skirt turned inside out, pin the back of the skirt how you’d like it to fit, ignoring the curved pieces that would normally go between your legs (this is the trickiest part, I promise). Run a basting stitch along the newly created back, and try it on.
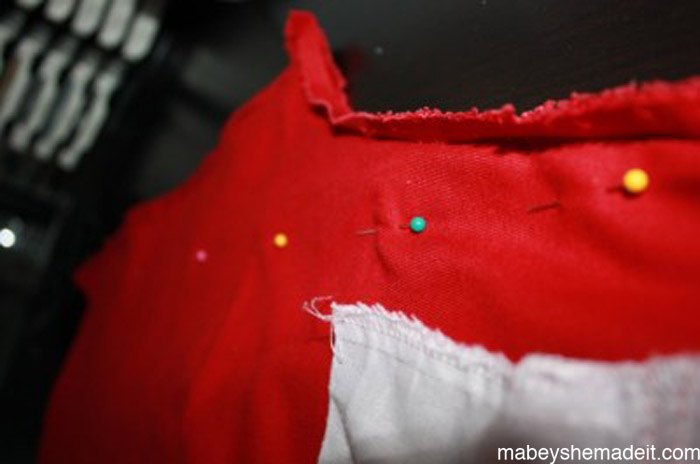
If you have puckers or don’t like it, the basting is easy to take out and try again. (I ended up letting my seam out a little after taking the photo–I didn’t want it to be that clingy.)
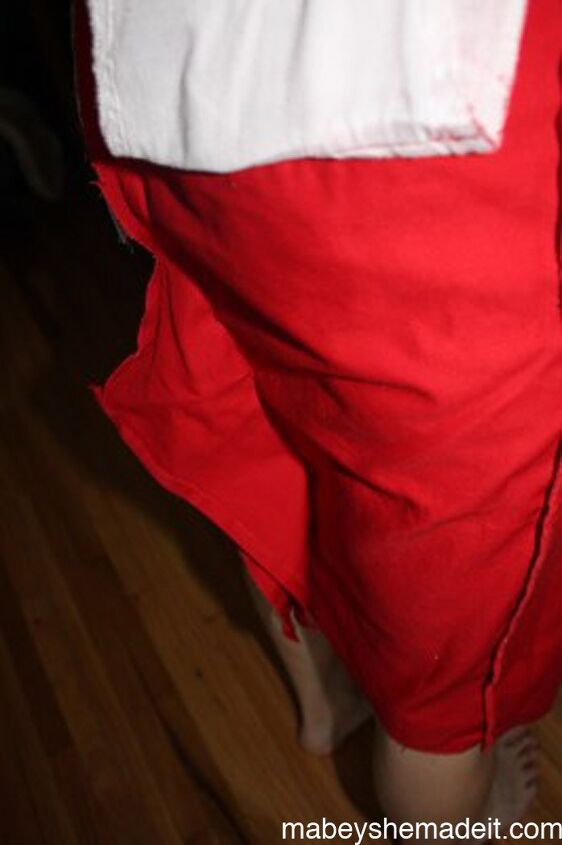
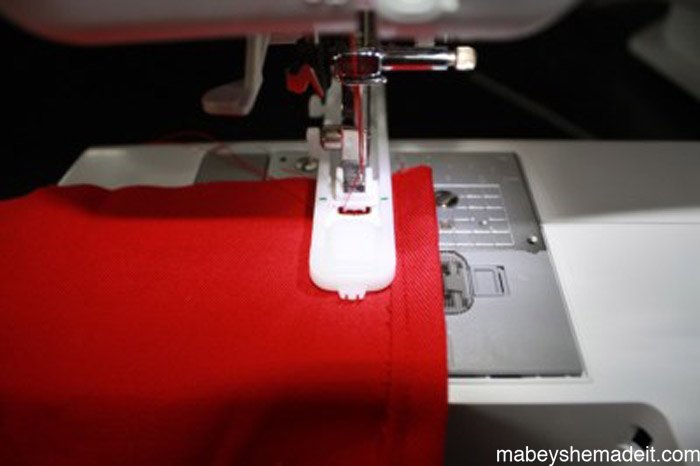
If you like the fit, you’re ready to sew the seam, following your basting stitches. Cut off the excess fabric, and zigzag or serge the edges so they don’t fray. The back is done!
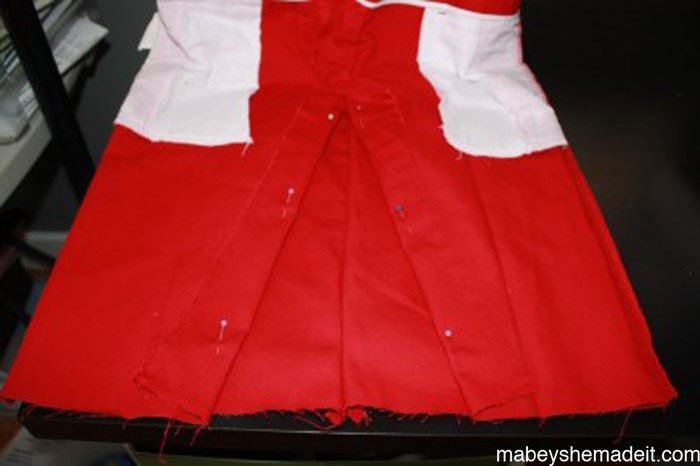
On to the front. I wanted to show off the panel, so I folded back the front inseams about 2-3 inches on both sides starting right below the zipper. I pinned these in place, and cut away the excess fabric. Then iron the sides down 1/4″ and then another 1/4″ so the raw edges aren’t showing, and sew down both sides.
Now for the panel. Take one of your cut-off pant legs, and hem all the way around it. You should be able to use the original hem on the bottom, which is nice. Now all you have to do is create two buttonholes–one on each of the top corners of your panel.
Sew buttons to the inside waistband of your skirt to correspond with the width of your panel.

Hem your skirt, and you’re ready to wear it! You could also create an additional (or reversible) panel to change things up. The panel is completely separate, so there’s really no limit to what you can do! You’ll love all the options with this pants to skirt refashion. Now you just have to decide which pants to skirt combination you want!

The author may collect a small share of sales from the links on this page.


Comments
Join the conversation