Check Out This Stunning Circle Skirt Tutorial

Looking for your next fashion DIY project? The search is over! Follow my simple step-by-step tutorial and learn how to make the most amazing circle skirt from scratch. This skirt is so much fun to make and the best part is, it can be done in just a few steps. You can choose any fabric you like to recreate this stunning piece and can style the skirt in so many different ways! Follow my guide and get started on creating this fashion-statement piece to add to your closet!!
Tools and materials:
- Fabric
- Measuring tape
- Tailor’s chalk
- Zipper
- Sewing machine
- Scissors
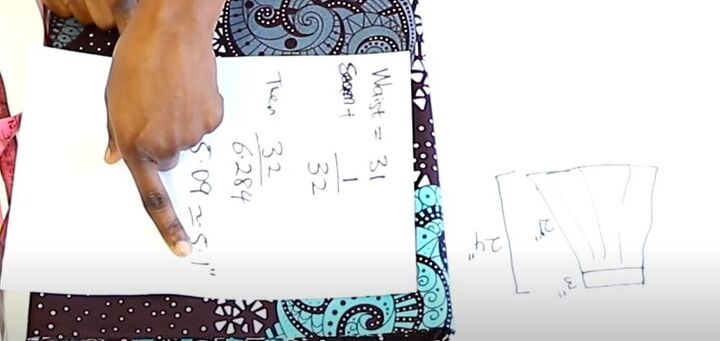
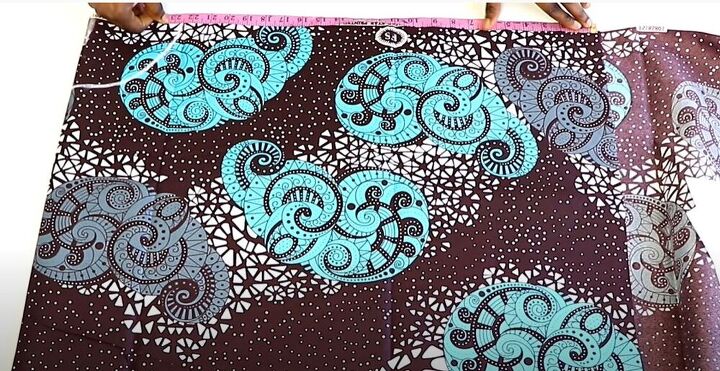
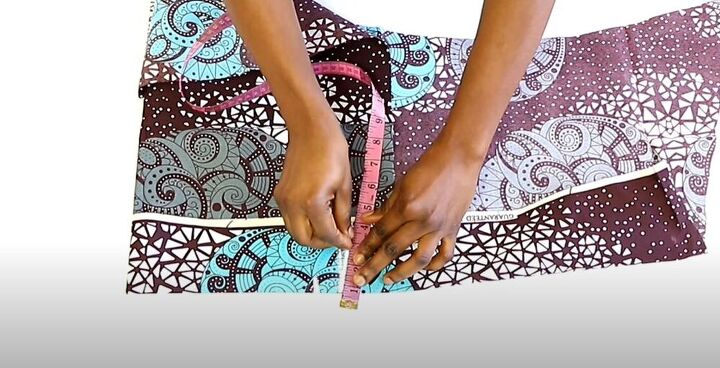
Before I could begin working on this amazing circle skirt, I had to do a bit of quick math to get the perfect measurements. For the length of my skirt, I decided on 24-inches which includes a 3-inch waistband. I measured my waist plus 1-inch for seam allowance. I then divided that number by 6.284 which is the standard when making a circle skirt. I added that result to the 21-inches of my skirt and worked out that I would add 1.5-inches to that for the diameter of the circle.
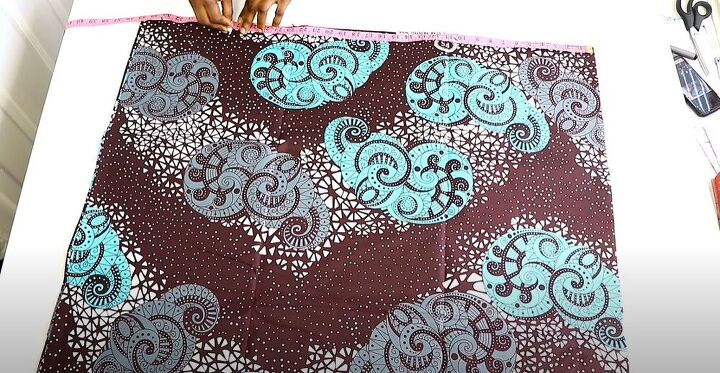
I laid down my fabric and measured the diameter measurement that I had just worked out. In my case, it was 27.6-inches so I used chalk to mark at that point.
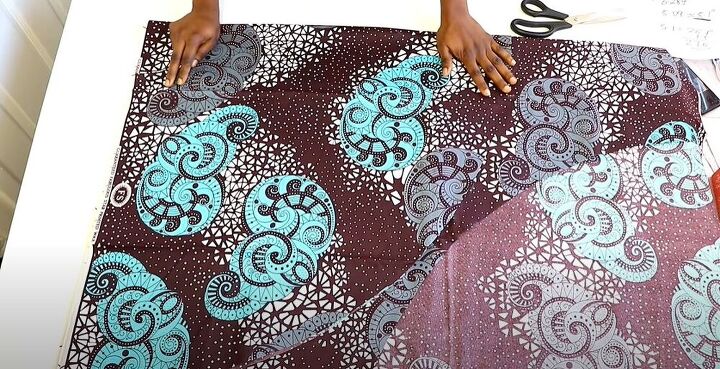
I laid out the fabric so that it would be 27.6-inches along the side with only 2 layers of fabric. I then used my measuring tape to, once again, measure 27.6-inches along the fold of the fabric.
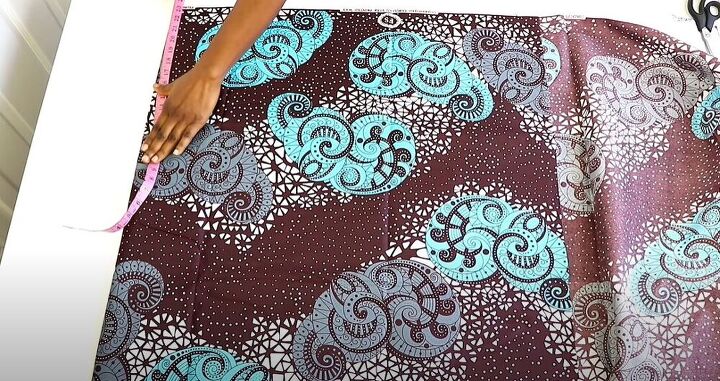
Next, it was time to mark the radius of the skirt. According to my earlier calculations I needed to mark 5.1-inches from the corner of the fabric. I marked this measurement from one edge of the fabric to the other.
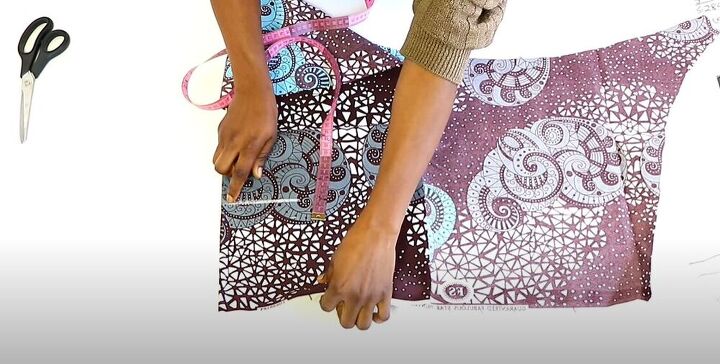
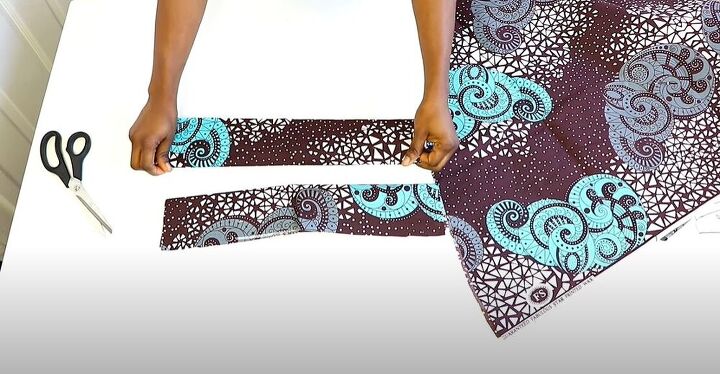
For the length of the stunning skirt, I measured another curve of 22.5-inches which is the length plus the seam allowance.
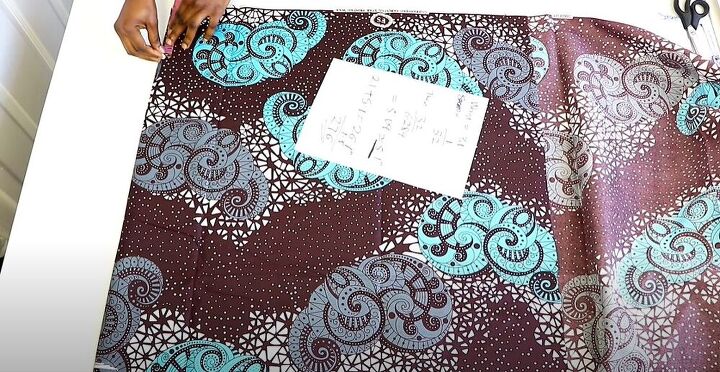
I cut out the fabric and then placed it on the leftover fabric on the other side so that I could use it as a pattern to cut the same piece.

Using scissors, I cut small notches in the corner of the fabric on the fold to mark the center front and back of the new skirt.
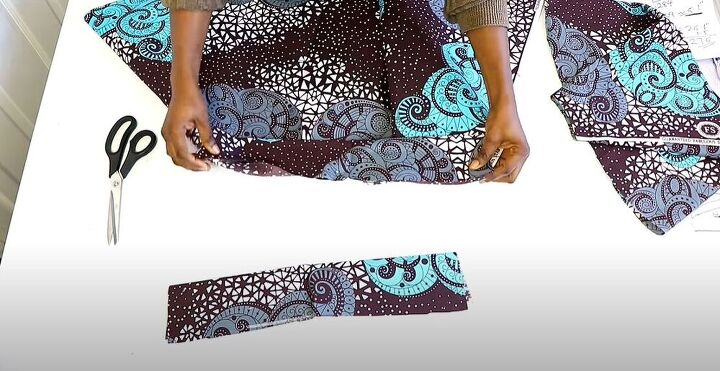
For the stunning waistband of the skirt, I made sure to measure 6-inches and 1-inch for seam allowance so that I could cut the front and back piece for the waistband, on the fold of the fabric.
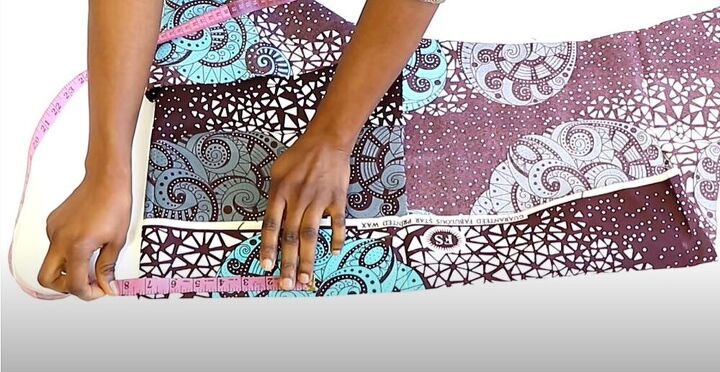
Next, I folded my fabric from the top to reach the 7-inch marking and then I measured and marked my waist measurement divided by 4.
I added a little less than half an inch for seam allowance and drew the line for the seam allowance at a diagonal slant to the bottom of the fold. This will ensure the fabric stays in the right shape.
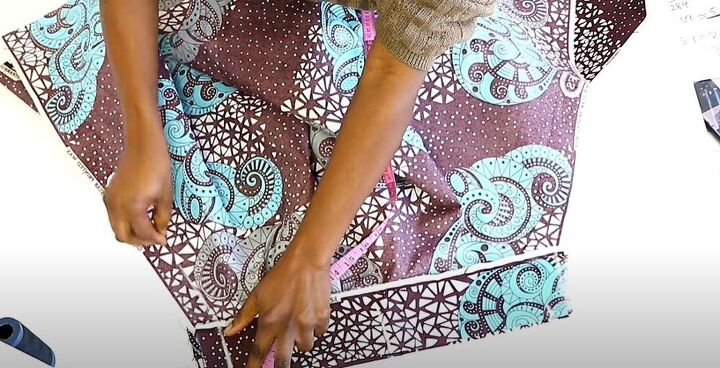
I made sure I had a piece for the front and for the back and then I folded each piece, lengthwise.
I notched the center of the band and then lined it up with the notch I had made in the center of the skirt. I then sewed the front band onto the skirt. I repeated the same for the back of the skirt. I loved seeing this circle skirt come together!
I placed my two pieces, right sides together and I measured 7.5-inches from the center. I marked all the way along the skirt and sewed along my marking. I marked 7-inches from the waistband on the other side of the skirt and sewed from that marking down so that there would be a gap remaining.
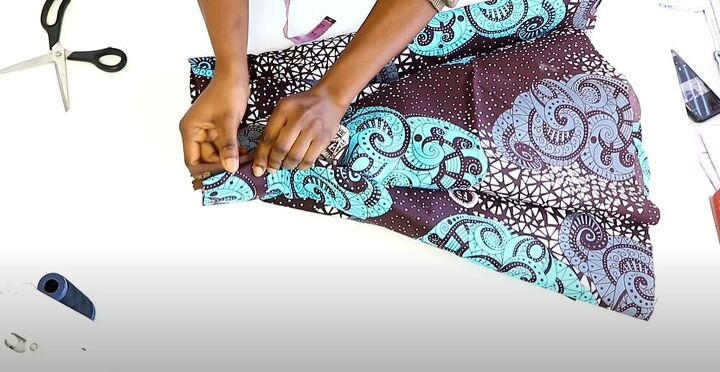
All that was left to do was attach the zip and hem the bottom of the skirt to give it the perfect finish!
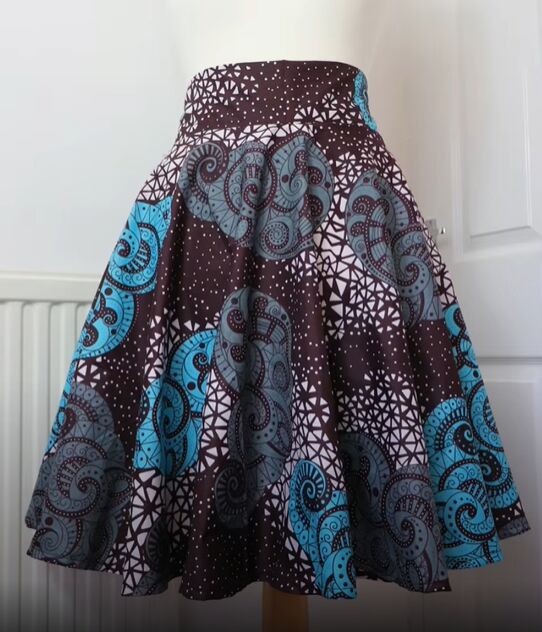
This circle skirt is just stunning! What fabric design would you use to make it? Let me know in the comments below!
The author may collect a small share of sales from the links on this page.


Comments
Join the conversation