Classic Tulle Skirt Easy Tutorial
A tulle skirt is glamorous, feminine and elevates your outfit effortlessly. I mean, who can dislike it? But that doesn’t mean we should all like the same style.
I’ve been wanting a tulle skirt for years, but I couldn’t find a style that I liked. I wanted something more discreet and soft, instead of fluffy and jazzy. Because of this, I decided to make my own skirt. This way I could make exactly what I wanted instead of waiting for the day when I finally found the skirt of my dreams, because let’s face it, maybe that day would never come.
I honestly ended up loving the result and I think it is the perfect skirt for the holiday season. Besides making me feel like a princess, it really has people asking me where did I get it? I can proudly say I made it! Yay!

This tutorial will help you achieve a classic, timeless skirt. However, you can adapt it to what you’re looking for.
If you want lots of volume in your skirt, just add more fabric, it is that simple!
what do I need?
♡ 2 yards (it can be more or less depending on how fluffy you want your skirt to be).
♡ Thread to match your fabric.
♡ Hook snaps or open ring snaps.
♡ Scissors or a roller cutter. (the tulle doesn’t need a hem, so the cuts have to be as straight as possible).
♡ Lining for your skirt.
♡ A piece of fabric for the waistband (Try to use a thick fabric).
♡ Sewing machine or needle.
♡ Tape measure.
let’s start!
step 1: measure the length of your skirt.
You can measure from your waist to where you want your skirt to end. In my case, I wanted it to be a little below my knees. Write that number somewhere.

step 2: the waistband
Measure your waist and add 3 inches to that measure. Then, make a rectangle of 4 inches X your waist contour + 3 inches.
Cut the rectangle from the fabric you chose for your waistband.

step 3: the skirt
Depending on how fluffy and voluminous you want your skirt to be, take again your waist measure and add more inches to yours. Keep in mind you can even add more volume by adding more coats of fabric.
For a standard fluffy skirt, add twice your waist measure. You can add less or more depending on what you want. I added twice my waist measurement for mine.
2 times your waist measurement x length of your skirt + 2 inches
Cut one rectangle of tulle fabric and another one of lining.
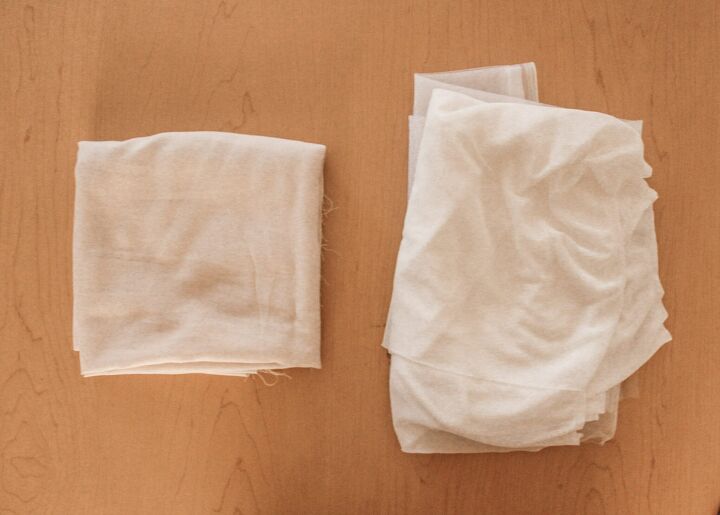
Now, to add more volume, you can cut add as many rectangles as you want. I didn’t want a lot, so I just cut 1 of the tulle fabric and another one of my lining.
Let’s start sewing!
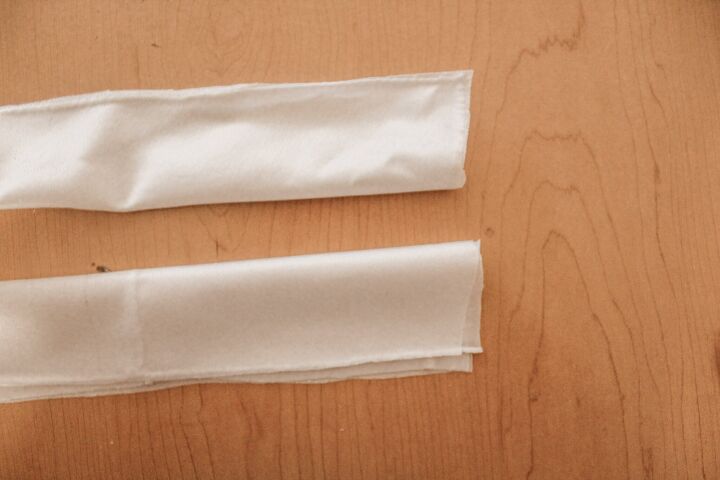
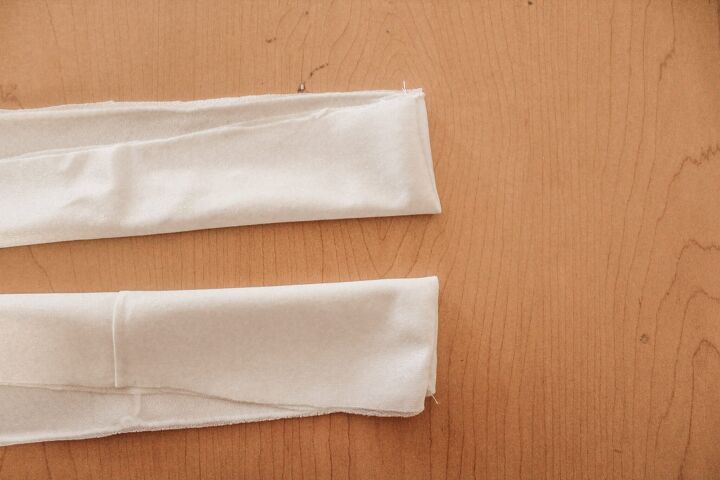
step 1: the waistband
Fold it in half and sew the edges together with the right side of the fabric on the inside. Leave the rest of the waistband open and turn it over.
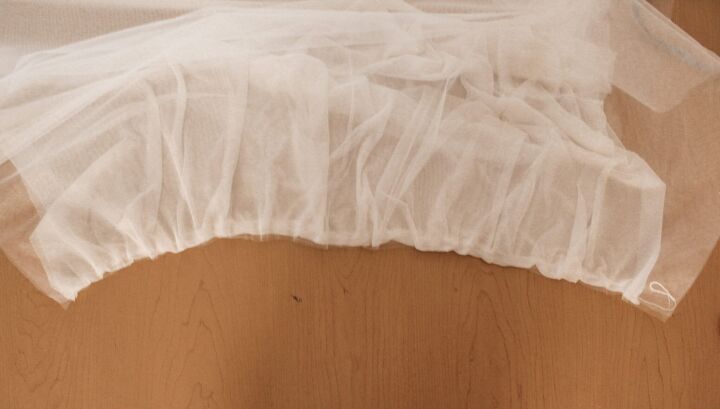
step 2: gather the fabric
Take your needle and give long stitches to one of the edges of your fabric (on the wide side, not on your skirt length). To make this faster, you can do this with all your fabric rectangles at the same time. This way, you make sure they won’t move once you start sewing.
Remember to keep your lining in the bottom.
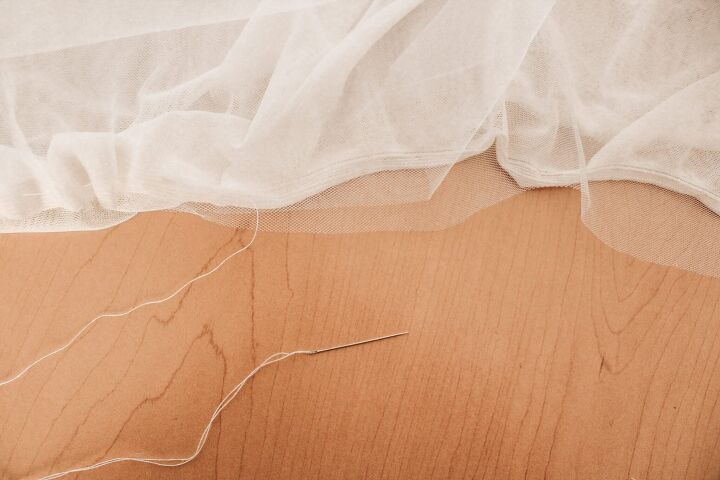
When you’re done, pull the thread and make a knot when it measures the same as your waistband. They should fit inside your waistand.
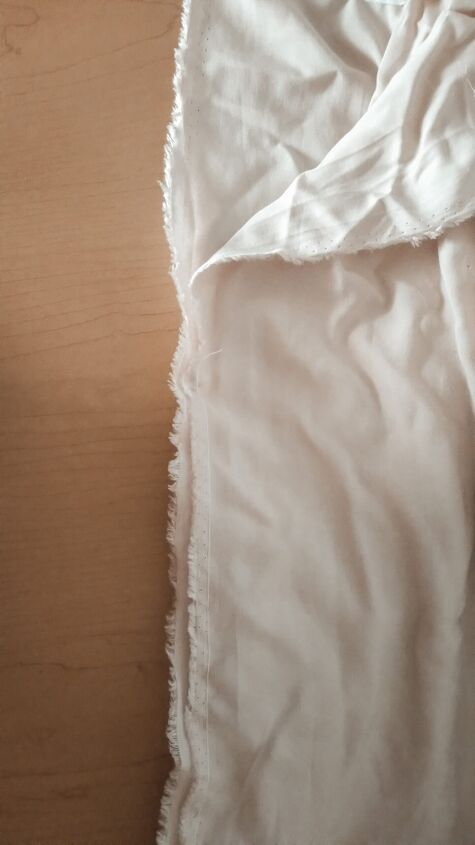
step 3: the lining
Take your lining and make a hem on the other edge where you didn’t gather the fabric.
Sew the sides of your lining together, leaving 6 inches open.
step 4: building the skirt
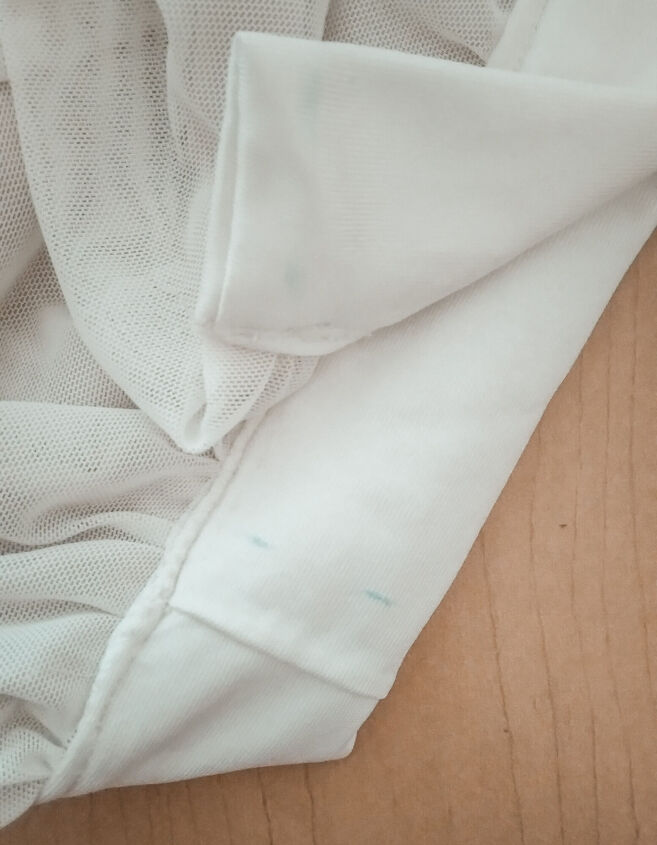
Turn your waistband around and place all your coats inside it. Put your lining on the bottom and pin everything together making sure it won’t move.
Fold 1/2 inch to the inside of your waistband as I did here. Make sure to wrap all the rectangles.
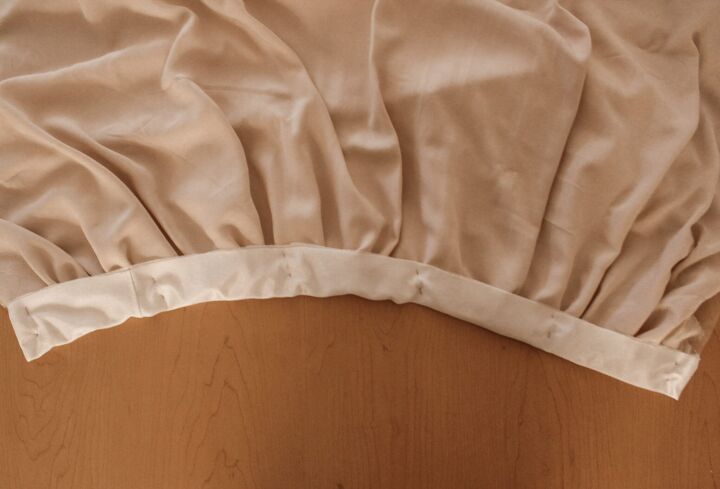
Sew in a straight line everything together.
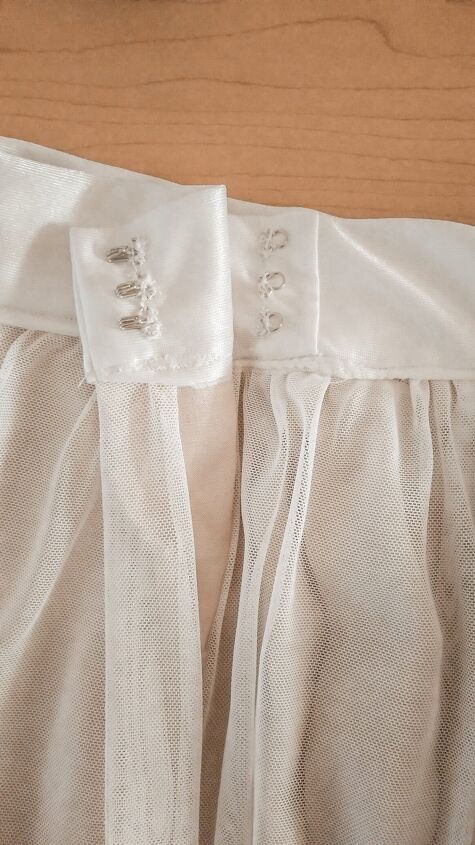
step 5: hook snaps
With a needle and some thread, place two hook snaps in one edge of your waistband.
If you’re using open ring snaps, follow this tutorial.
Both are great options and look good, but the best option for you depends on what you’re looking for. Hook snaps take more time to sew but are invisible on the right side of the fabric. On the other side, open ring snaps can be seen on the right side of the fabric, but are more durable and faster to insert.
Try your skirt on and see where your waistband edges meet each other and trace a mark. There should be some leftover fabric, which is okay, this will help us cover the gap, as our skirt won’t have a zipper.
Make sure to trace the mark in the bottom edge, and right there sew the hook or the open ring snaps. In my case, I chose hook snaps ad I already had them. (I actually failed by sewing them on the wrong side, so if you’re using hook snaps, sew them with the hook facing the inside of the skirt.)
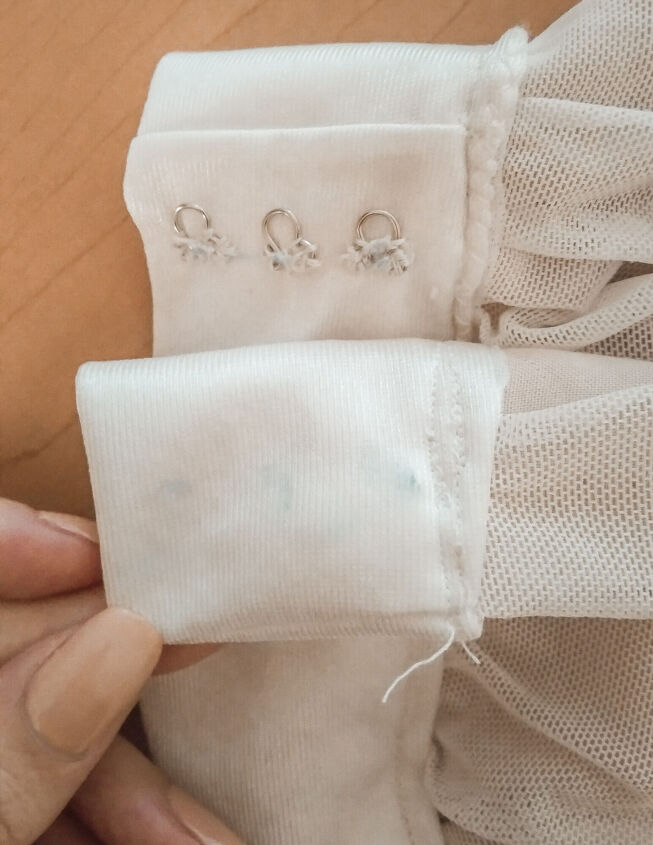
Finally, where you traced your marks, place the other hook snaps and you’re done!
What do you think? It was quite easy, right? It just took a little time to make the gathering, but besides that, it was almost effortless.
You can wear this to a special event with high-heels and a nice top, or you can casually wear it with a t-shirt and your favorite shoes!
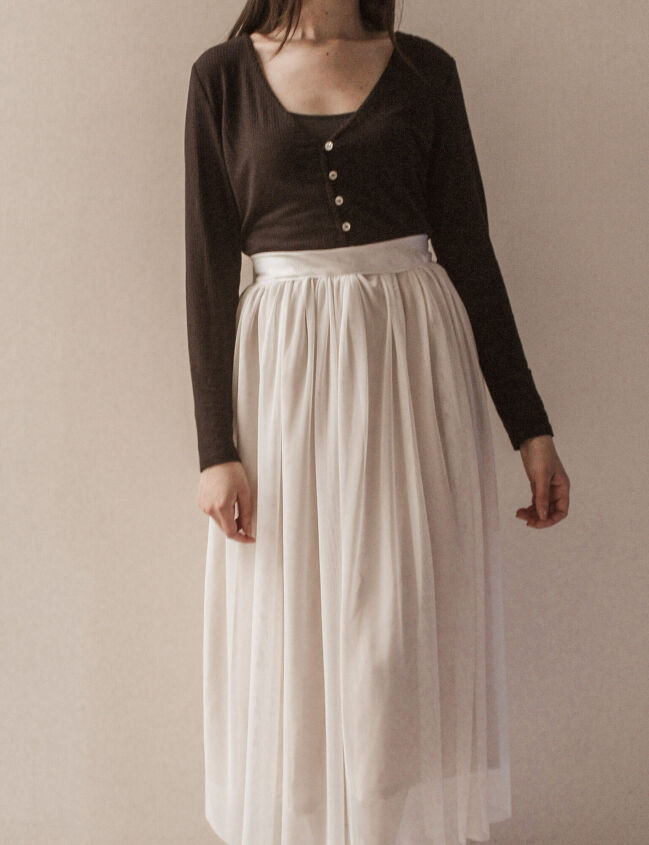

Enjoy your new skirt and don’t forget to say “I made it!”
All the love,Lucy♡
The author may collect a small share of sales from the links on this page.


Comments
Join the conversation