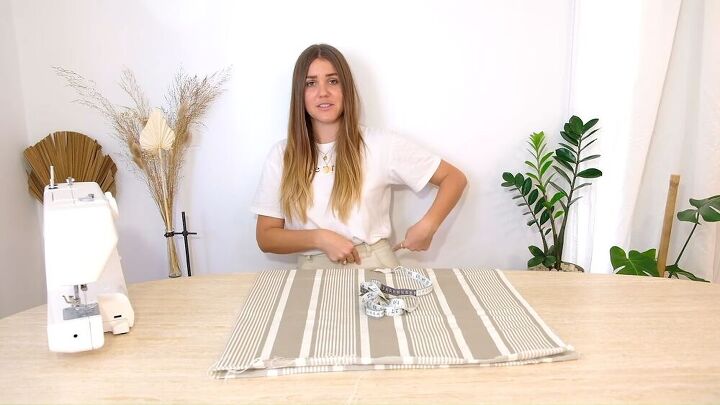
Make an Adorable DIY Button-Up Skirt With This Easy Tutorial

You know those super cute skirts with the buttons that go down the leg? I’ve been wanting one for a while. So I decided to take some fabric and make one from scratch, and to show you how to do it right along with me. You can choose any pattern you like (though I do recommend a thicker fabric), in any color you like, with any buttons you like. The style of the skirt is completely up to you! All you have to do is follow these simple steps and soon you’ll be rocking your very own button-up skirt.
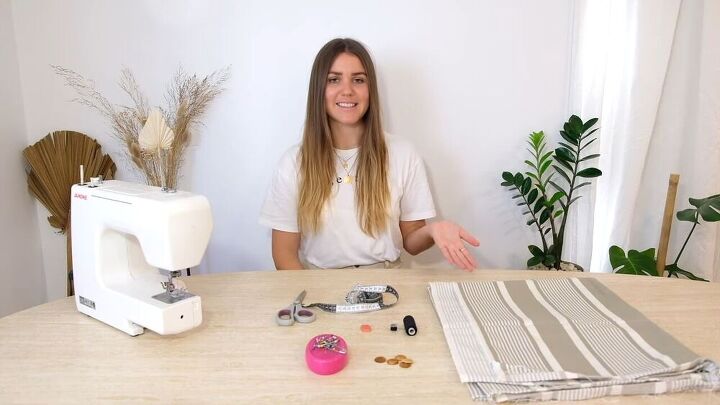
Tools and Materials:
- Fabric (something thicker like denim or a really thick cotton or linen)
- Buttons (at least five)
- Thread
- Fabric chalk
- Fabric measuring tape
- Sewing pins
- Fabric scissors
- Sewing machine
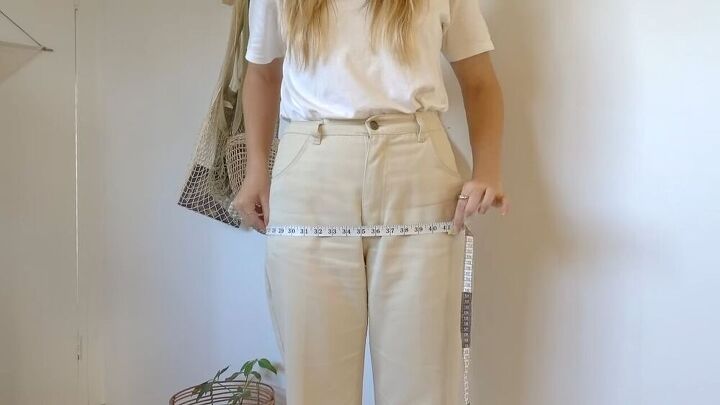
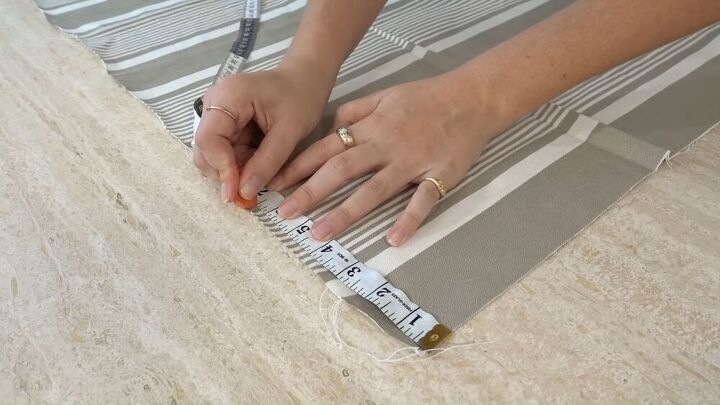
Measure around the lower part of your body at the widest point. For me that was my butt, which was 41”. Then add 8” which will give us a more comfortable fit as well as seam allowance. Then you’re going to measure the length you want the skirt to be. I chose to have my skirt be a midi length. Once you’ve determined that length, add 3” for seam allowance.
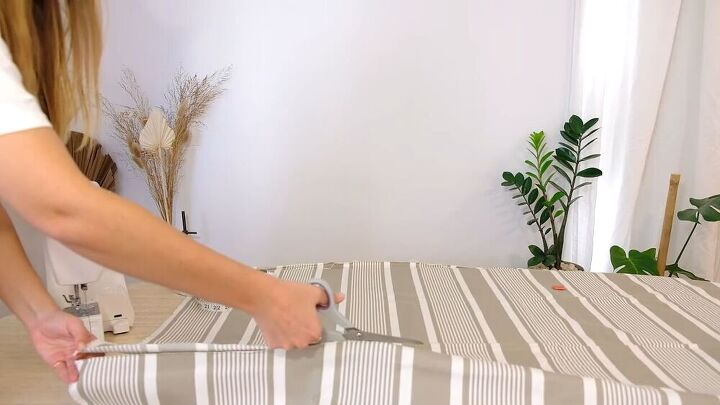
Mark the total width on your fabric. I knew I wanted the stripes to go vertically down my leg, so I marked my width across the stripes. So if the fabric you’re using has a pattern, be sure to consider that when choosing the direction you’ll be cutting in. Then mark the total of the length you chose.
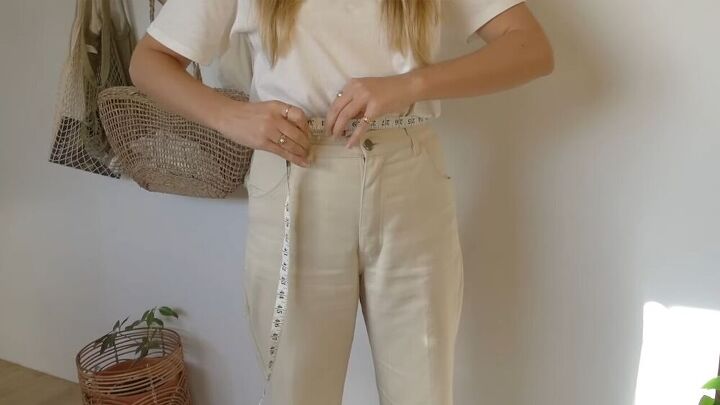
In order to make the skirt match up with your body’s silhouette, you need to add some darts. In order to do this you’re going to have to do a little math, but we’ll keep it as simple as possible! First, measure your waist, then subtract that from the butt measurement. My waist was 35”, which, subtracted from my butt measurement, leaves me at 10”. This means that I needed to hide 10” within my dart points. Then you’ll divide your number by 2, as there are two sides, and then you’ll divide that number by 2 again, since it goes on the folds. Here’s the equation:Widest point - waist length = XX / 2 + YY / 2 = dart measurementSo for me it’s 45 - 35 = 10 / 2 = 5 / 2 = 2.5.
Don’t hate me, but we’re not done with the math quite yet. Now you need to determine where you’ll be placing the darts, and that is dependent on the split of the skirt. I wanted the split of the skirt to be over my leg, which meant that the dart points wouldn’t be evenly distributed. This essentially means that I wanted ⅓ of the skirt to be over one side of my body, with the remaining ⅔ covering the rest of my body. So now you have to take the full width of your panel, divide it by 2, and then divide that number by 3. For me that was 38 / 2 = 19 / 3 = 6.3 (rounded up to 6.5).
The math is over, I promise! Now you’re going to mark your results. Go to the top of your fabric and place a mark at the measurement you figured out in the last equation. For me, that was 6.5”. Then from that point go to the measurement of your dart and mark it. Then measure the same amount from that point, and mark that as well. We now have three dots: the first dot indicates where you’ll start sewing, the second dot indicates where it’s going to be on the fold, and the third dot is the sewing line where it’ll meet the first dot. From the third dot you’ll measure out the halved width of your panel (19” for me) and mark that point. Then mark the two half darts from there.

Take your fabric and fold it, right sides facing each other, so that your middle marks are aligned. Then make sure your outer marks are aligned as well, and pin it in place. Now grab your measuring tape and figure out how far you want the dart to go down by measuring from your waist to your hip, and where you want the skirt to start going outwards again. So for me that was 7”, meaning that 7” from the top of the skirt is where I want it to start meeting the edge again. Then draw a line between both those marks, which will give you a diagonal line.
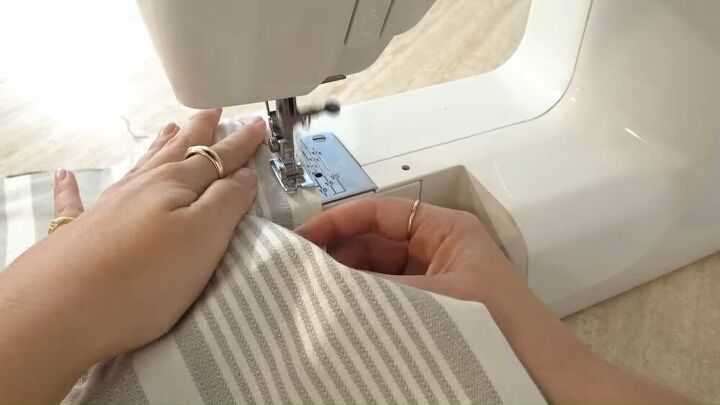
Now that you have all the measurements marked in place, it’s time to sew your darts. When sewing my darts, I like to continue the stitch all the way down the skirt and create a sort of side seam. This prevents the darts from sticking out.
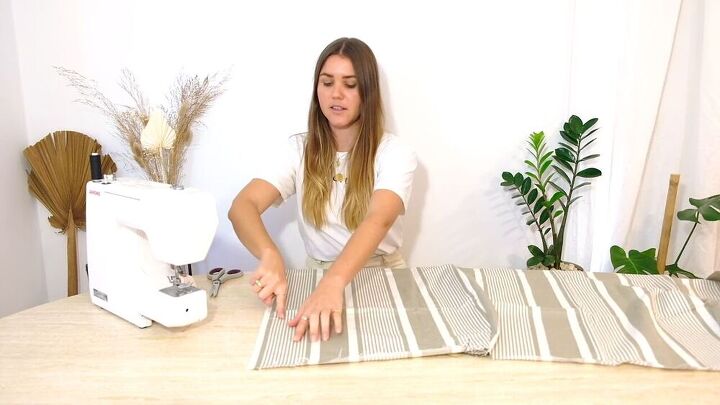
Try on the skirt and make sure you’re happy with the fit. When I tried mine on I noticed that there was a lot of overlap. So what I decided to do was to cut the shorter side straight and to cut the longer front side at an angle so that it splits out. This is also good to do if you want your leg to be more exposed. I measured 2” in from the top edge of the fabric, and marked it. Then I cut at an angle from that point down to the bottom.
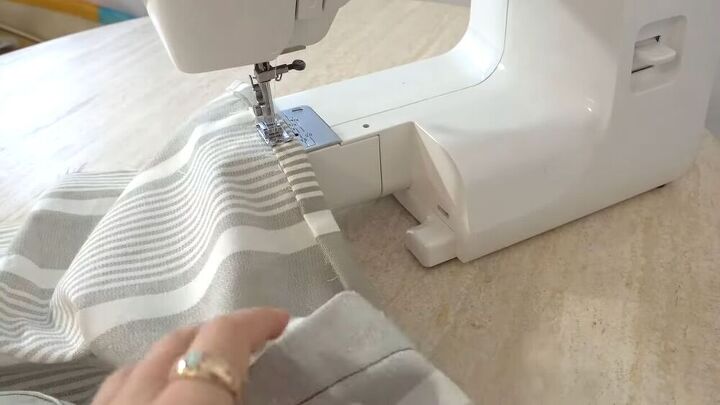
Double fold the edges of your skirt. This is a bit harder to do at the edge with the darts, so what I recommend doing for both the folding and the sewing is to start from the edge and work your way out. Since I had a lot of fabric in the part where it overlaps, I decided to have a large fold there, which also makes a beautiful setting for the buttons. I also left the bottom edge of the skirt unhemmed for that raw/frayed look, but if I don’t like it after wearing it a few times I can always go back and easily hem it. As for the dart points, I like to hide them in the top hem, but if you feel like it’s bulging too much you can always cut them off. Just make sure to do a zigzag stitch there after you do to keep it from fraying.
Wrap your skirt around you again and pull it tight to get the fit you want. Put a pin to secure it closed, but make sure it’s on the bottom part of the fabric so that you can easily remove the skirt without losing your pin. Then continue down and decide where you want the leg split to happen (mid-thigh for me) and place a pin there as well. Once you’ve pinned both those points place more pins between them.
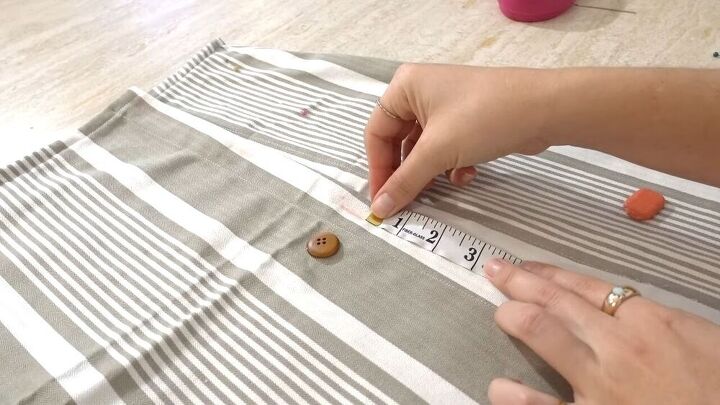
Take the skirt and lay it overlapped on your work surface and mark where you want the buttons to go. The first one should go at that very top where that first pin is. Buttons go on the bottom layer and buttonholes go on the top. So place your button at the first location and make a dot at the very top of it, and another one at the bottom. Then move your button and draw a line connecting the two points. Now decide how far you want your buttons to be placed from each other, and mark the button the same way at each point. It depends on the look you’re going for, but I chose for them to be 3” apart.
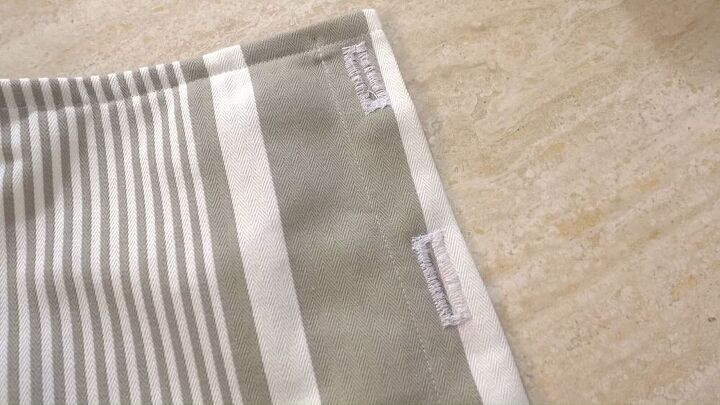
Now it’s time to sew your buttonholes. If you have a buttonhole foot go ahead and use that, but I’m going to explain how I make buttonholes with a regular foot. First, switch your machine to the zigzag setting and set your length to the shortest option. Then sew a zigzag above the line, a zigzag down the side of the line, another one on the bottom, and again on the other side. You’ll be left with a thin rectangle that you’ll use as your buttonhole. Then use scissors to cut open a slit inside your rectangles. Be careful not to cut the stitching, but if you do, you can just go back and add another zigzag stitch.
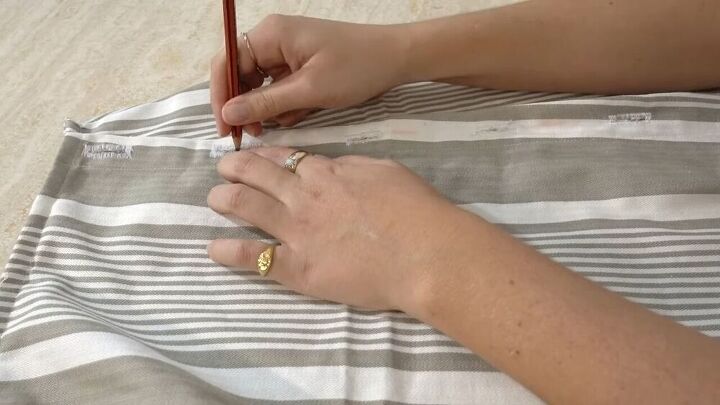
Once your buttonholes are complete, lie the skirt down and overlap it, aligning the buttonholes with your pins from earlier. Then take a pencil or other fabric marker and stick it through the buttonholes to mark the location of the buttons. Then thread a needle and hand-sew the buttons in place. I do this by coming up from the bottom and sewing it in an X pattern, but you can sew it in any way you want, as long as it’s secure. Pull the button and make sure it doesn’t come off, then cut off the thread and tie it underneath.
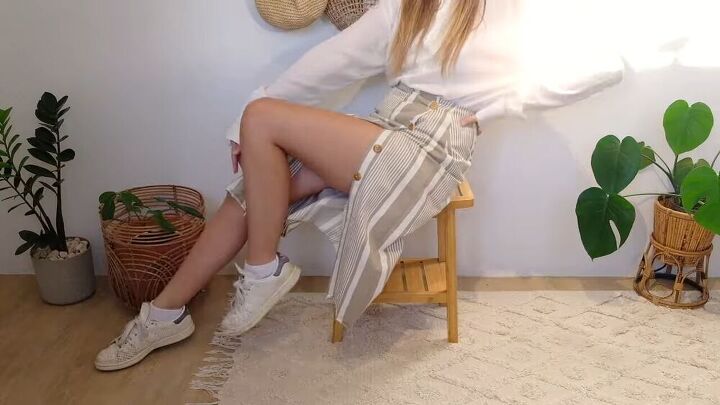
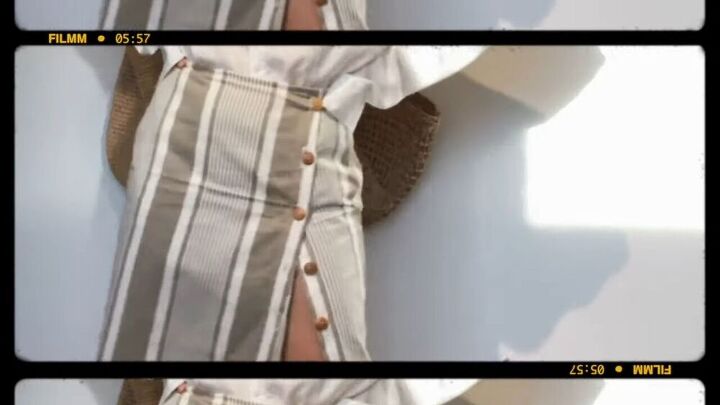
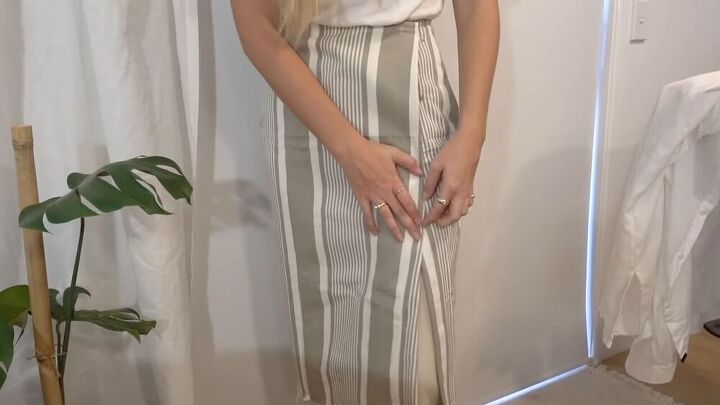
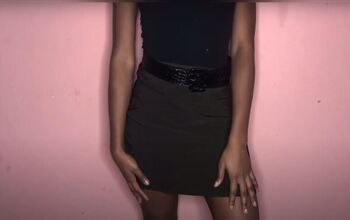
And there you have it! Your very own DIY button-up skirt. I love how this came out! Like I said, I’ve been wanting something like this for a while so it’s really cool that not only do I have one now, but that I made it myself, and completely from scratch. Again, you can totally customize this to your tastes and style. Choose your fabrics, your buttons, your length, all of it. I would really love to see how your versions turn out so please show me in the comments if you try this project!
The author may collect a small share of sales from the links on this page.


Comments
Join the conversation
I suggest wearing some leggings underneath, to make the whole thing POP, I like it clevvveeeeerrrrr!!
Nice !!!