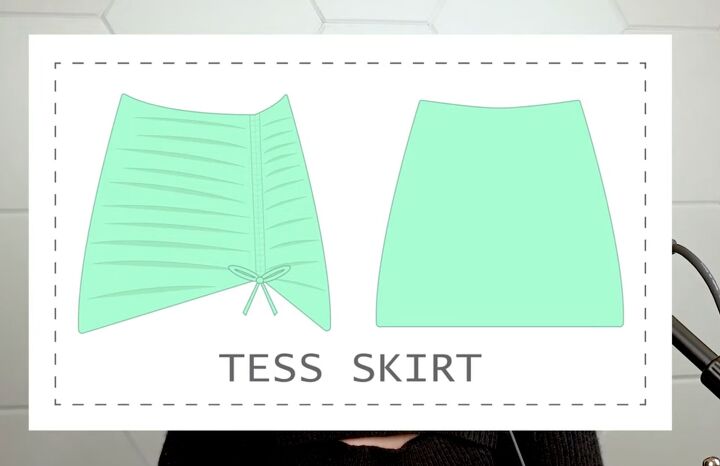
DIY Drawstring Skirt Tutorial: How to Make the Perfect Beach Cover-Up

This DIY drawstring skirt is a perfect coverup for any swimsuit! This adorable drawstring skirt sewing pattern is very easy to make and has only 6 seams total.
You don’t need swimwear elastic but you will need swimwear fabric. The amount varies by the size of the pattern. It’s just one layer, so it's perfect for lazy lounging by the pool or beach, keeping you covered but cool.
Here’s how to make a drawstring skirt at home!
Tools and materials:
- Tess drawstring skirt pattern
- Fabric - up to a full yard depending on the size
- Sewing machine
- Loop turner (you can use a safety pin but you’ll find a loop turner much more helpful)
- Scissors
- Rotary cutter (optional but great)
- Pins
- Serger (optional)
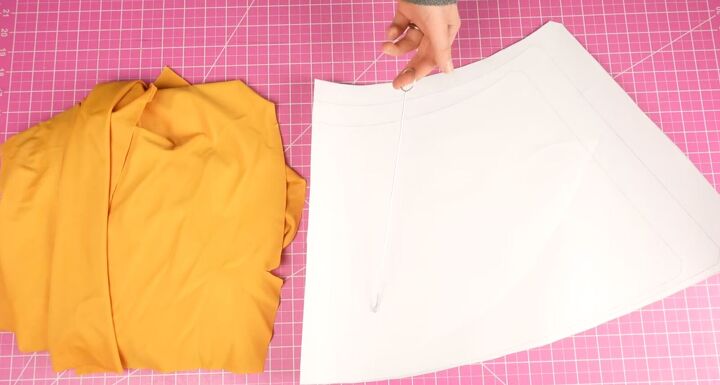
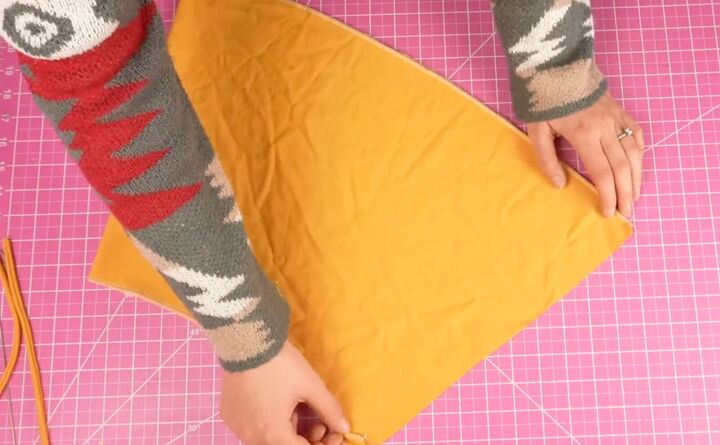
1. Prepare the fabric
Print the pattern. Lay the fabric flat. Then fold it so the right sides are together. Lay the pattern on top of the fabric, lining up the pattern with the folded edge. Folding the fabric means you’ll cut once, but get two pieces at the same time!
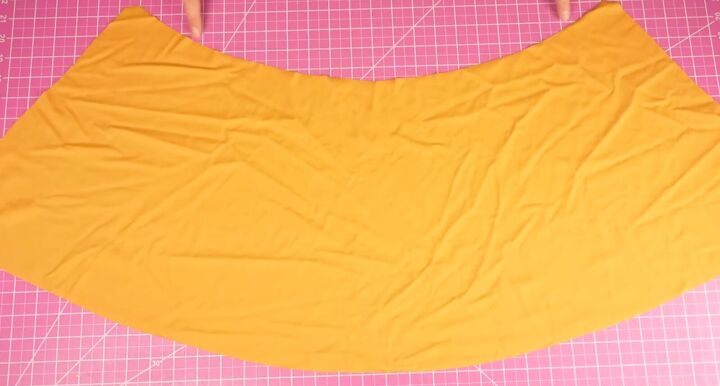
2. Cut the skirt
Cut the fabric using your cutting tool (scissors or rotary cutter) except on the folded edge. You’ll have a nice symmetrical piece.
Follow the pattern instructions for making the strap and cut out the strap from the fabric.
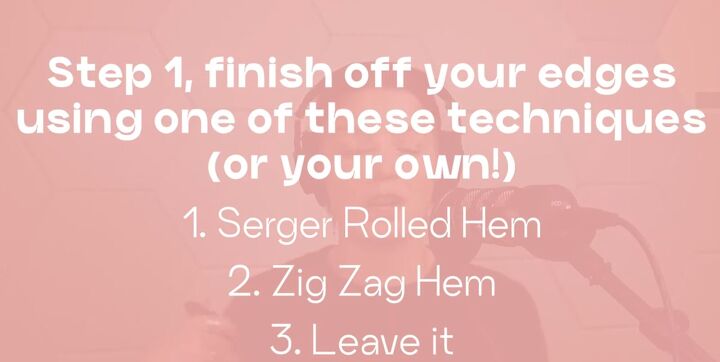
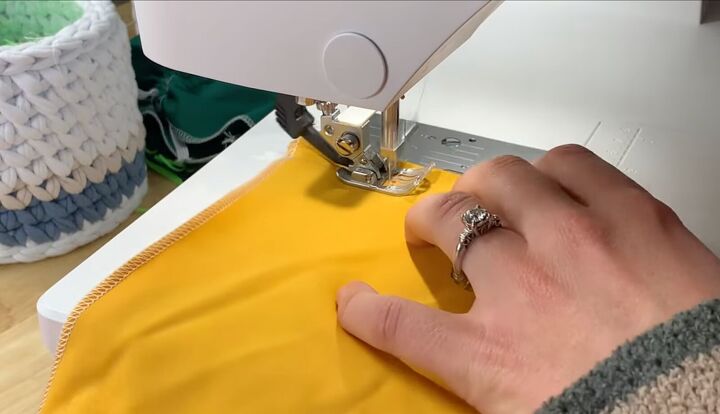
3. Finish the raw edges of the skirt
If you’ve sewn before, you may wonder why this step is now. It’s quite unusual to finish the edges at this point.
You won’t be able to finish the edges once it’s sewn so this step is done before any sewing takes place. You have 3 choices on how to finish the raw edges of the waistline and the hemline.
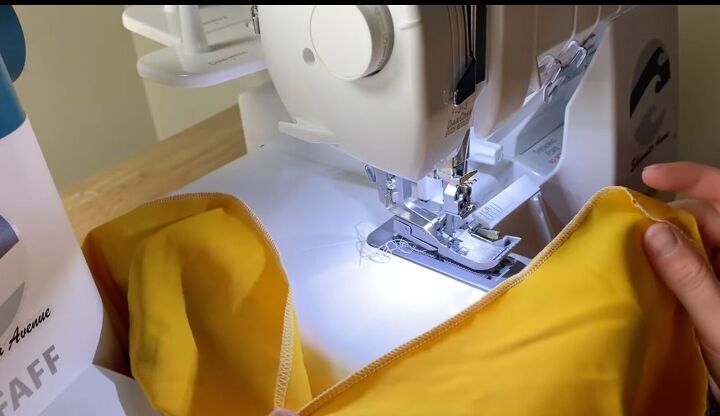
Serger rolled hem
If you have a serger, serge the raw edges using a 3-thread overlock stitch or do a rolled hem. Sew right at the top of the raw edges. Matching thread will help give a fine, finished look.
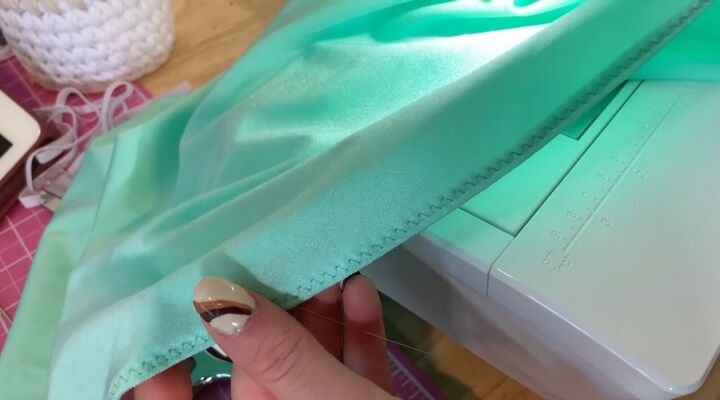
Zigzag hem
Do a zigzag stitch on an actual hem. Fold the fabric over once from the right side to the wrong side. Use a zigzag stitch or a standard stitch right at the edge.
If it bubbles out, sew a bit away from the edge. There is no seam allowance on the top or the bottom. This gives a clean and professional finish.
Leave it
Do nothing. Swimwear fabric doesn’t fray, so you just could leave it as is and it will be fine. Make sure all the cut edges are smooth. It is not the most professional, but it does work!
4. Sew the skirt together
Once the waist and hemline are finished (or not - your choice) match the skirt’s right sides together.
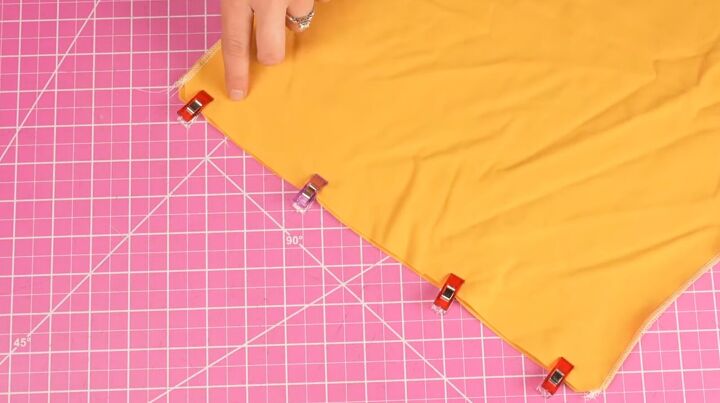
Align the side seam and clip in place.
Sew the seam using a straight stitch with a ½-inch seam allowance on either side.
You just have a few seams left to sew! Two of those seams are to sew down the seam allowance, creating 2 channels to feed the strap through.
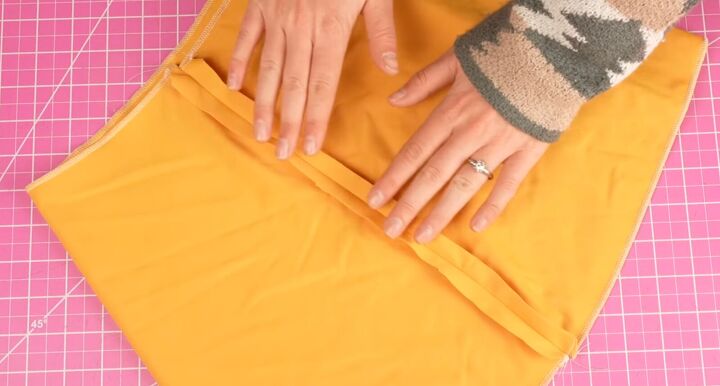
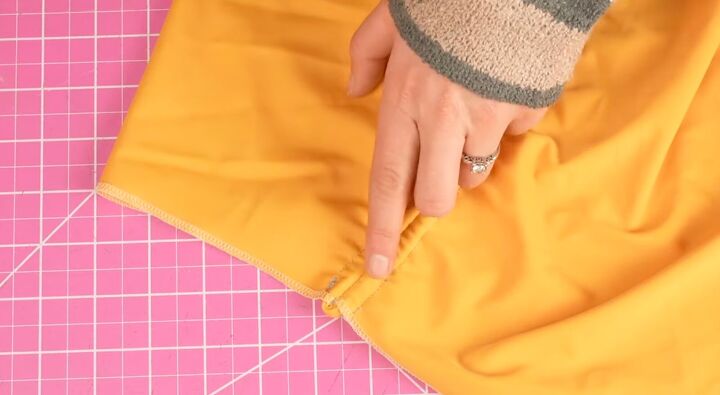
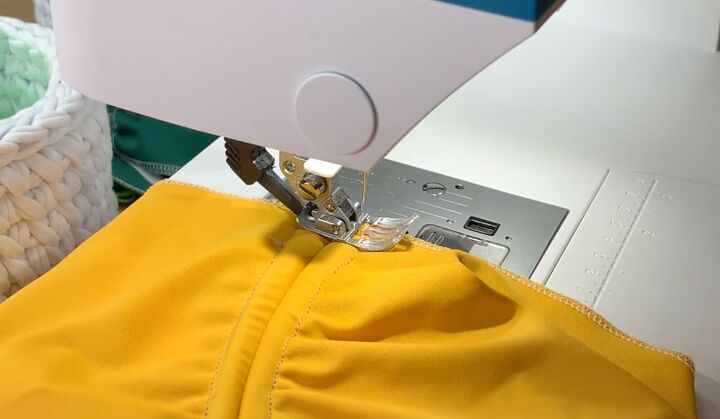
5. Sew the drawstring channels
Sew down the seam allowances with a straight stitch as close to the edge as possible.
We recommend sewing in about ¼ of an inch. The goal is to sew as straight as possible, creating 2 tubes or channels on either side of the seam.
Make sure to keep the channels open on the top and bottom.
Be careful when sewing this down and not sew these seams to the back of the skirt!

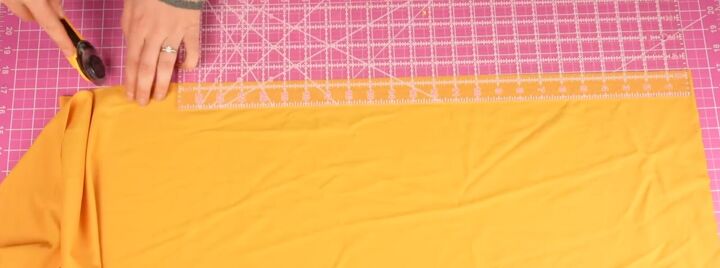
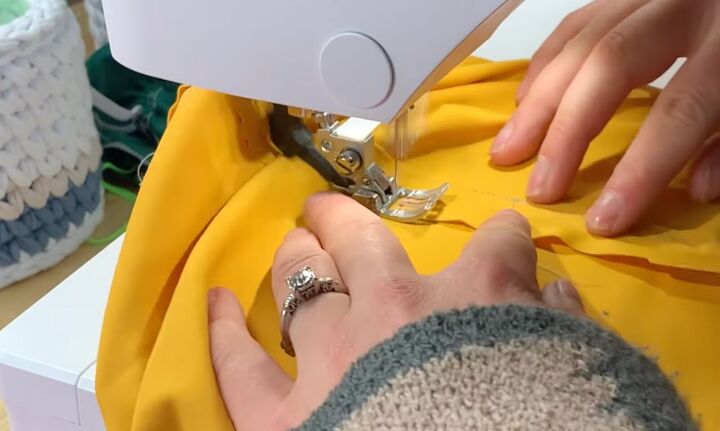
6. Sew the drawstring
Fold the drawstring in half lengthwise, right sides inside. Sew along the raw edge, keeping one of the short ends unsewn.
7. Install the drawstring
Use the loop turner in the open end of the newly-sewn drawstring to turn it out so the right side is facing you.
Feed the drawstring up one channel, looping at the top and feeding it through the second channel. Use the loop turner to make this much faster!
The ends of the drawstring should both be at the bottom.
Here’s an optional step. Cut the drawstring loop at the top. Then sew the ends of each drawstring to the skirt itself. This keeps the drawstring securely in place.
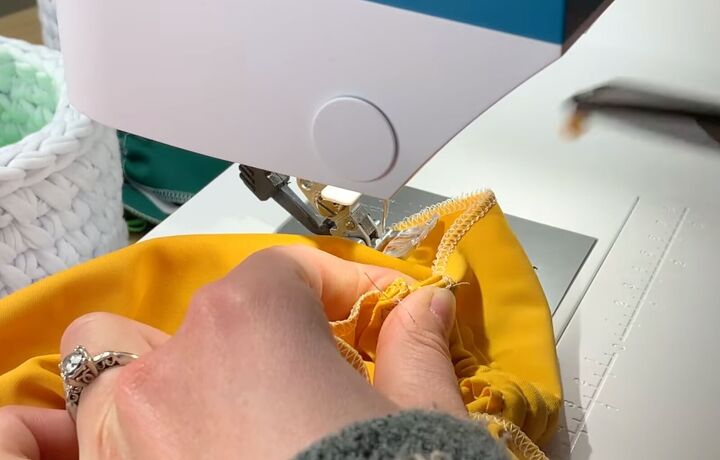
Trim the excess at the bottom to leave a nice clean look.
This step helps to mitigate the drawstring pulling down at the top and prevents the strings from twisting.
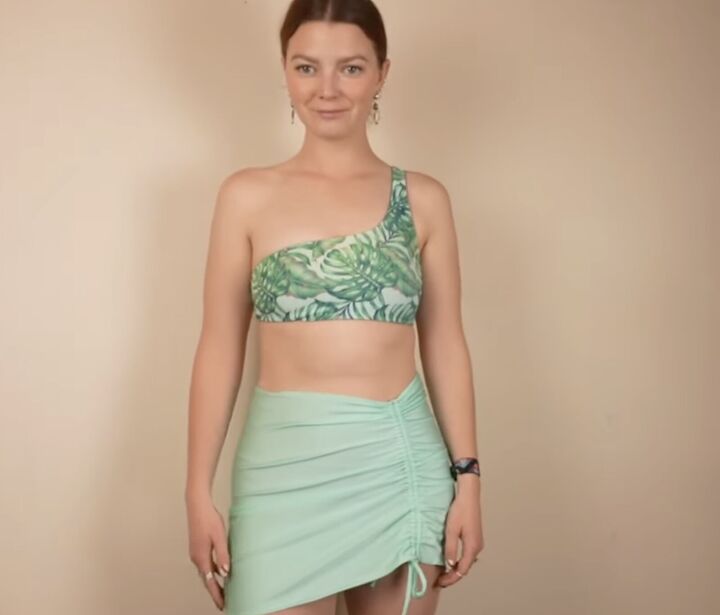
Here is the finished product in two different colors and lengths.
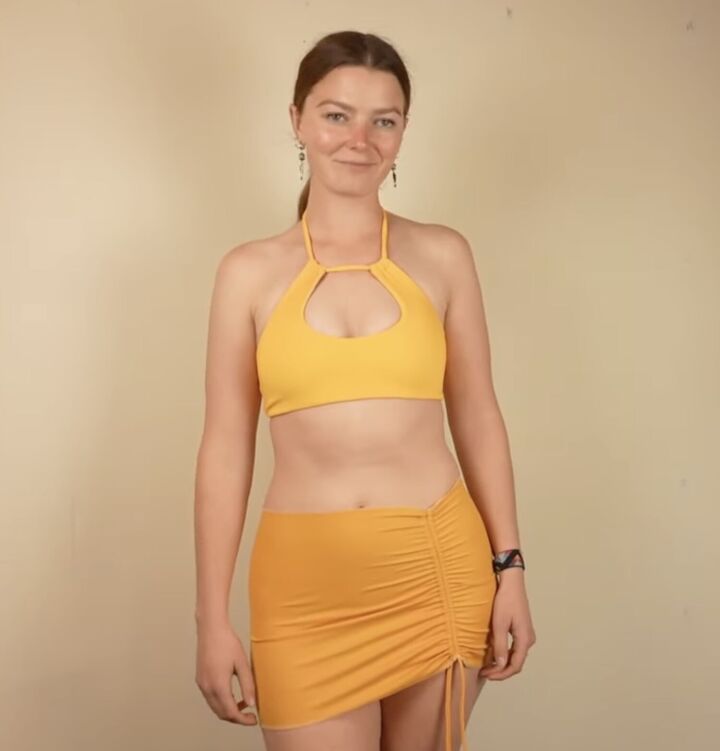
DIY drawstring skirt tutorial
If you have any more questions, refer to the written guide that comes with the pattern. Please comment below on what you love about this DIY drawstring skirt sewing pattern. I love hearing from you!
The author may collect a small share of sales from the links on this page.


Comments
Join the conversation