DIY Bow Back Pencil Skirt
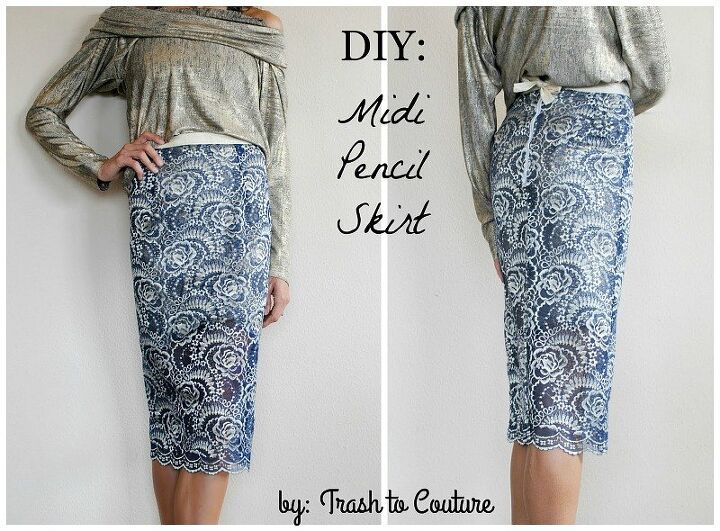
This Telio Kala Lace Navy/Gold ticked off all the boxes I wanted when looking for fabric to make this skirt. I wanted something navy with a hint of metallics and the lace was a bonus. Midi skirts are one of the top trends this season and it's nice to finally not feel like you have to freeze in a barely there mini come New Years. In the words of Chanel, "a perfect skirt must cover the knees."
Try out this tutorial below to create your own Midi Pencil skirt below.
The top is a DIY I made here
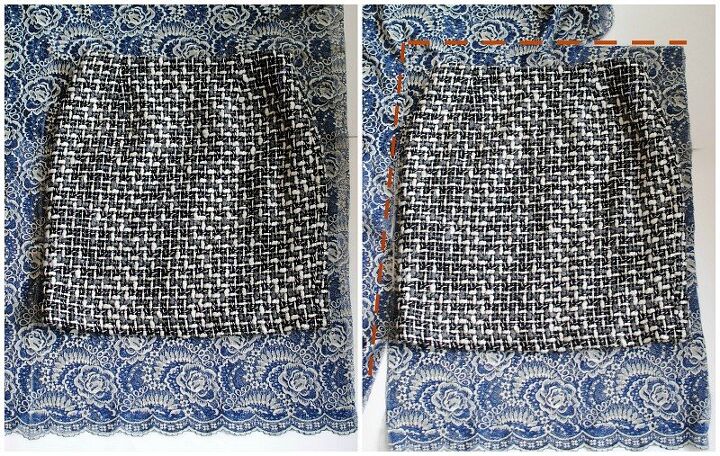
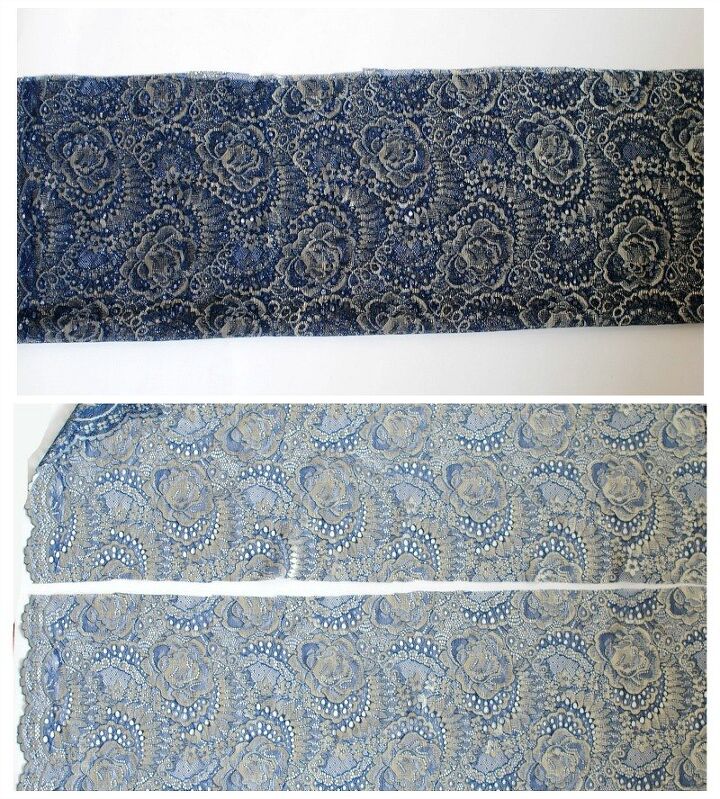
Begin by folding the fabric in half and then trace a pattern of a skirt that fits you. Also determine the length you want. I wanted a midi so it will be longer then my pattern.
Cut about 1/2 inch away from the edge of the pattern through both layer to create 2 pieces.
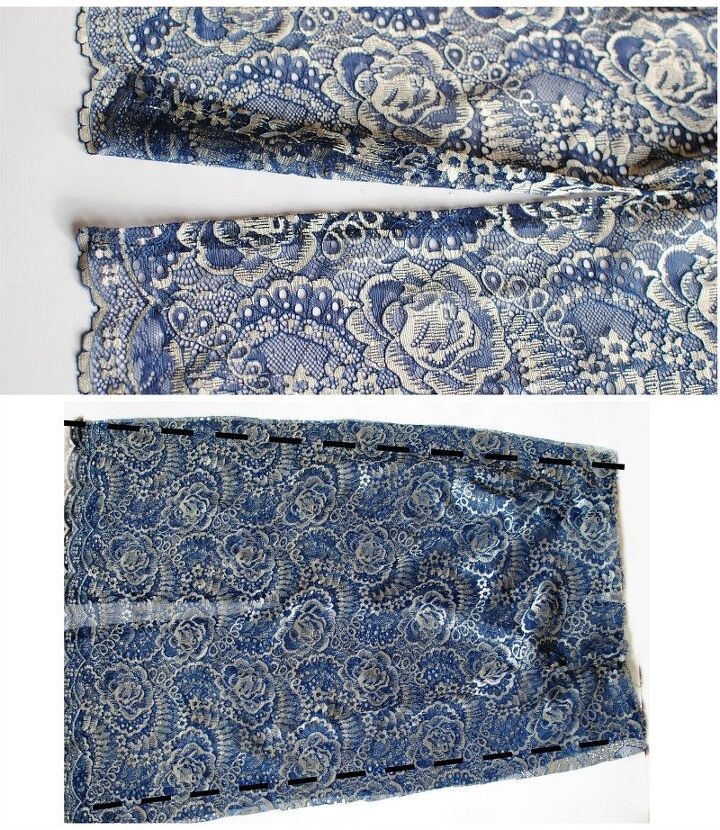
Fold one of the pieces in half, press, and cut evenly.
You will now have 2 pieces for the back.
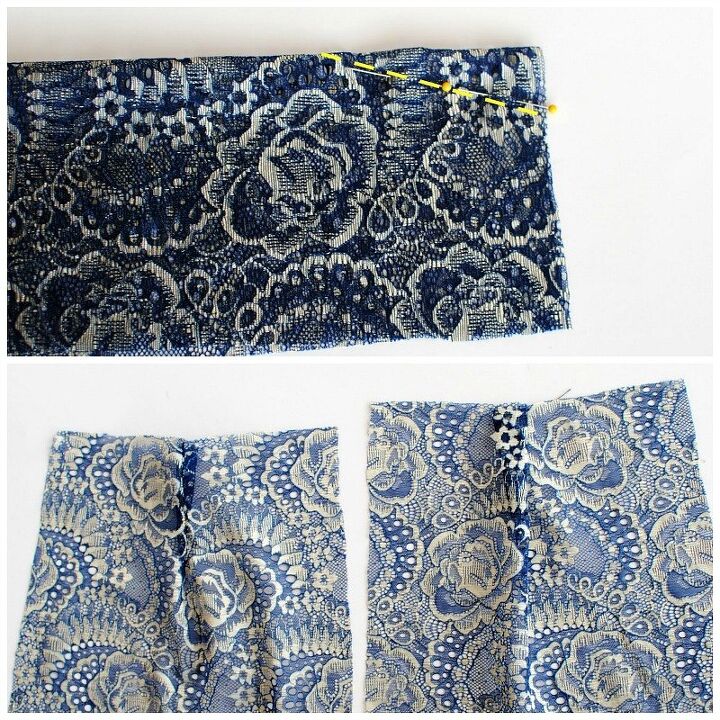
Sew in darts by folding the piece in half and sewing a slant. Mine were about 1 inch in width and length 3 inches.
Press the darts into place.
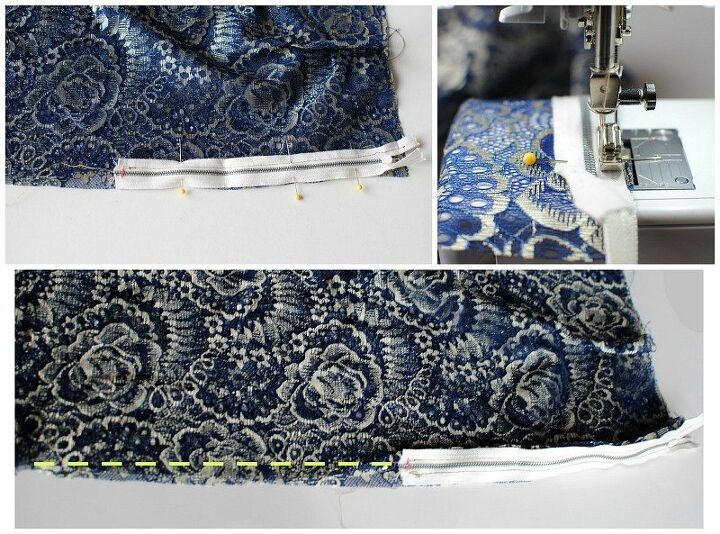
Add a zipper by placing it right sides together with one of the back pieces. My zipper was 9 inches.
Use a zipper foot to stay near the edge and create an even stitch.
Add the other panel by sewing right sides together on the other side.
Sew up the rest of the back of the skirt if the zipper wasn't long enough leaving an opening for a slit. My slit was 10 inches.
My slit was about 10 inches long. Then fold over the slit edges and sew 1/4 inch hem.
Create darts in the front now like you did the back. Tip for placement: divide the measurement by 4 and place them at each quarter.
Now sew front and back right sides together.
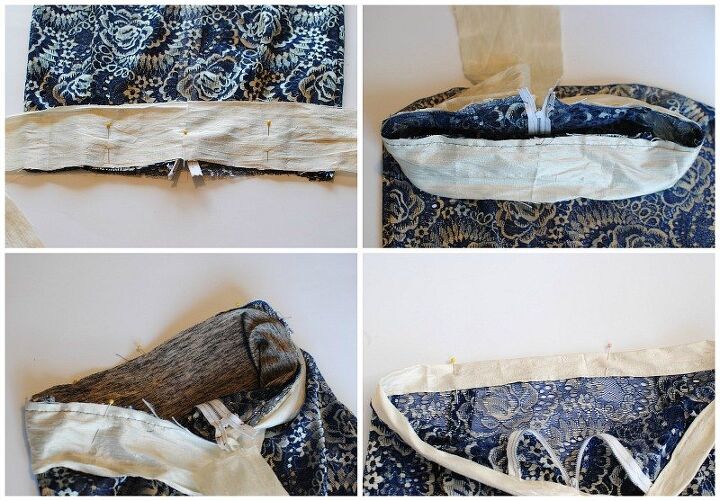
To make the bow waistline. Cut a strip of fabric that will fit around your waist plus about 12 inches for the bow to tie. Mine was about 2.5 inches wide and I used a gold silk.
Attach the middle of the sash in the middle front of the skirt. Sew right sides together.
It will look like this with the rest of the waist sash hanging over the zipper.
If you have a liner, now is the time to attach it. I like to sew it into place along the seam allowance edge.
Now fold over and incase the liner if you have one. Top stitch it closed.
Make sure to sew the rest of the sash closed.
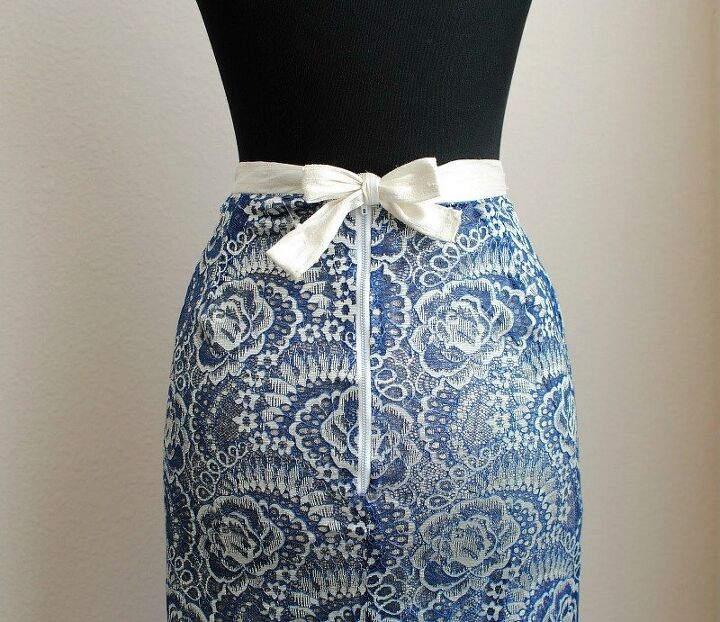
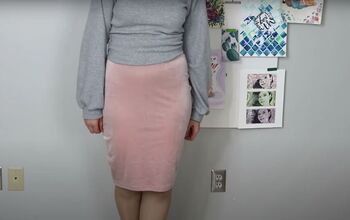
Done. How beautiful. I can't wait to wear mine come New Years.
The author may collect a small share of sales from the links on this page.


Comments
Join the conversation