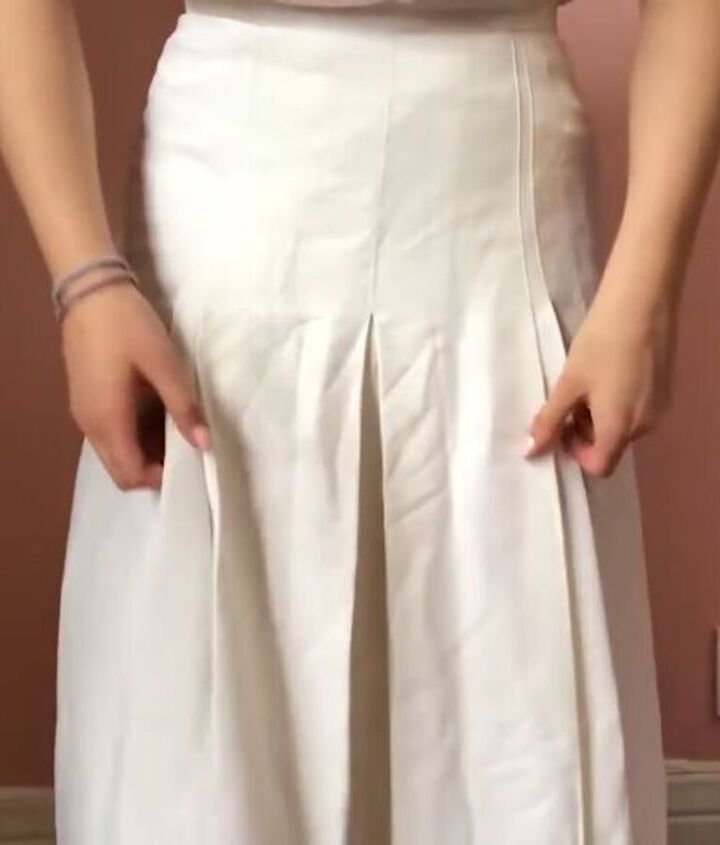
Try This Quick & Easy Tutorial on How to Make a Pleated Skirt

Upcycling clothes is fun and a super-easy way to transform something vintage into something new and trendy. In this vintage skirt DIY tutorial, I will show you how to make a pleated skirt from an old skirt.
Tools and materials:
- Vintage skirt
- Iron
- Sewing machine
- Marker
- Ruler
- Pins
- Thread
- Seam ripper
- Rotary cutter
What’s more, you will learn how to make pleats, too! So, this is really like a double tutorial in one! Ready for the ultimate DIY pleated mini skirt transformation? Let’s start!
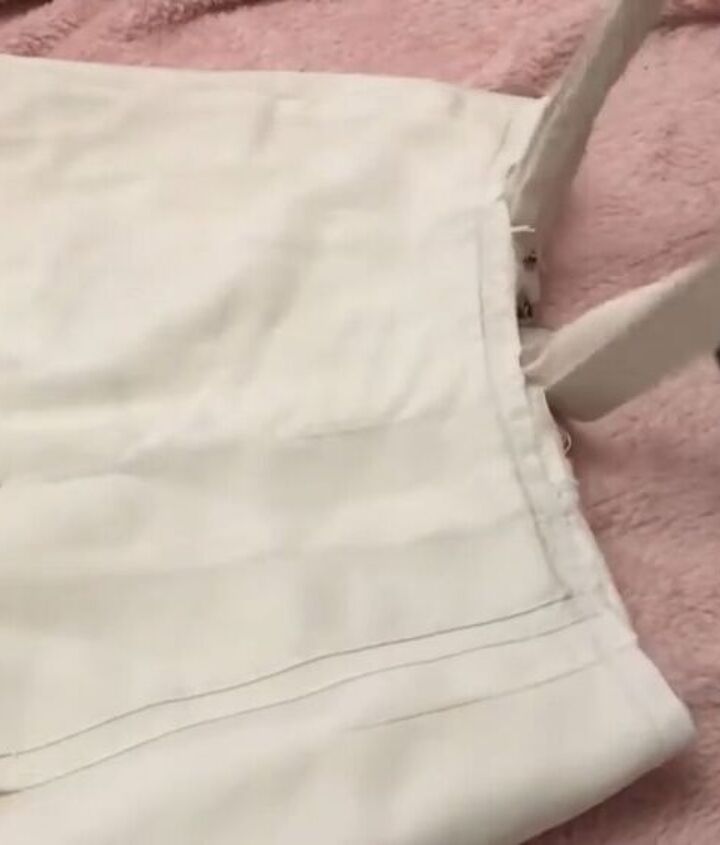
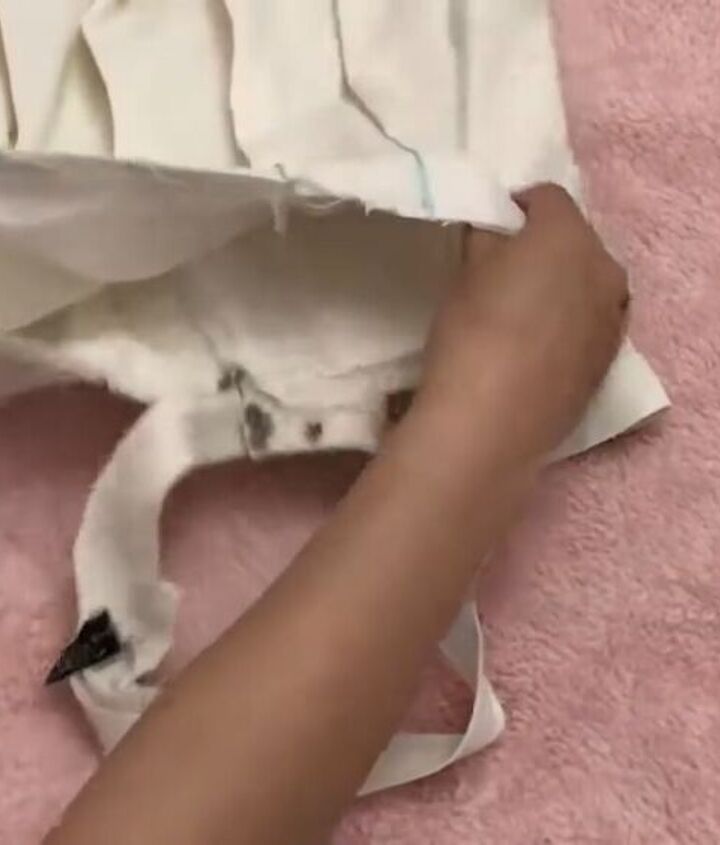
1. Detach the waistband
If your skirt has a waistband, go ahead and detach it, as you will need to work with the pleats.
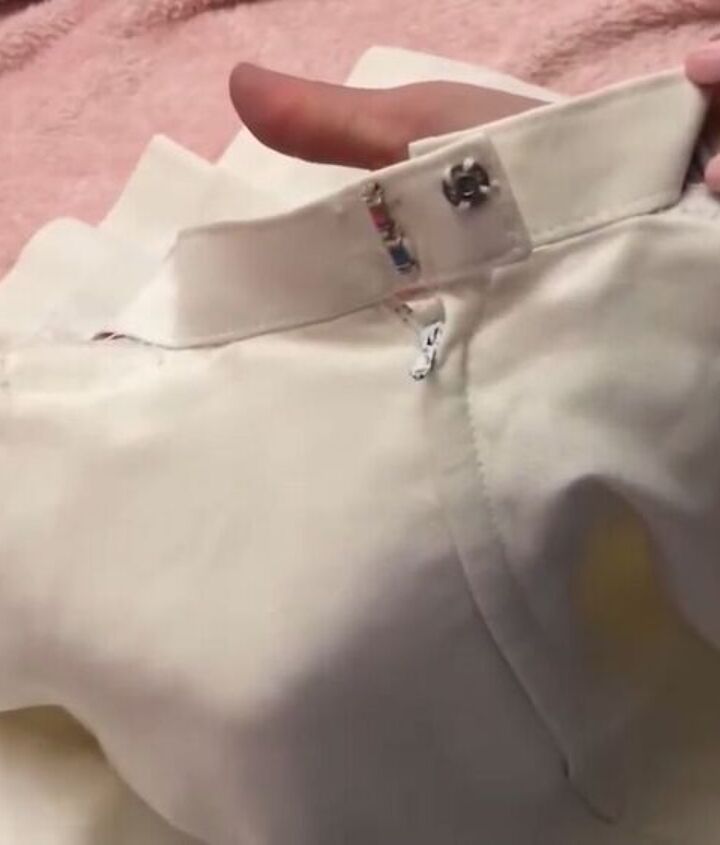
Leave it attached to the zipper section. Otherwise, it will be too complicated to attach it again in that area.
2. Seam rip
My vintage skirt already had some pleats, so I seam ripped all of the pleats and ended up with one long rectangle. If your skirt doesn't have existing pleats, then skip this step.
Also, if your skirt has a lining, make sure to move it out the way while making alterations to the main fabric.
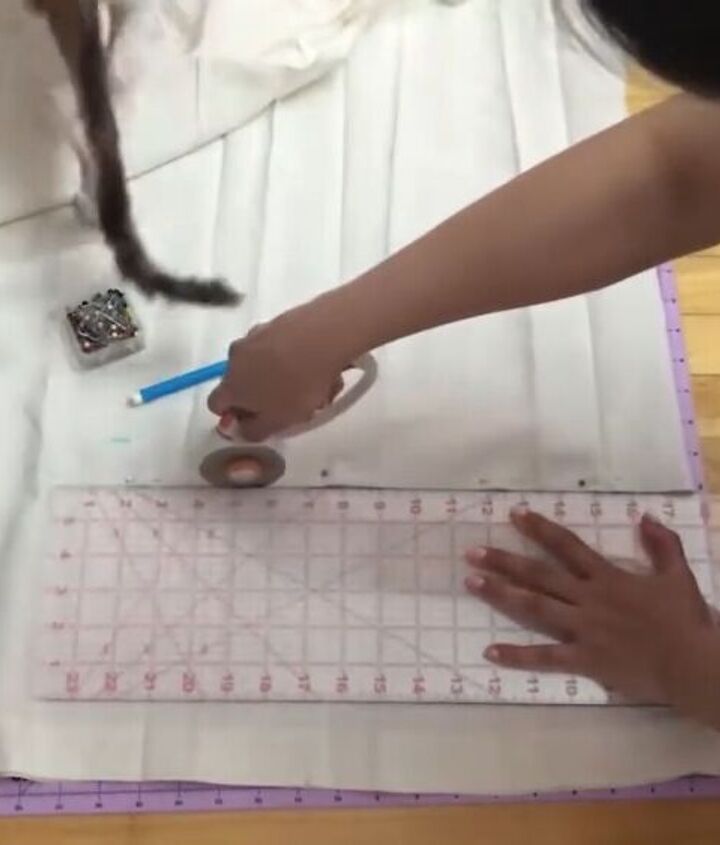
3. Cut to length
Cut your DIY pleated skirt to the desired length and don't forget to add a one-inch seam allowance. Then, shorten the lining two inches less than your DIY pleated mini skirt.
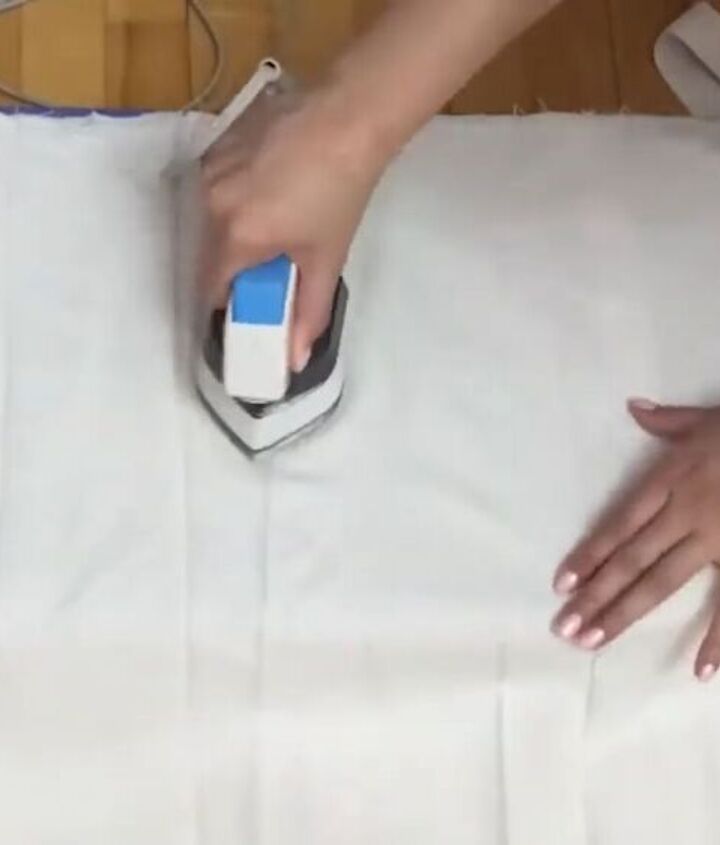
4. Press the fabric
Press the fabric and the existing pleat lines so that you have a smooth canvas to work with.
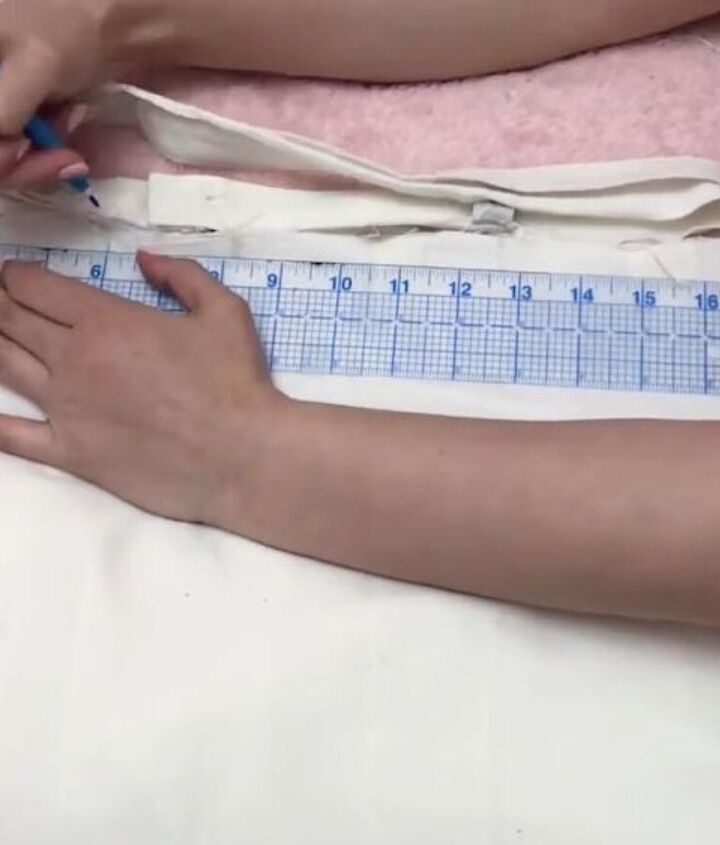
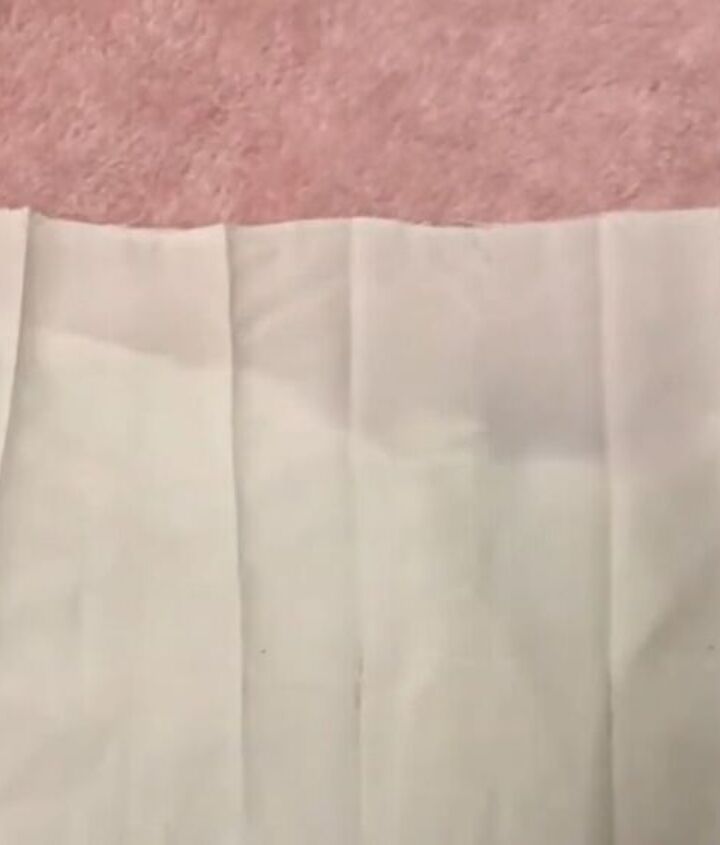
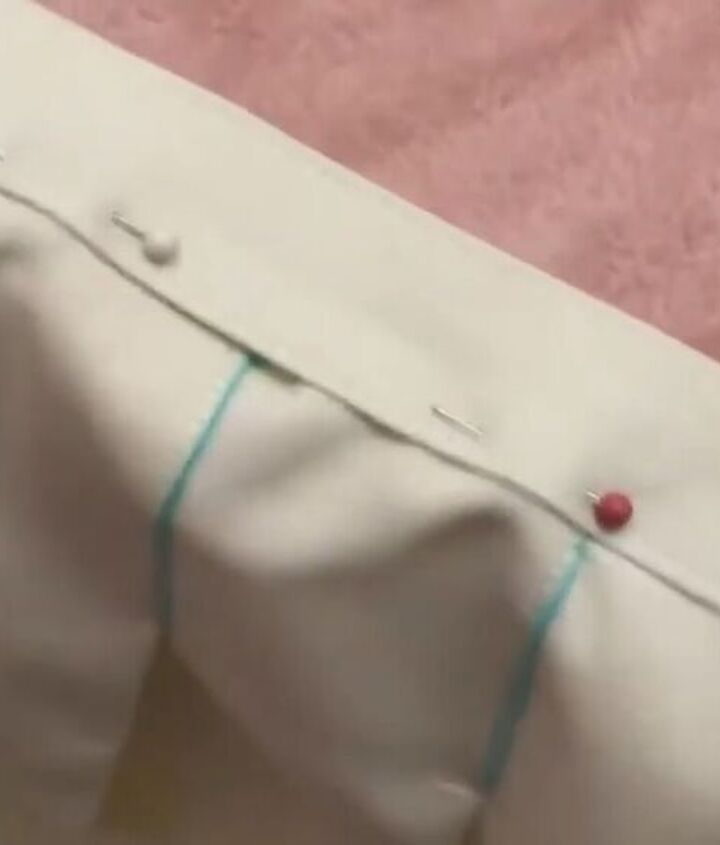
5. Make the pleats
To make the pleats, add a marking every 2 inches across the entire waistline.
With your fabric marker or chalk, elongate the markings to make them easier to work with.
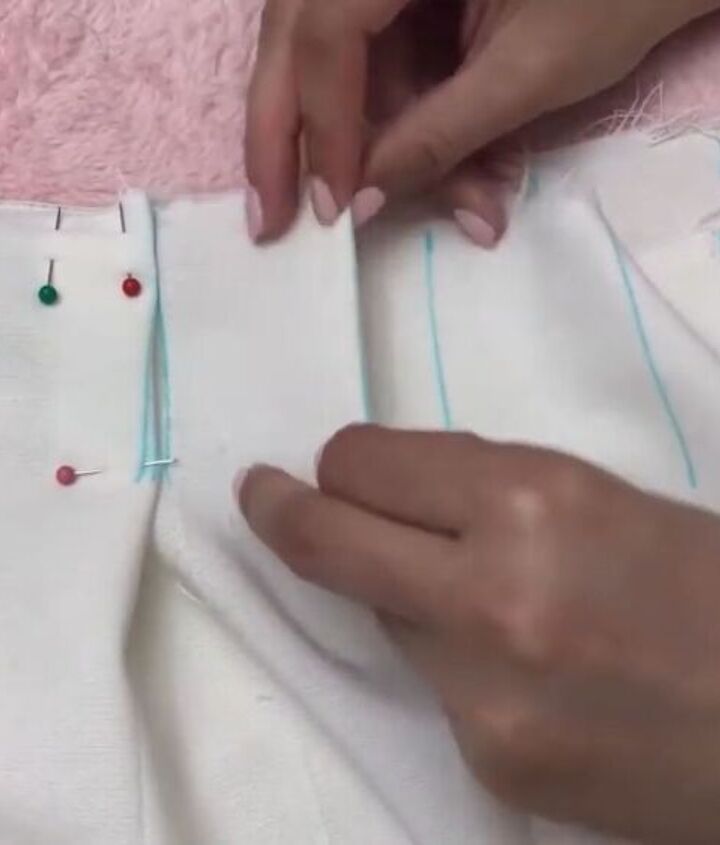
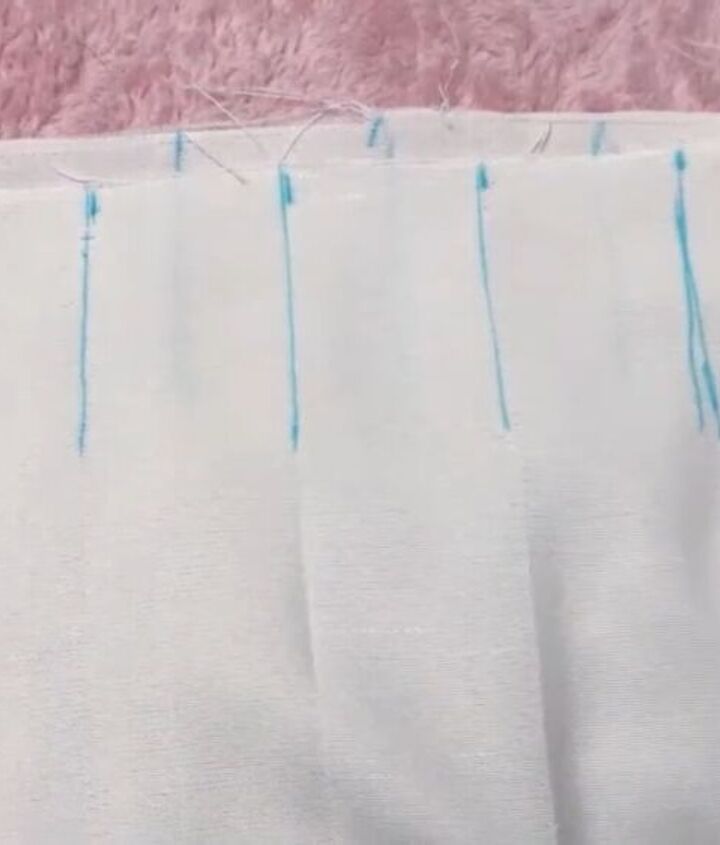
Now for the fun part! Working your way across the waistline, take your first marking, and align it with your second marking. So, fold the first line onto the second line.
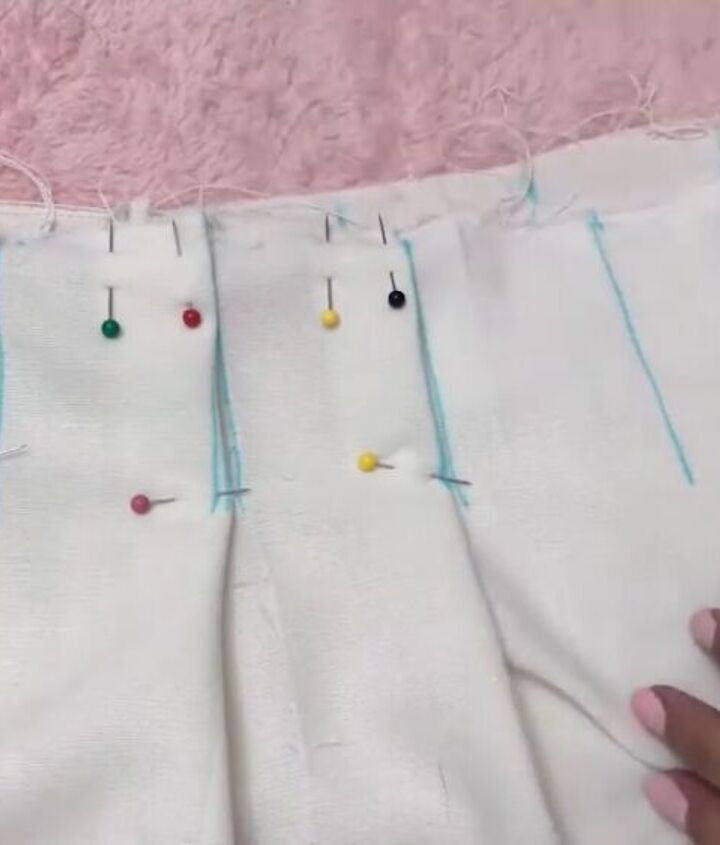
Then, pin the pleat in place with two vertical pins and one horizontal pin at the bottom. Once you’ve pleated the whole waistline, make sure it fits the original waistband you detached earlier, or that it fits your waist measurement.
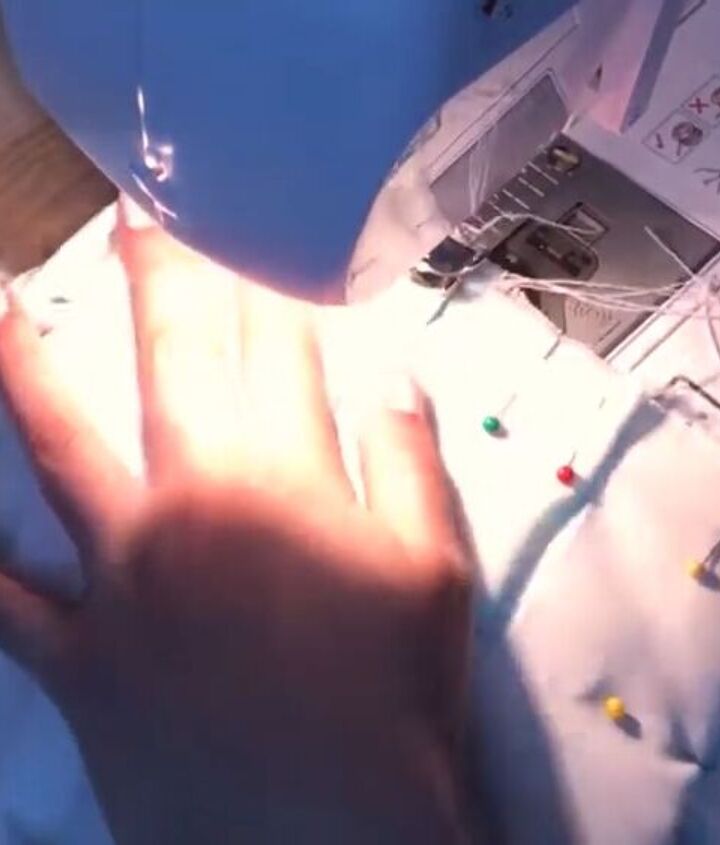
Now, sew down your pleats along the top edge and then, topstitch each one down by about 2 inches. Topstitching the pleats downward will give your DIY pleated skirt a cleaner, fresher look.
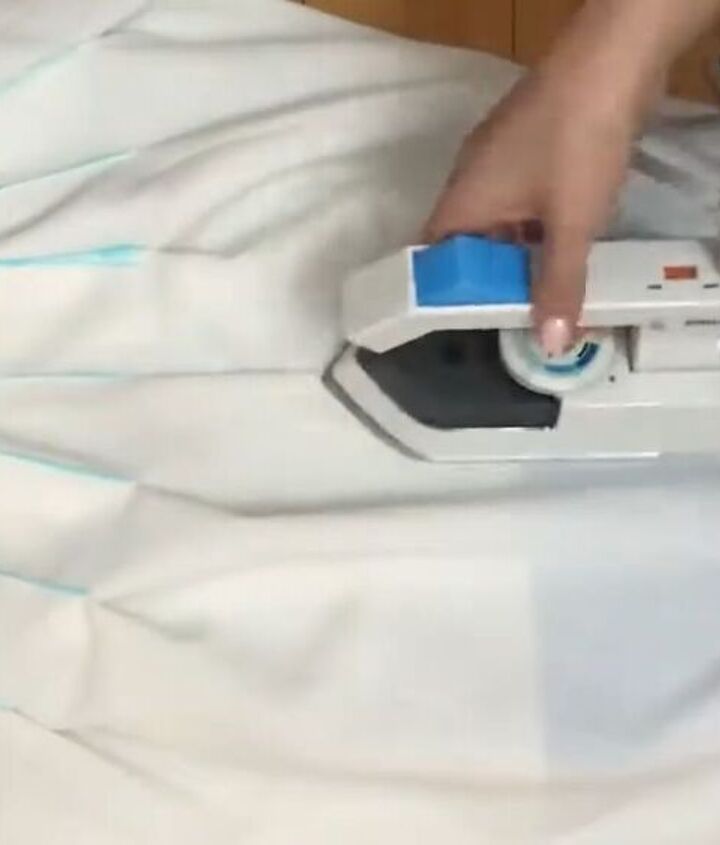
Press all the new pleats, as shown.
6. Reattach the lining and waistband
Reattach the lining to the skirt using a straight stitch. Remember to align the seams before sewing in place.
Next, reattach the waistband by sandwiching the DIY pleated skirt between the waistband. Pin to secure.
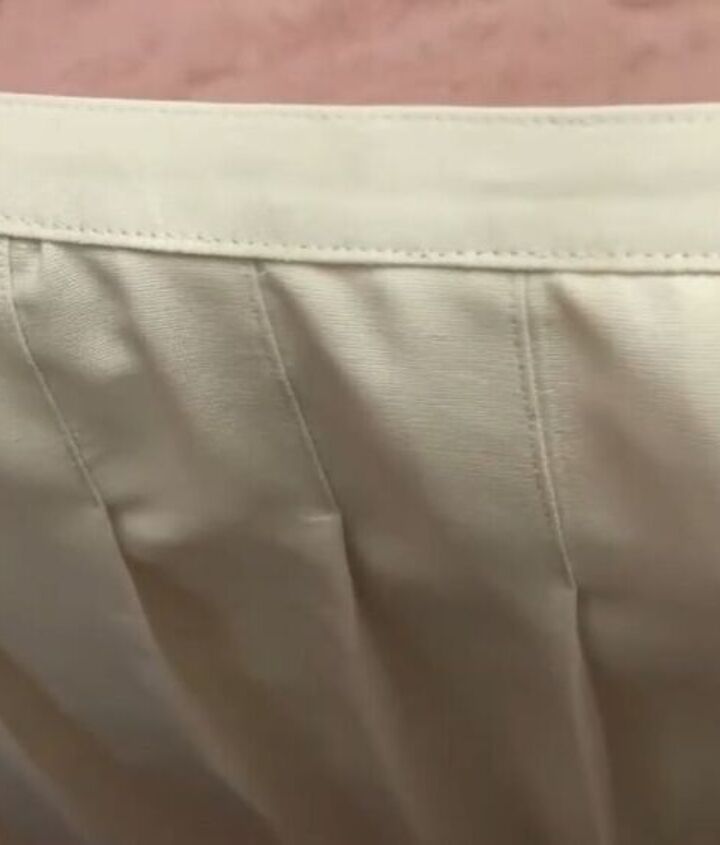
Sew it down by topstitching next to the edge of the waistband.
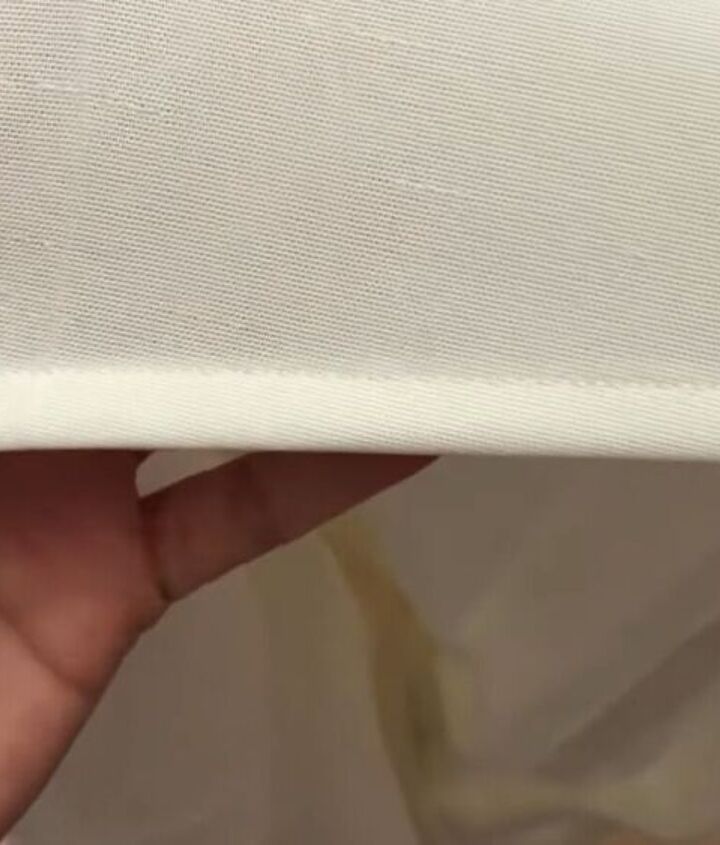
7. Hem the DIY pleated mini skirt
This is the final step. Now, hem the lining and the main fabric of the skirt. Do this by folding the edge twice and sewing it with a straight stitch.
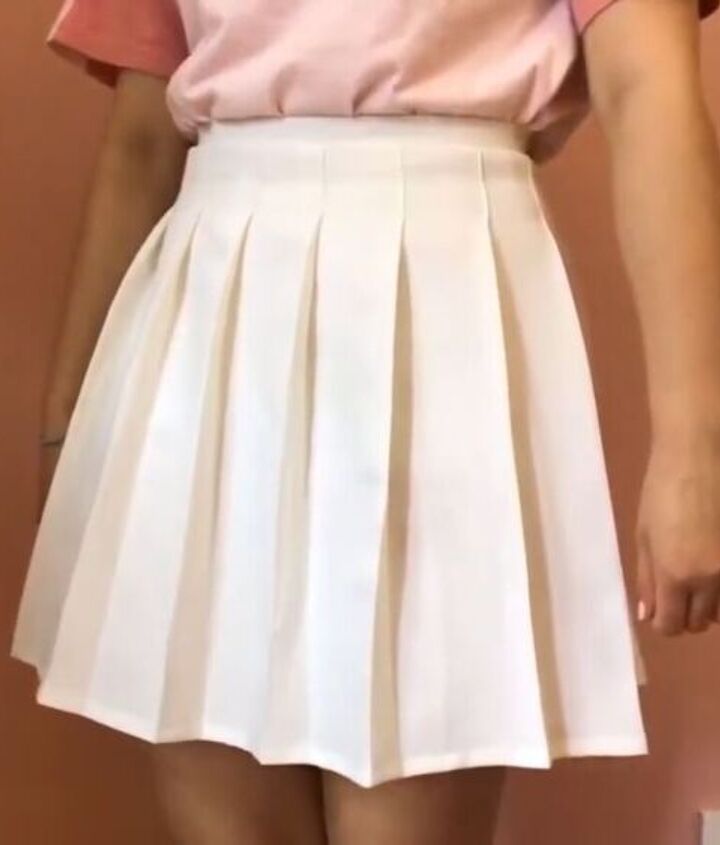
How to make a pleated skirt tutorial
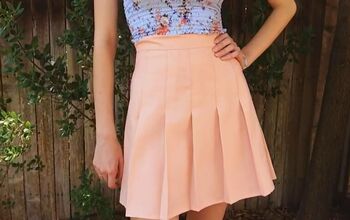
Now, that’s what I call a magical transformation! This is a lovely upcycle and no one would ever guess this was once an old-fashioned midi skirt. Now you know how to add pleats to a skirt, plus how to transform an old skirt into this fun DIY pleated skirt.
The author may collect a small share of sales from the links on this page.


Comments
Join the conversation