Want to Make Your Own Turban Headband? Try This Quick & Easy Tutorial

In today’s tutorial, I’ll be showing you how to make your own turban headband. I've been seeing these styles of headbands a lot on Anthropologie recently and thought, why not make my own DIY turban headband?
I didn't have patterned fabric, so I painted my own design, but this turban headband would work with most fabrics. In fact, it's a great way to use up any fabric scraps you have lying around.
Tools and materials:
- White fabric
- Basic plastic headband
- Hot glue gun
- Measuring tape
- Needle and thread
- Scissors
- Acrylic paint
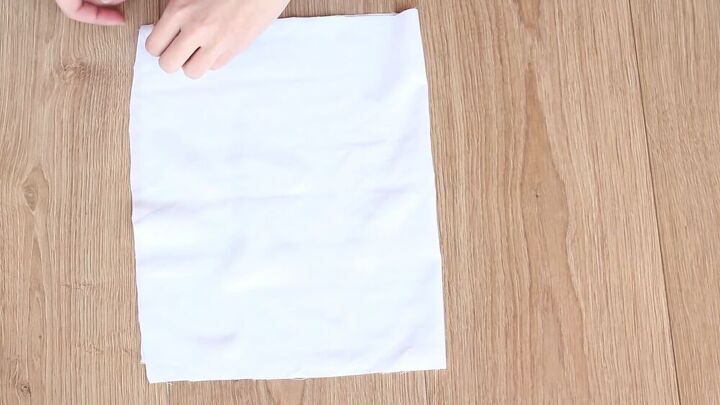
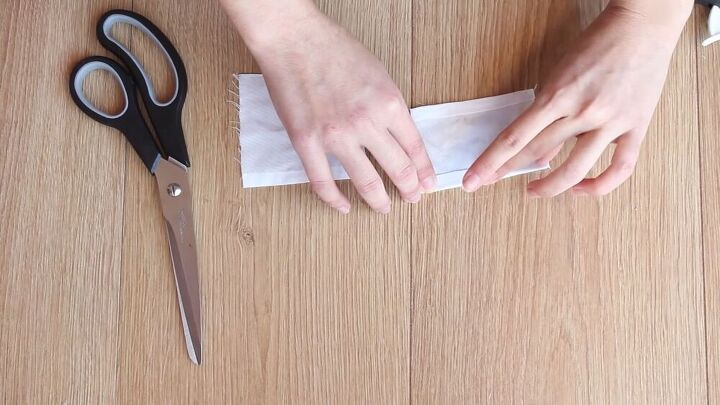
1. Cut fabric rectangles
Cut a rectangle out of fabric that measures 45 x 28 cm (17.7 x 11 inches). Also, cut a smaller one that’s 15 x 12 cm (5.9 x 4.7 inches).
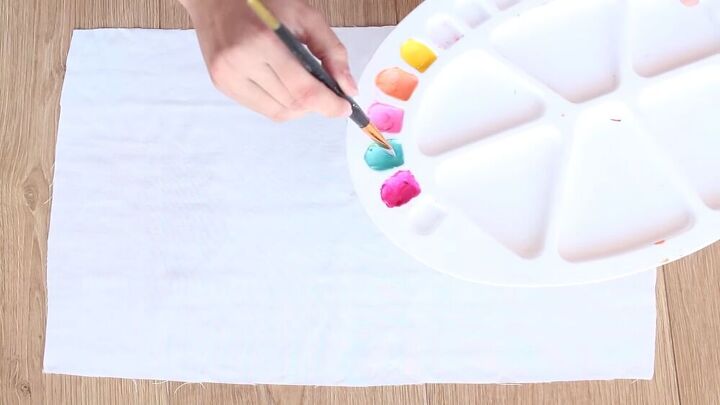
2. Paint the fabric (optional)
So, I didn't have any printed fabric on hand, and I also didn't want to make a boring white DIY turban headband. So, I decided to get my paintbrushes and acrylic paint out and get my creative juices flowing!
This part is totally optional, but if you feel like being extra-creative, feel free to do the same.
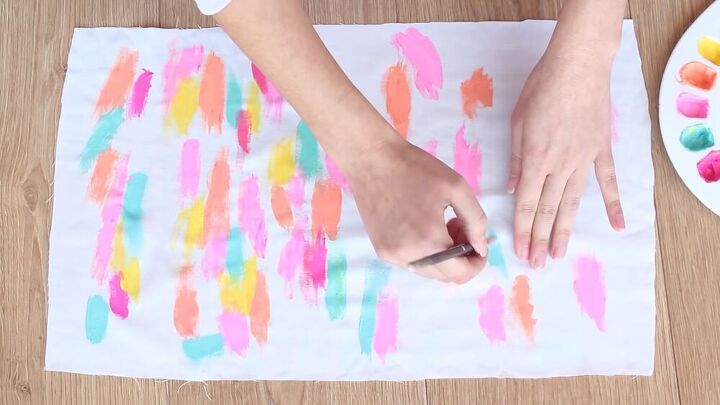
I basically added some random brush strokes with various colors, as shown, to both rectangles.
Let the paint dry before proceeding to the next step.
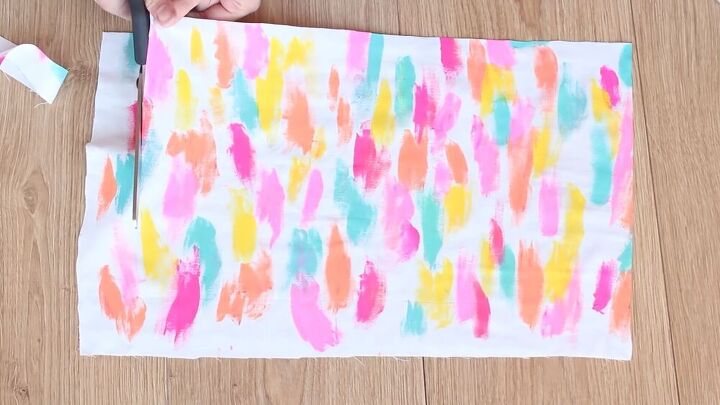
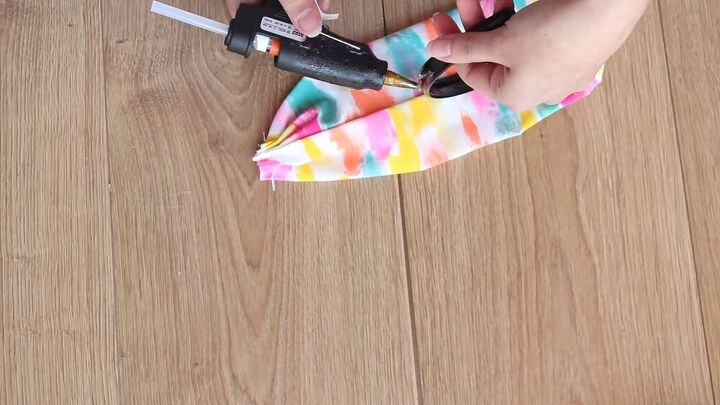
3. Cut the edges.
Now, cut the edges of the fabric.
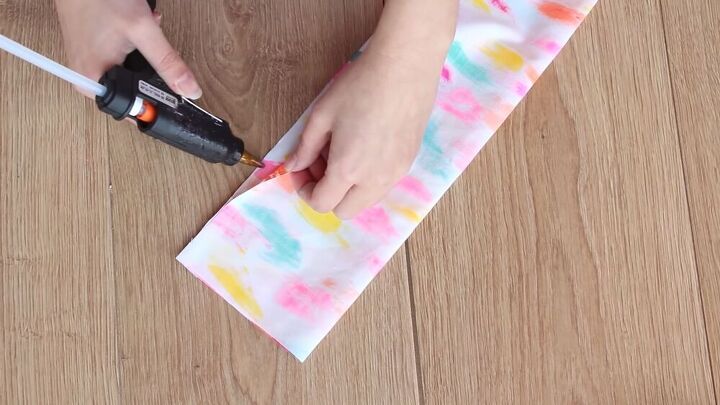
4. Glue the sides together
Fold the main fabric in half, right sides together, and glue the edges with a hot glue gun.
Turn the fabric right sides out, and press the seam in the center with your hands.
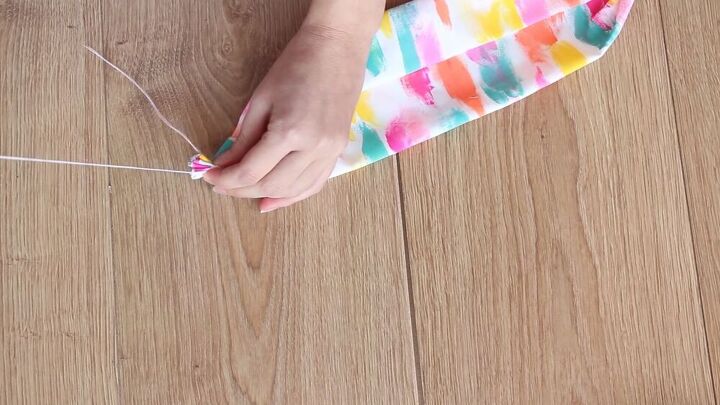
5. Gather the ends
Now, gather the ends on both sides and make a small stitch to secure. Basically, insert the needle, alternating between the top and bottom. In the end, you should have a small fan-like structure. To see how I do this, check my video from 2:18 minutes.
6. Glue the headband to the fabric
Glue the fabric to the headband, small sections at a time. When attaching the headband, basically roll it over onto the glue.
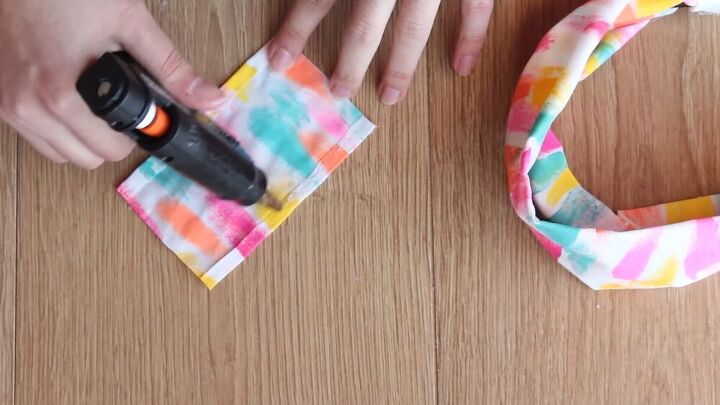
7. Make the ends of the turban headband
Now, cut two more small rectangular shapes from your white fabric, and glue the edges.

Add glue to both ends of the plastic headband and wrap the white fabric around them, as shown.
8. Create the turban headband style
Now, grab the smaller painted rectangle and glue the edges.
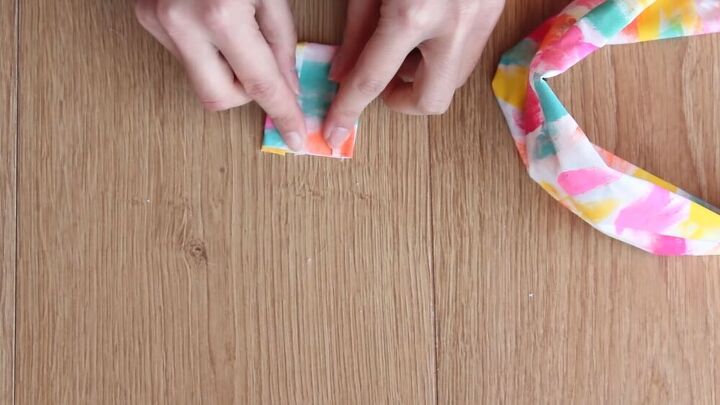
Glue the sides together to create a tube of fabric.
Slide the tube onto the headband and place it in the middle to create the turban headband.
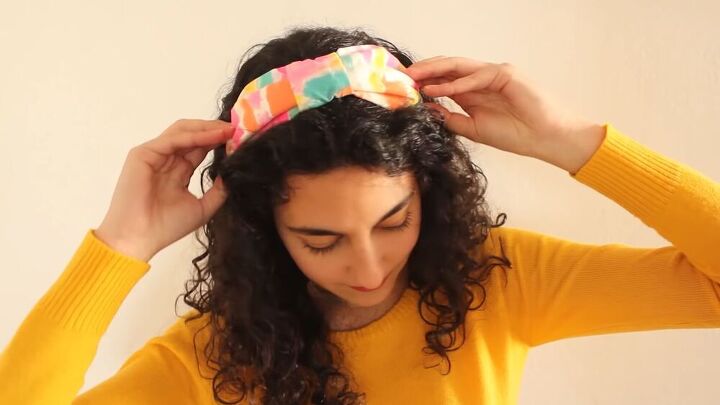
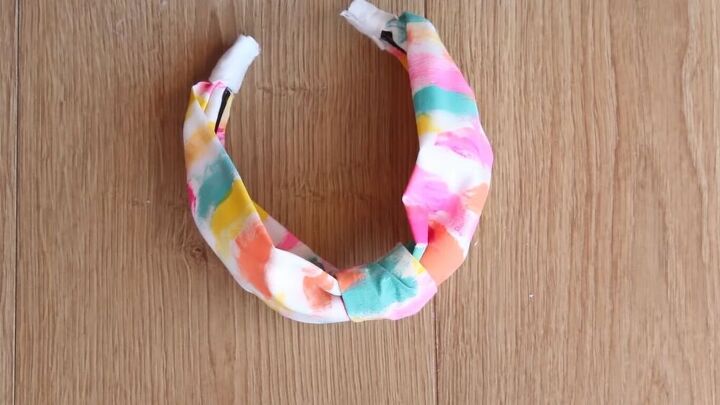
Make your own turban headband tutorial
And… your turban headband is complete! Looks like a cute bow, right? Thank you so much for joining me on this tutorial on how to make your own turban headband. Let me know what you think of this DIY turban headband in the comments!
The author may collect a small share of sales from the links on this page.


Comments
Join the conversation