This Tiered Gathered Skirt Tutorial Only Requires 2 Measurements

Sewing a gathered skirt is really not complicated, at least if you follow an excellent tutorial like this one. If you want to take your skirt sewing skills to the next level, then page down and see how to make gathers on a skirt and how to make a gathered skirt pattern! You’ll love this easy-to-follow-tiered gathered skirt tutorial! Let’s do this.
Tools and materials:
- Fabric
- Elastic
- Pins
- Sewing machine
- Thread
- Scissors
- Chalk
- Ruler
- Measuring tape
- Safety pin
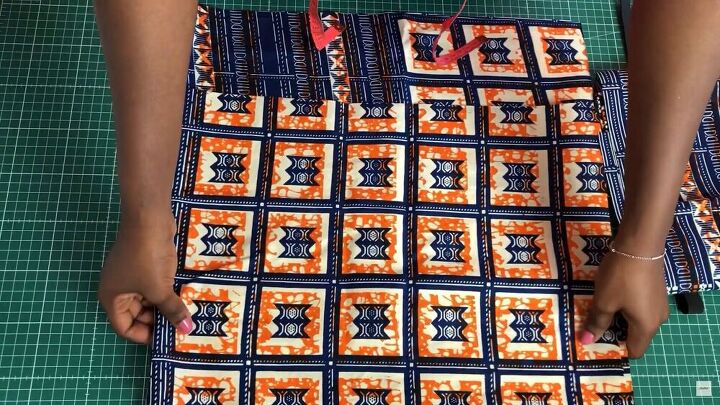
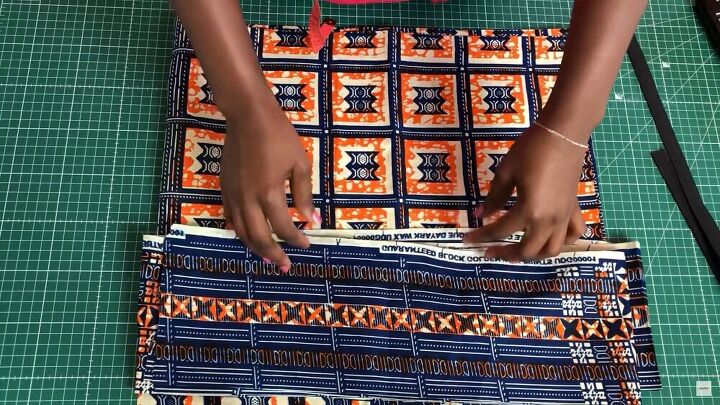
1. Measure and cut fabric
Measure your waist and add a few inches to account for the gathers.
Also, measure your desired length and cut accordingly. The length of the skirt for me is 21 inches. However, the front part of the skirt will be a bit shorter than the back. In this case, take off around 4 inches from the front, so the total should be 17 inches for the front.
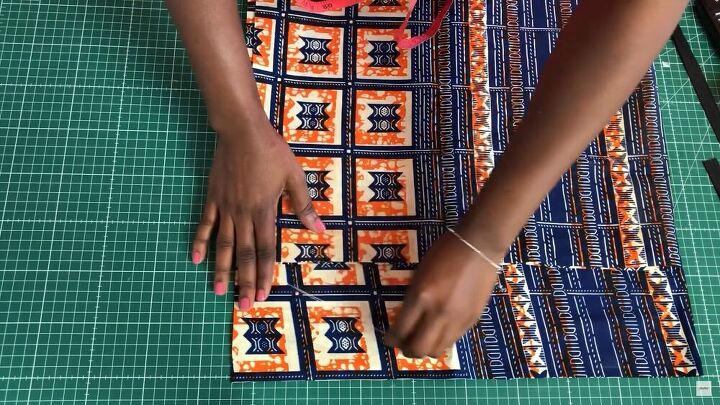
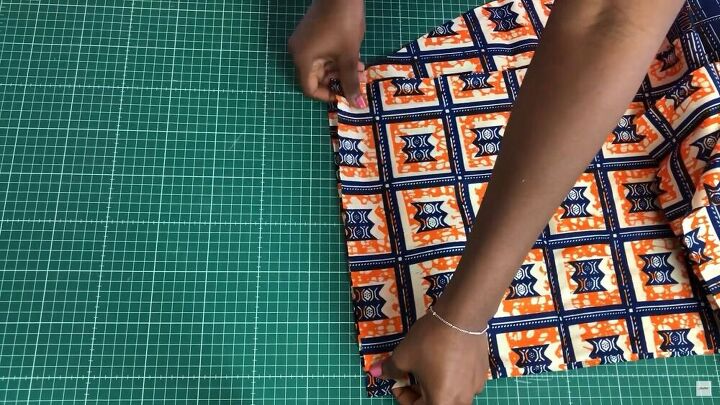
Then, with your chalk, draw a diagonal line from the corner of your back piece. Like this, it will be easier to attach it to the front panel.
Make sure the pieces are aligned, and then go ahead and cut the curve.
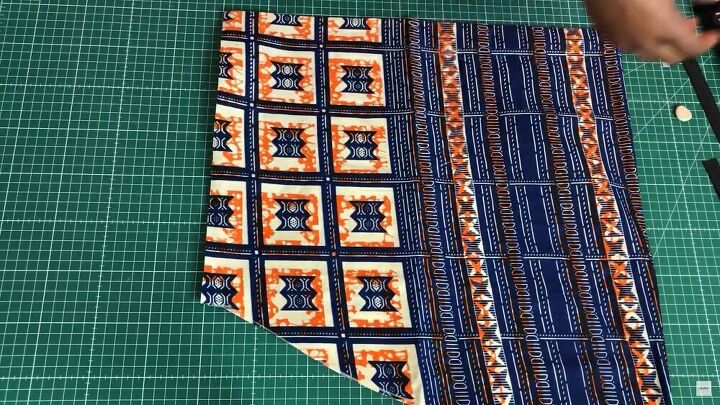
As you can see, the back piece is longer than the front piece.
Now, cut some strips for the tiered part of the gathered skirt. The width measures 6 inches and the length is 140 inches.
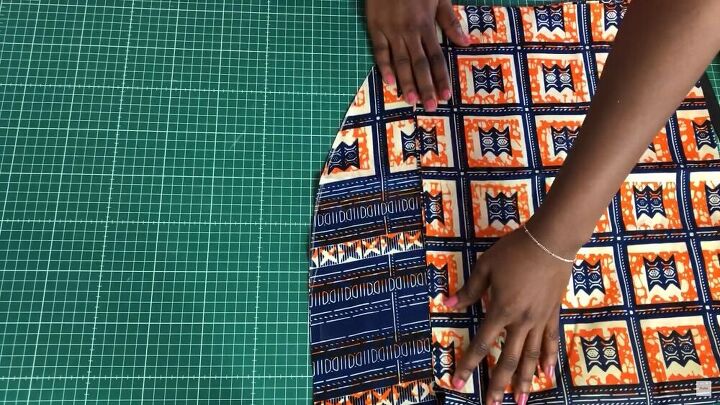
2. Join the seams
Now, pin and stitch the side seams of the back and front panels. Make sure it’s a ½ an inch seam on both sides, right sides facing.
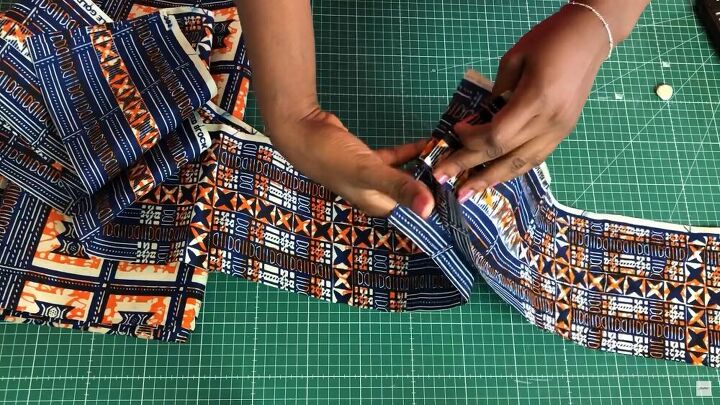
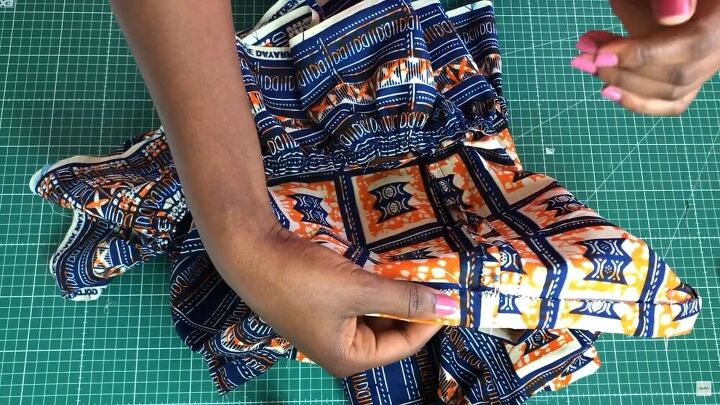
3. Join the strips
For the frills, join the strips together. Since it’s an ultra-long panel, I had to cut several pieces and then join them to make one piece.
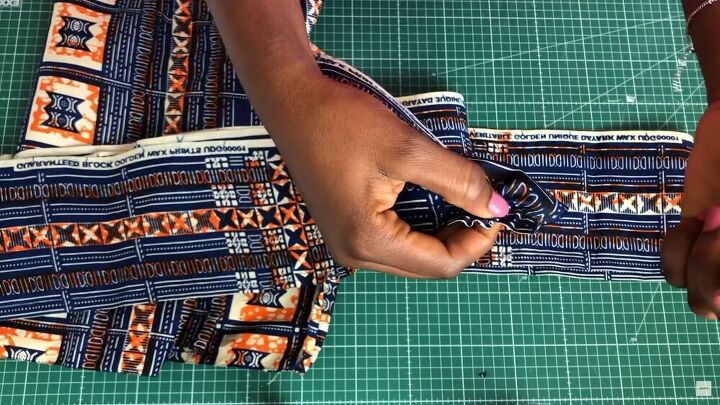
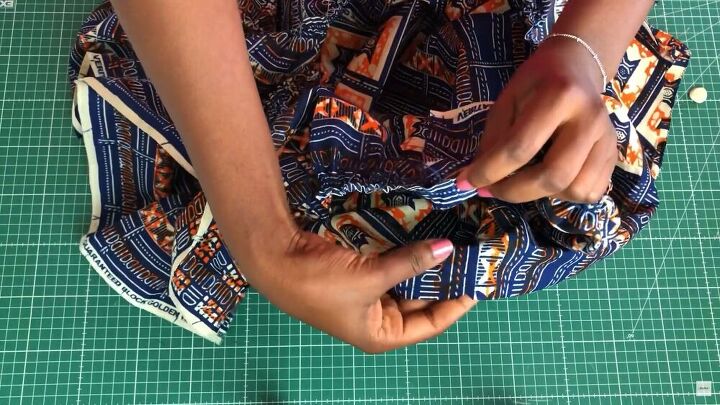
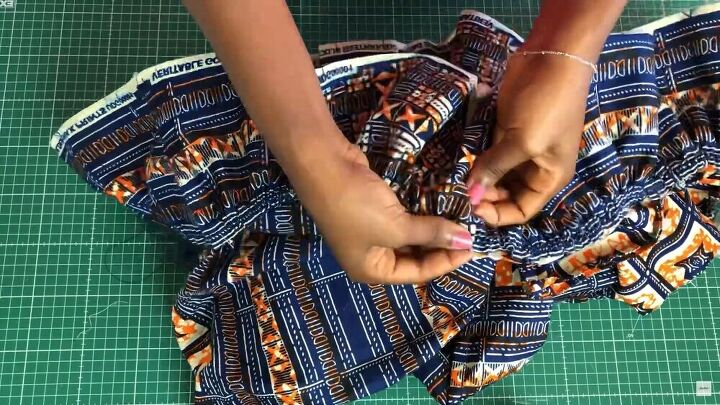
4. Create the gathers
Along the edge of the entire strip, sew two basting stitch lines. Then, grab both threads and pull them gently to create the gathers.
Tip: Be patient with this step; if the thread breaks, you’ll need to do it all over again.
Then, sew the side seams of the ruffled panel and finish the edges.
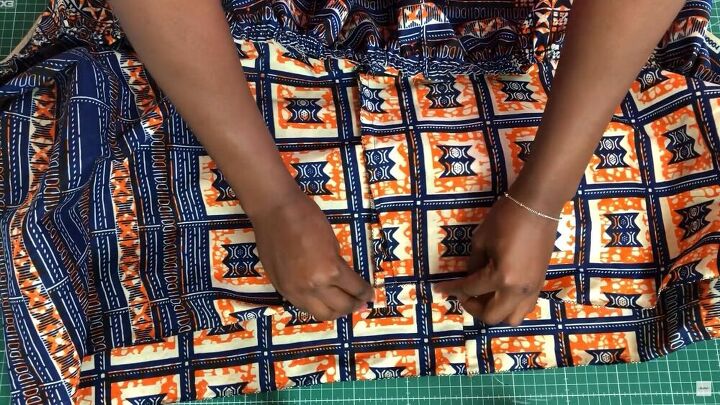
5. Attach the ruffle to the skirt
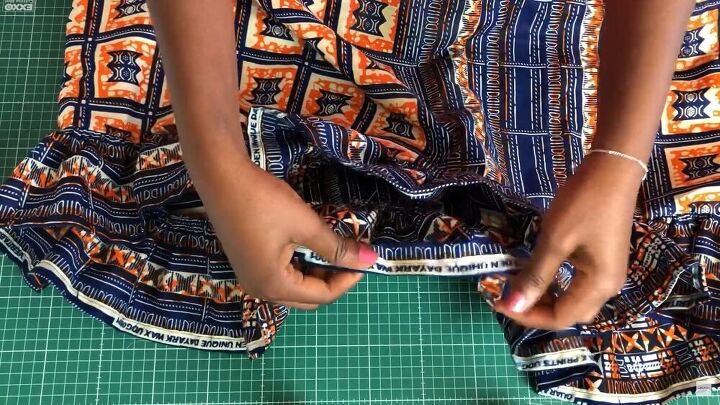
Using the seam of the ruffled panel as a back-center point, line it up to the center-back of the skirt. Make a tiny snip at the back as a marker. Now, right sides facing, pin the ruffled part to the skirt and align the center-back.
Pin the gathered panel all around, as shown.
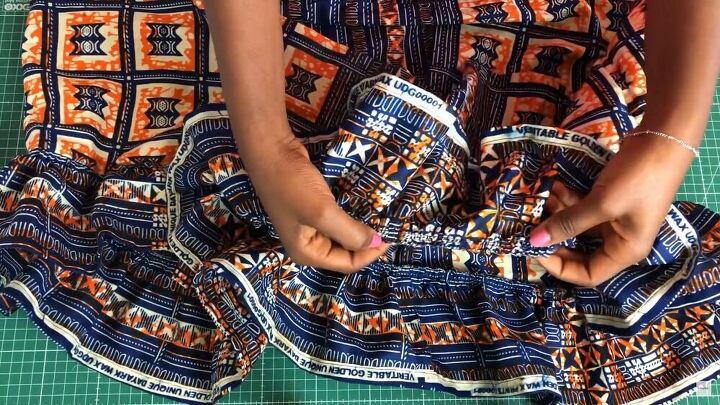
6. Create a waistline tunnel
Fold the waistline by one inch and pin all around, too.
7. Sew the tunnel
Now, sew the tunnel to secure it in place. Sew it as close to the edge as possible and leave a one-inch gap so that you can feed the elastic through.
For the gathered part at the bottom, sew in between the two basting stitches.
8. Hem the gathered ruffle skirt
Now, finish the hem of the skirt. Fold it over once by ½ an inch, and stitch to secure it in place.
Also, finish the raw edges of the inner seam, where the frills join the skirt.
Tip: This is a good time to remove the basting stitch.
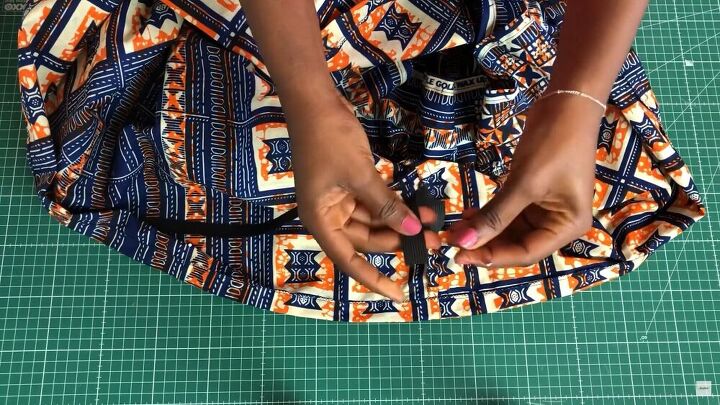
9. Insert the elastic
Now, cut a piece of elastic to the size of your waist, and using a safety pin, feed it through the tunnel. Then, stitch the short ends of the elastic together and sew the gap closed.

Tiered gathered skirt tutorial
That’s it! Here’s the final look! This tiered gathered ruffle skirt doesn’t even need a pattern, just two measurements, and you have a stunning fashionable item of clothing. Let me know what you think of this tutorial in the comments below.
The author may collect a small share of sales from the links on this page.


Comments
Join the conversation