Transform Old Tops to Stunning Summer Tops!

Let’s talk about summer tops! I recently got three tops from a thrift shop and transformed them into stunning and trendy DIY summer tops. They were either loose, baggy, or really out of style, but I got some awesome results with a little creative thinking! If you want to know how to make summer tops from thrifted or old clothing items, then let me show you how!
Tools and materials:
- Three thrifted or unused tops
- Sewing machine
- Measuring tape
- Scissors
- Pins
- Thread
- Elastic
- Pencil

Summer tops- 1st style
Cut accordingly
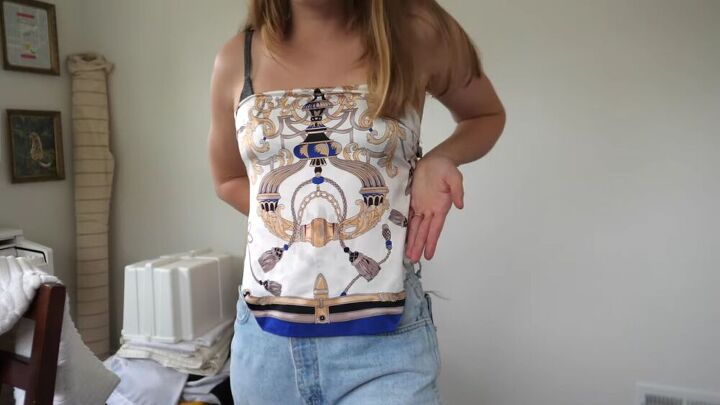
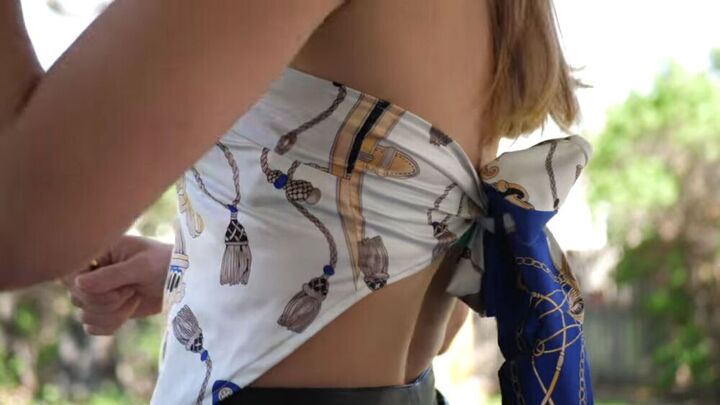
The first top I have is a silky, Versace vibe top. I wanted to transform it into something more fitting and stylish, almost like a bandana look. So, I cut the shoulder part and the front part, as shown. To do this, simply put your top on, pin the upper bust, and cut.
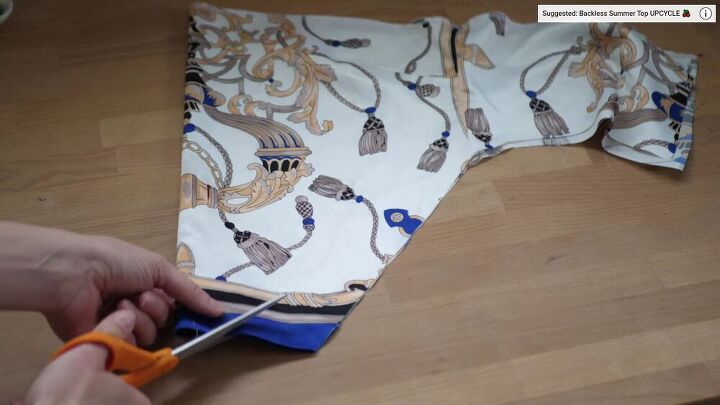
Now, cut a V-shape on the front of your top, as shown.
Make sure to wear your top every time after you’ve cut it so you can see how it looks on your body. Like that, you can carry on making the necessary alterations until you have your desired look and length.
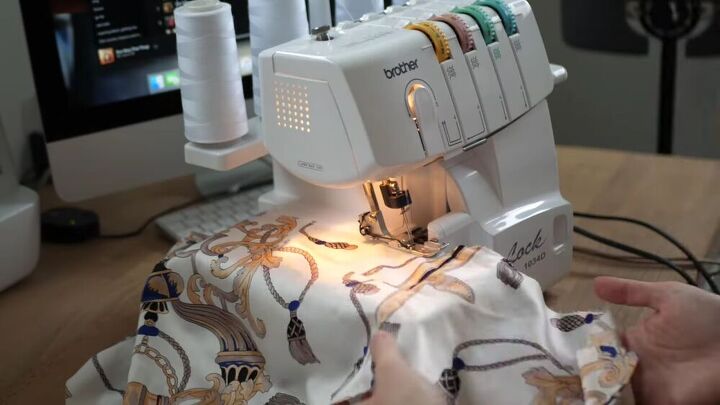
Serge the edges so that the fabric won't fray.
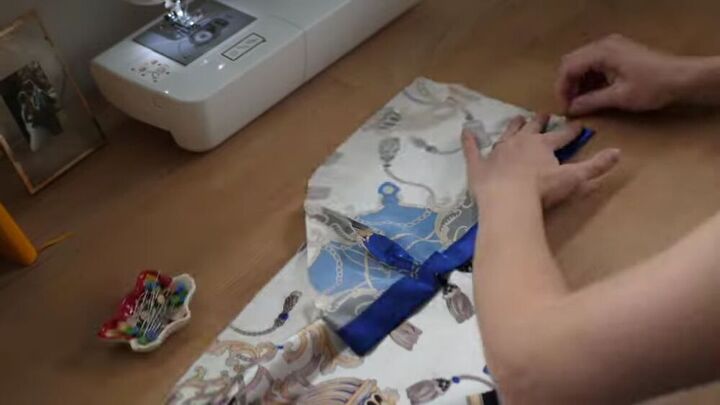
From the shoulder and top part, use that fabric to elongate the back bodice so that it’s easier to tie and have a firmer grip.
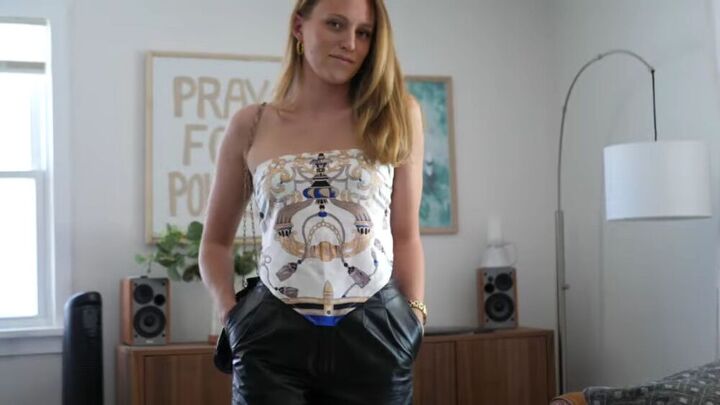
Yes, this looks just fab! I love how easy it was to transform, and I’m so happy with this look, definitely a lovely new addition to my summer tops collection.
Summer tops- Style 2
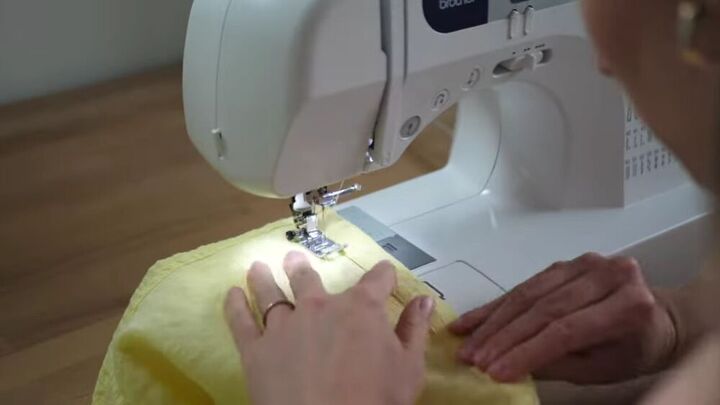
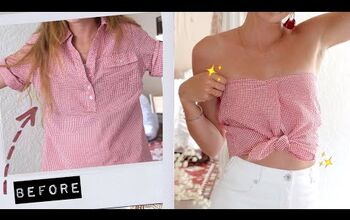
I wanted to make a simple v-neck top with this yellow thrifted top. The original is a buttoned-down top. To get rid of the button parts, simply serge along with the button panels, cut, and sew the ends in the middle.
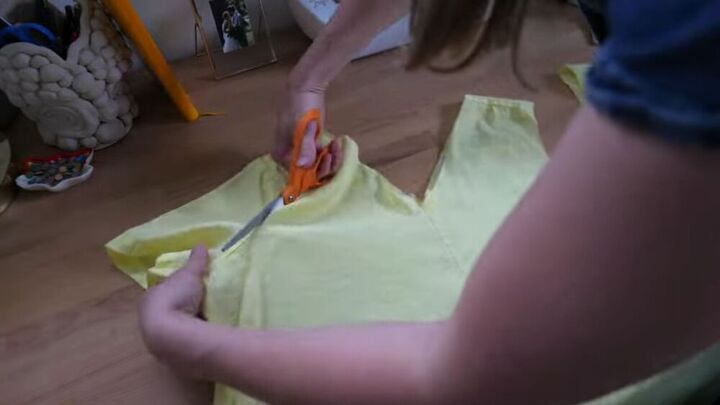
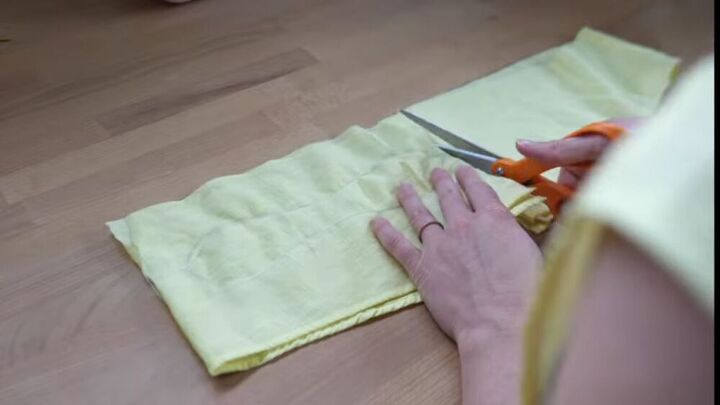
Cut the top half of the top, as shown. This includes the sleeves and shoulders.
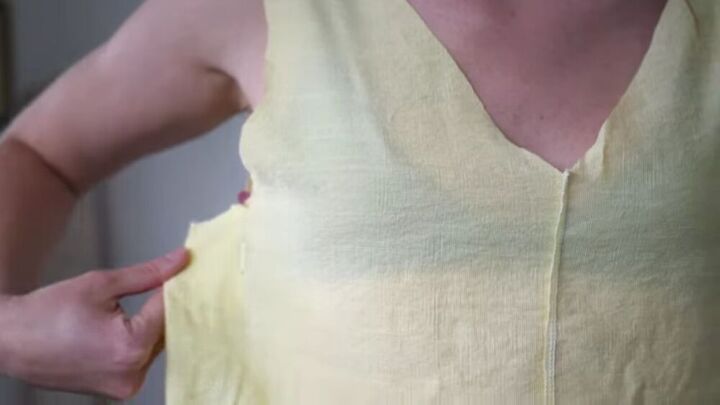
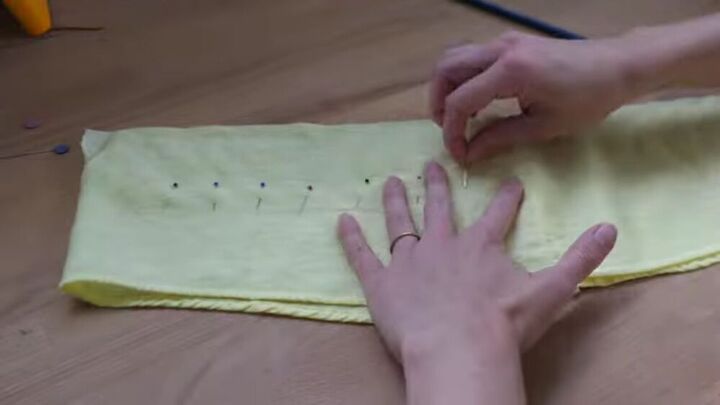
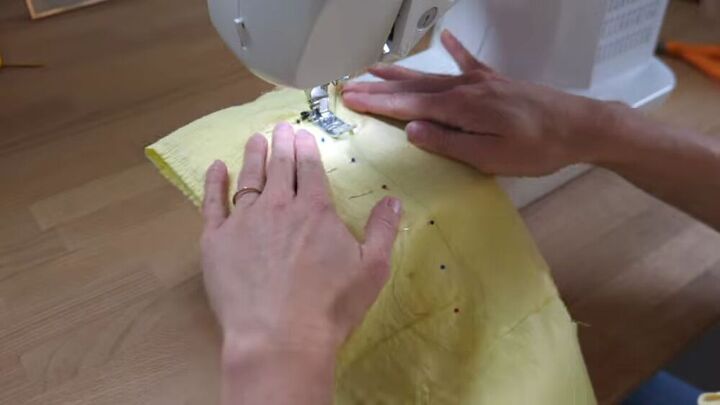
Now, try on your top, and see how much ( if by any) you’ll need to take at the sides. Pin accordingly. Then, sew the sides starting from where the pin mark is and cut off the excess fabric.
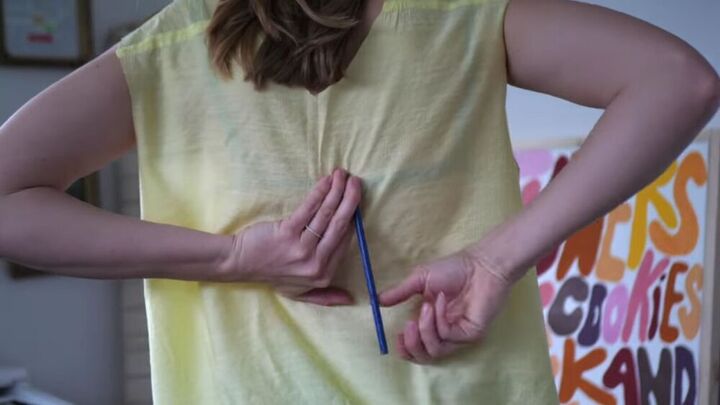
The back needs a deeper neckline so that it matches the front. So, with a pencil, mark where the tip of the V-shape should end.
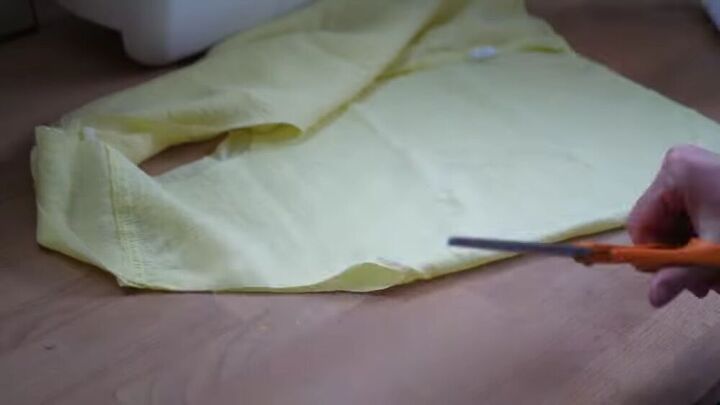
Then, fold your top in half and cut the V-shape neckline accordingly.
If you feel the top is too long, go ahead and crop it to your desired length. Again, wear your top and pin where you’d like to cut it.
Now for the ribbons, use the excess fabric from the sleeve area and make a lovely strap tied to each shoulder strap. To do this, simply pin the fabric ( Make sure to pin both layers), draw your desired strap length and sew around the pattern, as shown.
Now, cut around the stitch line.
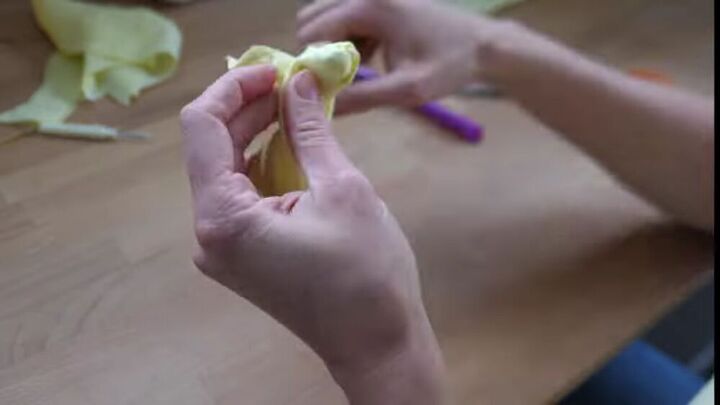
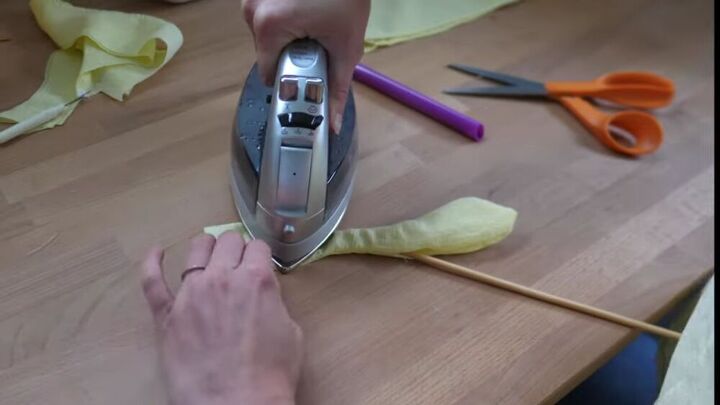
Turn your straps right sides out and give it a good press.
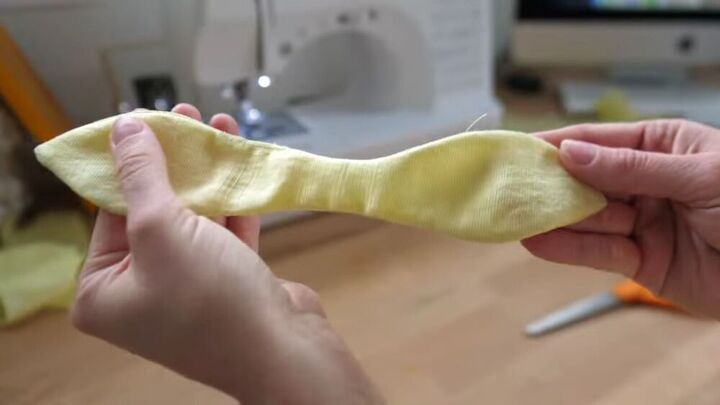
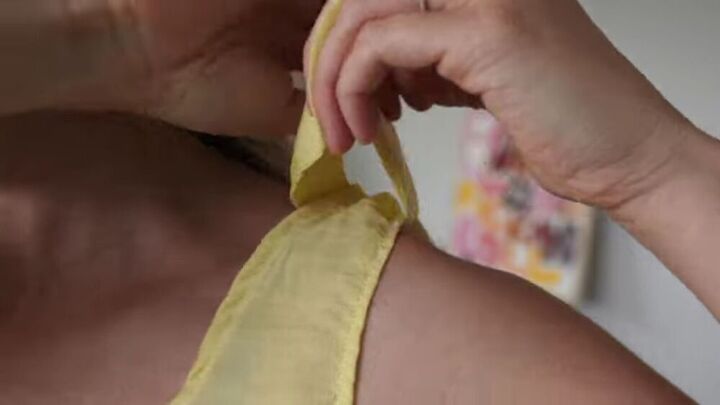
Your ribbon is done! Go ahead and tie it around your shoulder straps for a lovely, ruffled look.
TIP-
Check out my video from 4:18 minutes to see exactly how I recreate this top.
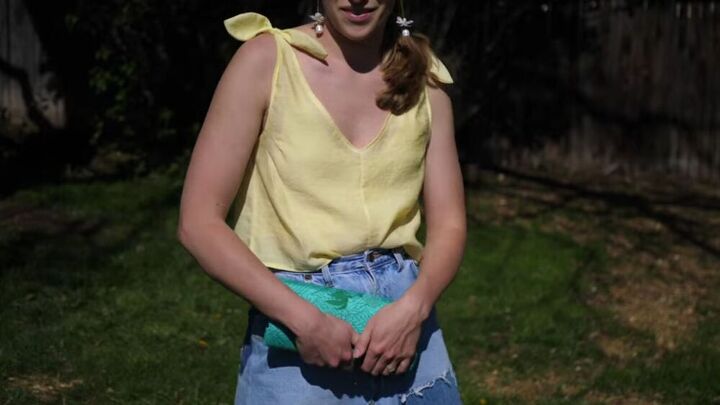
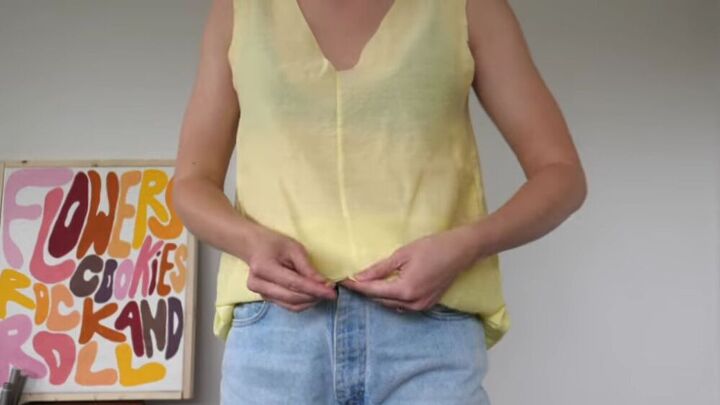
Look at this lovely color! Canary yellow; an amazing color for your summer tops stash. It goes well with denim because the color itself already puts the whole outfit together. The cut ribbon ties on the shoulders give this summer top an extra, intricate feel.
Summer tops- Style 3
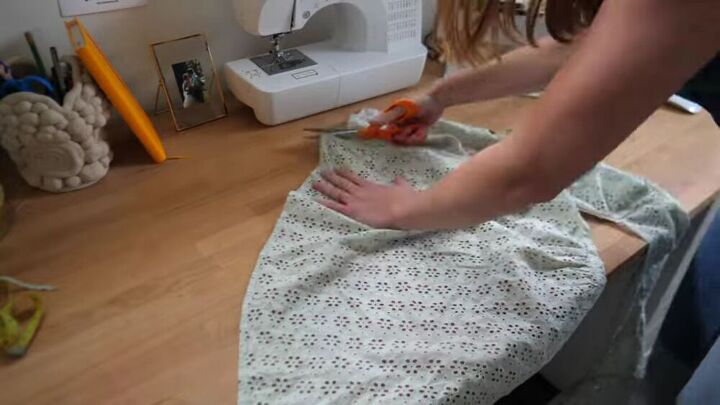
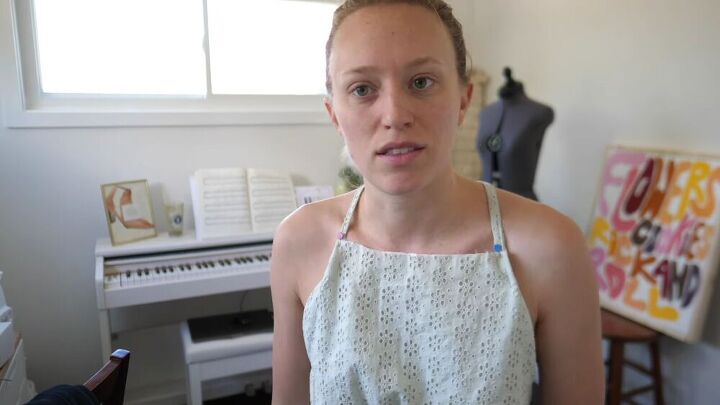
I opted for a halter neck kind of look with this stunning pale green eyelet summer top. Start by cutting out the back panel of the shirt entirely.

I used a mannequin (my trusted “Manny”) to pin the pieces on and put the whole look together before sewing it all up. Next, I cut the end of the sleeve as it has a lovely ruffled piece and put that around the neck.
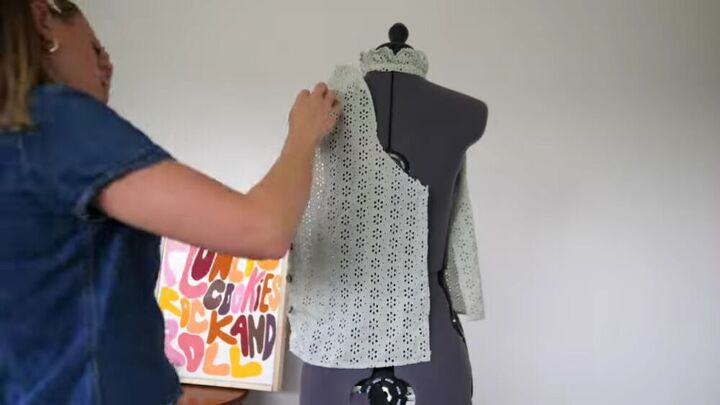
Now, cut out the front side panels.
Assemble the summer top
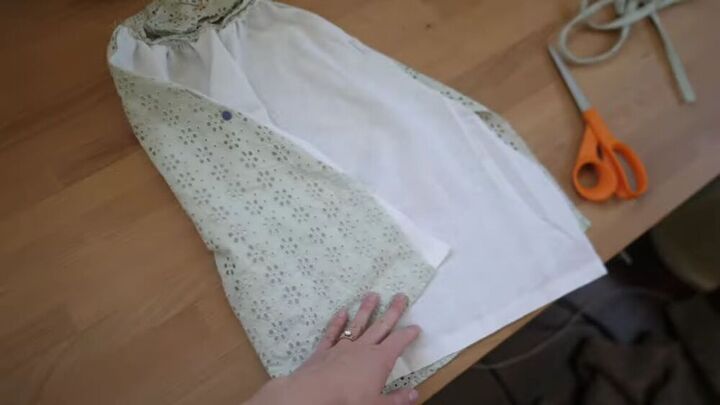
Ok, now that we have the pieces cut, I decided to change the design a little. But first, Let’s add some lining to the front.
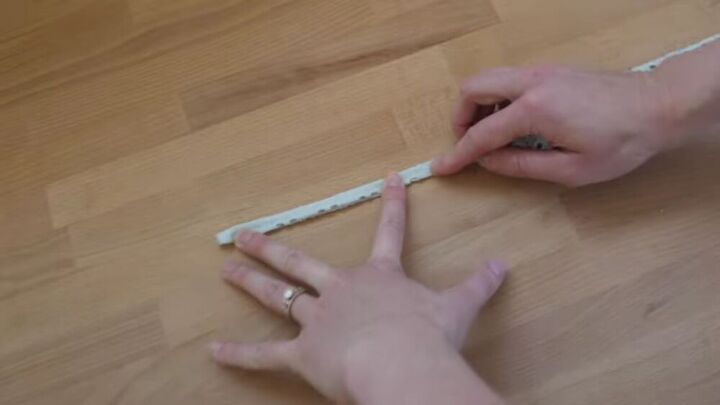
With the remaining fabric from the back panels, cut out strips of fabric, fold them into the center, and then in half and stitch to secure.
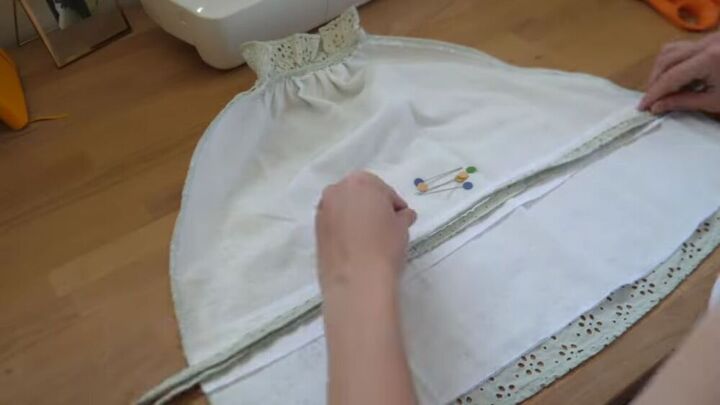
Now, take each strip and pin it to a strip of lining fabric, as shown. So, first the strip, then the lining strip, and then pin the sides.
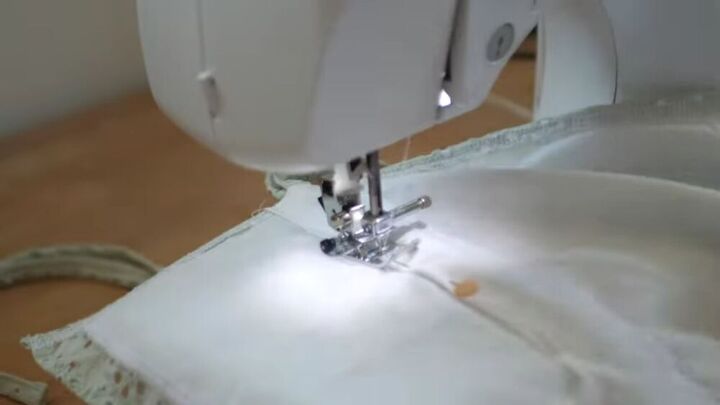
Now, stitch the sides of the lining; This will create a ruffled look in the front.
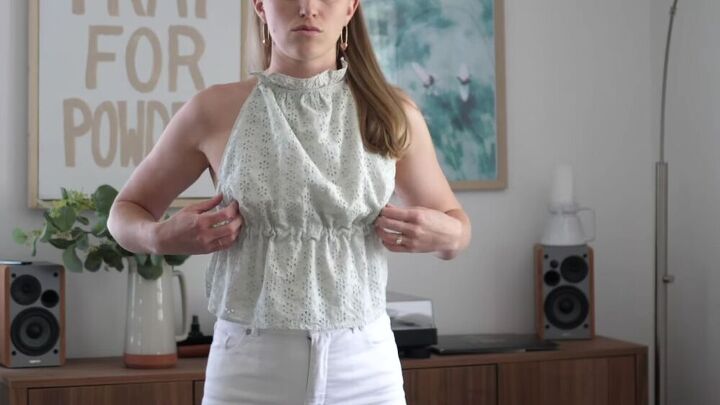
I decided to not add the ruffled sleeve as the neckline; it looked a bit too much for this look. So I cut the neckline straight and attached the straps to the shoulder area.
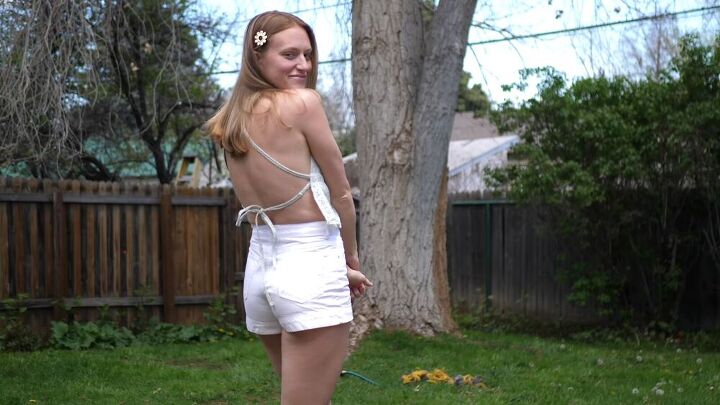
There you have it, the final look! It took some adjustments- but that’s the beauty of sewing. Sometimes you just need to go with the flow and do what works best. I’m so chuffed with the outcome!
The author may collect a small share of sales from the links on this page.


Comments
Join the conversation
Wow…you transformed your thrifted tops with amazing creativity. Thanks so much for sharing the steps.