Super Easy Last Minute Boba Tea Costume

Waited 'til the last minute and in a hurry to figure out a Halloween costume? Go as bubble/boba tea! This costume is super easy and quick to make - It should take less than an hour. If you have a solid mini or midi dress, a headband and some black paper on hand, you're good to go.
Here is what you need to create this costume:
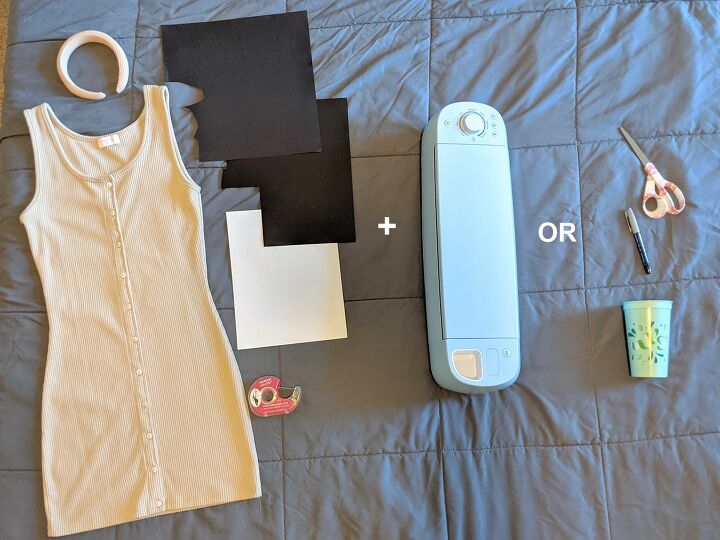
- A solid colored mini/midi dress
- Headband
- Black construction paper or cardstock
- White or colored piece of paper
- Double-sided tape or fashion tape
- Paper cutter or scissors
- Measuring tape or ruler
AND
A Cricut cutting machine + supplies
OR
A round object, like a cup
A silver marker or pen
Scissors
INSTRUCTIONS
You can create this costume with a Cricut cutting machine or by hand with the supplies above. For this tutorial I will be using a Cricut machine.
STEP 1
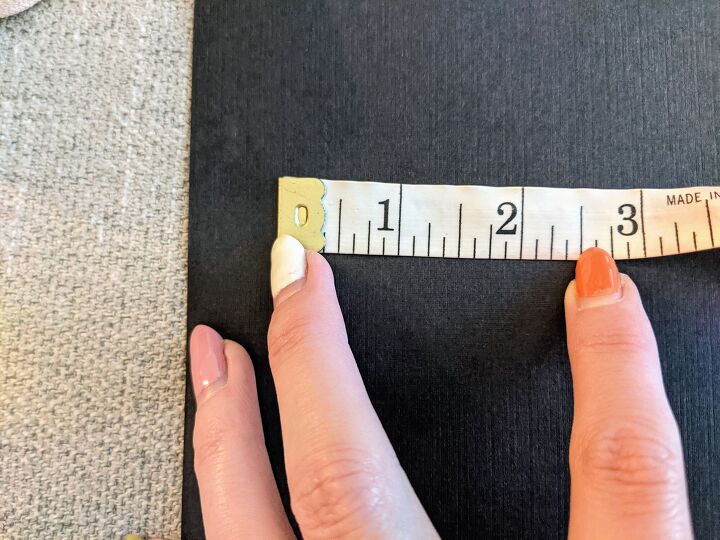
Measure out how wide you want your boba circles to be. Make sure you can fit multiple circles on your paper with a little space between them. I made my circles 2.5" wide.
STEP 2
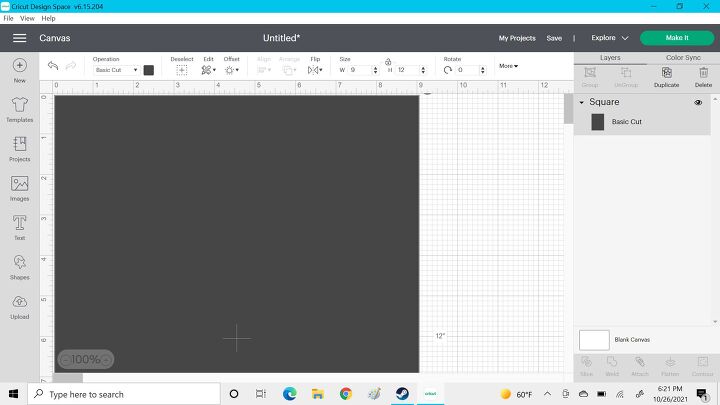
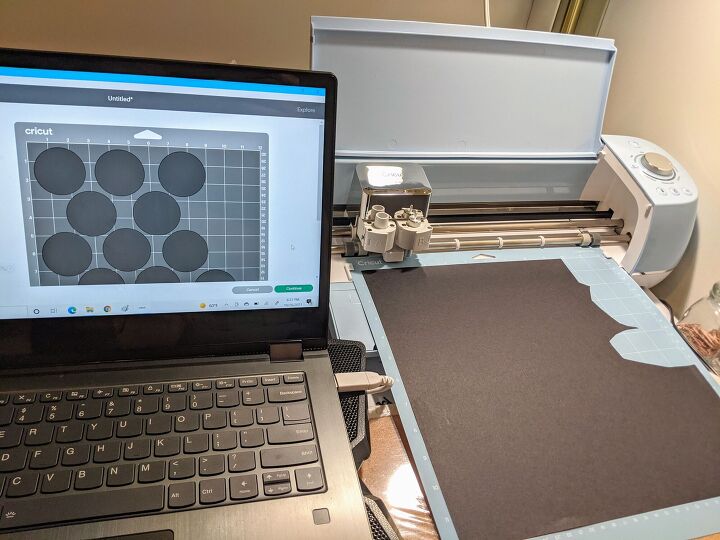
Measure the size of your black paper. Open Cricut Design Space and create a square or rectangle the dimensions of the paper. This will be your guideline for placing the circles. I changed mine to a white fill.
▶ If you do not have a Cricut machine, skip this step.
STEP 3
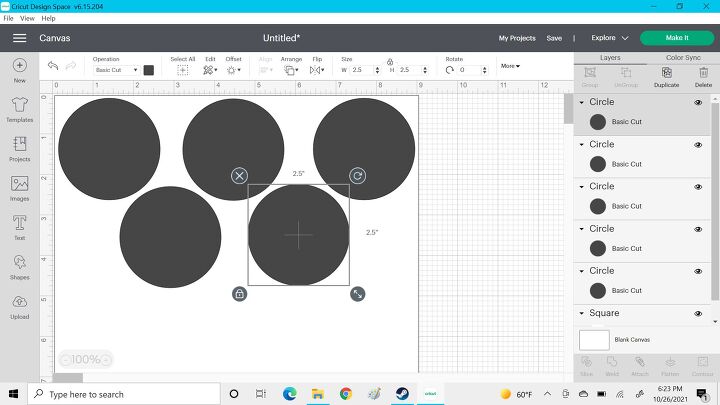
Create a circle the size you decided on. For mine that is 2.5". Copy and paste the circles, spacing them out until your border is full. Make sure to leave a bit of space between circles so the paper doesnt snag or get stuck when cutting.
▶ If you don't have a Cricut machine, take the cup or round object and silver marker and trace circles onto the paper.
STEP 4
Once you're done placing your circles on Cricut Design Space delete your border. Select all circles and click weld at the bottom right. This will keep all your circles in place. If you do not weld, the circles will be lined up symmetrically when cutting.
Connect your laptop to your Cricut machine, and click "make it" on your circles design.
▶ If you do not have a Cricut machine, skip this step.
STEP 5
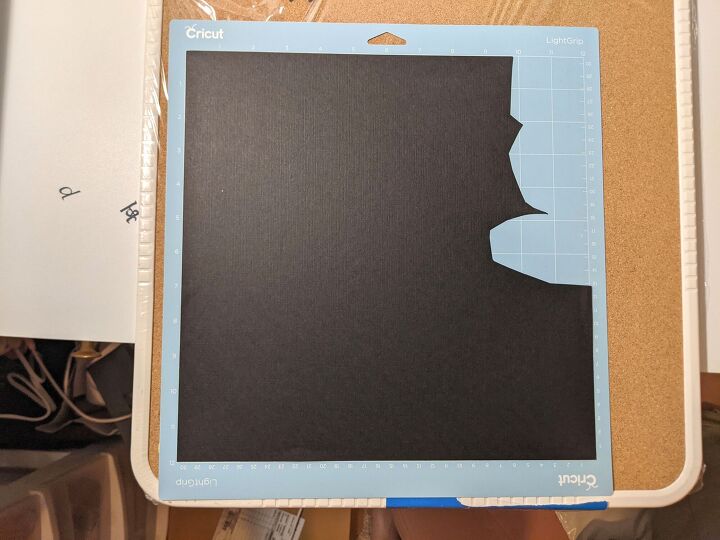
Place your black paper onto a Cricut cutting mat. Load the mat into your machine.
▶ If you do not have a Cricut machine, skip this step.
STEP 6
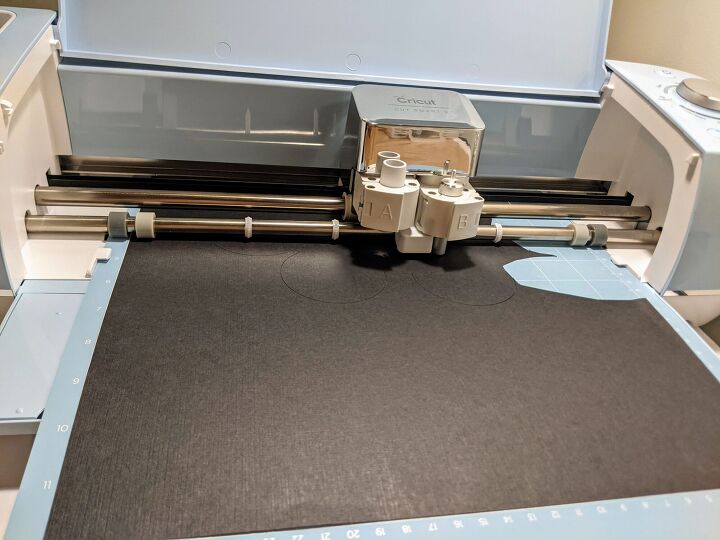
Once your machine is connected and your design looks correct, click Make It and watch the machine do it's magic.
▶ If you do not have a Cricut machine, use the sciccors to cut out each of the circles.
STEP 7
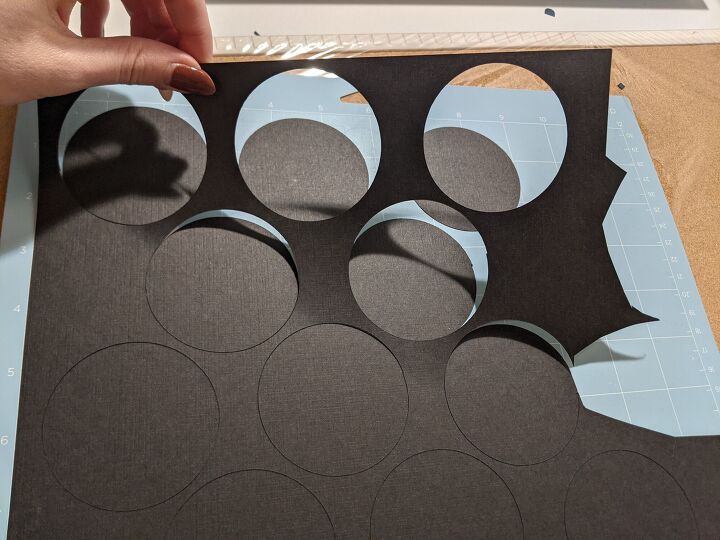
Gently lift up the excess paper off of the mat. It helps to bend the mat a little bit to release the edge. Slowly pull towards you to pull the paper off.
▶ If you do not have a Cricut machine, skip this step.
STEP 8
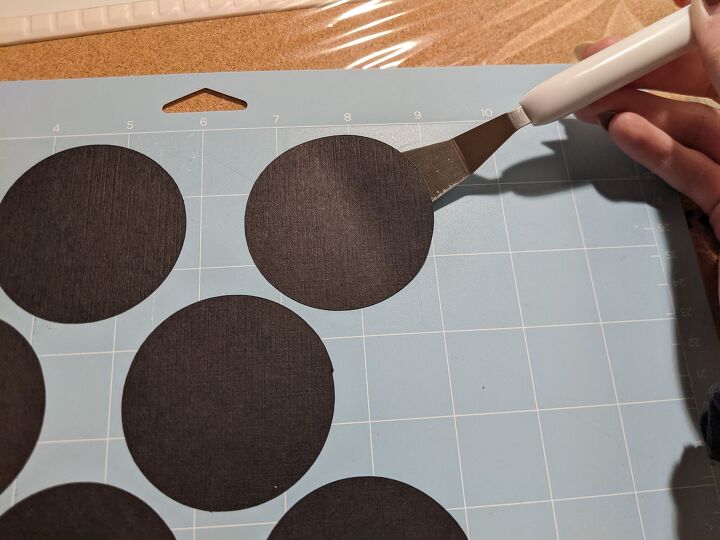
Very carefully peel your circles off of the mat. I used the spatula tool to get underneath. Bend the mat and gently push the tool under the circle until you can easily pull it off.
▶ If you do not have a Cricut machine, skip this step.
THE FOLLOWING STEPS ARE THE SAME FOR BOTH CRICUT AND NON-CRICUT MAKERS
STEP 9
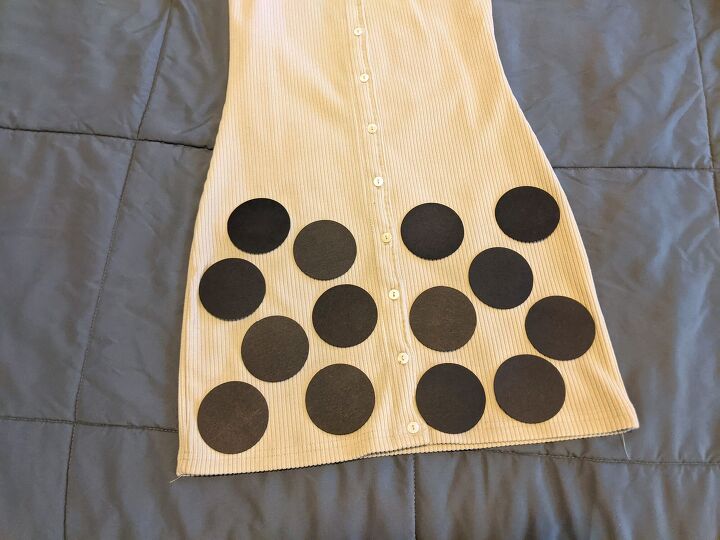
Lay your dress down and lay out the black circles until you like their placement. I found that one large sheet of black paper made enough circles for my outfit.
Use double-sided tape or fashion tape to tape each circle onto the dress.
STEP 10
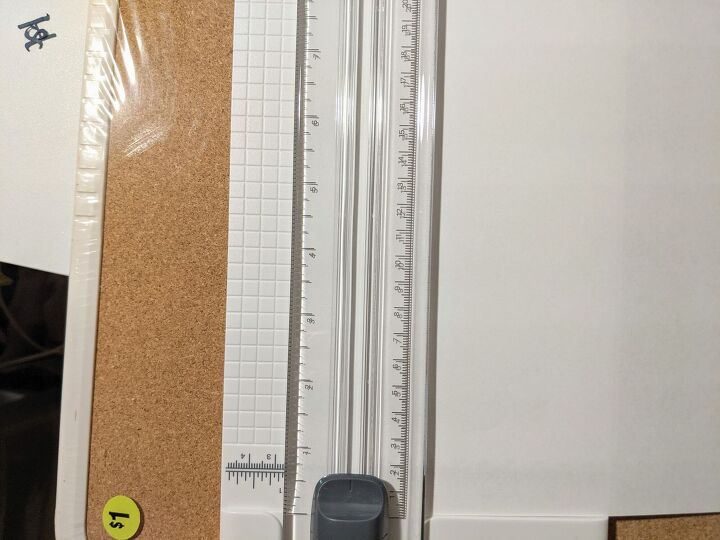
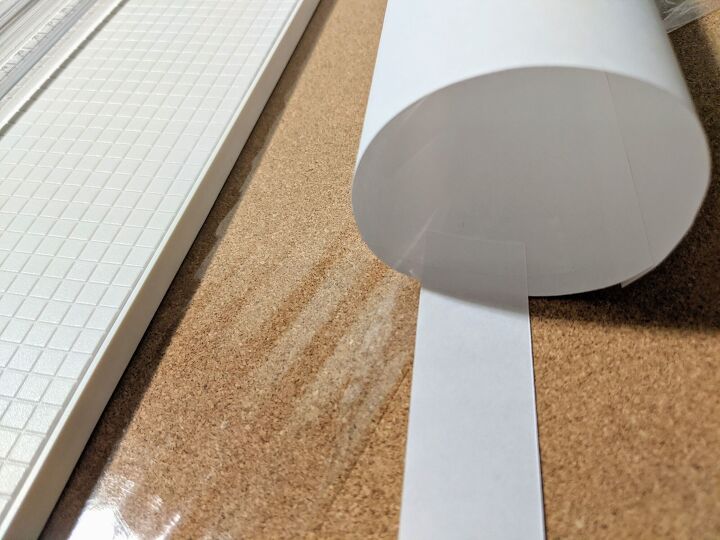
Get your white or colored paper and cut off an inch wide strip along the shorter edge. Set aside.
STEP 11
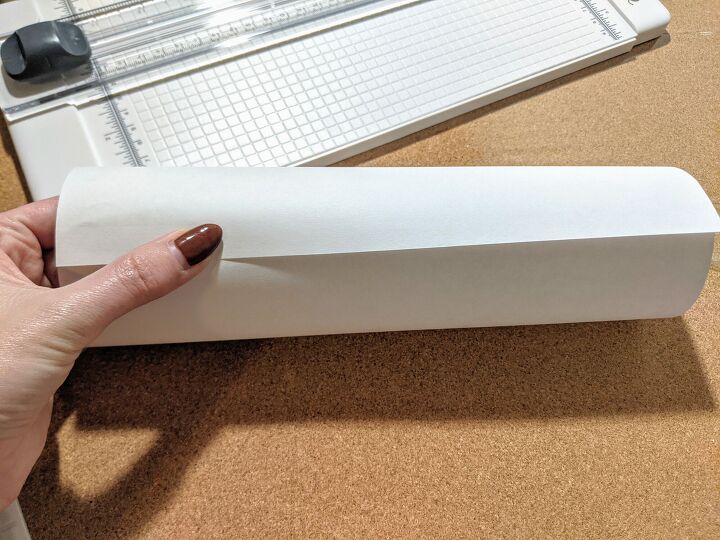
Roll your white/colored paper into a tube along the long edge. You want it to be longer than it is wide. This is going to be your straw. Tape or glue the edges together.
STEP 12
Cut the 1" wide strip into two pieces. Tape or glue each piece on the inside of the tube on opposite sides.
STEP 13

Place the tube on top of the headband. Wrap the two straps around the underside of the headband to connect them. You will likely have to trim off excess length. Pull the pieces fairly tight so the straw does not slide or move around. Tape or glue the pieces together.
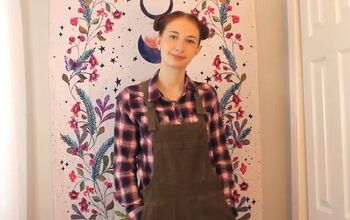
STEP 14
Put everything together and you have a bubble tea costume!

The author may collect a small share of sales from the links on this page.


Comments
Join the conversation