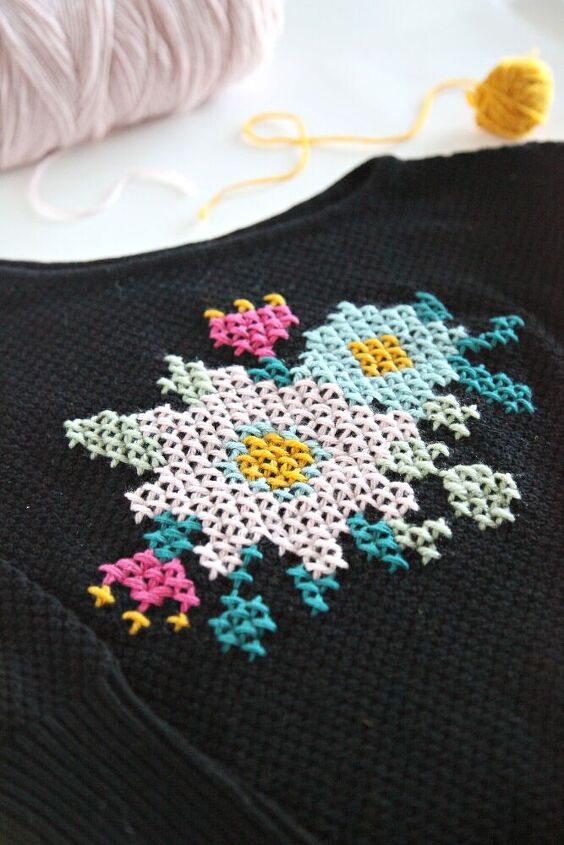
How to Make a DIY Embellished Sweater With Cross Stitch

This DIY Embellished Sweater project was originally created for Darice.
This post may contain affiliate links, which help us support this site.
I love the cozy, comfy, warmth of a good knit sweater, and I couldn't be happier that sweater weather is approaching! With that being said, every year I want to freshen up my sweater collection, and that occasionally involves some DIYing to get what I want. A couple years ago, I embellished a sweater with cross stitch (see it here). But I lost it somewhere, and I've been dying to make a new one! So when I found the perfect black knit sweater on clearance for $6, I knew it was the perfect opportunity. Cross stitching is one of the most basic stitching techniques, and with our downloadable pattern (available at the bottom of the post), this project couldn't be easier. Keep scrolling for the tutorial!
Supplies needed to make a DIY Embellished Sweater with Cross Stitch:
- Grid knit sweater
- Yarn (I used light pink, dark pink, mustard, light green, light teal, and dark teal)
- Plastic needle
- Cross stitch pattern (download at the bottom of the post)
Step 1: You can embellish a sweater with any simple cross stitch pattern or you can download ours at the bottom of this post. It's also super easy to make your own pattern by making a table in google docs (or something similar) and coloring in the squares. Whatever you decide, I think it's easiest to print the cross stitch pattern out, and then mentally map out your design on the sweater, familiarizing yourself with the grid pattern from the knitting, so your stitches will be even and precise.
Note: It can be helpful to number the rows and columns on the pattern, and mark the center point on your sweater.
Step 2: Thread your needle. For this pattern, I used just one strand of yarn for each stitch and tied the yarn in a knot around the eye of the needle.
Step 3: Start stitching! Each cell on the pattern represents a full stitch. If you're unsure of how to complete a cross stitch, this is a good simple tutorial.
Step 4: Continue following the pattern until your design is complete!
Happy crafting!
xo, Sam
Enjoyed the project?
The author may collect a small share of sales from the links on this page.


Comments
Join the conversation
Great idea, you could do a Christmas design, and change it up after the holidays for something else.
This is so adorable and not heavy looking or over embellished at all . Your stitches are lovely as well as precise. Thank you. for sharing this idea with us :)