How to DIY a Tacky but Super Cute Christmas Sweater

It’s ugly Christmas sweater season again, and I bet you want one that’s easy on your budget!
Follow this tutorial for a tacky, but super cute DIY Christmas sweater idea, using only things from your closet, a thrift store, or a dollar store.
Are you ready to be the hit of the holiday party? Then let’s get started!
Tools and materials:
- Old red or green sweater from your closet or thrift store
- Christmas bells
- Battery-powered Christmas lights (2 packs)
- Christmas garland or tinsel
- Thread
- Sewing needle
- Scissors
- Hot glue gun
- Velcro
1. Start with Christmas lights
You will need 1 package of lights for each sleeve of your Christmas sweater.
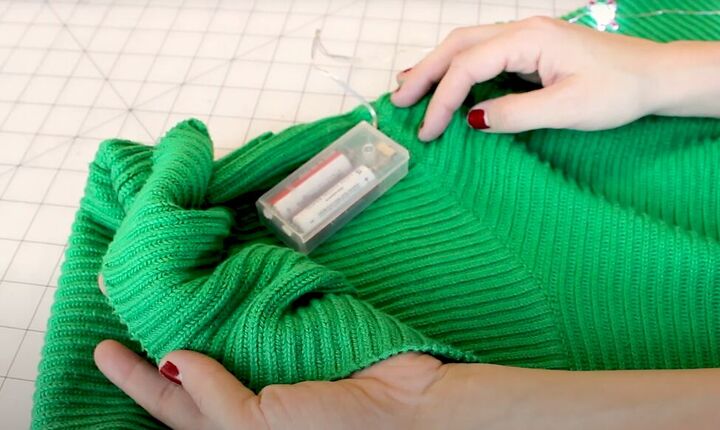
There are several options for where to hide the battery pack: in the cowl neck of your sweater (if there is one); inside the neckline; or under the cuff of the sleeve.
My sweater has a cowl neck, so I hid the battery pack under the cowl.
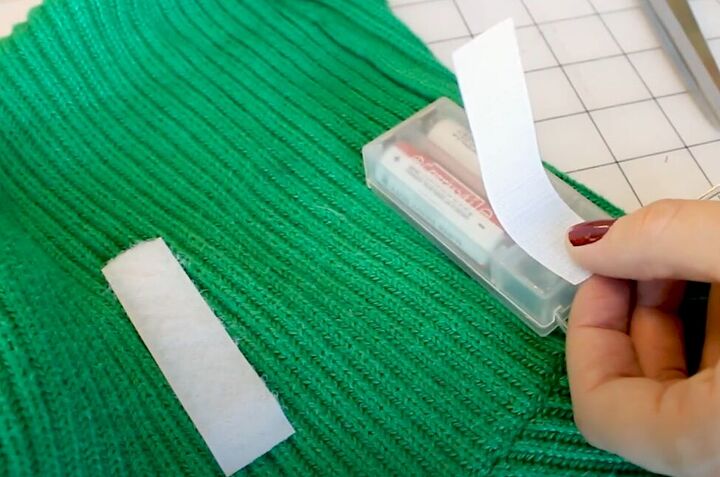
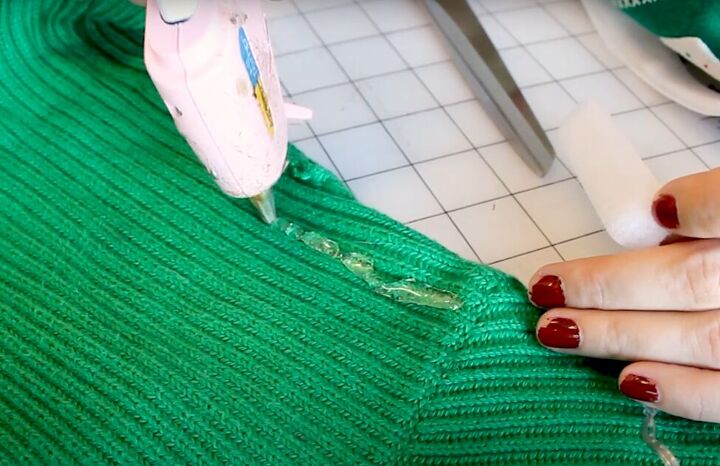
Use hot glue to attach Velcro to your battery pack and to your sweater with Velcro.
Put the side of the Velcro with the teeth on your battery pack.
Put the fuzzy side of the Velcro on the inside of your sweater or in the cowl, fuzzy-side-up, where you want the battery case to attach.
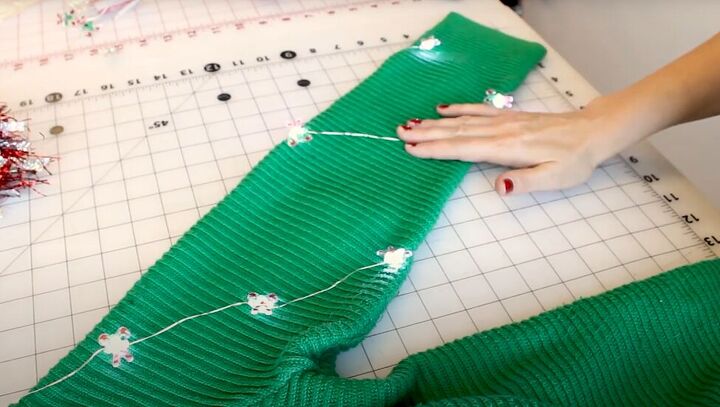
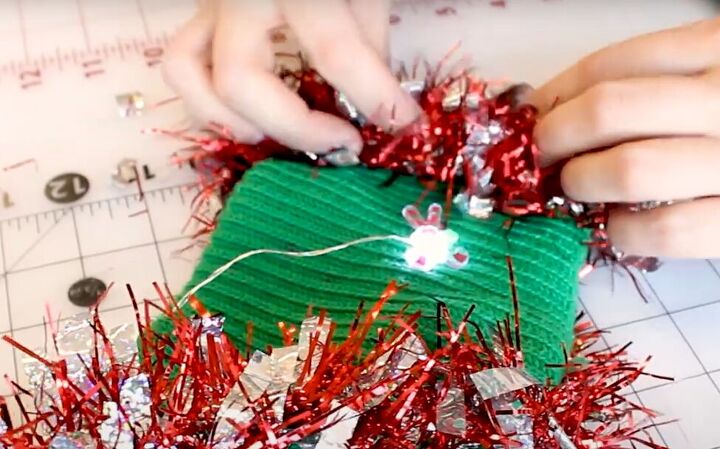
Wrap the lights around the sleeve, front and back.
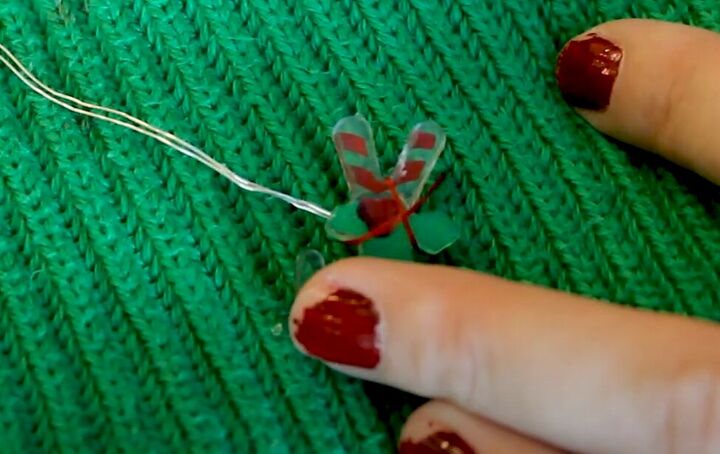
Hand sew each of the lights onto your sweater, by sewing right over the light to secure it.
Once you are confident that the light is secure, make a double knot with the thread on the inside of your sweater and cut the thread.
Repeat for all of the lights on both sleeves.
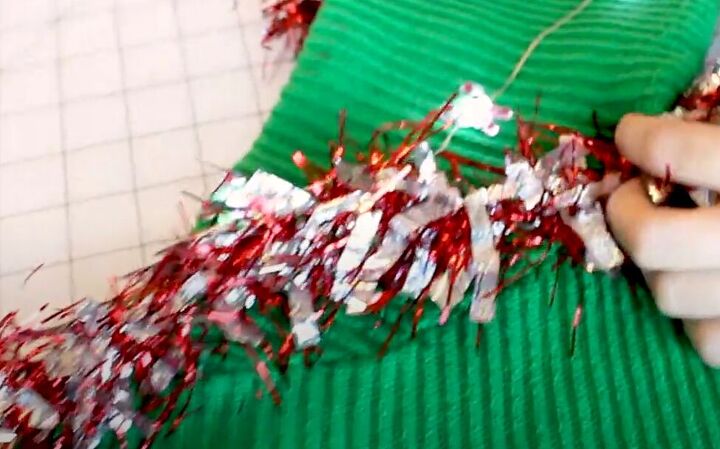
2. Attach the tinsel
Start the tinsel at the battery pack and bring it along the shoulder and down the armhole.
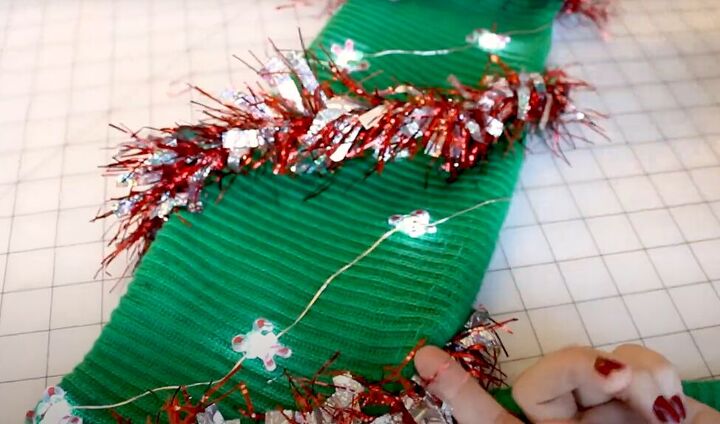
Then go under the sleeve and continue wrapping the tinsel going down the whole sleeve, between the lights.
Finish the tinsel by going around the bottom of the sleeve in a circle.
Repeat with the other sleeve.
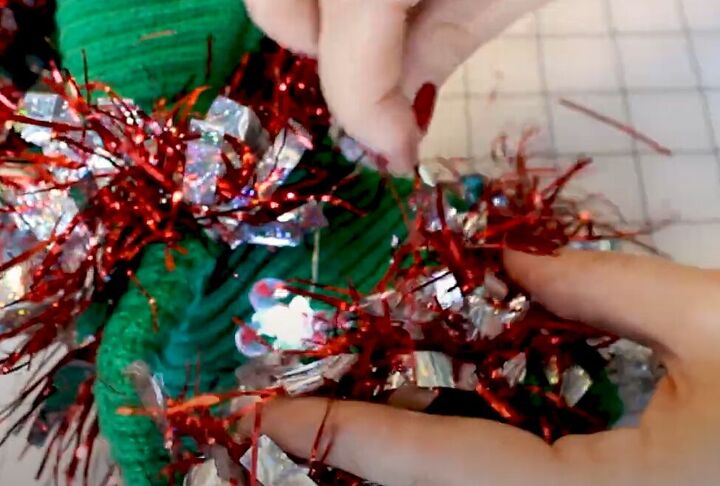
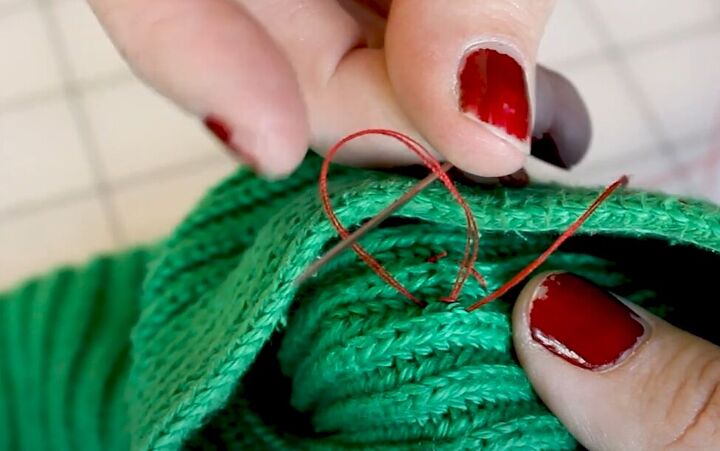
Whip stitch the tinsel onto your sweater by going in and out of the tinsel on alternating sides of it.
Start at the bottom of the sleeve, go around the sleeve and then work your way up to the battery pack.
The fluffiness of the tinsel will completely hide the thread wrapped around it.

When you run out of thread, make a knot through your last up-stitch and then start again with more thread.
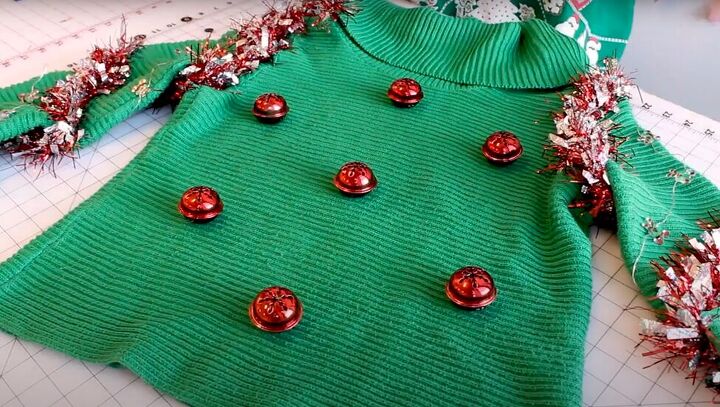
3. Time for the bells
Space out your Christmas bells evenly over the front of your sweater.

Use the little bar on the bell as your anchor for hand sewing it onto the sweater.
Knot your thread onto that bar by following the technique in the video from 10:15 to 10:35.
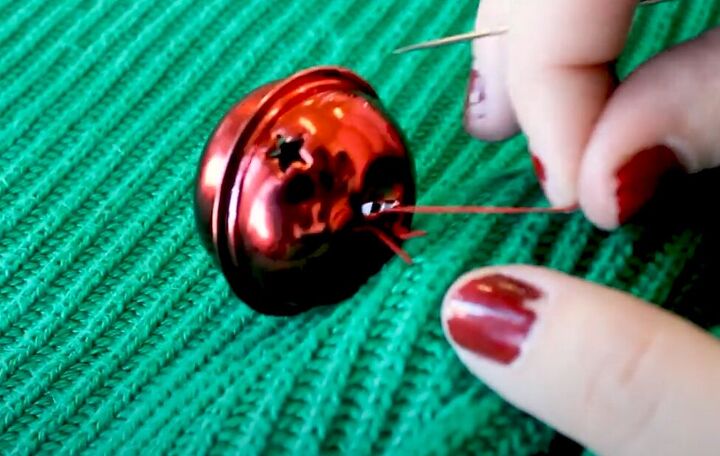
Now you can hand sew the bell to your sweater by passing your threaded needle through the bar at the back and into your sweater until the bell feels secure.

Finish by making two knots through the thread loop and cutting the thread.
Repeat for all your bells.

DIY tacky but cute Christmas sweater
Here’s my finished easy DIY ugly Christmas sweater, and to tell you the truth, I don’t even think it’s all that ugly. It’s actually kind of cute with the lights, garland and Christmas bells.
I’m ready for the holiday season, and now it’s your turn to get ready by making this holiday sweater.
Leave a comment to let me know how your DIY tinsel sweater turned out.
The author may collect a small share of sales from the links on this page.


Comments
Join the conversation