How to DIY a Super Cute Midi Dress Using an Old Sweater

You are going to love the way I upcycled an old sweater into a really cute tartan dress!
Of course, you don’t have to make a tartan midi dress – you can choose any dress fabric you wish and coordinate it with any old sweater in your closet. Let's get started.
Tools and materials:
- Old sweater
- Dress fabric
- Tape measure
- Scissors
- Sewing pins
- Thread
- Sewing machine
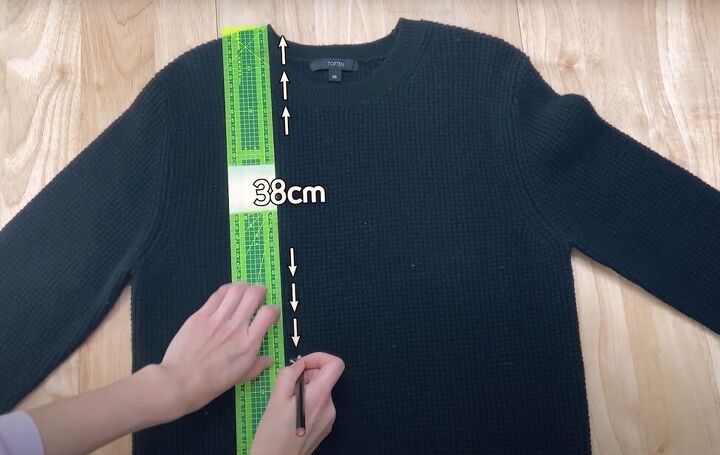
1. Disassemble your sweater
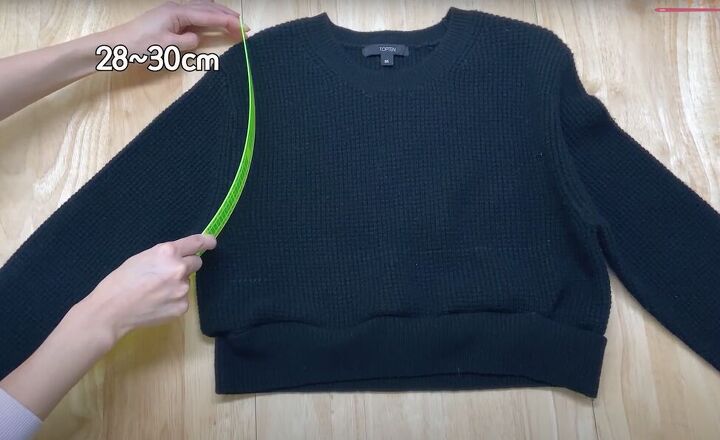
On your sweater, measure down 38 centimeters (15 inches) from the top of the shoulder.
Draw a horizontal line across the sweater at that mark.
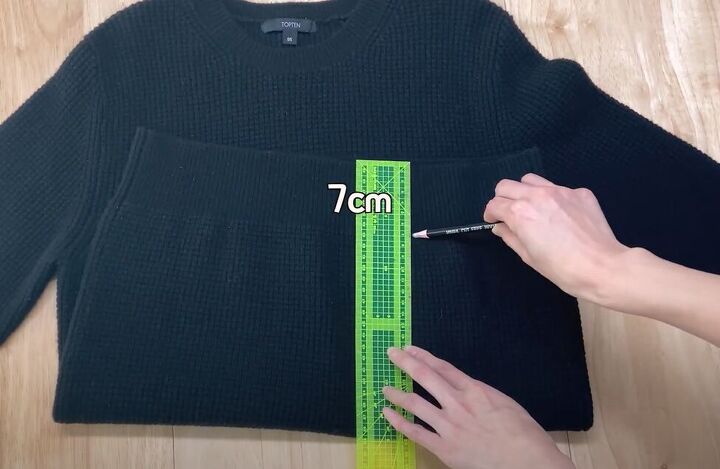
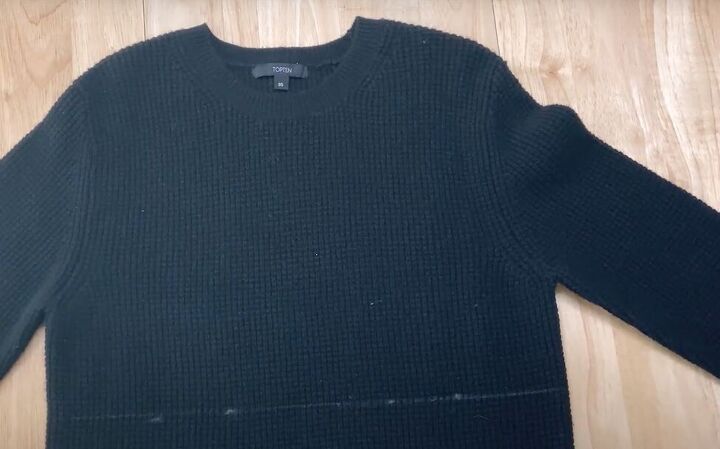
Measure the width of the waistband on your sweater. Mine was 7 centimeters (2.7 inches).
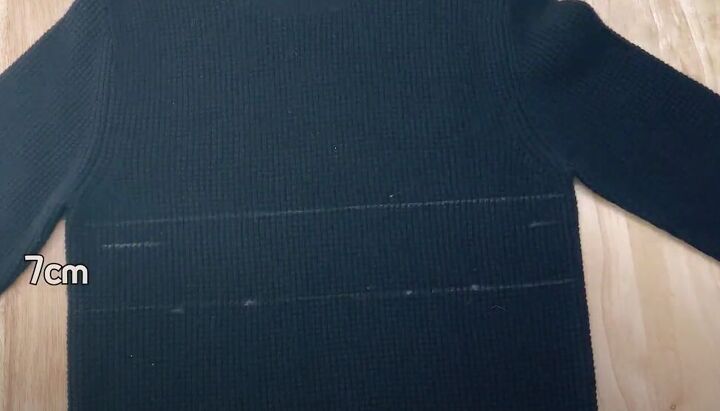
Make a second horizontal line across the front of the sweater, 7 centimeters (2.7 inches), or the width of your sweater’s waistband, above the first line.
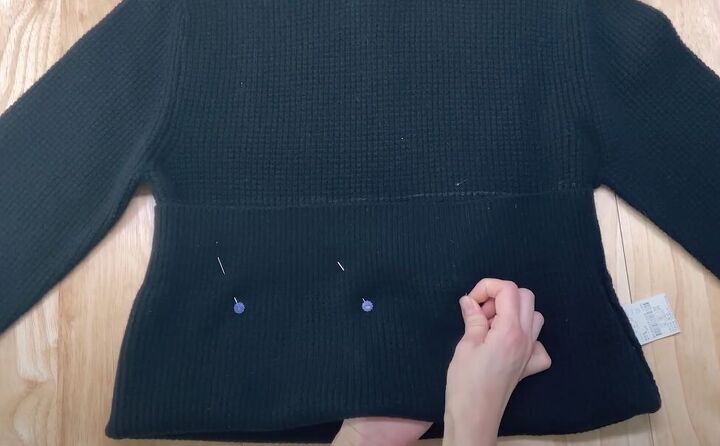
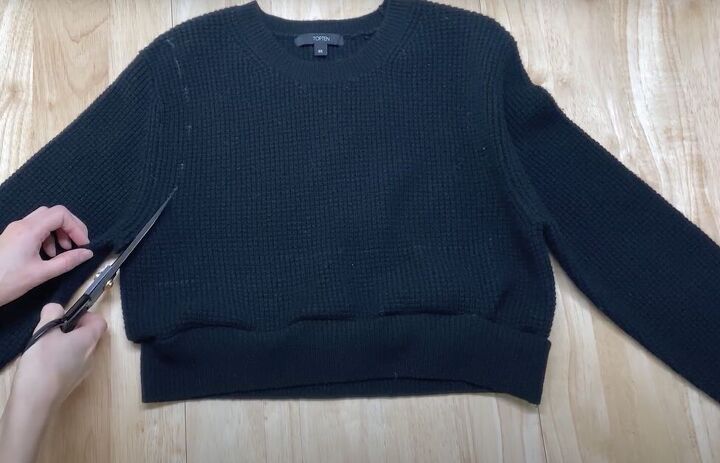
Fold up the bottom of your sweater so the bottom edge meets the upper horizontal line, and pin in place.
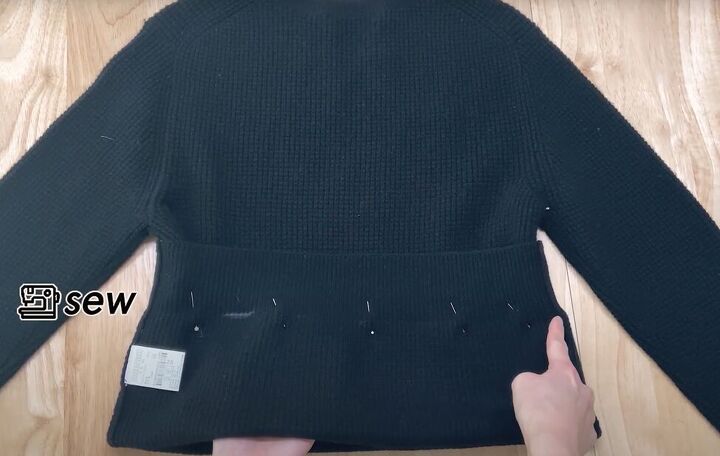
Mark 7 centimeters (2.7 inches) below the edge (i.e., where your first horizontal line is), and sew along that line.
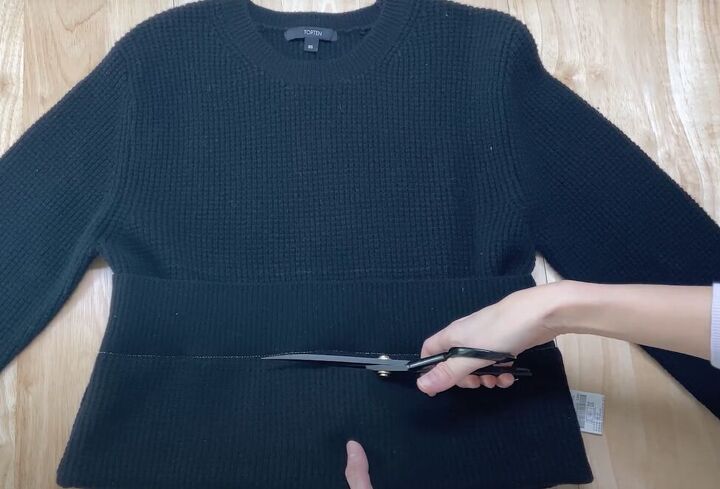
Cut the sweater below the line of stitching.
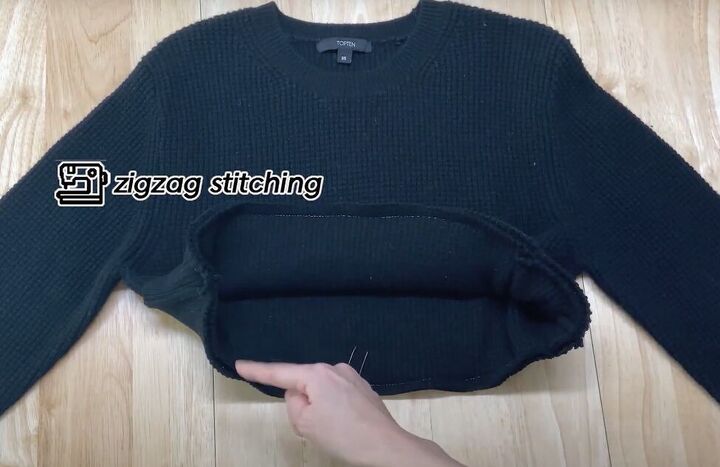
Zigzag stitch around the seam allowance to keep it from fraying.
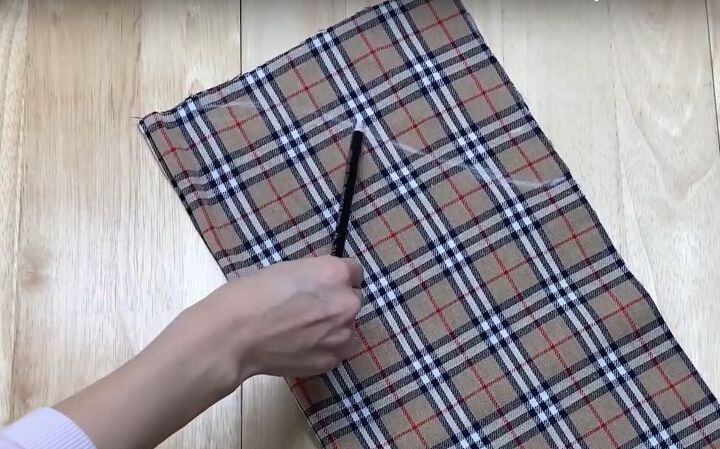
Measure and mark the armhole on the sweater as in the above image.
Cut the armhole.
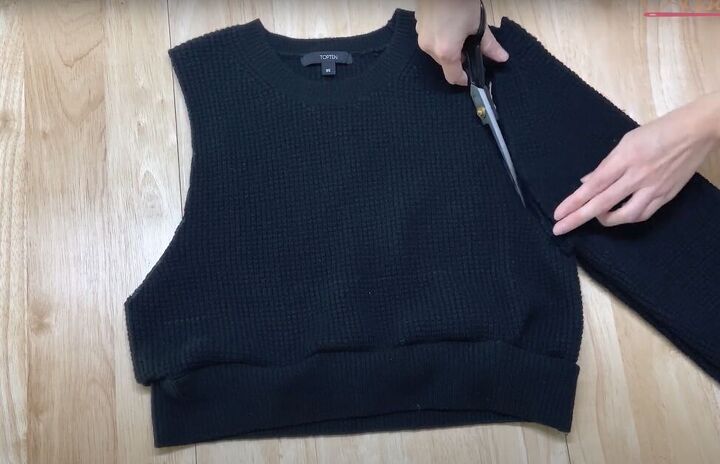
Cut the second armhole using the first removed sleeve as your template.
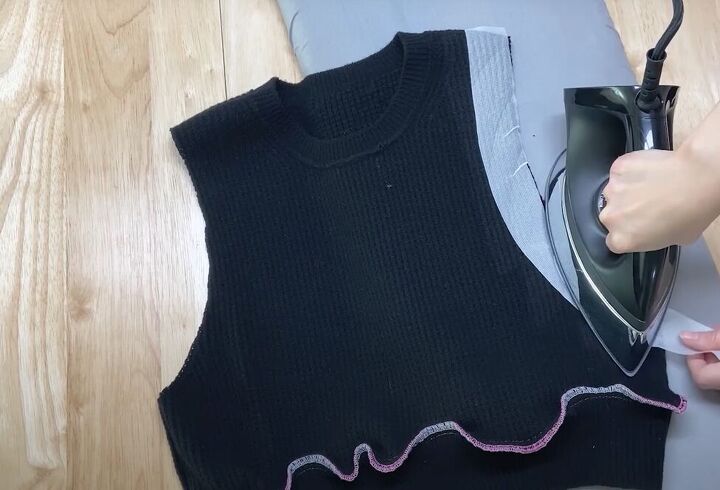
With your sweater inside-out, iron facing on both armhole edges, front and back.
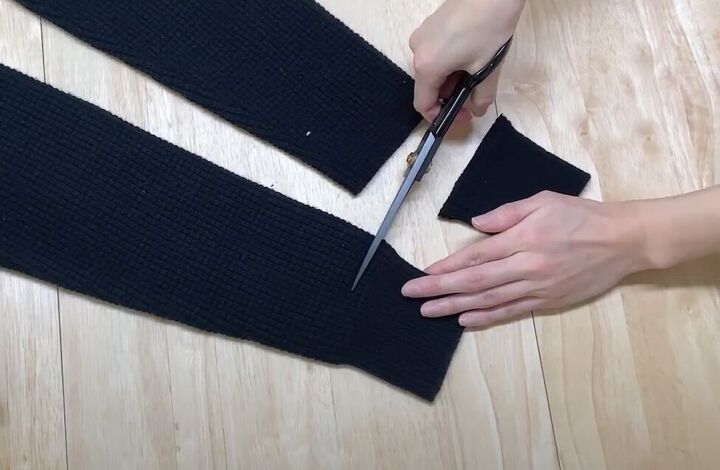
Cut the cuffs off both sleeves and save them for later.
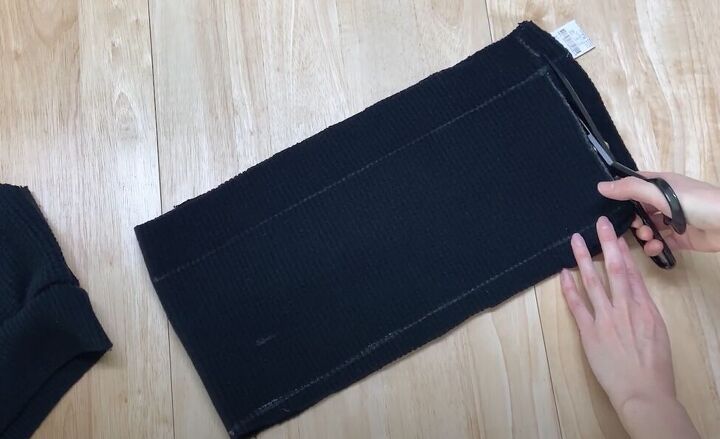
Using the fabric you cut off the bodice of the sweater, mark an 87x15-centimeter (34.2x-6-inch) rectangle on the fold, and cut it out.
2. Cut out the dress pieces
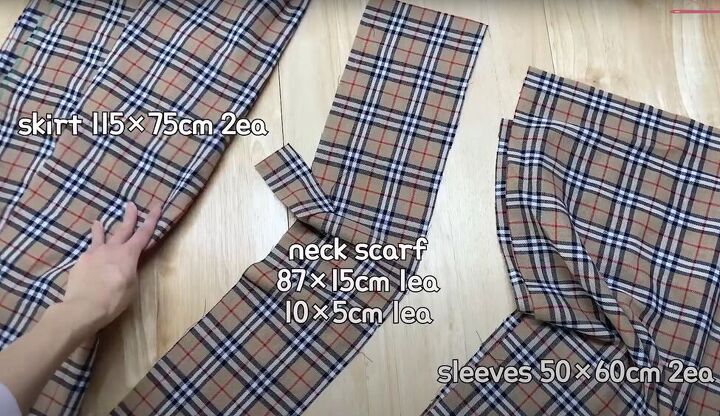
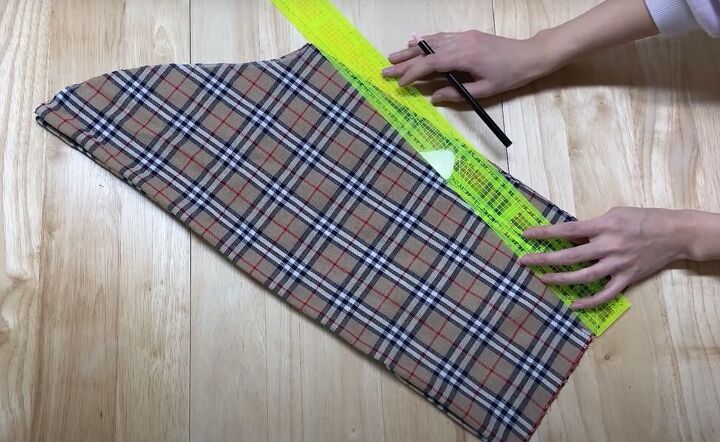
For your dress fabric, you will need two matching skirt pieces, two different scarf pieces, and two matching sleeve pieces with measurements as indicated in the image above.
3. Sew the skirt
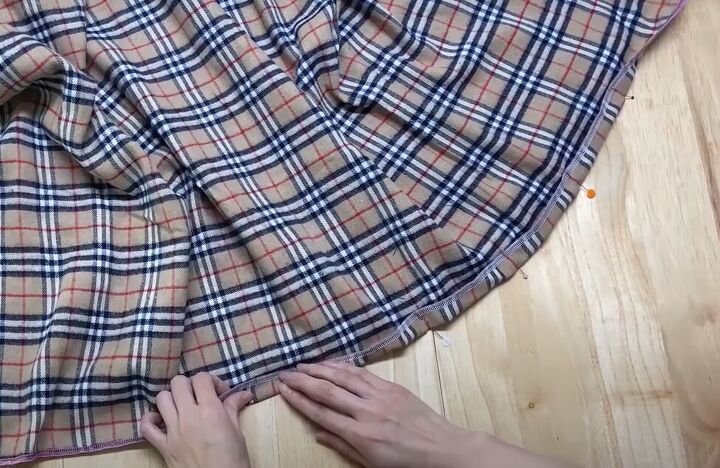
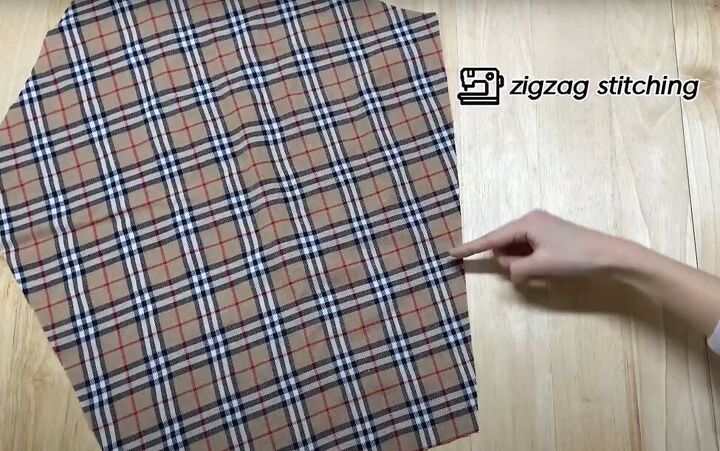
On each of your skirt pieces, zigzag stitch around the whole perimeter of the fabric.
To gather the top of the skirt, use the gathering foot on your sewing machine and sew across the top of the front and back skirt pieces.
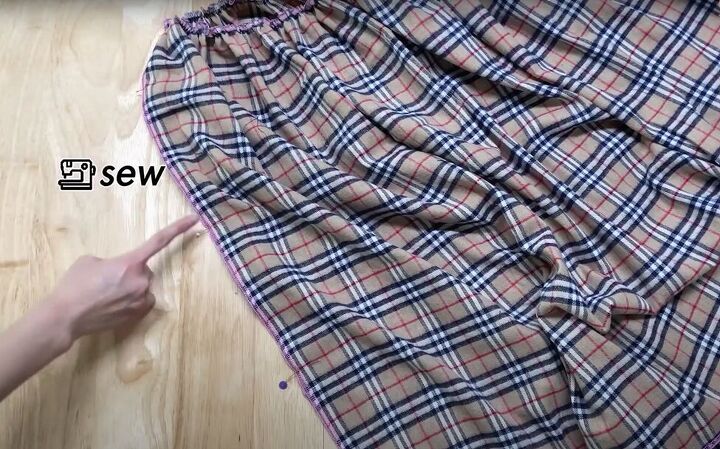
Place the front and back together, right sides facing, and pin and sew the side seams.
Pin and sew the skirt hem.
4. Sew the sleeves
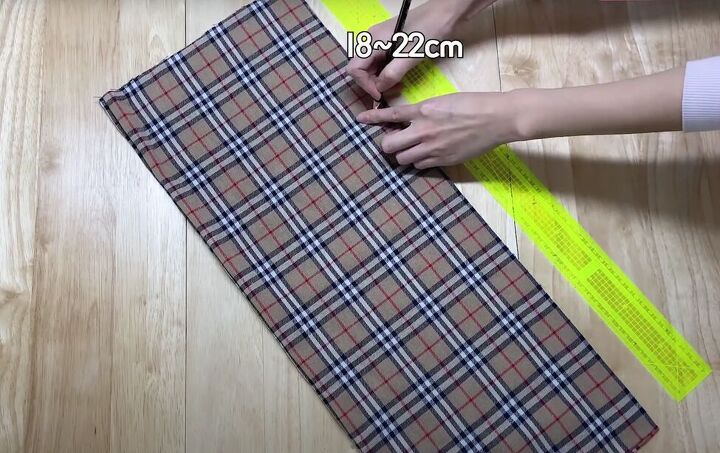
Fold the sleeve in half to make a 50 x 25-centimeter (19.6x9.8-inch) rectangle.
Measure and mark approximately 18-22 centimeters (7-8.6 inches) from the top of the open edge. depending on how large you need your armhole.
Draw and cut a wavy line, from that mark on the open edge to the top corner on the folded edge.
On the bottom edge of the still-folded sleeve, mark 15 centimeters (5.9 inches) in from the folded edge.
Draw and cut a diagonal line from that mark to the upper corner of the open edge.
Repeat for the second sleeve.
Zigzag stitch the side edges of the sleeves to keep them from fraying.
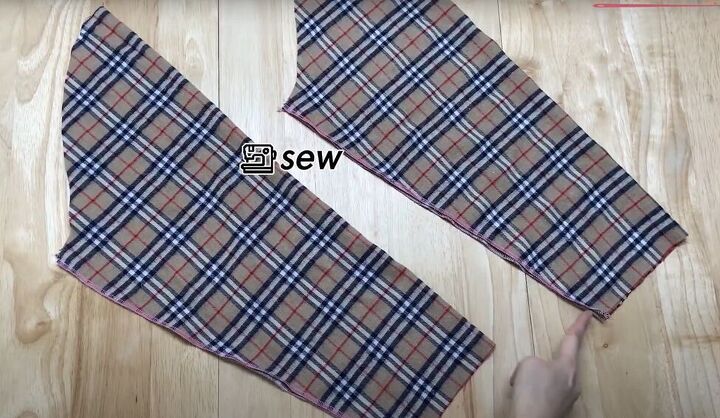
Fold each sleeve in half lengthwise with right sides facing, and sew the open edge.
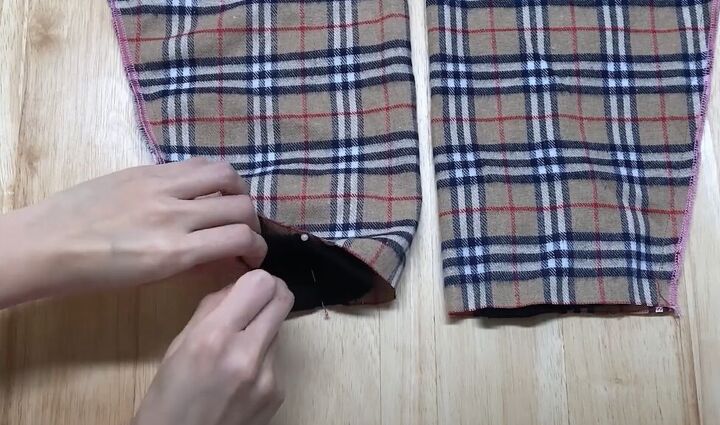
5. Attach the cuffs
Insert the sweater cuffs into the sleeves and pin them in place, stretching the cuffs as needed.
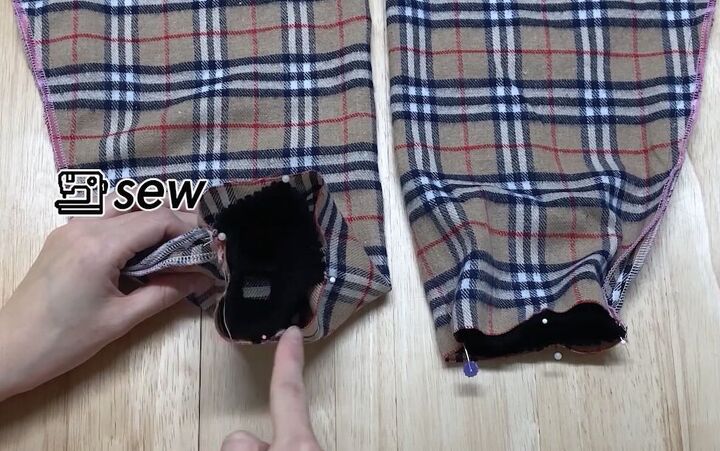
Zigzag stitch around the edge of the cuffs.

6. Attach the sleeves
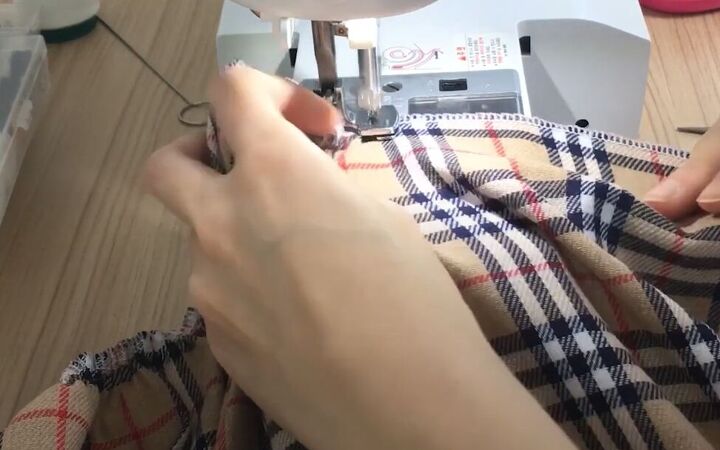
With the sweater inside out, insert the sleeves through the armholes.
Pin and zigzag stitch the sleeves in place.
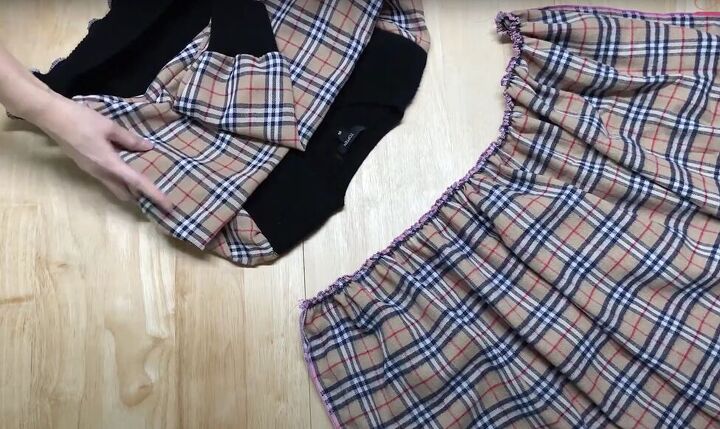
7. Attach the skirt
Turn the sweater upside-down, and insert it, right sides together, into the skirt.
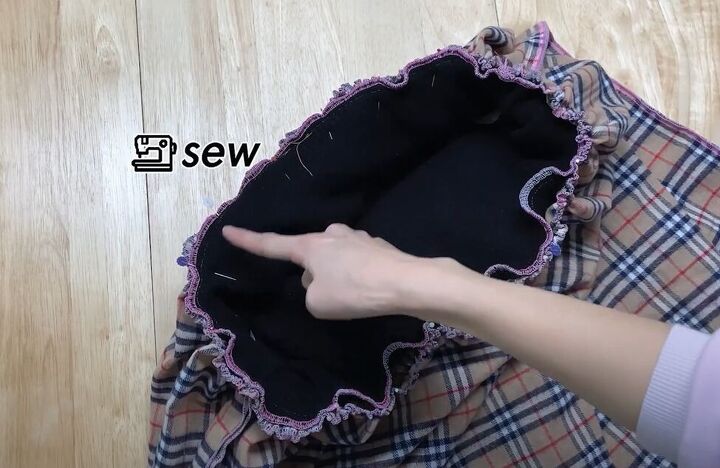
Pin the skirt and sweater together, and then sew with a straight stitch.
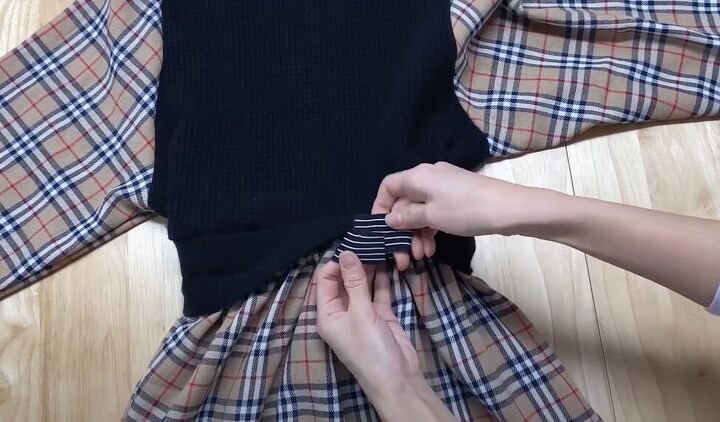
8. Make the waistband
To make an elastic waistband, follow the simple steps in the video from 8:11 to 8:55.

9. Make the neck scarf
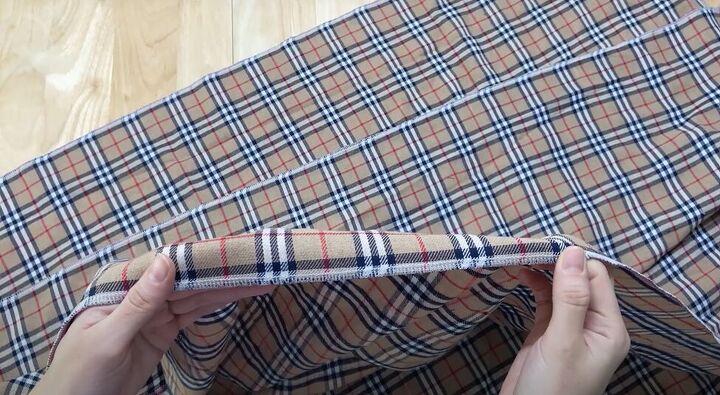
With right sides facing, place the sweater and fabric scarf pieces together.

Cut diagonal corners from the short open edges.
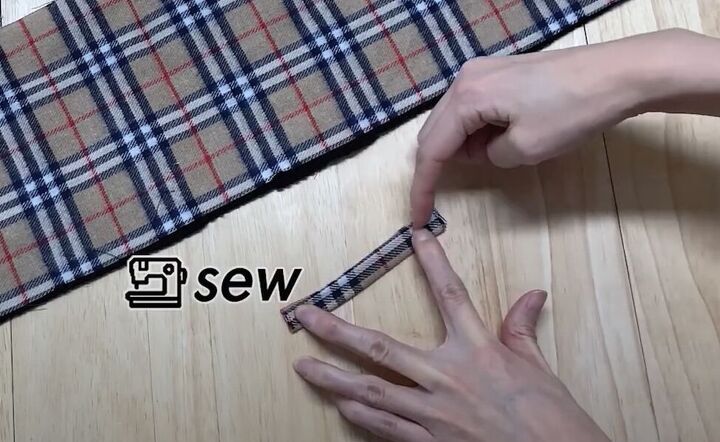
Follow the video from 9:19 to 9:30 to make and attach the scarf tie.
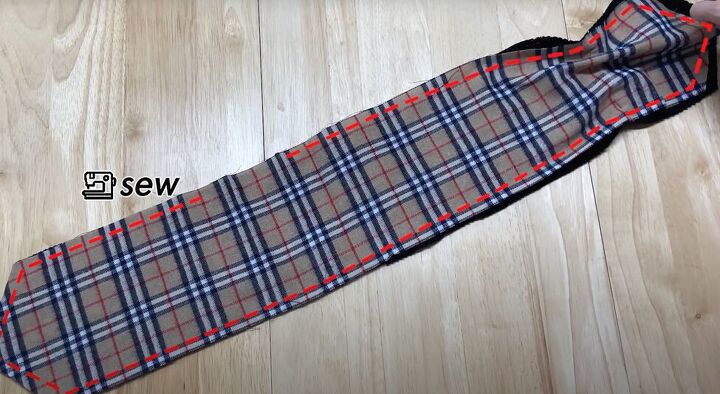
Sew all the edges of the scarf, leaving a gap to turn it right side out.
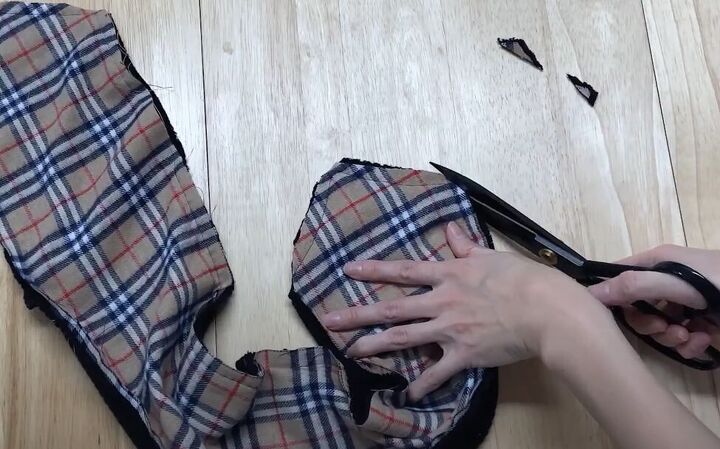
Trim all of the corners of the scarf in the seam allowance, turn the scarf right side out and sew up the gap with an invisible stitch.

DIY midi sweater dress
Here’s the finished dress! The scarf is reversible so you can wear it with either the sweater or dress-fabric side out.
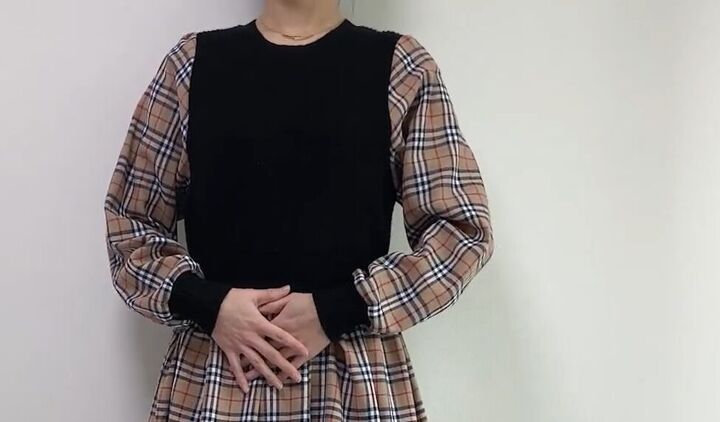
You can also wear it without the scarf.
If you try making this easy DIY tartan midi-dress, please leave a comment to let me know how it turned out!
The author may collect a small share of sales from the links on this page.


Comments
Join the conversation
I like that VERY much ! I have a top & material I could use to make a dress for myself using your idea . Thank you for sharing x x