How to Embroider a Knit Sweatshirt Neckline
Updated: Jan 4
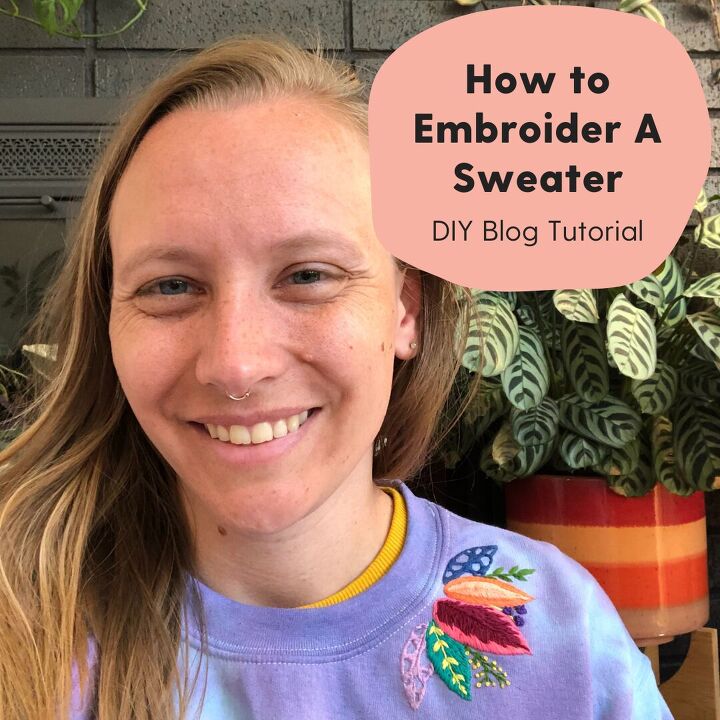
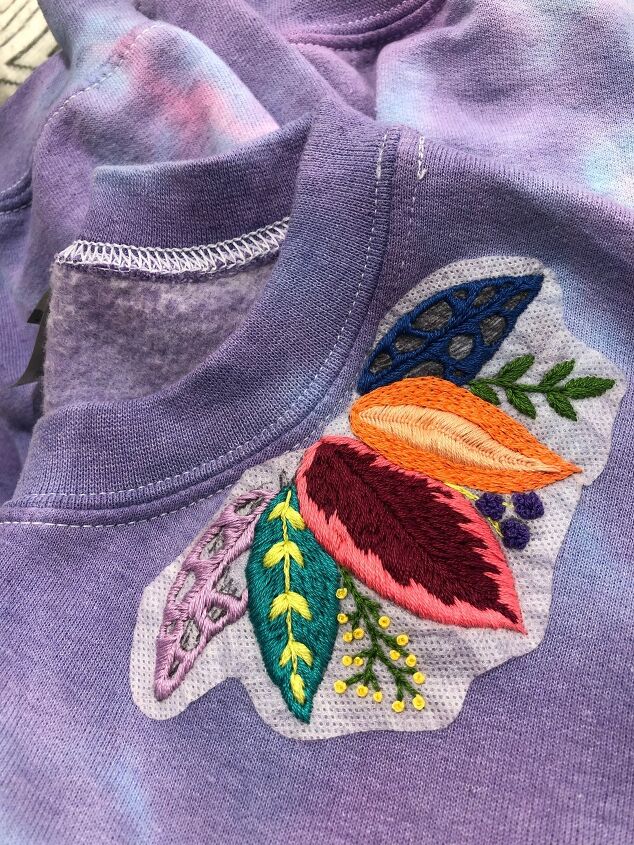
Lately, I've been on a clothing embroidery kick. I just love being able to jazz up a plain t-shirt or add some beautiful decorative elements to an everyday garment. Recently, I tie-dyed a knit sweatshirt and while I love the pattern, I thought it could use a little more pizzazz. So I decided to add tropical plants to the neck line.
Stitching on knit fabric can be a little trickier than a t-shirt or pair of jeans, because it's a thick and stretchy material. If you'd like to learn how to stitch your own sweatshirt, follow along with this DIY tutorial for all sorts of tips and tricks.
What You'll Need:
- Knit sweatshirt
- Embroidery hoop
- Embroidery thread
- Embroidery needle
- In The Tropics embroidery pattern
- Scissors
- Warm water
Let's Get Stitching:
1. First, pre-wash your sweatshirt before stitching. I recommend this, because sometimes fabrics shrink in the wash and you don't want your embroidery to pull awkwardly or distort your garment after you've put in all that hard work.
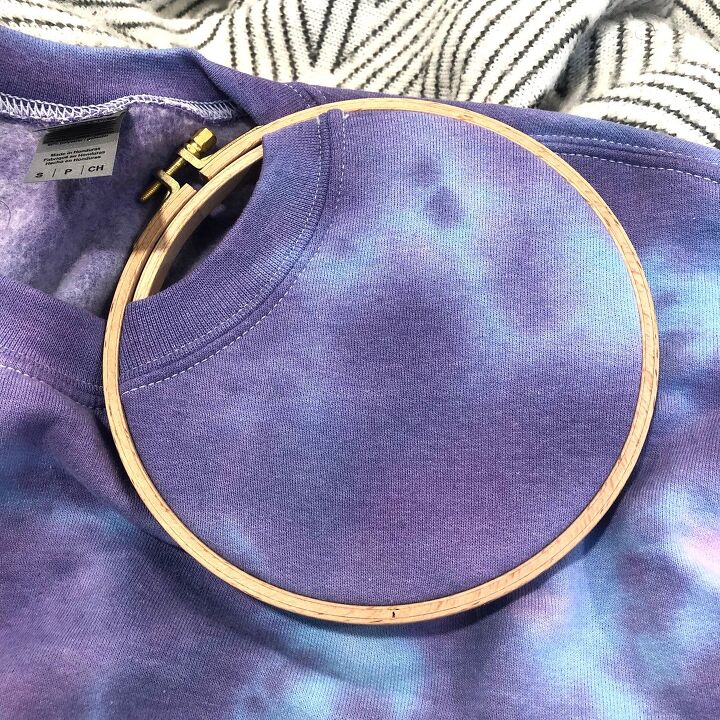
2. Choose an embroidery hoop that is slightly larger than your pattern and place it along the neckline of your sweatshirt. Be sure to only place one side of your sweatshirt in the embroidery hoop. Not all of the fabric will be in the hoop frame. When sandwiching the two hoop pieces around the fabric, make sure to not overly stretch the sweatshirt. Your fabric will be looser than a usual embroidery left in the hoop, however, not so loose that it hangs like a hammock.

3. Next, align the In The Tropics Peel Stick and Stitch patterns on top of your sweatshirt. Before peeling off the back, I like to play around with alignment, to make sure the design is where I want it. With these patterns, it's perfectly fine to overlap them as well. You can also see that some of my pattern cover the neckline. Don't worry about that right now, but note that anything above the neckline seem will not be stitched.
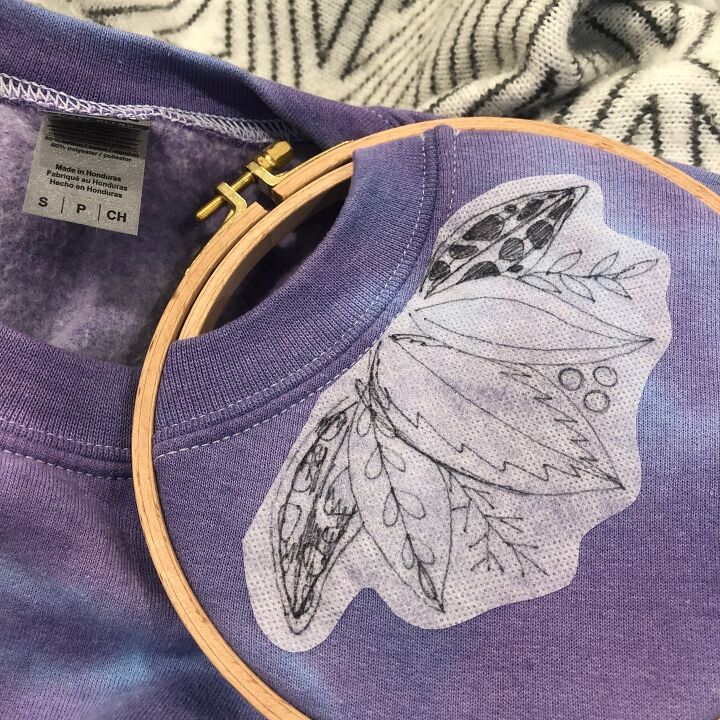
4. Once aligned, peel off the back of the transfer paper and press it firmly to the sweatshirt. Mark where the seem line is on the transfer paper. Then gingerly trim along that line. Be sure not to cut the sweatshirt.
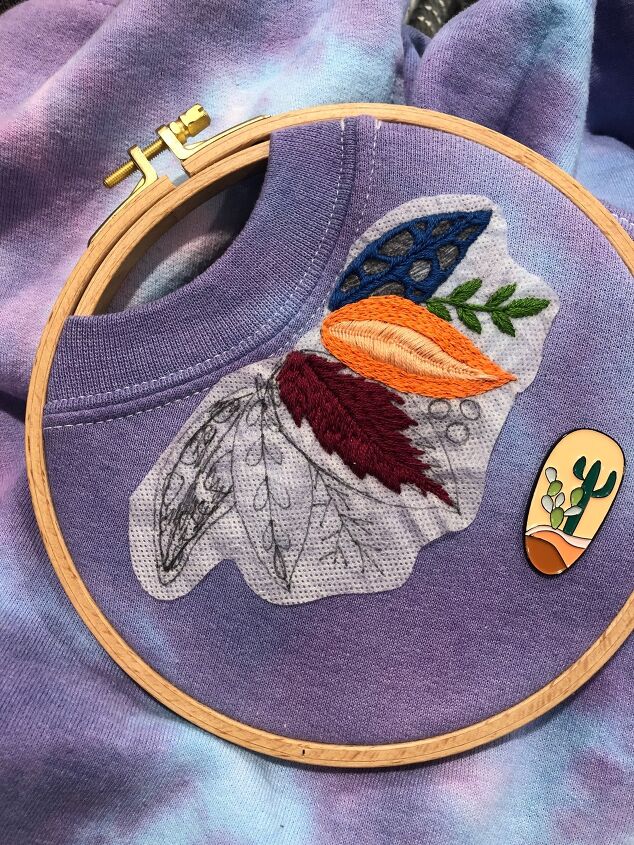
5. Stitch your design! I recommend using short stitches that will not gape away from the fabric, like the long and short satin stitch, back stitch, and chain stitch or reverse chain stitch.

6. When embroidering a garment with an exposed back, it's important to keep your stitches as neat as possible. If you get any big knots or loops, take those out. I also recommend weaving your needle through some of the stitches on the back of the piece instead of jumping from one section to another. This will keep the stitches from getting caught or ruined during wear.
7. Once you're done stitching, remove the sweatshirt from the hoop and wash the stabilizer away with warm water. You may need to agitate the fabric some to remove the stabilizer. Do not scrunch or crumple your embroidery while washing, as this could distort your stitches. Once the stabilizer has washed away, lay the garment flay or hang to dry.
8. Wear and enjoy!

***Disclaimer: This post contains affiliate links. Thank you for checking out my recommendations. Should you purchase an item mentioned, I may receive a small portion of the sale.***
The author may collect a small share of sales from the links on this page.


Comments
Join the conversation
Where do I find these peel and stick patterns? They are some what new to me.
You do beautiful work! Thank you for this generous share. You have really stimulated my creativity!
(For future reference - it’s seam)