How to Sew a Cute and Cozy Sweater

I'm delighted to bring you my very first sewing pattern! It's a unisex, vintage-inspired, raglan sleeve sweater pattern that can be customized in many ways.
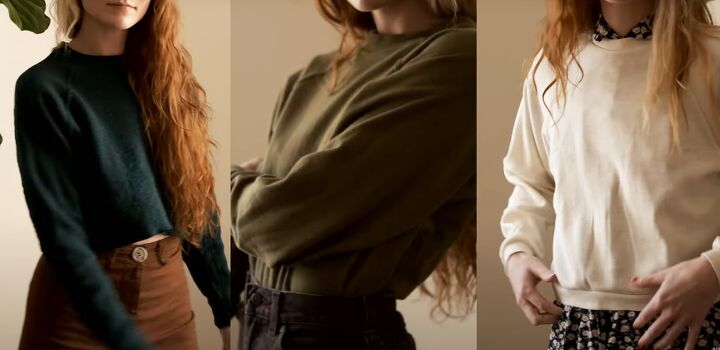
Today, I'm going to show you how to sew a sweater from one of my favorite versions of the pattern. I'm using a rib knit with a self fabric neckband, cuffs and neckband.
Oh and it's called the Penny Pullover after my cat, Penny!
Tools and materials:
- Penny Pullover pattern
- Paper for printing
- 30% - 60% stretch rib knit fabric
- Tailor's chalk
- Scissors
- Pins
- Sewing machine
- Twin needle (optional)
- Serger (optional)
1. Cut and prepare fabric
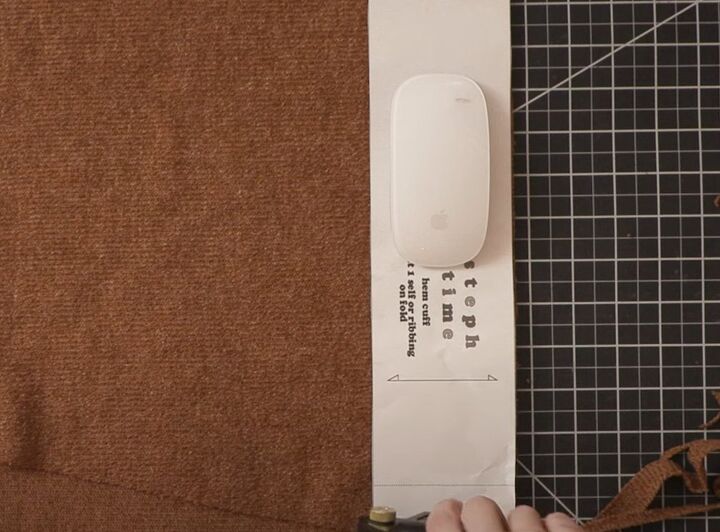
Print out the pattern and cut out the separate pieces.
I used a stretch knit fabric for this version. Make sure that you place the pattern pieces so the stretchiest part of the fabric runs horizontally across your body.
Cut the bodice pieces on the fold of the fabric.
Cut out two sleeve pieces, making sure one is a mirror of the other. Cutting them on the fold is the easiest way to do this.
I recommend using ribbing for the waistband, cuffs and neck band if your fabric doesn't have much stretch.
If you're using self fabric, make sure that the direction with the largest amount of stretch is running against the grain line on the pattern piece.
Transfer all the notches and center markings to the fabric. The seam allowance for this pattern is 1/4 inch, so don't notch further than this.
Also mark the back and front bodice pieces so you can tell them apart easily.
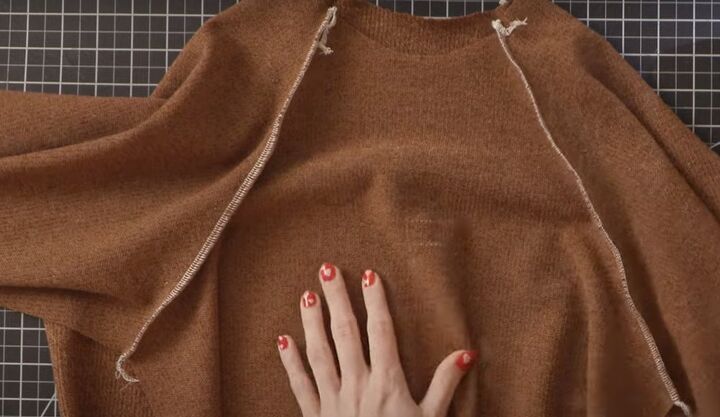
2. Shoulder seams
Lining up the notches on the shoulder seams and front bodice, pin the sleeves in place. Serge them together or sew with a zigzag or lightning stitch, taking a 1/4 inch seam allowance.
Attach the sleeves to the back bodice in the same way.
3. Top stitching
Decide if you want your top stitching to be on the bodice or sleeve side of the shoulder seam and press all the seams in that direction.
My favorite way to topstitch is with a twin needle, if your machine has that setting. Otherwise use a straight stitch, a little longer than normal.
Top stitch all the raglan seams on the right side of the fabric, keeping the seam pressed flat.
4. Edgings
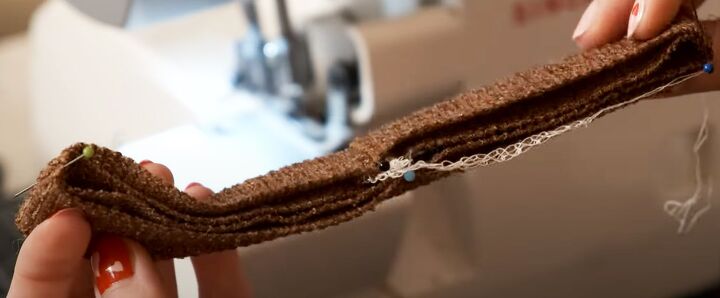
Fold the waistband, cuffs and neckband with right sides together and serge or sew the short edges of each.
Fold the neckband in half lengthways, folding one half of the seam allowance in each direction to reduce bulk.
Pin the seam in place, fold the band in half lengthways to find the center point and mark it with a pin, then match the two pins and fold the band in half to find the quarter points.
Prepare the cuffs and waistband in the same way.

5. Neckband
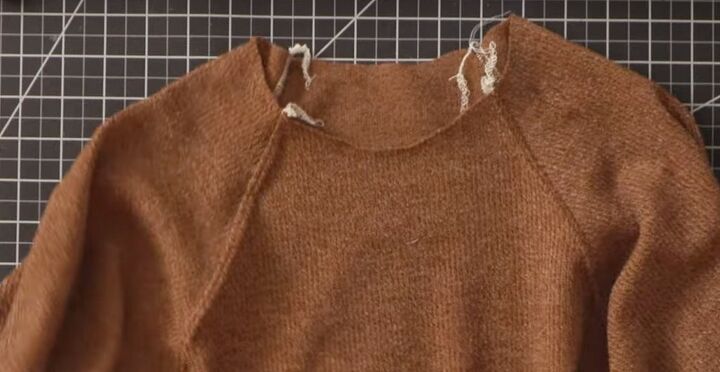
Divide the neck opening into quarters by matching the shoulder seams and center back and front notches.
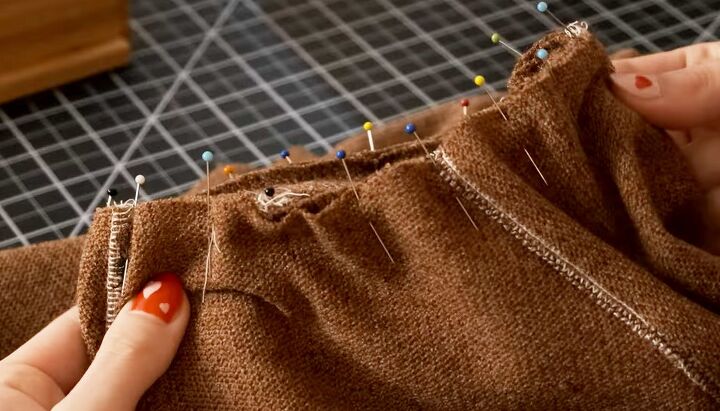
Pin the neckband to the neck opening with right sides together, matching the pins at center back, center front and at the center of each sleeve.
Continue to pin the neckband in place, stretching it evenly around the neck edge.
Serge or sew in place, making sure that all 3 layers are lined up at the edge.
Press the seam allowance towards the bodice and top stitch as before.
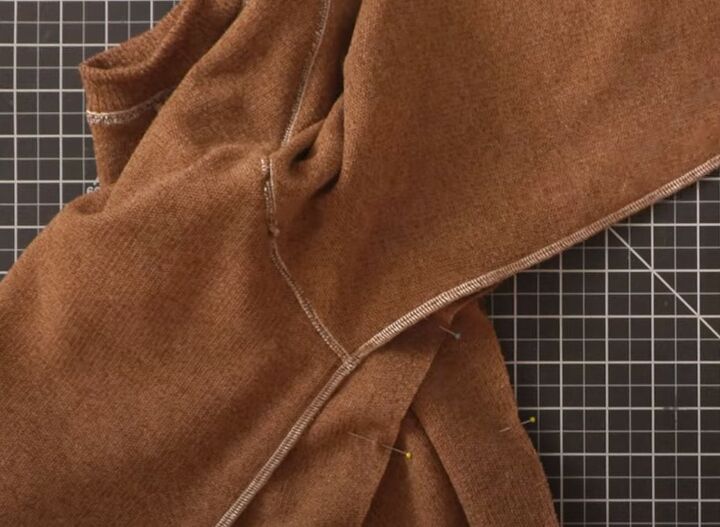
6. Side and sleeve seams
Match the side and sleeve edges at the underarm, wrist and waist and sew as a continuous seam on each side.
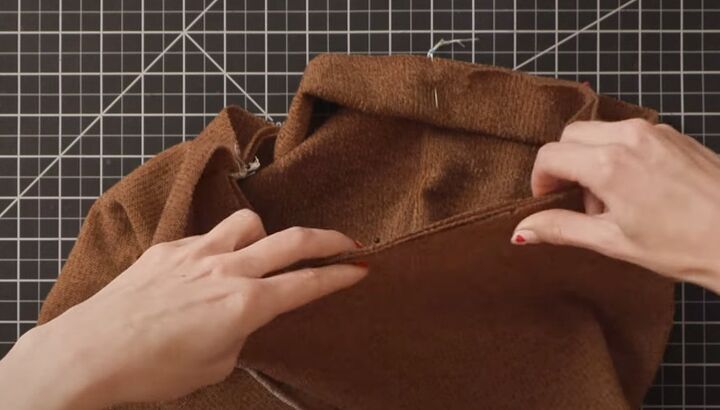
7. Cuffs and waistband
Divide the sleeve and waist edges into quarters as you did for the neck, and attach the cuffs and waistband using the same method.
Press the cuff seam allowance towards the sleeve and the waistband towards the body and optionally top stitch as before.
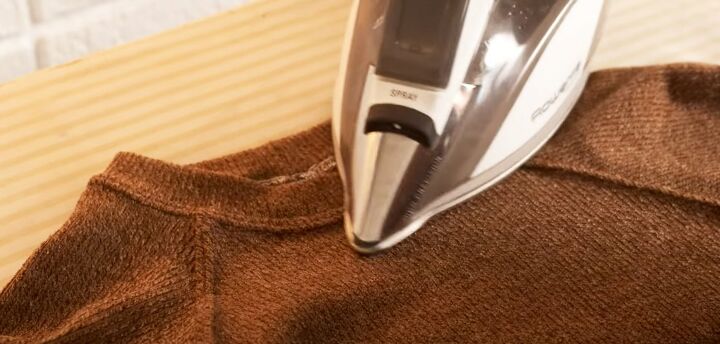
8. Steam press
Steam press the finished DIY sweater to even out any wavy seams.
How to sew a sweater
The Penny sweater sewing pattern comes with written instructions for all the modifications I could think of, so don't be afraid to try out some of them.
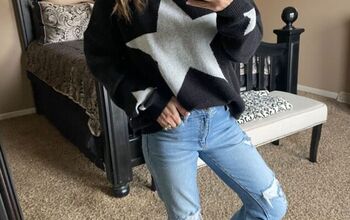
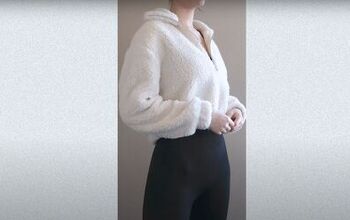
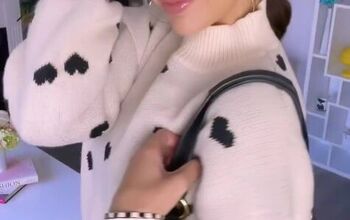
For example, you could leave raw edges at the wrist and waist edges or turn up a hem, instead of adding bands or ribbing. I've made it in several different fabrics as well as the rib knit shown here. I
'd love to know if you're going to make it and what fabric you're going to use. Please leave a comment below and fill me in!
For more sewing content, check out my tutorial on How to Make a Super Cute Checkerboard Purse.
The author may collect a small share of sales from the links on this page.


Comments
Join the conversation