How to Sew a Sweater With a Cute Cropped Hem & Half Zipper

Want to feel cozy and accomplished? Here’s a sweater sewing pattern that teaches you how to sew a sweater with a half zipper that’s super cute, comfortable, and chic!
This DIY sweater has an oversized collar that looks beautiful opened or zipped up into a turtleneck, with a relaxed fit and a cropped hem.
You can use sweatshirt fleece, Sherpa, ponte knit, or French terry for sewing this sweater. Let me show you how to make a sweater!
Tools and materials:
- Zia sweater pattern
- 1.7 yards of medium weight knit fabric
- 13-inch zipper
- 2.2 yards of elastic, 4cm (1½ inches) wide
- 1.7 yards of twill tape, 1-2cm (⅕-⅖ inches) wide
- ¼ yard of fusible interfacing, 2cm (⅖ inch) wide
- Sewing machine with needle for knit fabric
- Zipper foot
- Serger
- Matching thread
- Glasshead pins
- Scissors
- Iron
- Clapper
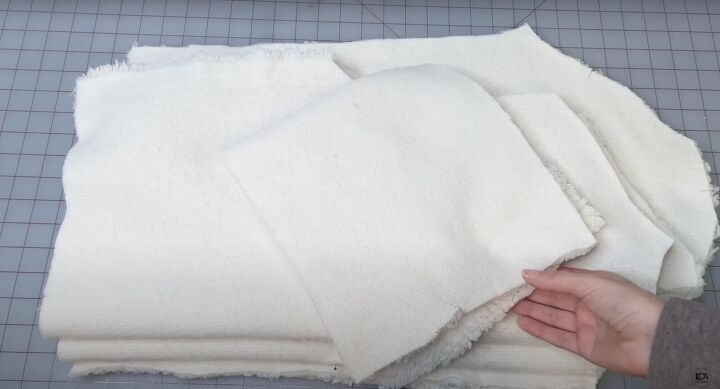
1. Make the pattern
Print the sweater sewing pattern, lay it on the fabric, and cut out the front, back, sleeves, and collar.
2. Apply the interfacing
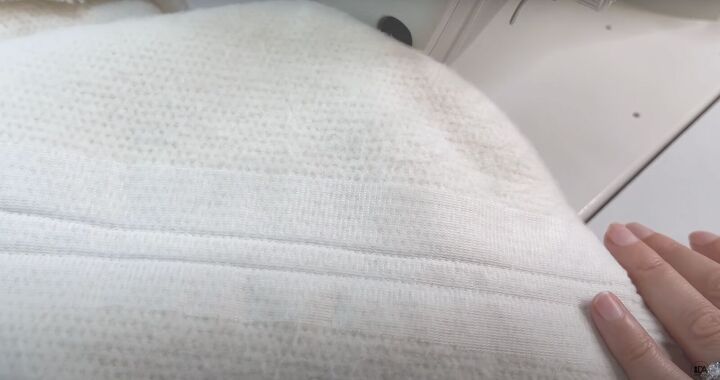
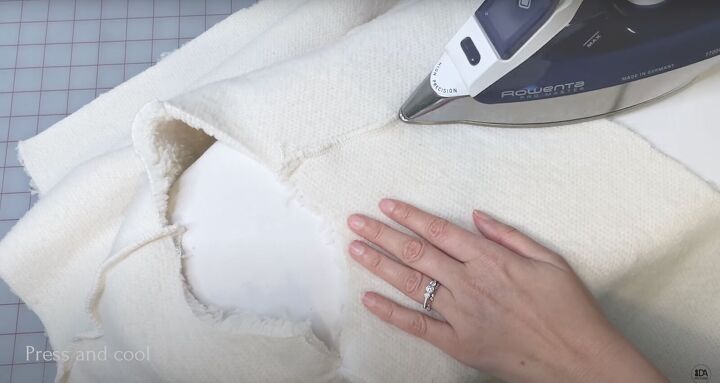
Put the interfacing to the center front, marking the placement of the zipper.

Press. Cool with the clapper.
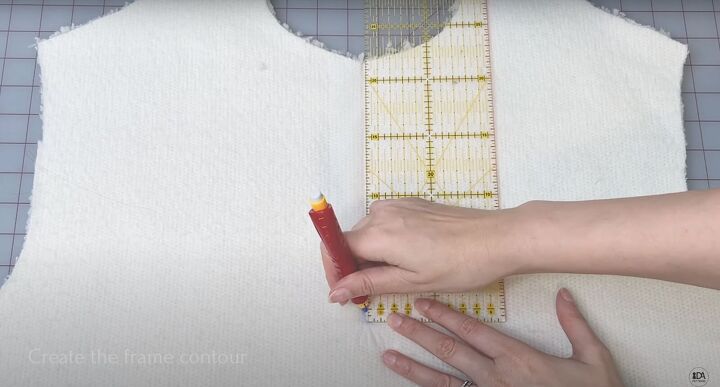
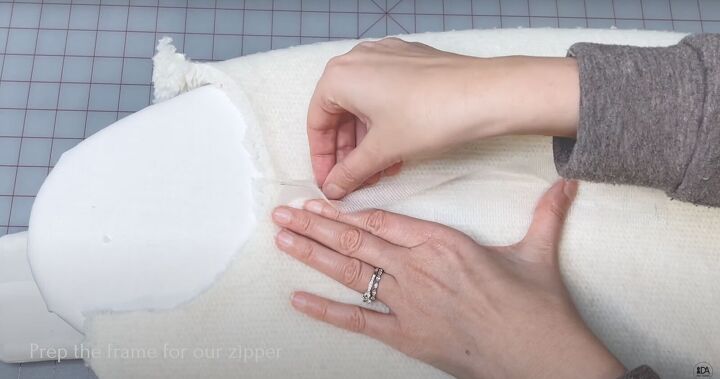
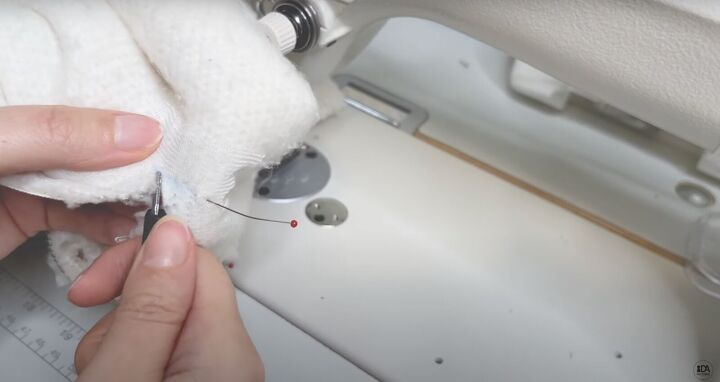
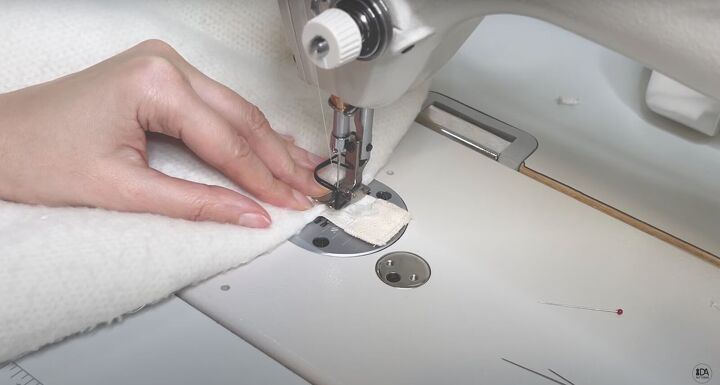
3. Make the frame for the zipper
Use the ruler to mark the frame width about ⅕ inch (1cm) in a narrow rectangle.

Place the seam at the contour of the frame. Put a pin at the mark.
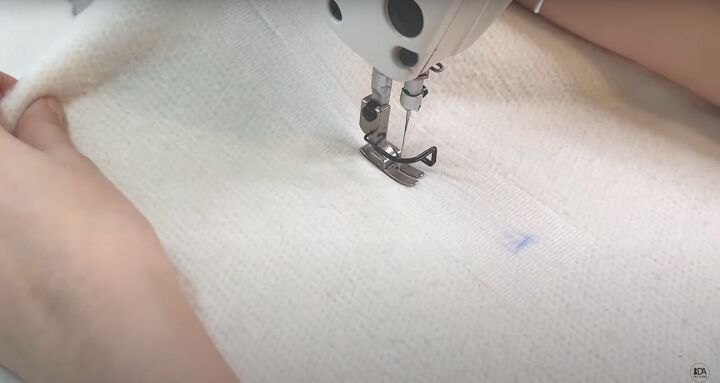
Sew the frame.
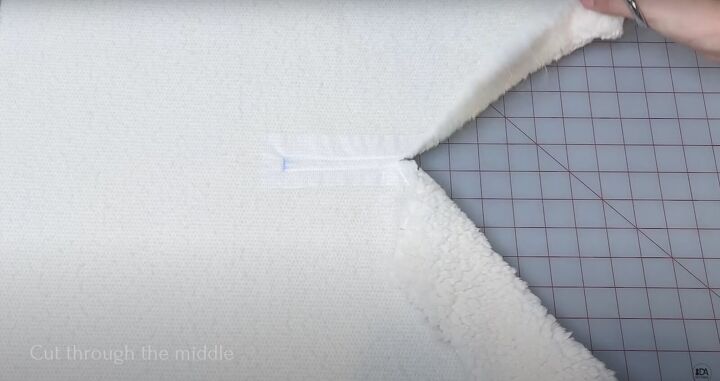
Cut down 4-6 inches (10-15cm) in the center.
4. Start sewing
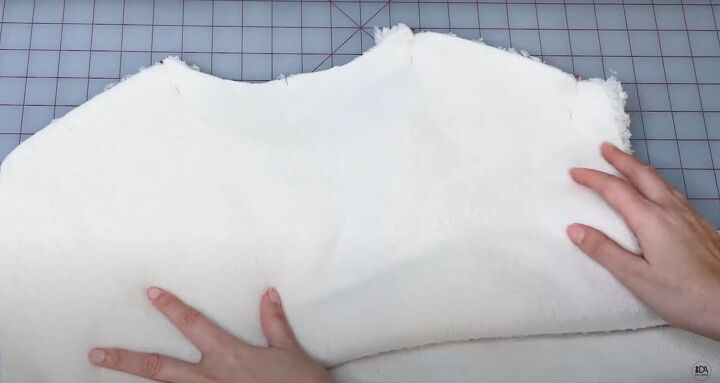
Place the front and back right sides together. Pin and sew at the shoulder. Serge the shoulder seams.
Press the shoulder seams to one side and cool with the clapper.
Pin the collar to the neckline, matching the center marks and shoulder seams with the marks on the collar. Once it’s pinned, sew all the pinned areas. Serge the seam.
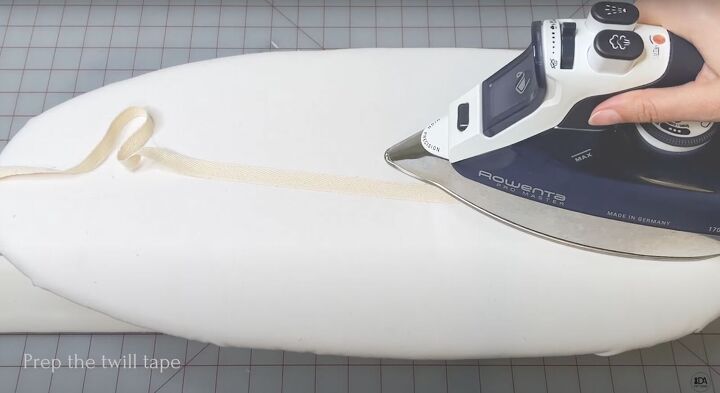
5. Prep the twill
Preshrink the twill tape by pressing it.
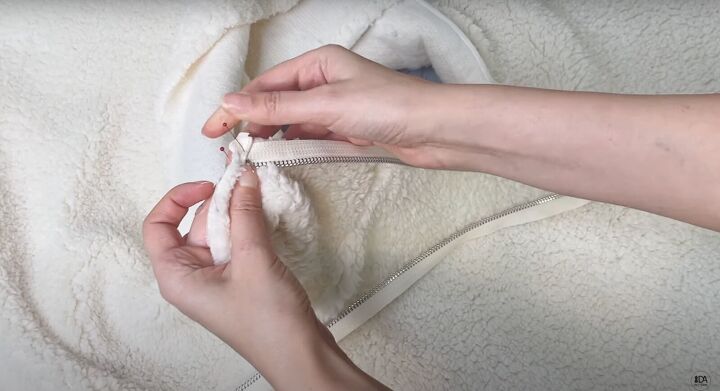
6. Finish the zipper frame
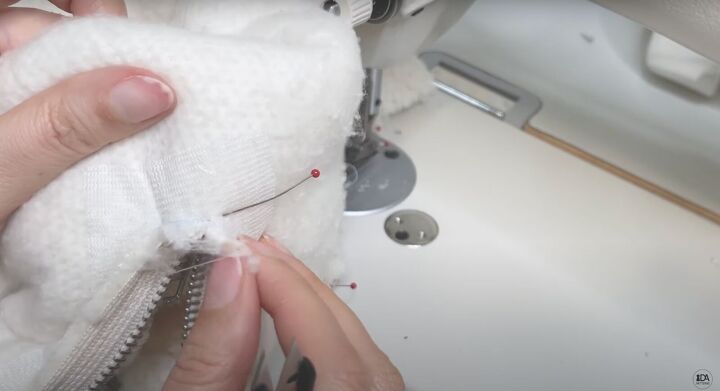
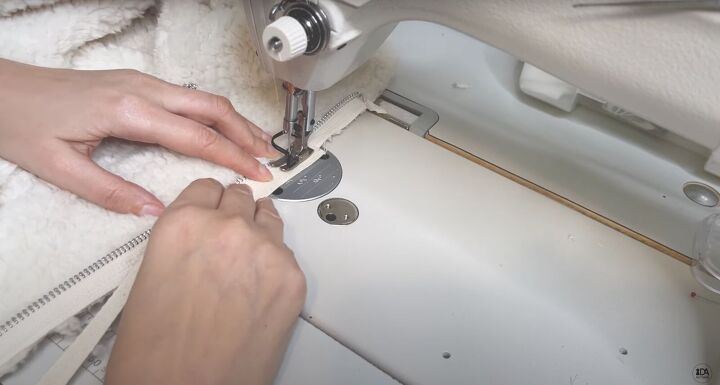
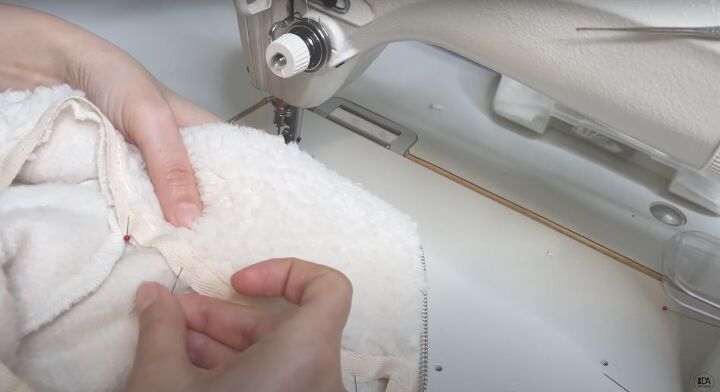
Open the zipper and place the zipper tape along the neckline opening.
The top edge of the zipper should match the center of the collar and the last pin should be at the corner of the frame. Remember, you haven’t fully cut the neckline opening.
Sew the zipper in the middle of the tape. Stop right below the zipper teeth.
Turn the top to the wrong side and cut the rest of the neckline opening in a straight line, stopping ¼ inch or so before the frame.
Cut to the corners of the frame on an angle, stopping 1mm (0.04 inches) before the very top of the corner. It will make a tiny triangle.
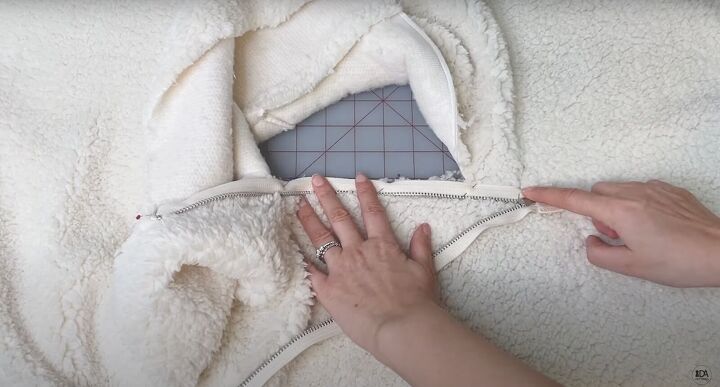
Close the zipper and on the other side of the zipper tape, mark the neckline seam as well as the end of the previous seam with a pin.
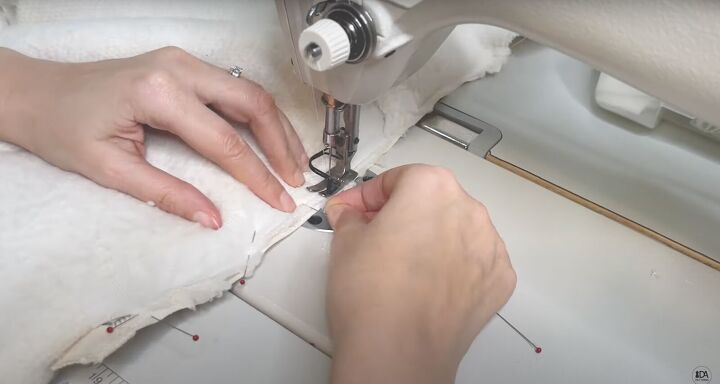
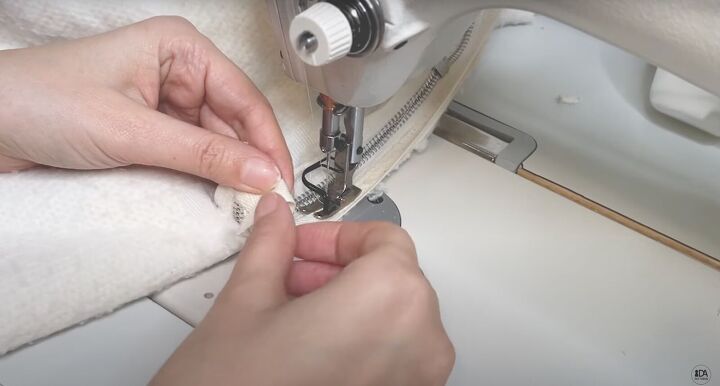
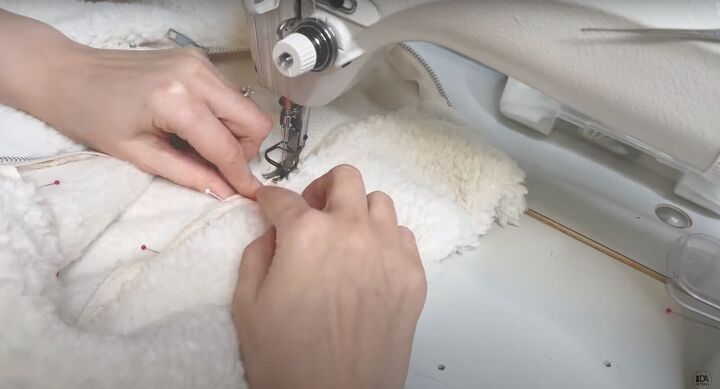
Pin the zipper tape to the neckline opening, matching all the marks. Sew the other side of the zipper tape, using the frame seams as your guide.
At the end of the zipper, pull out a little bit of that triangle and secure it, being careful with the zipper teeth. Sew slowly. You could also do this bit by hand.
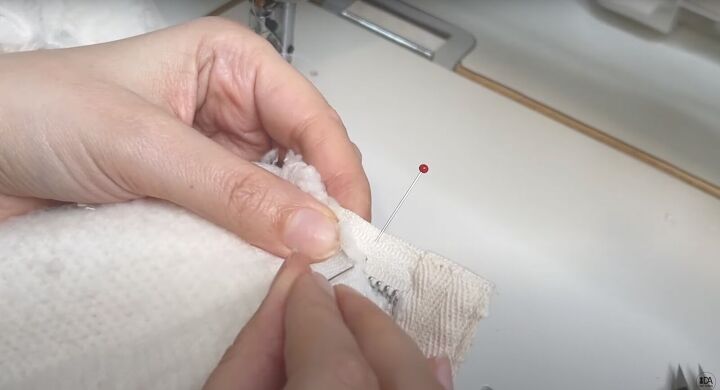
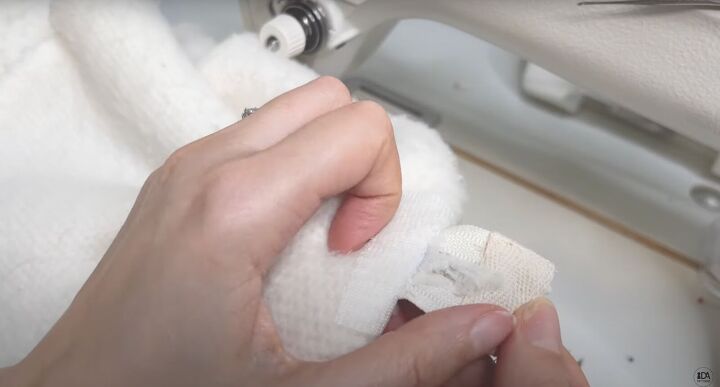
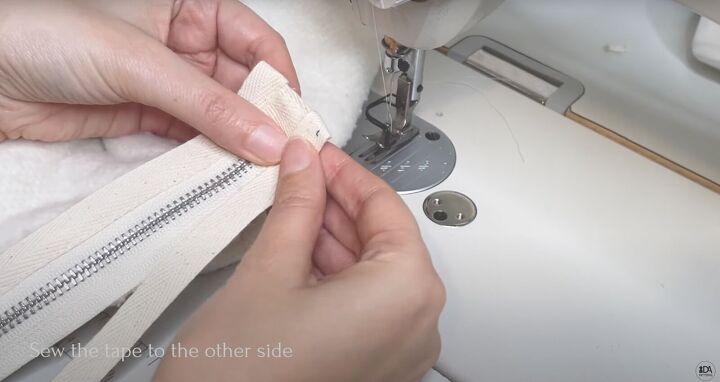
Sew the twill tape to the zipper tape, about 2¼ inches (6cm) from the top edge of the zipper. Do not stretch or pull the tape.
The tape is longer than the zipper so trim it about an inch or so longer than the zipper tape, fold over the zipper bottom, and sew to secure it.
Do the same to the other side, but start at the bottom. Stop at the same point on your way up.
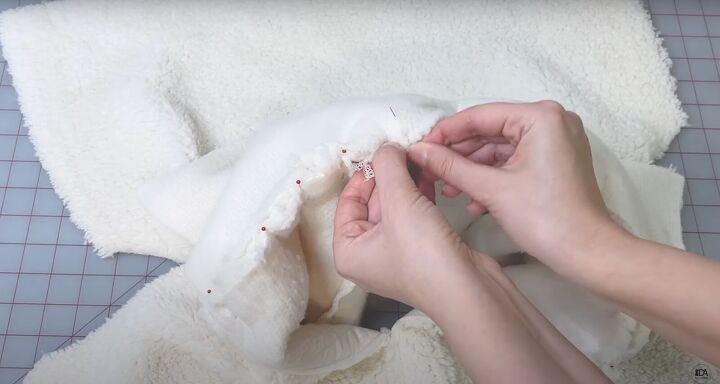
7. Finish the collar
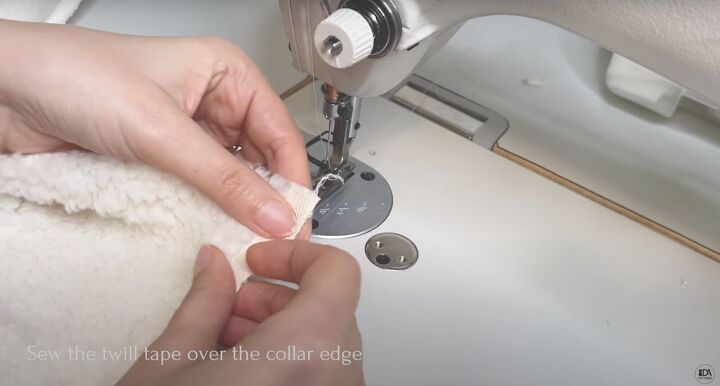
Serge the outer edge of the collar to make it lay flat and easier to work with. Place the twill tape on the right side over the serged edge of the collar.
Sew right at the edge.
Fold the collar over the zipper, matching the edges and sew. Turn the collar to the right side.
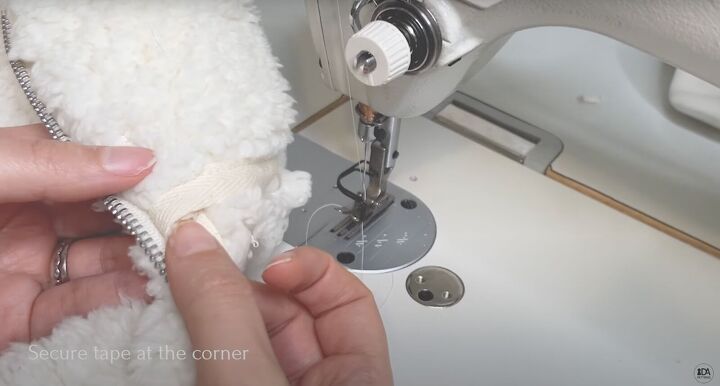
Secure the tape at the corner of the zipper.
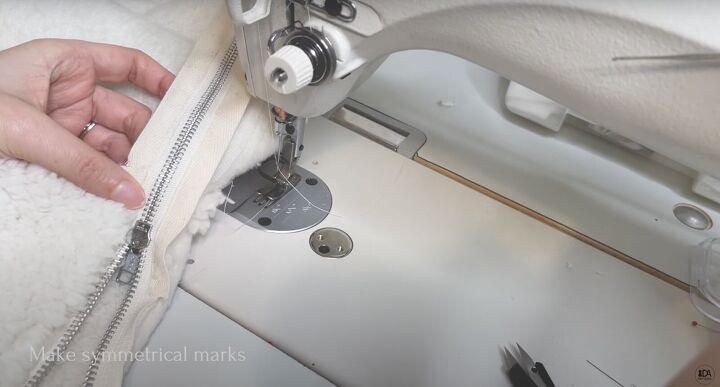
Pull the zipper upward. Mark the other side of the collar to be symmetrical with the side you just sewed.
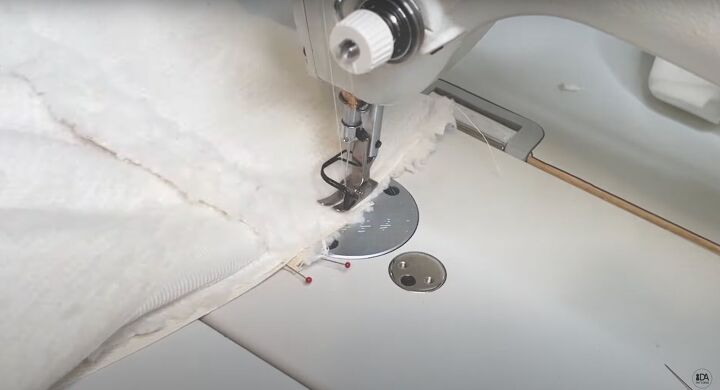
Unzip the zipper, and fold the collar right sides together to that mark. Pin and sew.
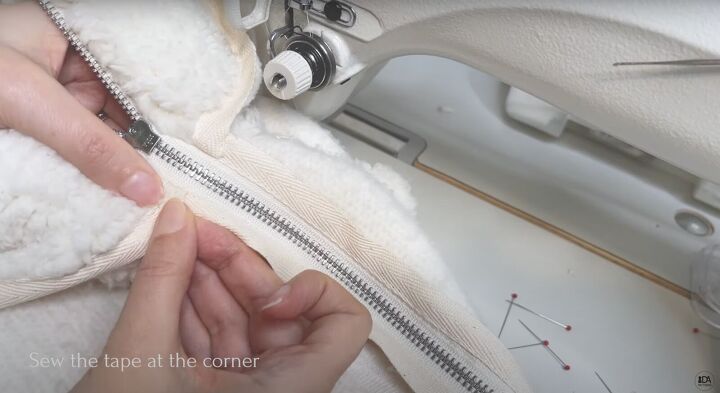
Sew the tape to the corner.
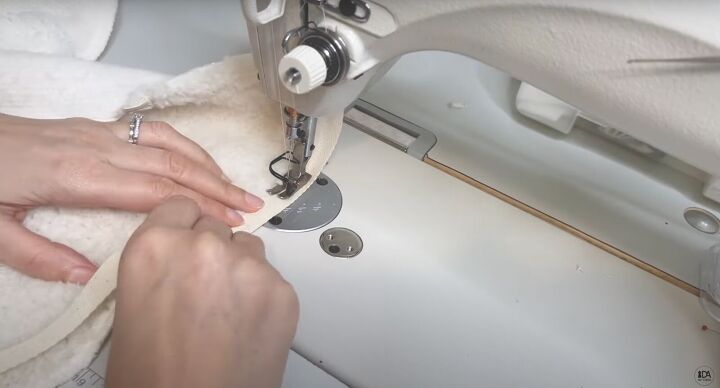
Pin the collar edge to the neckline seam, covering it. Start at the center back, shoulder marks, and then in between those points.
On the very edge of the twill tape, sew the collar to the neckline.
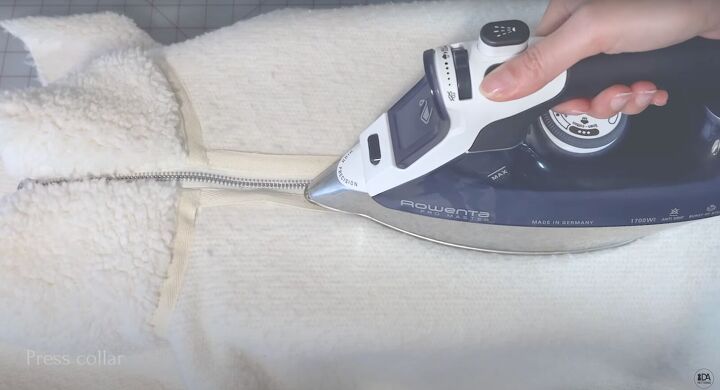
Press the zipper and collar. Cool with the clapper.
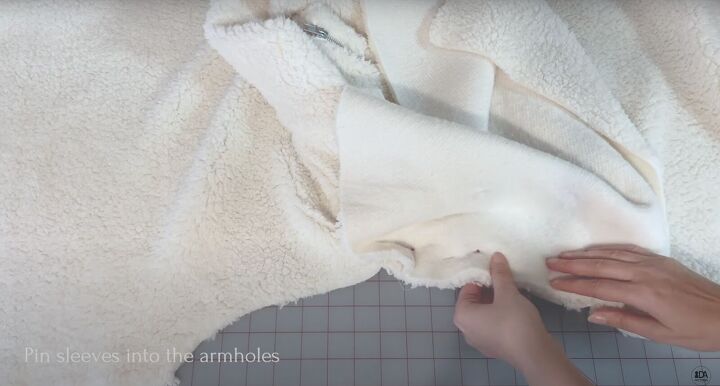
8. Sew the top
Pin the sleeves into the open armholes, matching all the marks at the edges and in between. Sew the sleeves and serge. Press the armhole seam towards the sleeve. Cool.
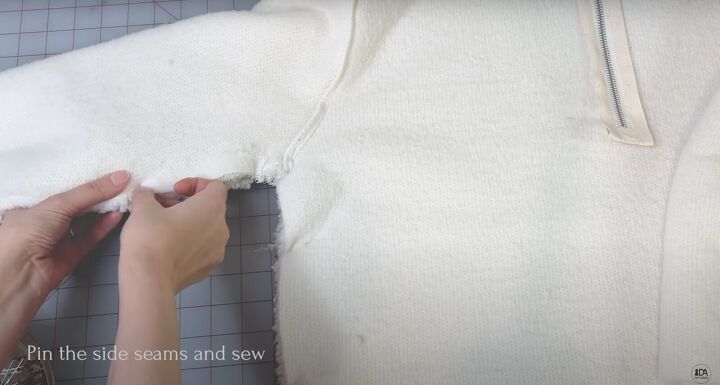
Pin the side seams of the sleeves and the bodice and sew. Press the side seams as flat as possible. Then press them towards the back. Cool.
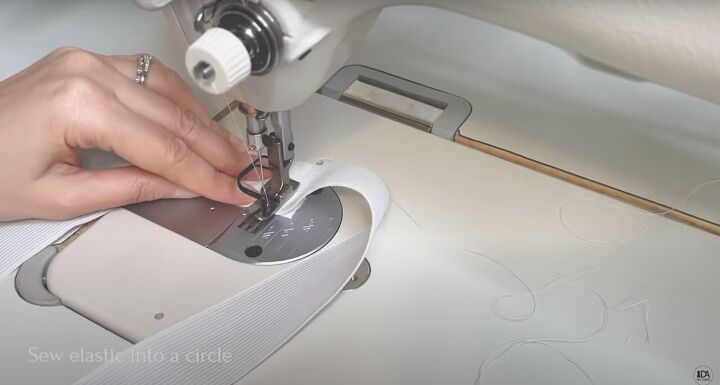
9. Sew the elastic
Sew the elastic for the hem into a circle.
Divide the elastic into quarters and mark.
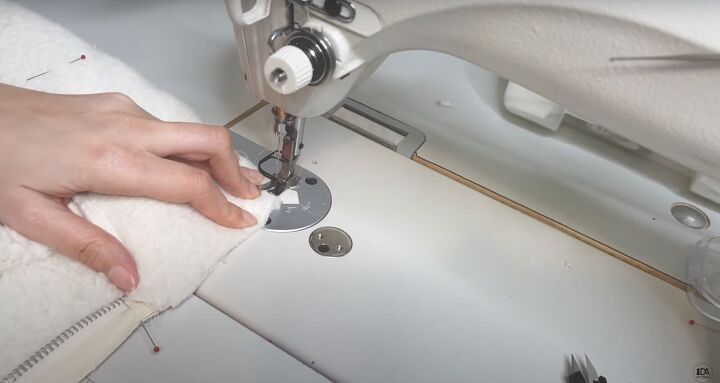
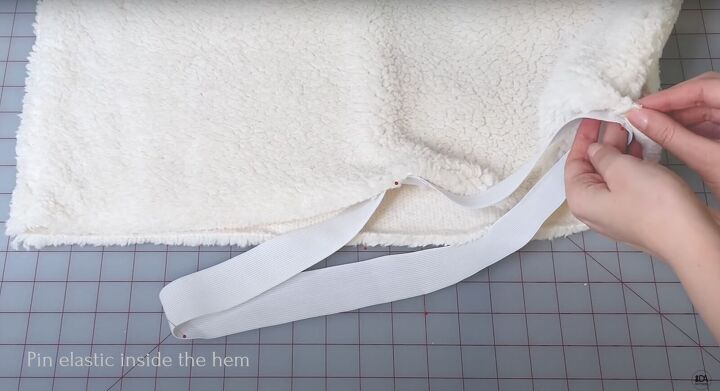
Pin the elastic to the hem, matching the side seams and centers at the quarter marks on the elastic.

Sew the elastic to the hem, stretching while sewing. Place a seam on the other side of the elastic to prevent it from folding inside.
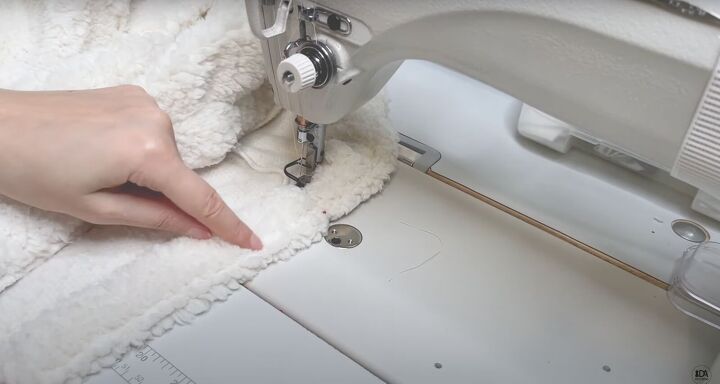
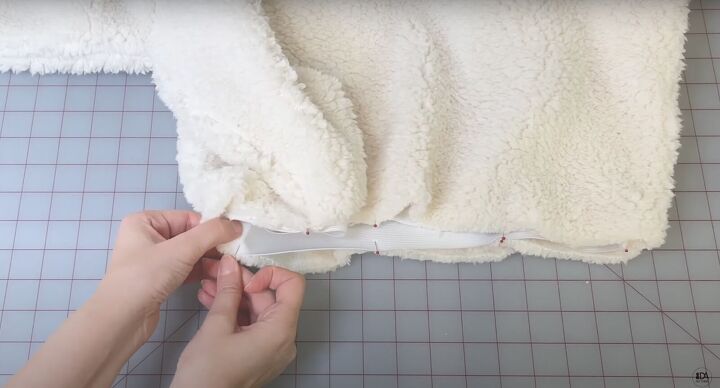
Fold the hem with the elastic inside. Pin at the side seams and centers. Sew at the serged seam, stretching the elastic.
For the sleeve cuffs, follow the same technique. If this is too hard on your sewing machine, sew a casing and insert the elastic instead.
Give your sweater a finishing press!
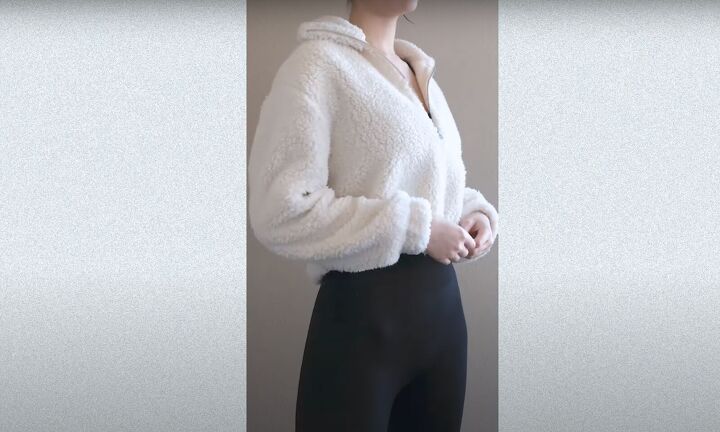

How to sew a sweater tutorial
You’ve just learned how to sew a sweater! Let me know in the comments what fabric you would use to make this cozy sweater with a half zipper. Thanks for joining!
The author may collect a small share of sales from the links on this page.


Comments
Join the conversation