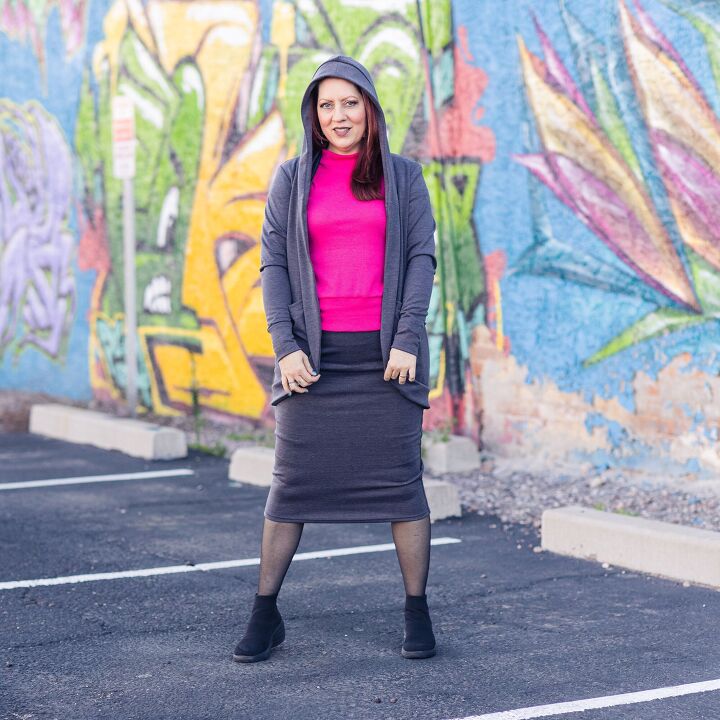
Tips for Making a Cocoon Cardigan!

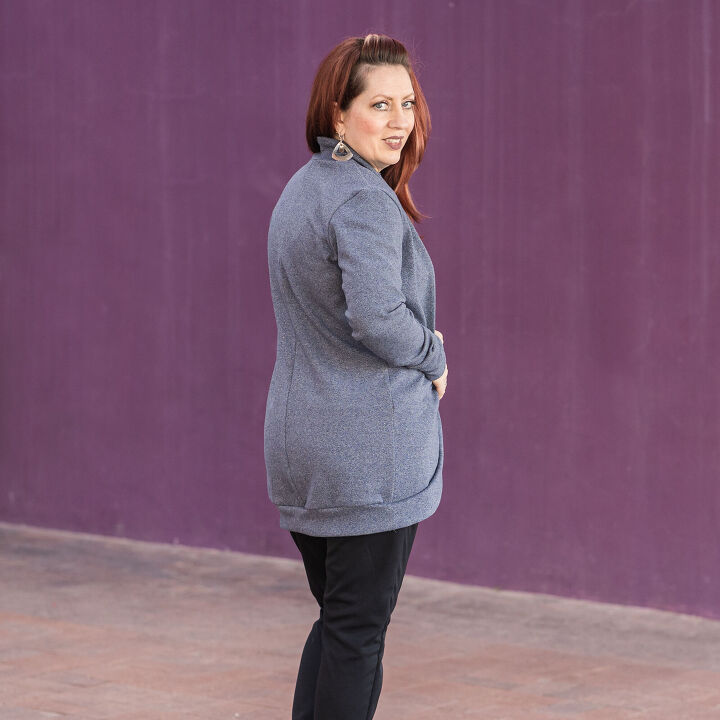
Cocoon cardigans are all the craze lately. I love the cozy, comfy look and wanted one of my own. The ones I like seem to range anywhere from $17 all the way to $178 and even more. I'm a little skeptical of “buying cheap” just for the sake of having something. It always seems to disappoint. That’s one of the reasons why I chose to make my clothes.
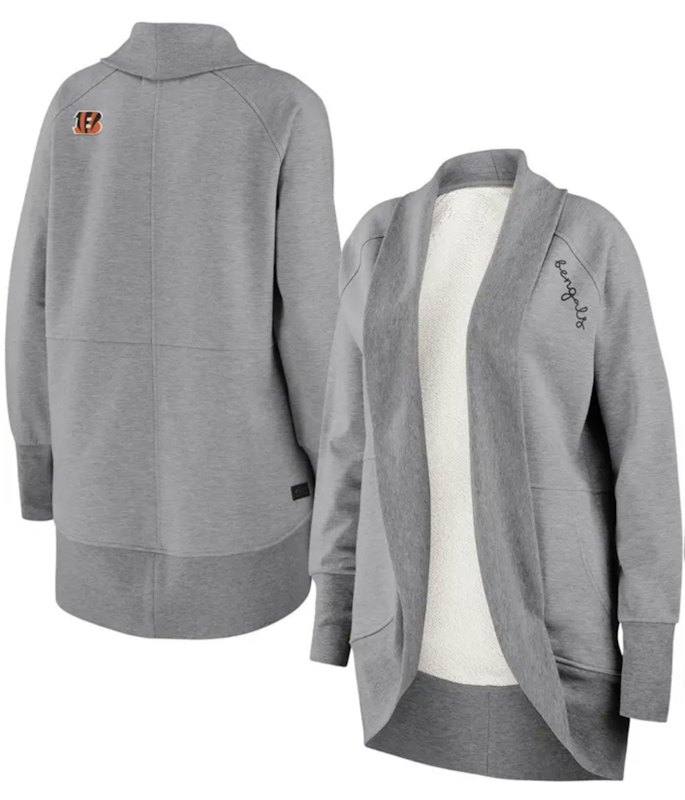
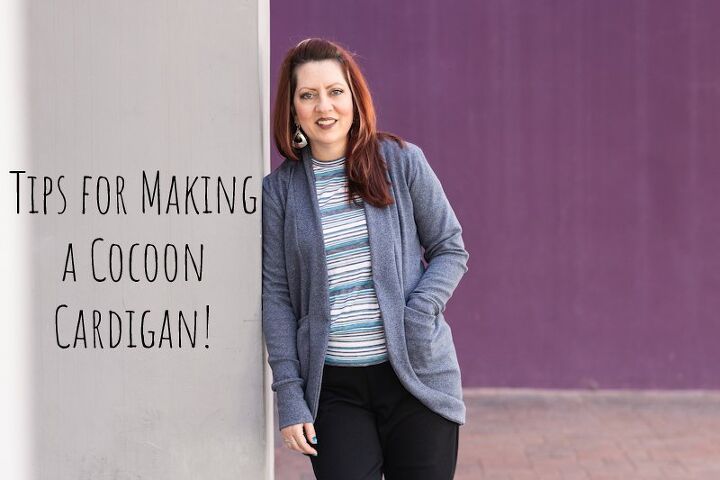
I found the cardigan pictured above on Nordstrom.com for $75. It's almost exactly what I was going for. I just didn't want raglan sleeve style and I wanted the band to be thinner. I decided to make my own Cocoon Cardigan. Actually I made 3 with 3 differnt types of fabric. If you want to make your own too, keep reading for some tips to help you out. I did all the work so you don't have to.
First, The Pattern….
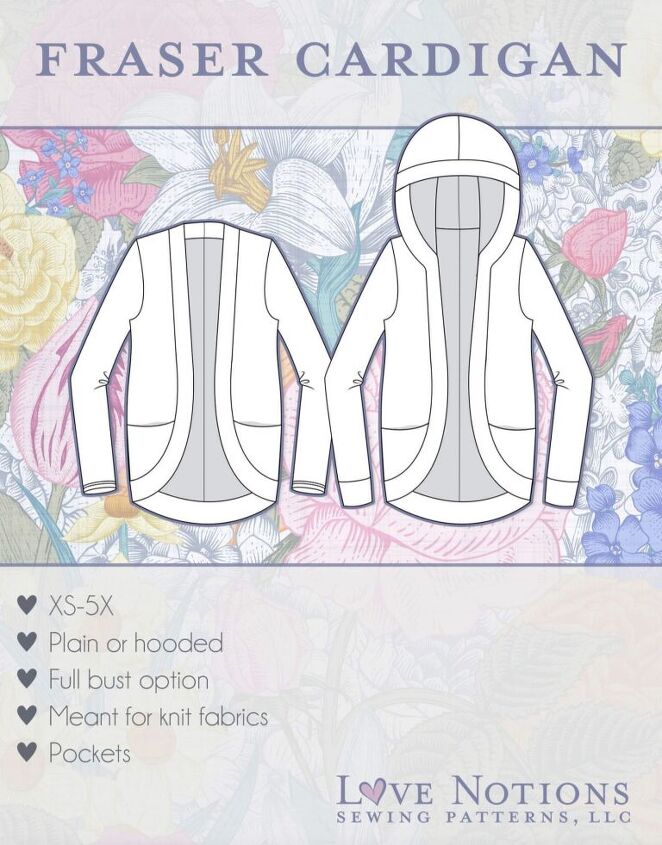
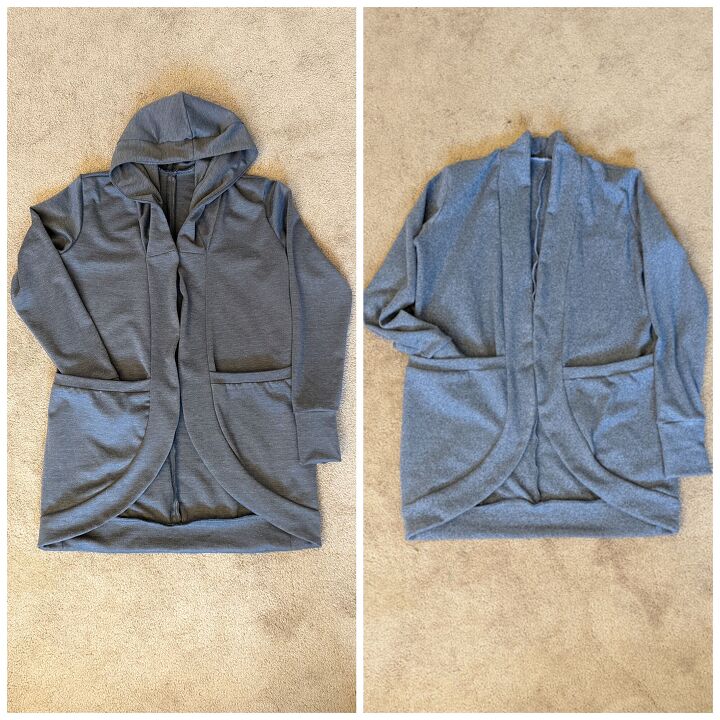
The Fraser Cardigan is a cute, open front cardigan in the cocoon style
that will envelop your shape in a comforting way. Choose from the
hooded or plain views. And no cardigan would be complete without
pockets!
The Fraser Cardigan comes with a full bust option as well as a cuffed
sleeve option. This is a quick and satisfying sew with a contoured
collar band that won’t flop or contort the shape of the cardigan. It’s a
great layering piece for the cooler tempatures.
You can use code KOE10 at checkout to recieve a 10% discount on this pattern or any other patterns from Love Notions.
What Fabrics is it meant for?
I recently made 3 cocoon cardigans using the Fraser Cardigan pattern by Love Notions. It’s made for medium weight knit fabrics with at least 25%, 4-way stretch such as french terry, ponte and cotton/lyrca.
Lighter weight knits such as sweater knit, jersey blends and double brushed poly can also be used but you may consider sizing down if between sizes. I used a brushed sweater knit, a ponte knit and double brushed interlock.
All three are fabrics I LOVE, but each one gave me different results. Here’s what I found.
Brushed Sweater Knit
Brushed sweater knit is so soft and stretchy. It’s very comfy and amazing to wear on a cool morning or layering under heavy coats. However, the contoured collar band kind of loses its structure when you use a lighter fabric like this. It takes on a kind of “flounce ruffle” look rather than a cocoon shape. Now my mother loved it and it looked absolutely darling on her, so this cardigan went home with her where it is worn consistently.
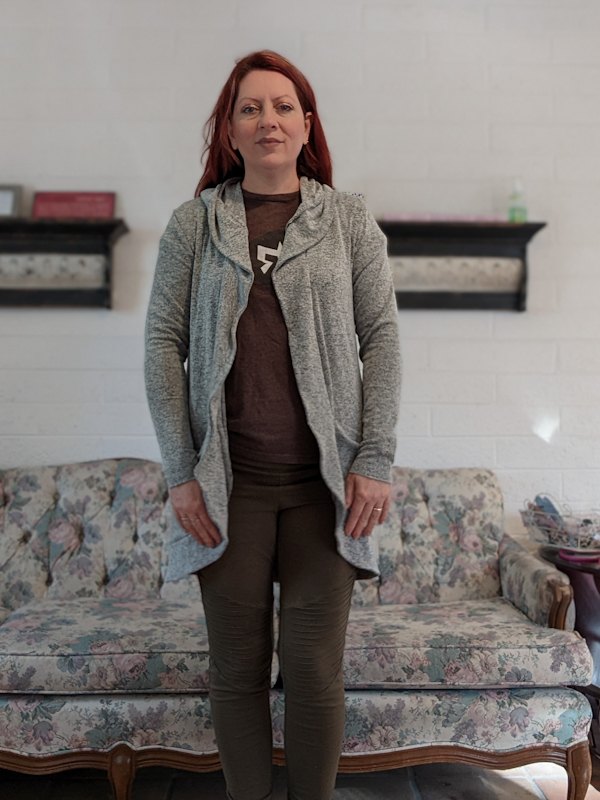
If you want to use a lighter weight fabric such as this I would suggest you interface the band with some knit interfacing. Or don’t, if you like the “flounce ruffle” look. I think it’s cute either way. Also, it suggests in the pattern to size down for light weight fabrics like this which I recommend. This pattern has a sleeve that is more on the slim side so keep the sleeves your normal size if you do size down, especially if you want to wear a long sleeve shirt with it.
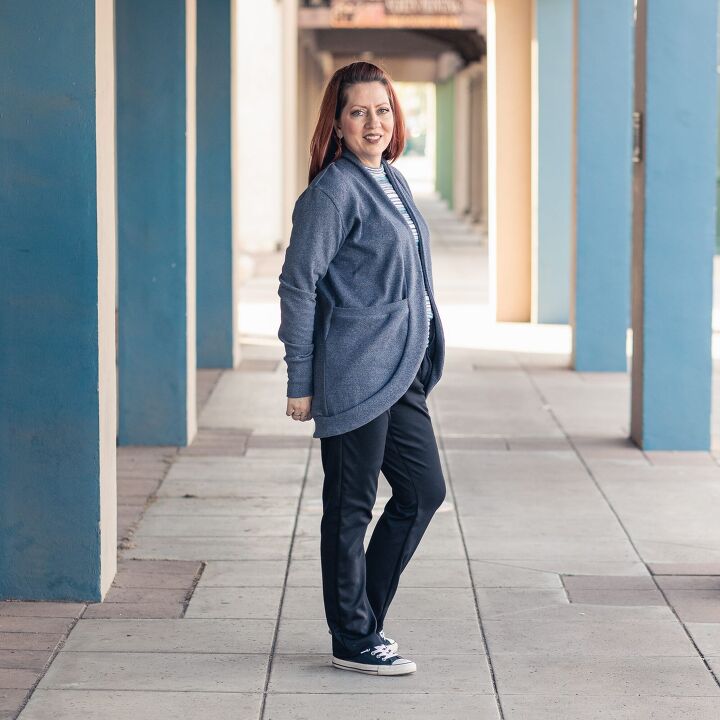
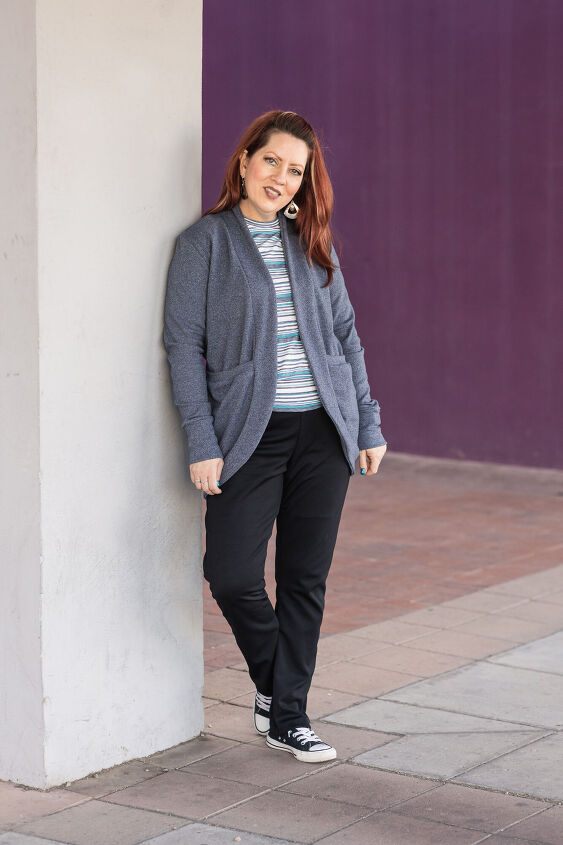
Ponte Knit
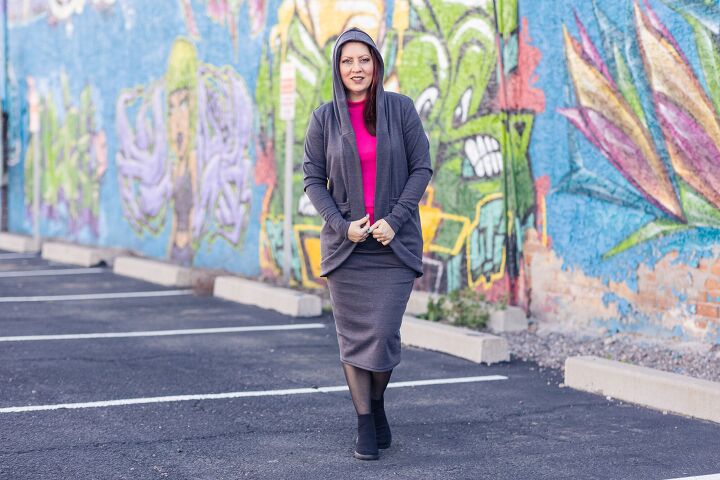
Ponte knit has been a favorite fabric of mine since I discovered it. It’s stable and easy to work with but it still has a good amount of stretch, about 10-25%. It’s usually mid-heavy weight and I always recommend it to people who are just learning to sew with knit. It's great for cardigans, but I found that it behaved differently than both brushed sweater knit and interlock.
Be careful not to over do it on the band though. I'll tell you what I did below that I shouldnt have done.
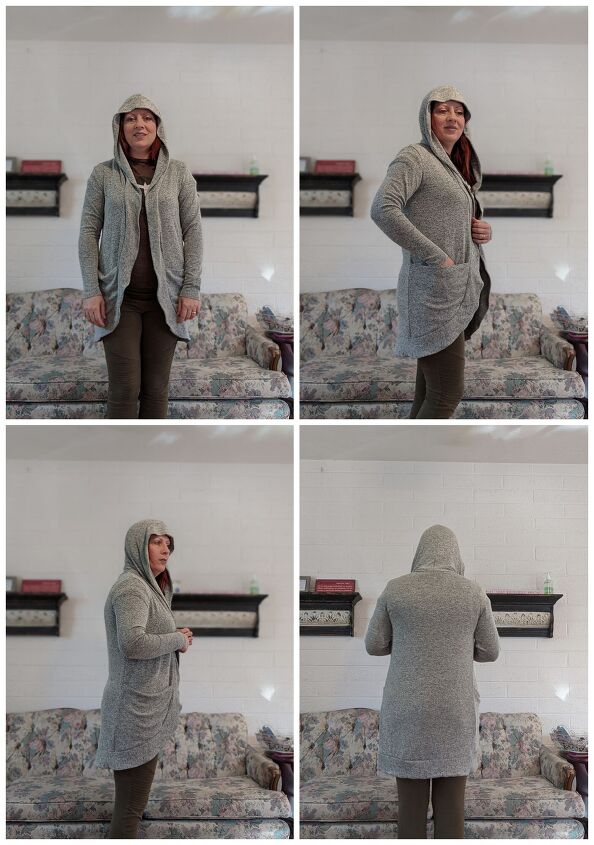
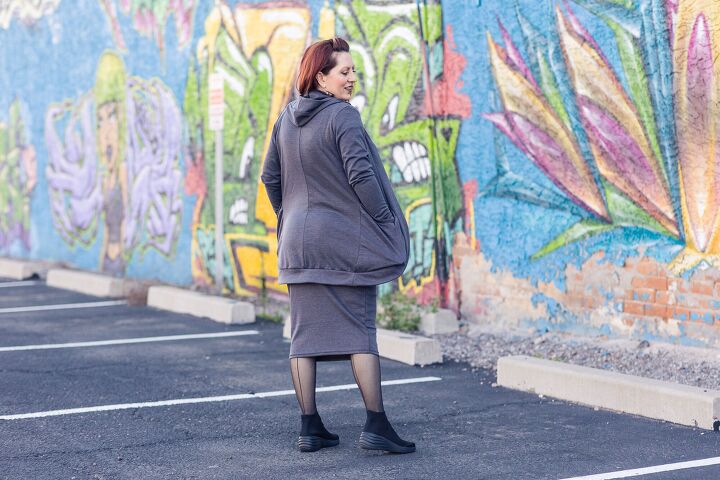
Double Brushed Interlock
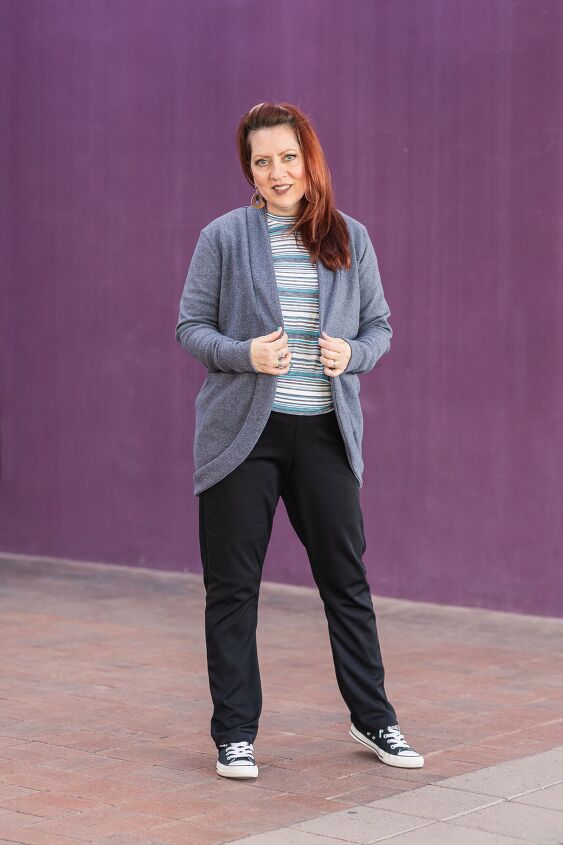
I hadn't heard of this fabric before until my friend Gwyn told me about it. Let me tell you, it is the freaking bomb! Here’s what The Fabric Snob says about it on their website:
Great for hoodies, sweaters, joggers
260 gsm
Approx 68" Wide
92% Cotton 8% Spandex
4 way stretch - 100% horizontal, 50% vertical
It’s so squishy and soft. Literally the “fabric of dreams” kind of amazing. It’s the same on both sides so there's no wrong side. Also, did you see how wide it was? 68 inches wide! I was able to make my plain cardigan out of 1.5 meters even though the pattern calls for 2.5 meters.
So for this fabric I did everything the same as I did for the ponte one, I just didn’t understitch the band. I'll talk more about that in a minute. The band lays perfectly and has NO wavines or ‘flounce ruffle” look. The pocket band stretched perfectly to fit the pocket. It was wonderful.
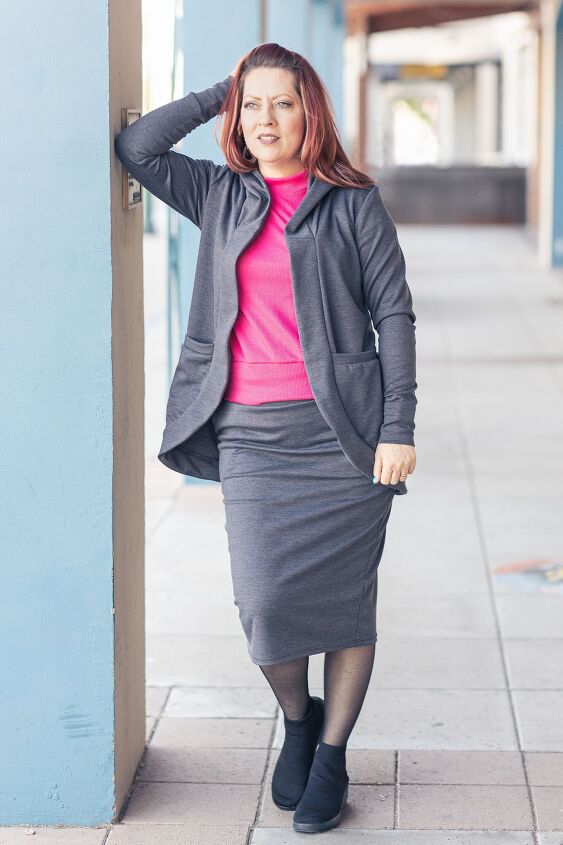
The Pockets
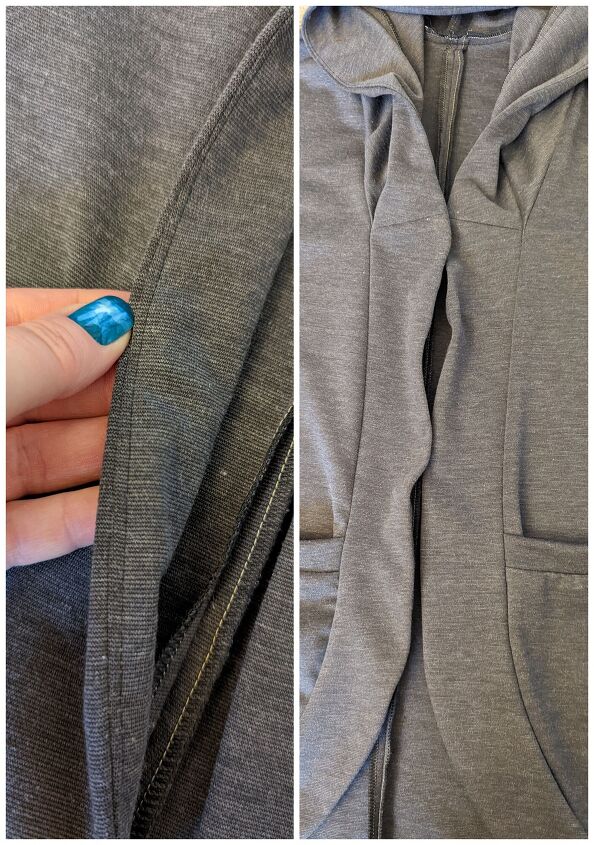
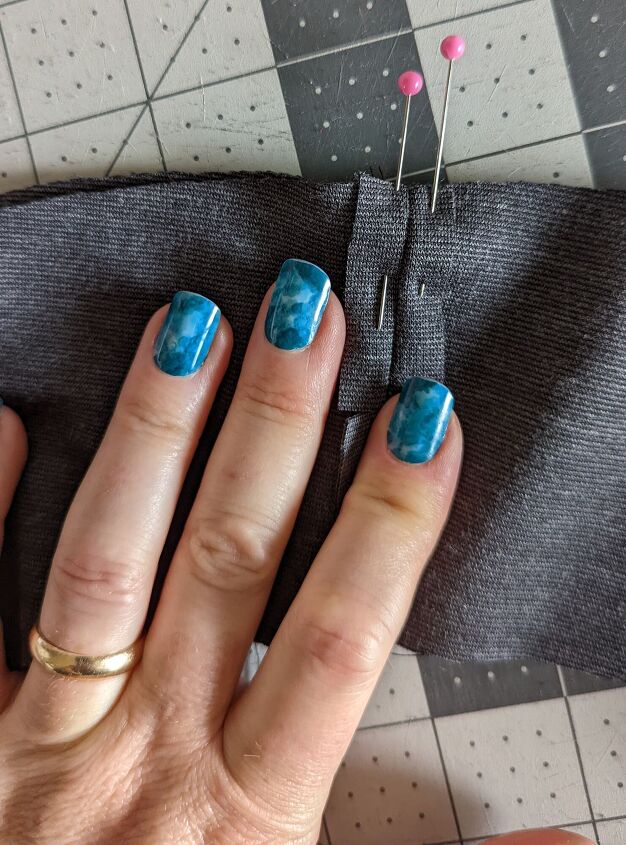
The pockets are amazing and roomy. They will fit your cell phone no problem. They have a band at the top to keep the pocket from being droopy. Because ponte knit has between 10-25% stretch I would suggest you make the band just a little longer if you use it. That way it doesn't have to stretch so much across the top of the pocket. If you don’t it may have a somewhat gathered look like you see here. Definitely check the stretch of whatever knit you use first before you cut your pieces out.
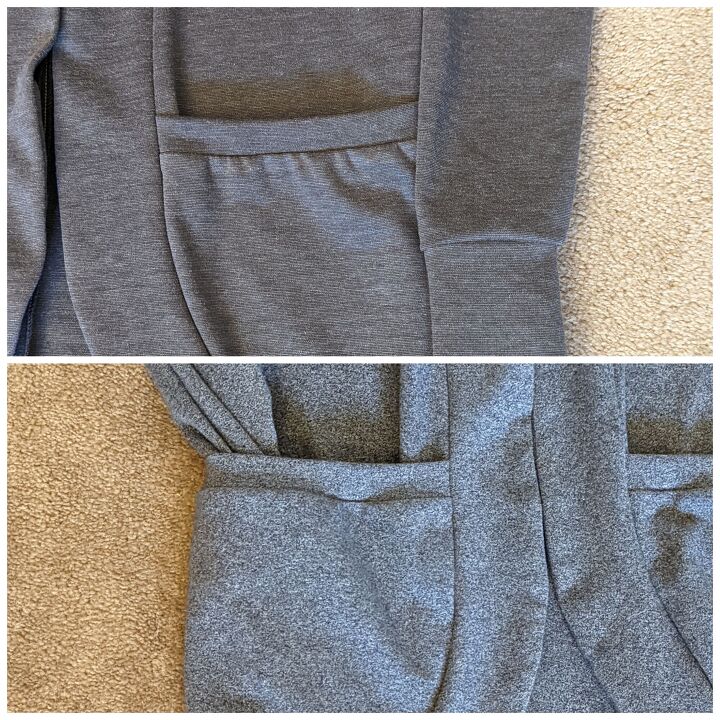
I think I should have made my ponte knit pocket band at least ½ inch longer to avoid this. Here it is side by side with my double brushed interlock which has 100% stretch.
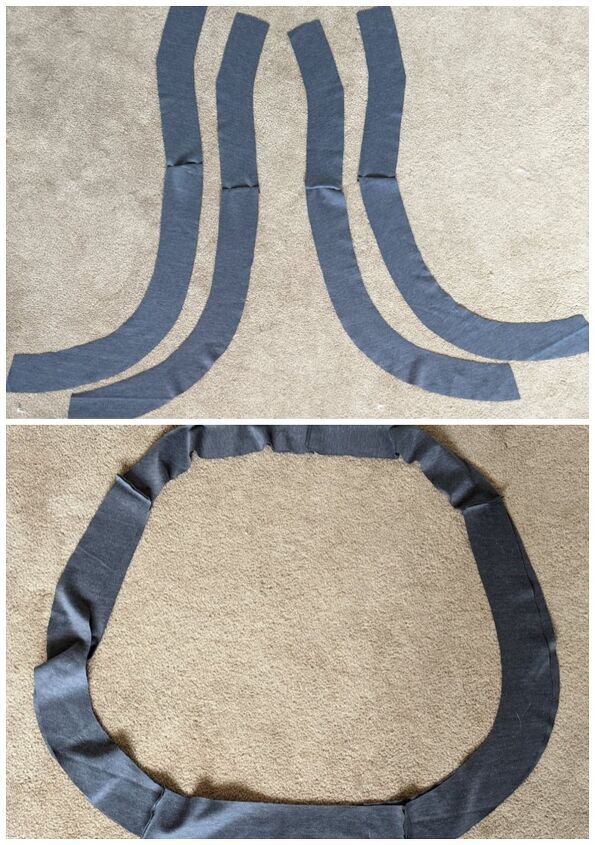
The Contoured Band
After seeing how the contoured band was with the lighter weight I wanted to make sure I didn’t have the same flounce ruffle problem with ponte. I probably over compensated a bit though. To sew the band I made sure to reduce my presser foot pressure and lengthen my stitch length. I also sewed it entirely with a straight stitch, not a serger. I only went back and finished the visible edges with the serger after I had sewn with a straight stitch first. I also didn't serge any edges that were enclosed and I clipped into the seam allowance on the curve to help it lay flat. This worked beautifully!
Then I had to go and overcompensate and mess it all up. I wanted to make extra sure the band would stay flat so I decided to do an understitch the inside before I attached the band. Well, that made it get wavy which made me sad. I think it would have been fine had I not understitched it.
Remember when sewing with ponte knit, less if best!
When Working With Thicker Fabrics....
Seams
Seams tend to get bulky when working with thicker fabric like Ponte and Interlock. Pressing the seams open before you sew it is something I do that helps it not be so bulky. It's also easier for the sewing machine to glide over it. If a seam is going to be enclosed I don't serge it either. Pressing it open helps the seams lay more flat and keeps the bulkiness minimal. Grading and clipping the seams on the curve helps too. Here's a good video to help you understand how to do that.
A Useful tip for Fabrics With no Wrong Side
Lay it All Out
When I sew with fabrics that don’t have a wrong side I sometimes get a little confused with the right and left pieces. I have on occasion made two right pocketed pants legs and ended up picking out all my stitches to redo it. To keep from doing that I lay out all my pieces the way they are supposed to go before I sew them together.
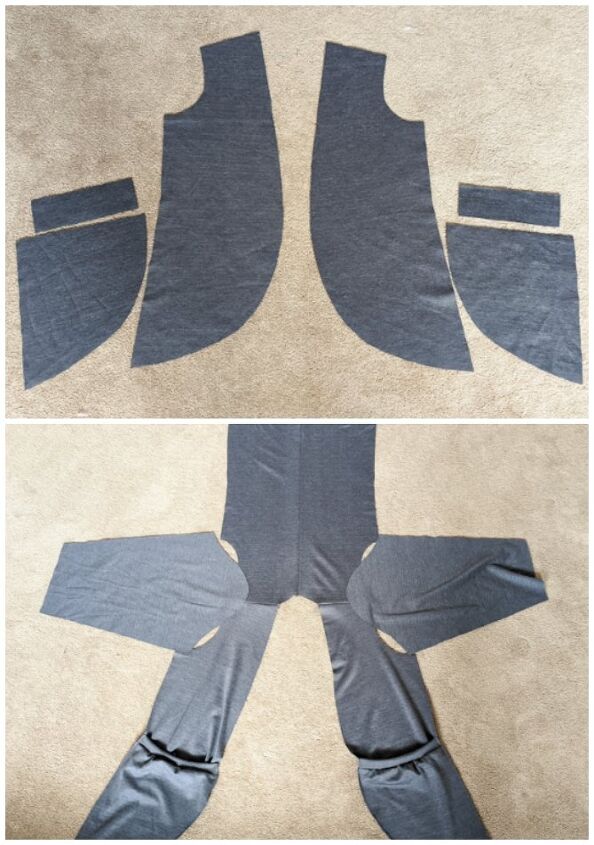
I have to visually look at it to make sure I’m assembling it together correctly. I especially needed to do this with the contoured band. The band has a lot of pieces that make two mirror image circles.
Take Your Time
With fabrics that don’t have a wrong side you have to be observant. I laid all my pieces out and pinned them together on the floor to make sure I had done it correctly. By taking the time to lay everything out first I was able to sew all three cardigans and not have to unpick anything. That doesn’t always happen.
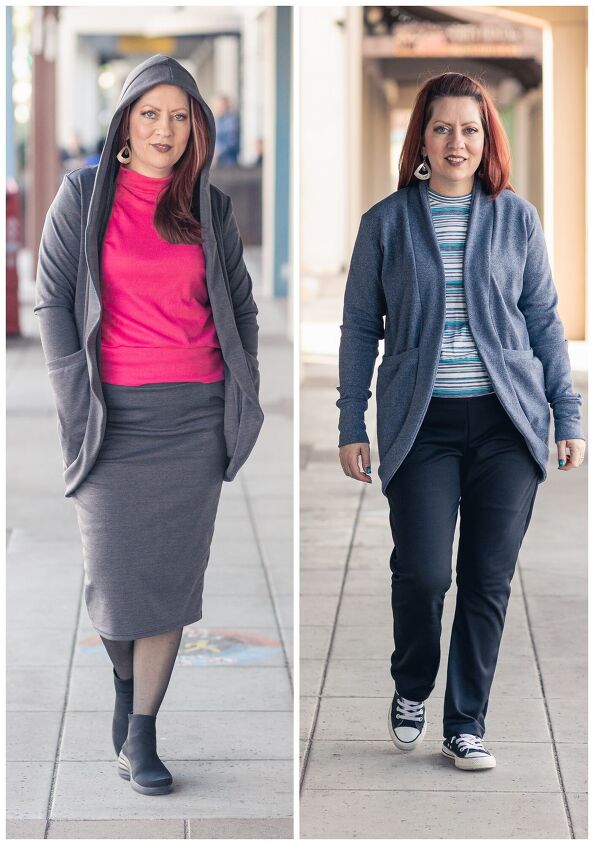
I learned so much with this little experiment! Now I have two cocoon cardigans that are going to get worn a ton. Well, at least until the desert heat shows up in a few weeks.
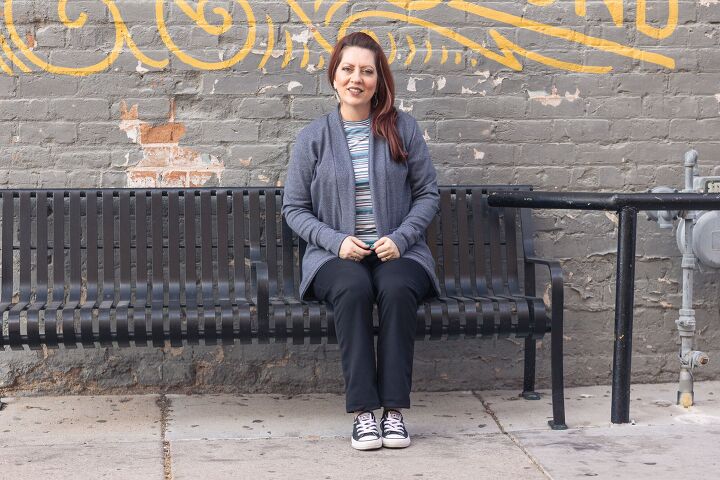
Hope you still have enough cold weather where you are to make yourself a Cocoon cardigan too. If you are interested in the Fraser Cardigan feel free to use this link here. Use code KOE10 for 10% off.
The author may collect a small share of sales from the links on this page.


Comments
Join the conversation