How to Create Amazing Appliques From Your Favorite Sweatshirt

CustomFashionHandmadeHow ToLifestyleSewing
How to Create Amazing Appliques from Your Favorite Sweatshirt
February 13, 2021 10 min Read
If you have a sentimental attachment to a sweatshirt or t-shirt, you understand the emotional trauma when something happens to it. The sadness and depression can sometimes be overwhelming, esp. when it reminds you of a great moment in time and or someone special.
However, all is not lost! Instead of retiring or trashing your beloved shirt, it’s time to give it a second crafty life as part of another garment. To do this, you will need a new shirt, some creative sewing skills, and your sewing spirit.
Materials Needed:
Your original Sweatshirt or t-shirt with design
(1) new denim shirt OR Sweatshirt OR jean jacket (You just need a new garment)
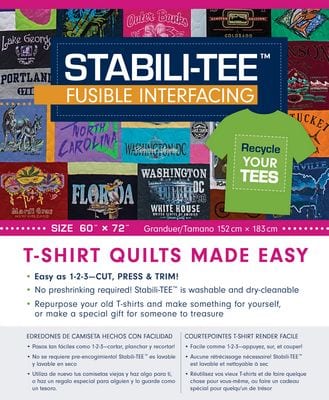
(1) 18” square of Stabili-tee™ Fusible Interfacing Stabilizer
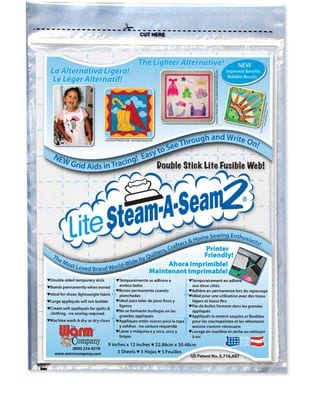
(1) 18” square of Lite Steam-A-Seam 2™
(1) small spool of decorative thread (color should coordinate with the design)
Optional: decorative braiding or trim for the outline of the design
The Process:
1. Launder and Prep the Original Shirt
First, wash, dry, and press the shirt. Follow manufacturer’s directions. Once it is cleaned, carefully inspect it for any stains, tears, or holes. Make a note of any potential flaws that could affect the shape of your applique.
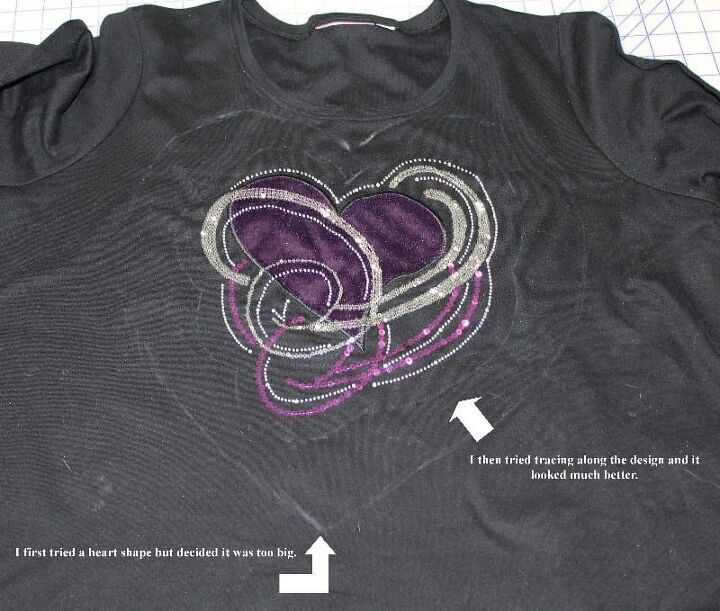
2. Mark the Applique outline
Using a washable fabric marking pen or tailors chalk, mark the cut line for the applique. If you have not decided on an exact size, trace a larger size so that you have room to trim. For the sample, I tried two different designs—a heart and a simple design outline trace. Following the design outline looked much better than a large heart. It also minimized the amount of extra black fabric I would need to sew.
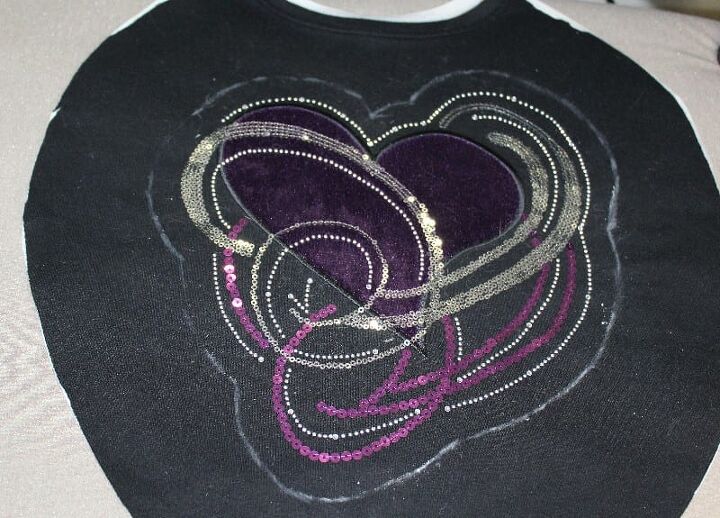
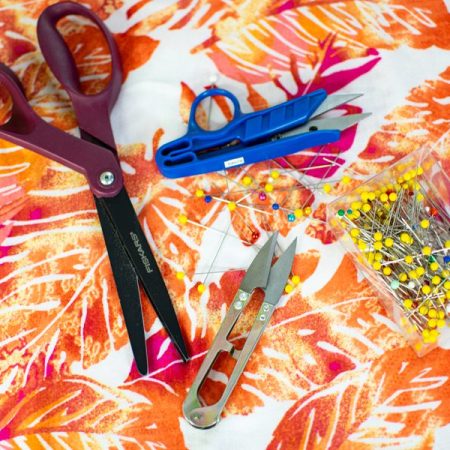
3. Cut
Separate the shirt front from the back and with a sharp pair of fabric scissors, carefully cut the design away from the shirt. FYI: It is best to separate the shirt front from the back before starting. If possible, avoid cutting the back, esp. if there is a design or print on it that can be used for another project. Be sure to leave enough extra fabric for trimming, esp. if you change your mind about the shape.
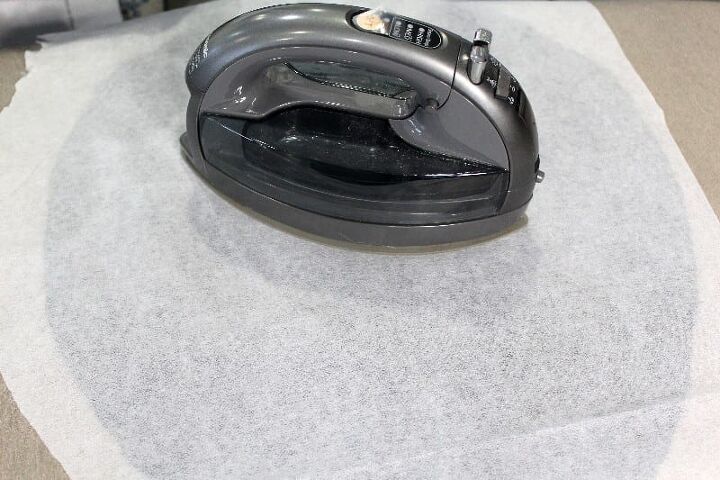
4. Add Stabili-tee
Before you sew your applique to your garment or tote bag, you need to stabilize the applique. This fusible interfacing is applied to the WRONG side of the transfer. Follow the manufacturer’s directions for the best results. BE CAREFUL to NOT iron it to your ironing board! Once pressed, allow the fabric to cool for a minute before picking it up and handling it. This ‘rest’ allows the glue to fuse to the fabric.
5. Add Adhesive Layer
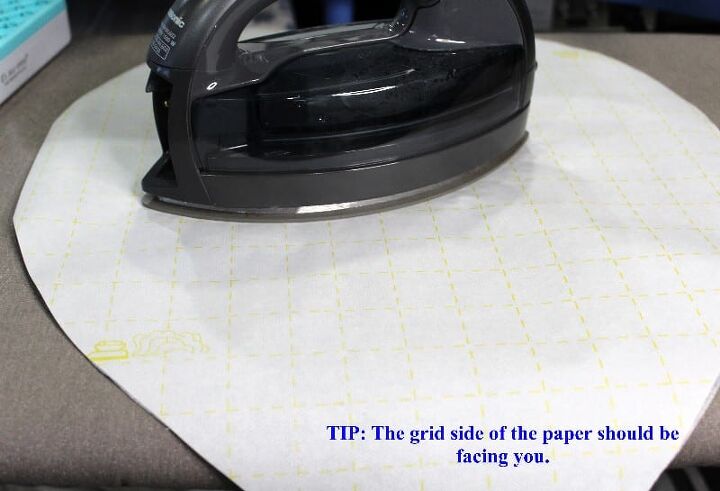
It is important to add an adhesive layer on top of the Stabili-tee layer so that the applique sticks to your garment. There are a few different fusibles on the market, but I’ve found that Lite Steam A Seam 2, works very well and does not gum up your needle when sewing along the applique edges (just another creative sewing idea). It is double sided, so it’s easier to work with when creating appliques. Make sure to have the grid side facing you when applying it to the applique. If you lightly press it to the applique, it’s easier to handle when placing it on the garment and there is less tendency for the applique to pucker while you are positioning it.
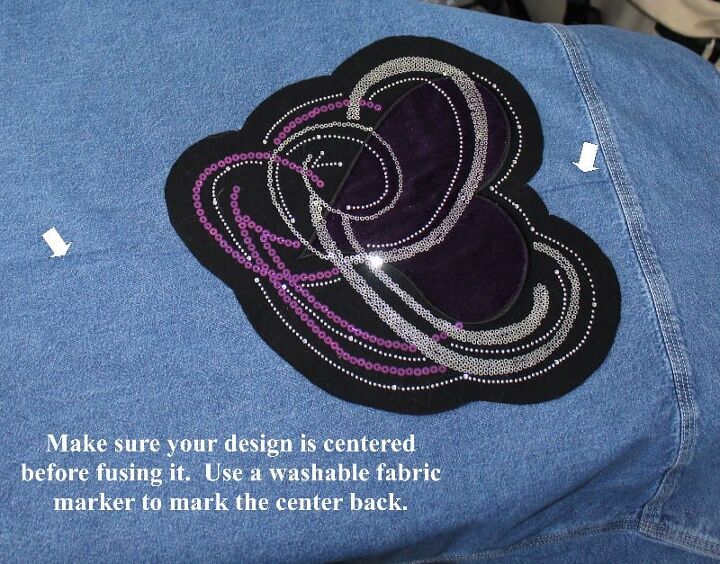
6. Finalize the Size
Now that the prep work is completed, it’s time to finalize the applique size. Begin by laying the applique on top of the garment to evaluate the transfer size. Is it ok? Does it need to be smaller? If trimming is necessary, take the applique to your cutting mat and carefully trim it. Once you have the correct size, carefully remove the gridded paper from the applique and position it on the garment (if necessary, use a few pins to keep it in place).
As a reference, I left a ½” allowance around the design edge. You can leave more or less fabric; but make sure you have enough room to safely sew the applique to the garment and add any trims or embellishments.

7. Fuse the Applique
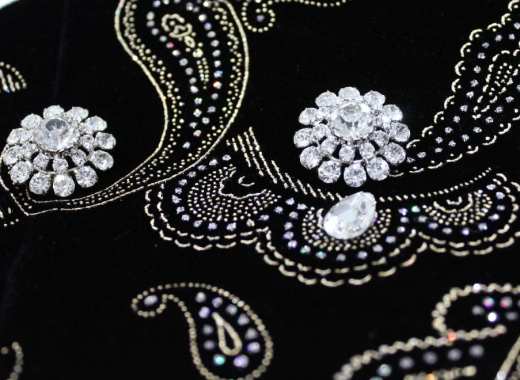
Using a household iron, carefully press the applique in place. (If you used pins, remove them and iron over the pin marks.) Make sure that all areas of the transfer have fused before lifting and removing garment from ironing board. SEWING CRAFT TIP: it is best to allow the applique transfer a few minutes to cool and set before lifting and working with the garment. If your transfer has sequins, braided trim, metallic embroidery threads, or rhinestones, you should consider using a pressing cloth during this step to protect them.
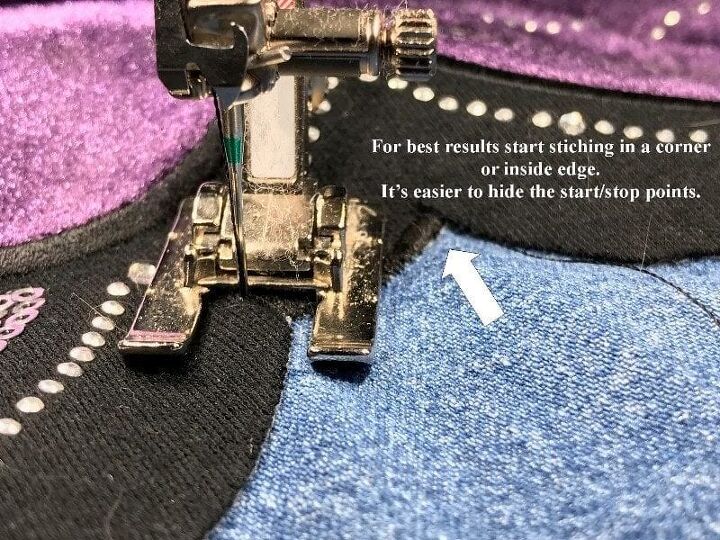
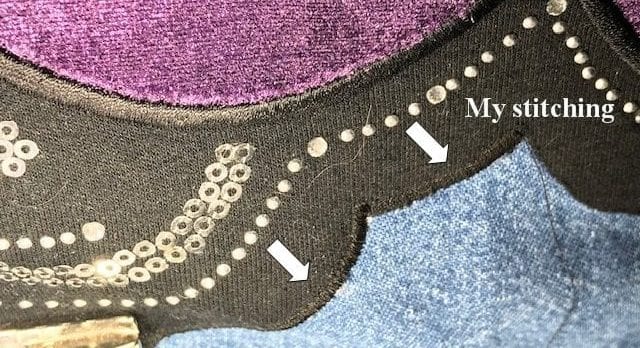
8. Sew the Edge
In order to permanently secure the applique and give it a professional look, you need to finish the edges. In my video lesson, I used strips of fabric to finish the edges on my cornucopia design. Directions for this process can be found in my YouTube Video Denim Shirt Transfer While the strips work for a square shape, they may not be the best for a circle, diamond, or free-style shaped applique. For these shapes, consider using a decorative stitch or washable decorative trim. For my heart design, I decided to use a 3.5mm satin stitch and omit a trim.
If you decide to use a trim, consider the following:
Select a trim that not only complements your design, but has the same/similar washing instructions. Using a dry clean only trim for a washable garment won’t work.
Before adding trim, sew a zig-zag stitch along the edge of the design. Next, position the trim so that its center sits atop the edge of the applique. Pin in place. Adjust your zig zag stitch width and length as necessary (you don’t need a tight stitch for this step). Using monofilament thread in the needle and a color coordinated bobbin thread, sew the trim to the design.
Hopefully, this lesson will inspire you to upcycle old shirts so that you can enjoy your old favorites in a crafty sewing new way! My recommendations are to pick a new shirt that you will wear—not leave hanging in the closet. If it takes you time to find the new home for your design, that’s ok! Also, take time to consider how you would like your new shirt or jacket to look. Do you want it for casual wear, or would you like to create a look for work and home?
If you are more of a visual person and would prefer to follow a video tutorial, then check out the YouTube Video Denim Shirt Transfer on The Creative Sewist Community YouTube Channel!! If you follow the link provided, you can watch the video as I take you thru the entire process. If you have any questions or concerns, please leave a comment, and don’t forget to subscribe to the channel!! I will be uploading more helpful and exciting tutorials soon. My sewing blogs are for beginners to experts and hopefully you get more creative sewing ideas! Also, once you complete your project, come back, and share them here in the comments below! I’d really like to see your projects!
AlterationsDecorationsDesignFabricFashionHacksHow toInspirationSewingSewist

← Previous
How to Hem Pants Quickly with Simple ‘No Sew’ Techniques

Next →
How to Taper Pants Quickly and Easily Like A Pro
Subscribe Now
Interesting Posts

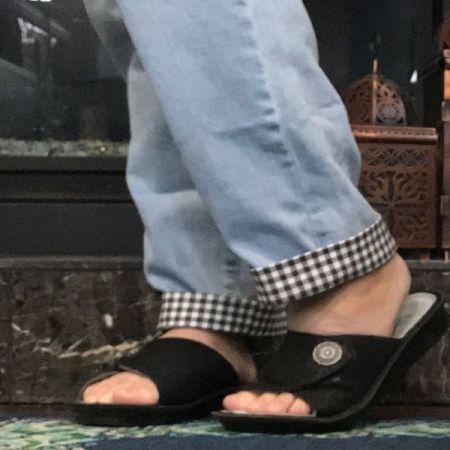
How to Easily Create Stylish Pant Cuffs with a Simple Sewing Hack
Sep 06, 2022
Tags
- Advice
- Alterations
- bob mackie wearable art
- ciamember
- Decorations
- Design
- embroidery
- Fabric
- Fashion
- Hacks
- Heming
- Hemming
- Holiday
- How to
- Inspiration
- Lifestyle
- No Sew
- Quilting
- Seasonal
- Sewing
- sewing projects
- sewing tool
- Sewing Toolkit
- Sewing Tools
- sewing tutorials
- Sewist
We Want Suggestions

The author may collect a small share of sales from the links on this page.


Comments
Join the conversation