How to Sew a Hoodie Out of a Fluffy Sherpa Blanket From Walmart

Today, I’m going to show you how to sew a hoodie out of a fluffy blanket that you can purchase at Walmart or any other retail store.
This DIY hoodie is actually pretty easy to make. You don’t even need a hoodie sewing pattern, just your favorite hoodie as a template.
Ready to see this cozy blanket transformation? Let’s get sewing!
Tools and materials:
- Sherpa blanket
- Hoodie as a guide
- Chalk
- Scissors
- Sewing machine
- Matching thread
- Pins
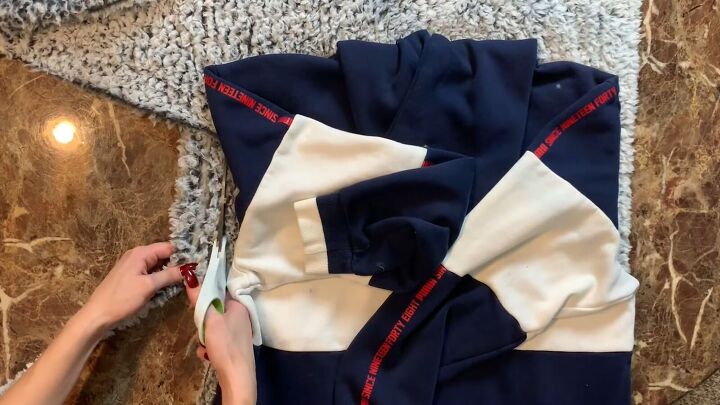
1. Cut the hoodie sewing pattern
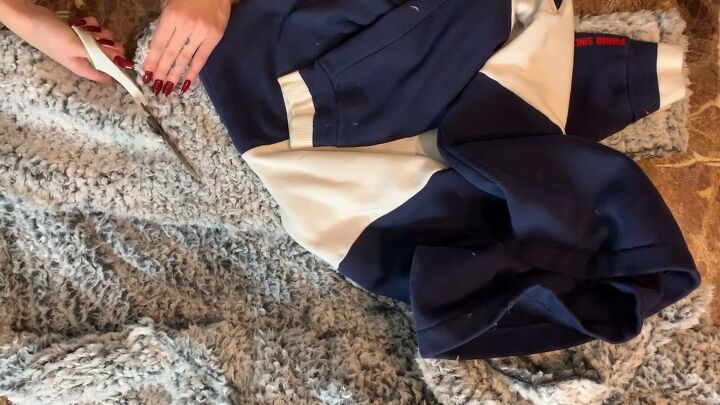
Grab your favorite hoodie and place it on your folded Sherpa blanket. Cut around, so you end up with two bodice pieces. Be sure to fold in the sleeves to trace the armholes.
Tip: Normally, I use a bit of seam allowance, but this hoodie was already big on me, so I had no need to.
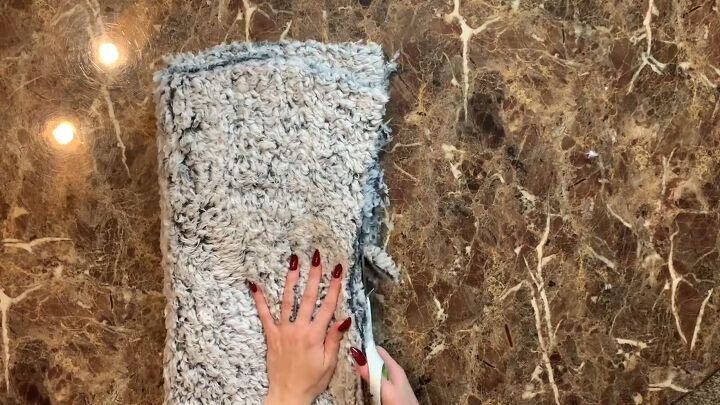
Fold the fabric over and cut. This way, all your pieces will match.
Cut the neckline for the front and back. Then, fold over the front piece and cut the neckline a little deeper than the back.
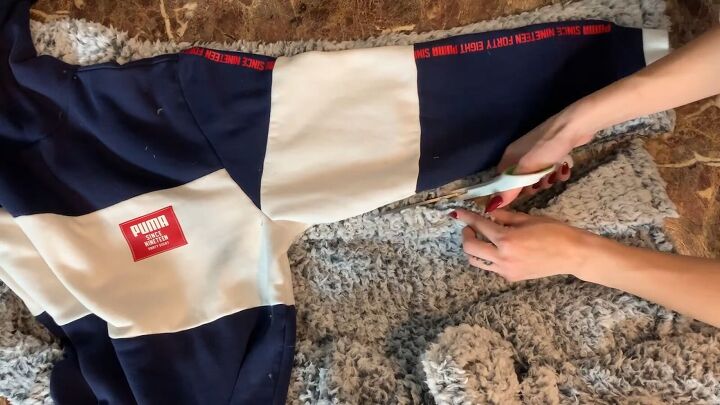
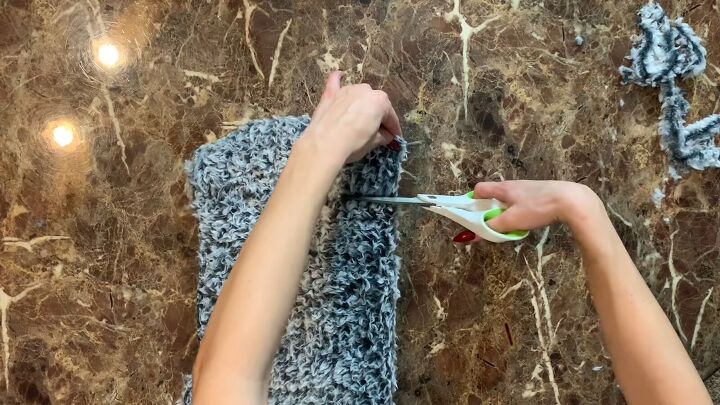
Trace the hoodie sleeves. Ensure that you cut the bottom of the sleeve and that the top edge is on the fold.
Fold the body piece over to cut out a nice shoulder.
Use the first sleeve as a template to cut out the second.
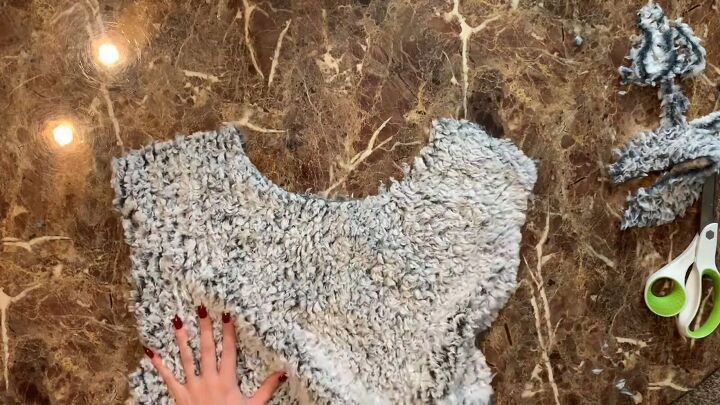
Trace and cut out the hood part. Fold the blanket twice so you end up with four hood pieces.

2. Sew the front and sleeves
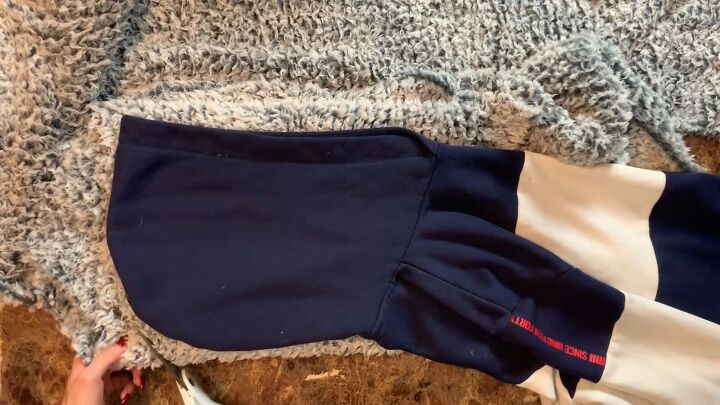
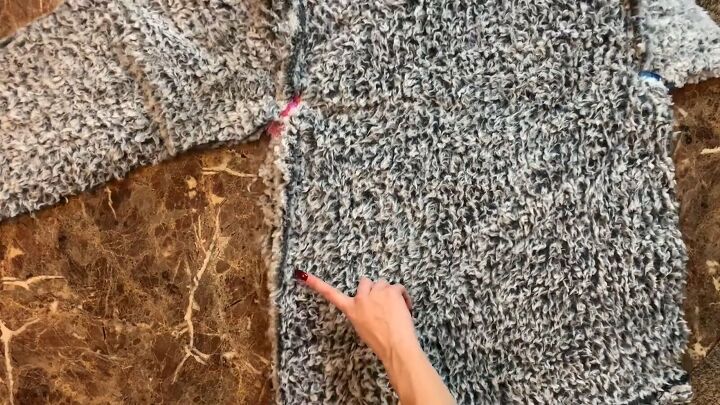
Place the two bodice pieces together, right sides facing. Then, sew the shoulder seams.
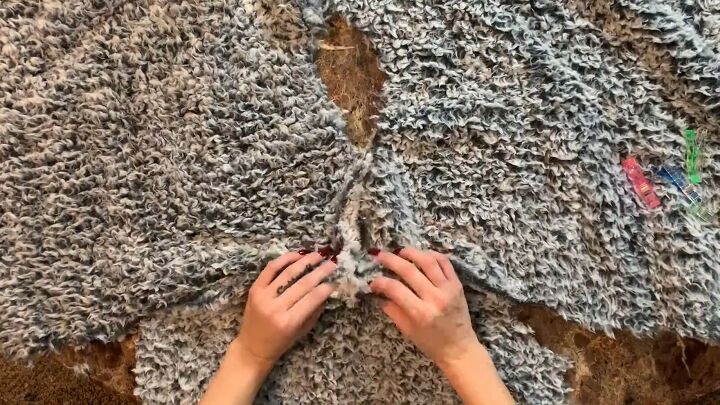
Pin the sleeve to the open armhole area of the bodice. Make sure to align both pieces at the center.
Tip: To find the center of the sleeve, simply fold it in half.
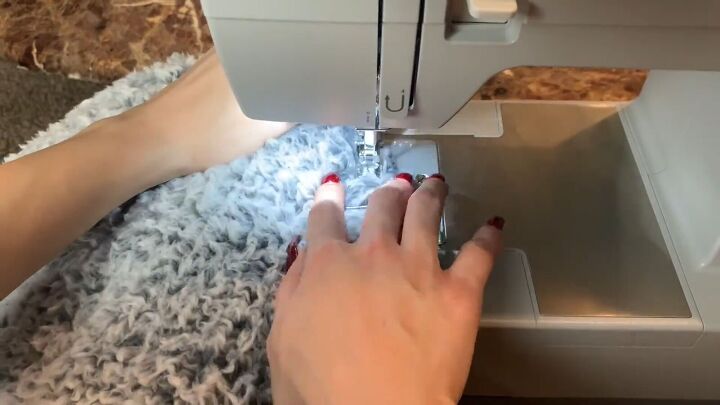
Now, sew all the way around the arm.
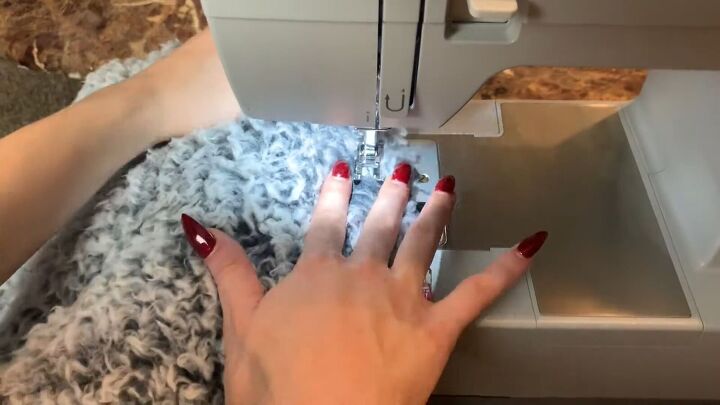
Hold the fabric down before it goes under the presser foot. Sherpa fabric is bulky and needs some readjusting when sewing.
Repeat the same process on the other side.
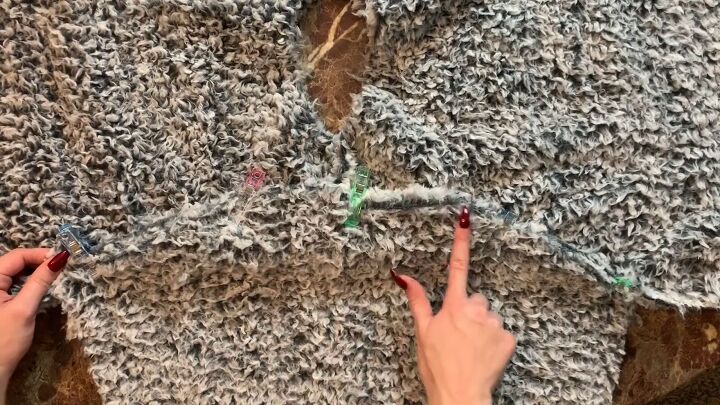
Attach the sides by sewing down the body and the bottom of the sleeve.
Tip: When you get to the armpit, make sure to sew that area really well.

3. Sew the hood
Place the hood pieces right sides facing, and sew the curved area, from the top down.
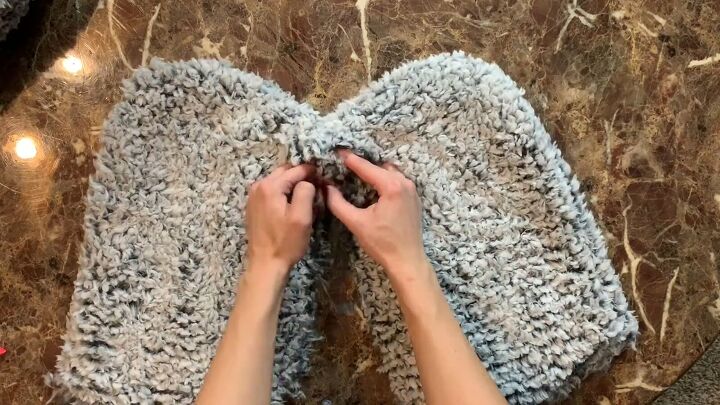
Once you have two hood pieces, place them together, starting at the top center.
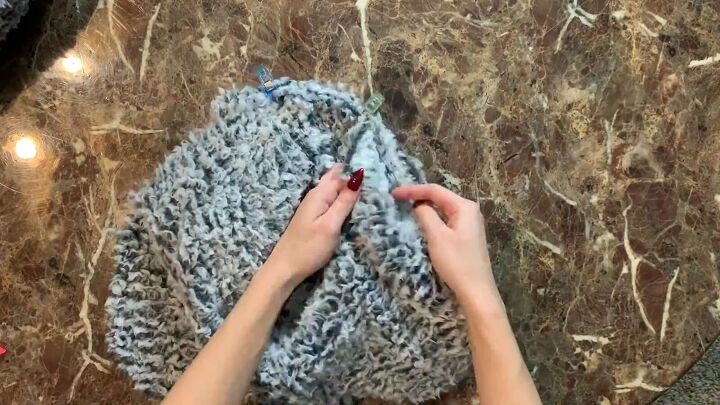
The right sides should be facing when pinning both pieces all the way around.

Sew around the pin edges to secure.
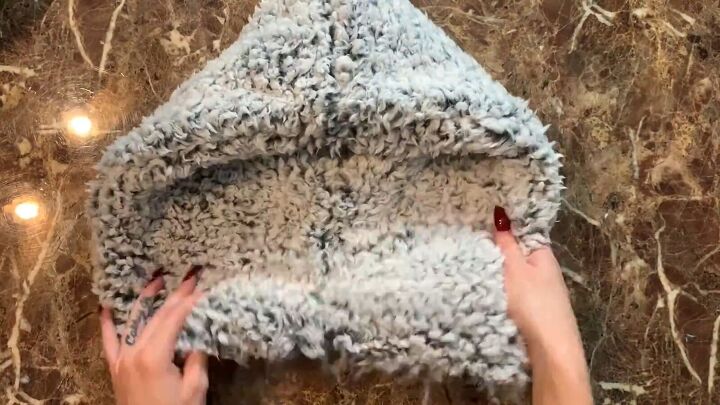
This is what your DIY hood should look like when flipped to the right side.
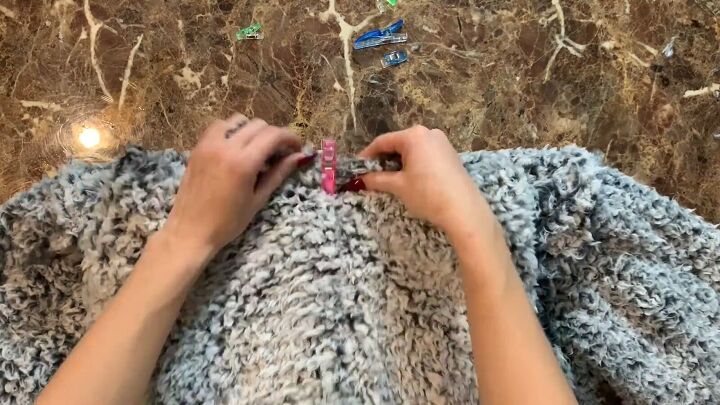
4. Attach the hood to the body
Flip the hood, so it’s facing down. Then, find the midpoint of the hood and align it to the midpoint of the back neckline.
Place the hood inside the DIY hoodie sweater and pin the back layers. Everything should be right sides facing.

Now, sew all around.
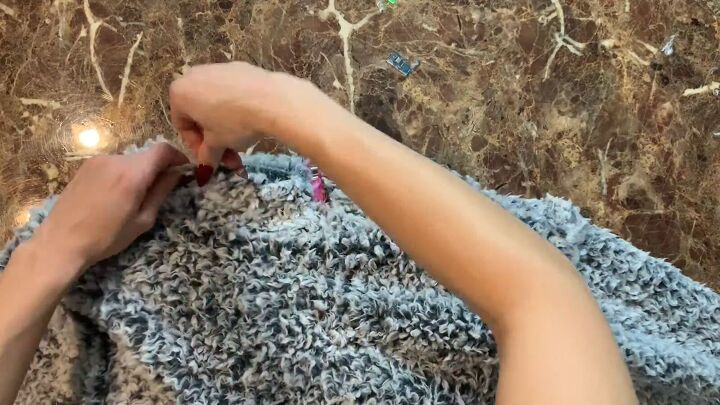
Hem the front neckline by folding the fabric over once.
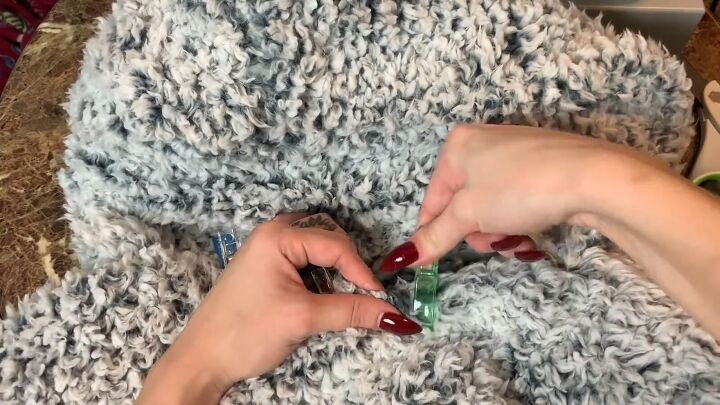
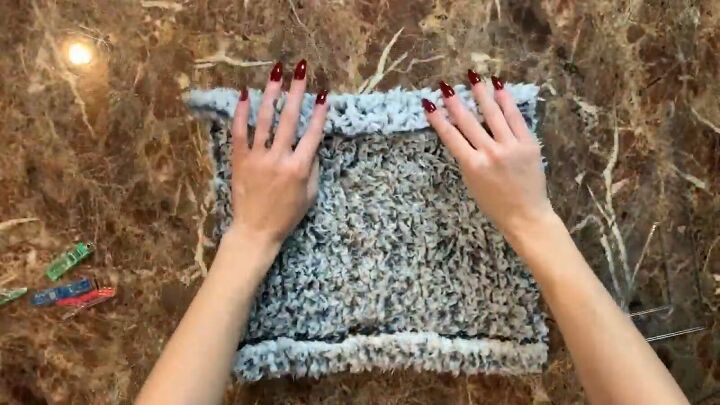
5. Cut and attach the pocket
Your DIY hoodie is almost ready; we just need to attach the pocket. I used this triangular tool as a guide to form nice angles on my pocket.
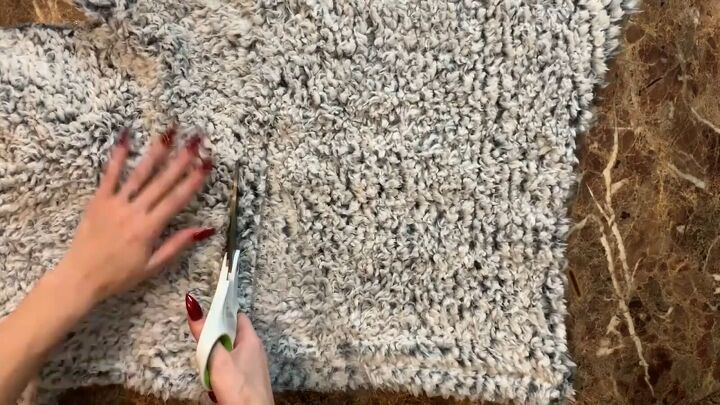
Once your pocket is cut, hem the top edge.
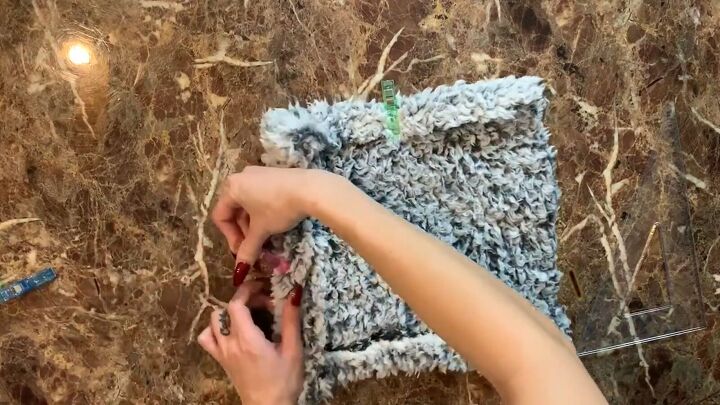
Then, hem the sides. I didn’t have to do anything for the bottom, as I cut it on the edge of the fabric.
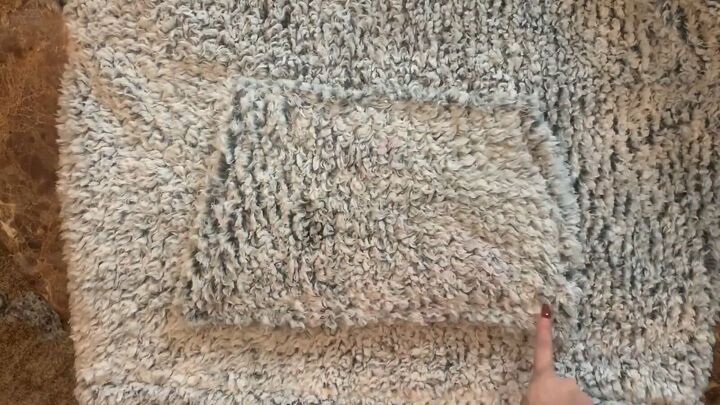
Now, sew the pocket onto the DIY hoodie. Make sure you sew the top and bottom only.
How to sew a hoodie
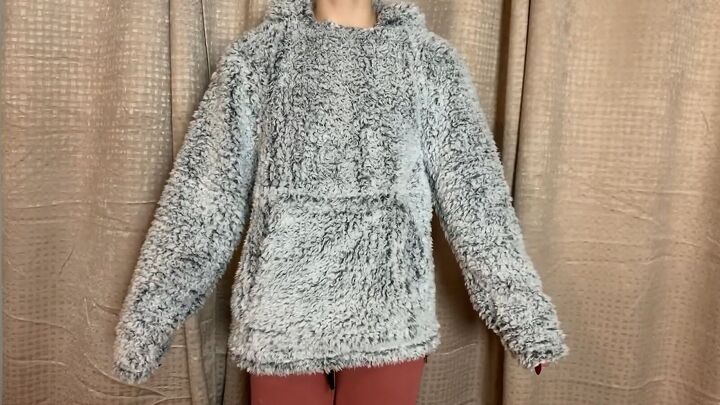
We’re done! How cute is this DIY hoodie? No one would ever guess that this was once a Walmart Sherpa blanket!
Thanks for joining me on this tutorial on how to sew a hoodie. I hope you make this for your next project; it’s really fun!
The author may collect a small share of sales from the links on this page.


Comments
Join the conversation
Fab job. Ideal for cosy nights in.