How to Cut Your T-shirt Neck Into a Witchy Pentagram for Halloween

I’ve got a witchy t-shirt cutting tutorial for you, just in time for Halloween. I’m going to be showing you how to cut your t-shirt neck into a pentagram design in two different ways. These are two great t-shirt cutting ideas for you to try out. Let's get started!
Tools and materials:
- 2 t-shirts
- Chalk
- Scissors
- Ruler
- A piece of thick cardboard (to make cutting easier)
T-shirt cutting style 1
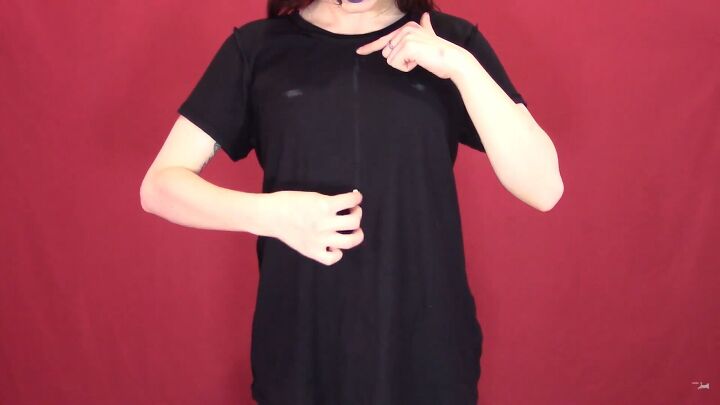
1. Mark the dimensions
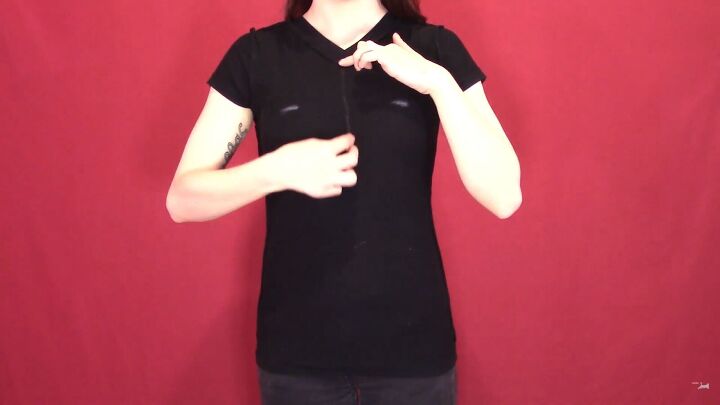
Put your shirt on inside out and mark how low you want the sides of your star to be. Then, mark the center.
Be sure to consider the stretchiness of your fabric. If the fabric has a lot of stretch, the design will also stretch. If you make your marks too low, the end result may be a little too revealing.
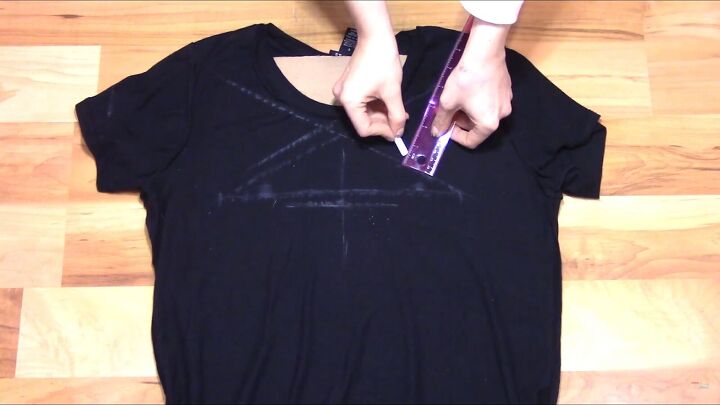
2. Mark the star shape
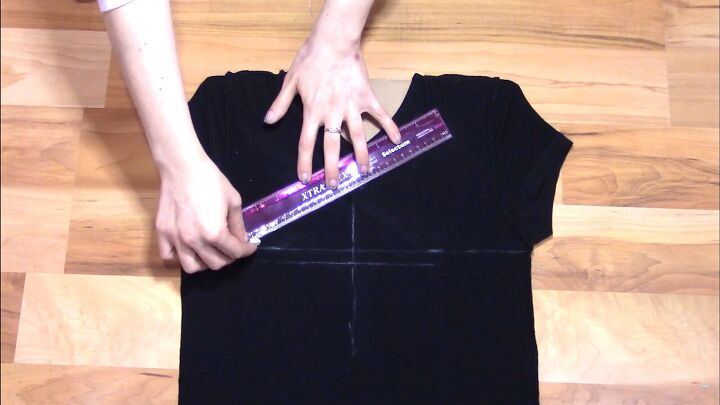
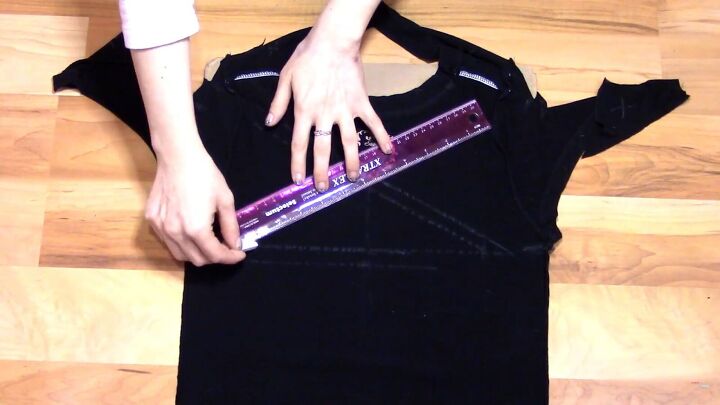
Lay your inside-out shirt down flat and insert your piece of cardboard. Take your ruler to draw a line connecting your two marks. Then, measure a half-inch (1.3cm) below the horizontal line and draw a shorter line parallel to the first.
Decide how wide your star will be, and from that point, draw a line towards the opposite shoulder, staying below the collar. From the center of the line you just drew, measure half an inch above it and draw a shorter parallel line. Repeat on the other side.
Use your lines to vertically line up the top lines with your width marks from earlier and mark these as points on the star.
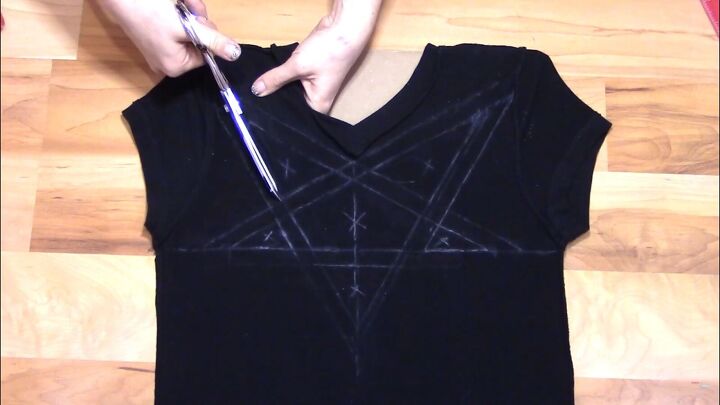
Now, finish the star by connecting the top points that you just made with your centerline, a few inches below the lowest horizontal line. Measure half an inch outside of these lines and draw shorter parallel lines just like before.
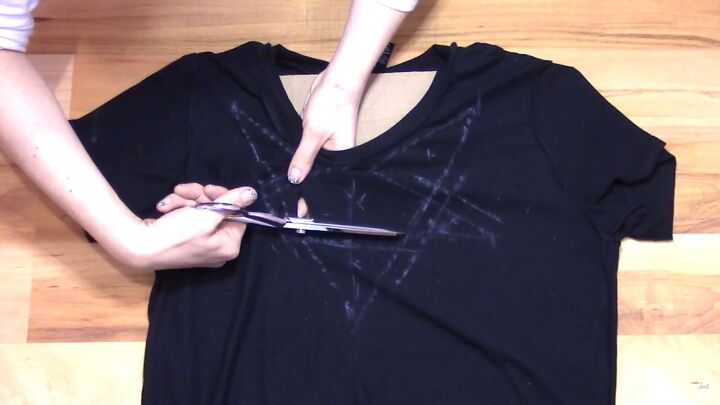
3. Cut out
Very carefully cut out only the pentagon in the center and the five triangles, leaving the small strips of fabric between them in place.
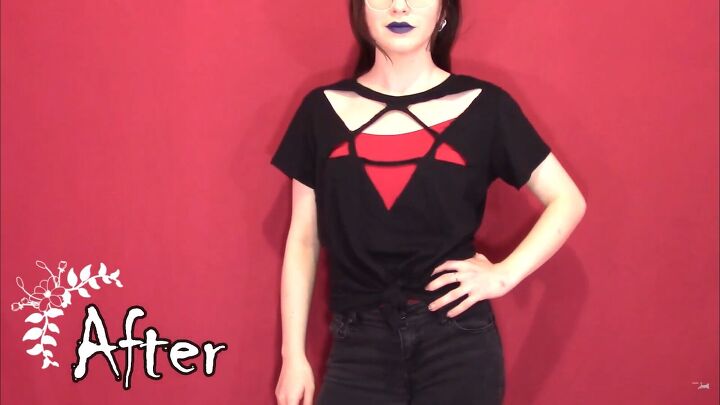
I cut my design a little bit too low, so I styled the shirt with a red tank top underneath. I tied it in a knot around my waist to cinch it in a bit, and I'm loving the way it looks.
T-shirt cutting style 2
1. Mark the dimensions
Put your top on inside-out, just like the first design, and mark how low you want the sides of the star. It’s ok if you make the marks a little bit low here because the straps on this design are adjustable. Then, mark the center.
2. Mark the star shape
While still inside-out, lay your shirt down flat, with the front facing up and the cardboard inside. Connect your two marks with a horizontal line all the way across the shirt. You may need to lower the line so that it's underneath the sleeve.
Measure half an inch below this line and draw another line parallel which can be short. Now, measure half an inch below the v-neckline and draw a mark on either side of it.
Decide how wide you want your star, and from that point, draw a line towards the opposite shoulder, staying under the collar marks. Repeat on the other side.
Then, draw parallel lines, half an inch outside the two lines you just drew. Use your ruler to vertically line up the top lines with your width marks from earlier and mark these as points of the star.
Finish the star by connecting the top points that you just made with your centerline, a few inches below the lowest horizontal line. Measure half an inch outside these lines and draw parallel lines just like before.
3. Cut out the inside shapes
Carefully cut out only the pentagon and the five triangles, leaving the small strips of fabric between them.
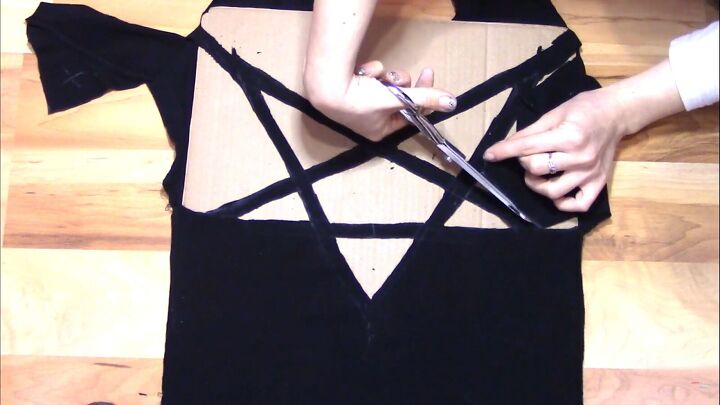
4. Cut out around the star
To cut out around the star, coming in from the shoulder, cut along the top edge of the star. Then, about half an inch below your first cut, continue cutting around the edge of the star, stopping under the sleeve. Repeat on the other side.
5. Mark and cut the other side
Flip your shirt over and mark where the design on the other side hits the edges of the shirt. Use these marks to repeat the design that you did on the front. Then cut out all the same areas, making sure that the front and the back match up.
Take your cardboard out and slightly stretch the top straps. Cut them if they're still attached.

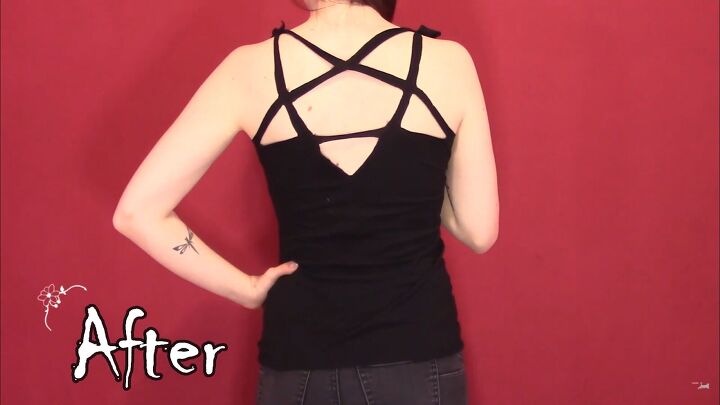
Put your shirt on like a tube top, then tie the front and back straps together as tight as needed.

How to cut your t-shirt neck tutorial
I hope you like these Halloween t-shirt cutting creations of mine and that you’ll give them a go for yourself! Let me know what you think in the comments below.
The author may collect a small share of sales from the links on this page.


Comments
Join the conversation