How to DIY 3 No-Sew Halloween T-shirts

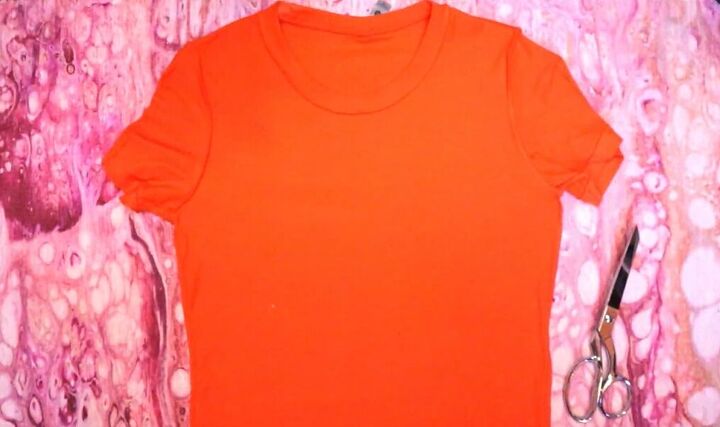
In this tutorial, we're making three easy Halloween shirts. They all look super cool, and they don’t involve any sewing whatsoever.
Grab your scissors, and let’s get started!
Tools and materials:
- Scissors
- T-shirts
- Cardboard
- Fabric marker
- Ruler
- Iron-on fabric fusing sheets (or scrap fabric and fabric glue)
Skull shirt
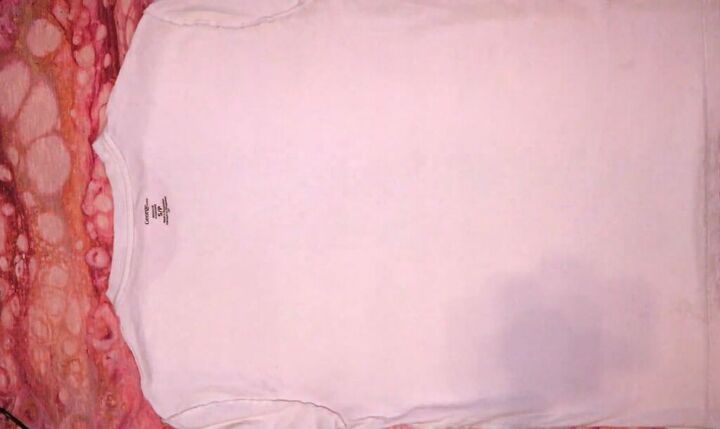
1. Turn t-shirt inside out
Turn your t-shirt inside out and lay it down back side up.
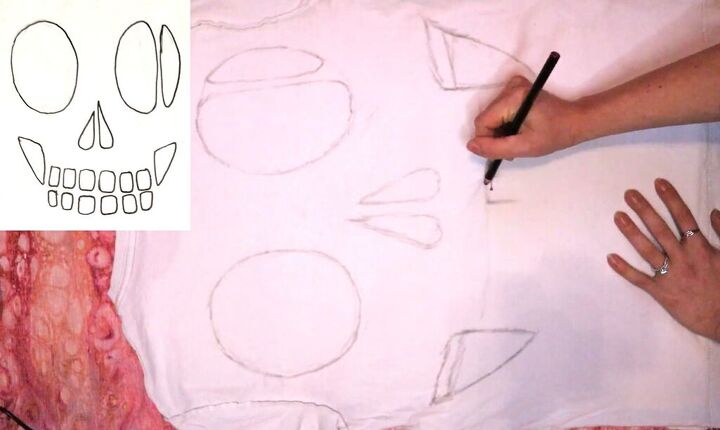
2. Sketch design
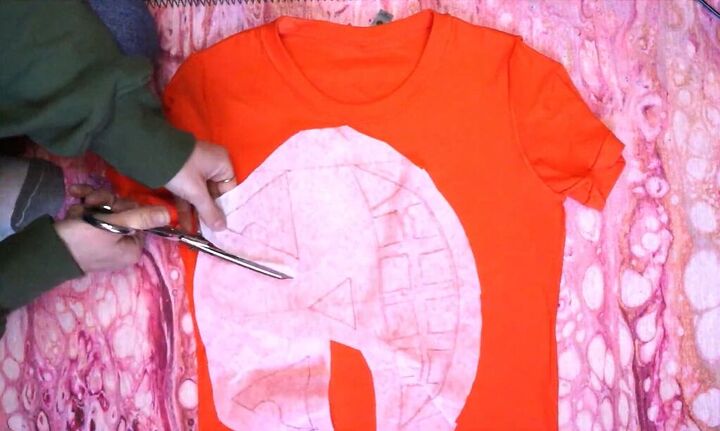
Sketch a very simple skull. Draw two big ovals for the eyes. I like to leave a strip of fabric in one of them to make it look more distressed.
Then, draw two teardrop shapes for the nose, two triangles for the cheek hollows, and then rounded squares for teeth.
Try to make all the corners rounded to prevent ripping.
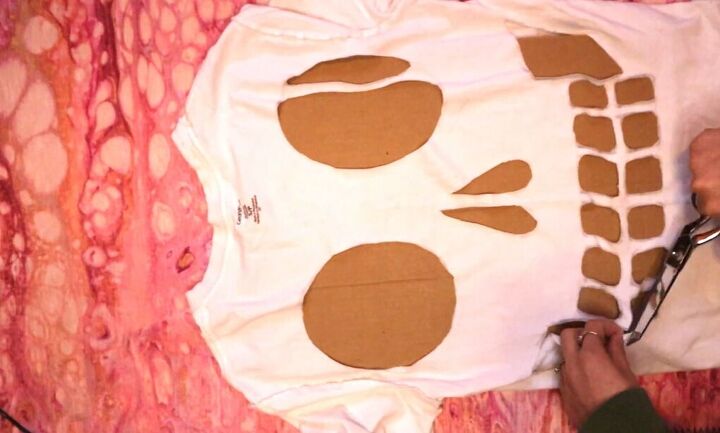
3. Cut out design
Put some cardboard inside the t-shirt and start cutting out your skull. When done, gently stretch each cut-out hole.
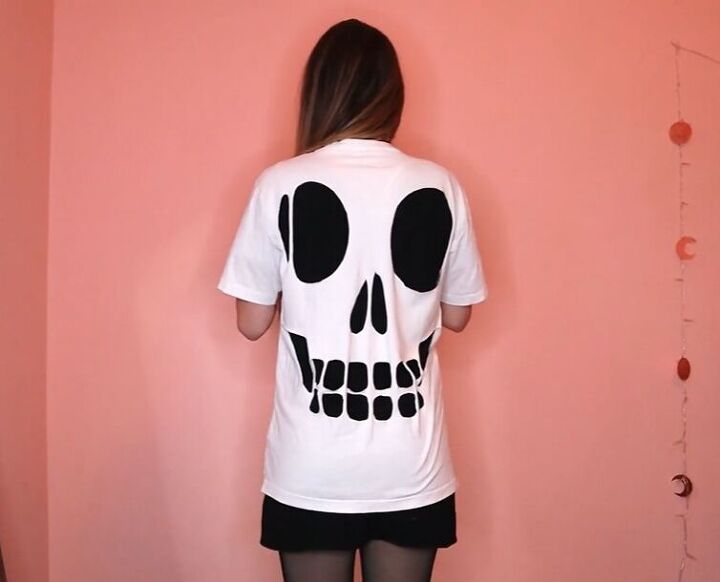
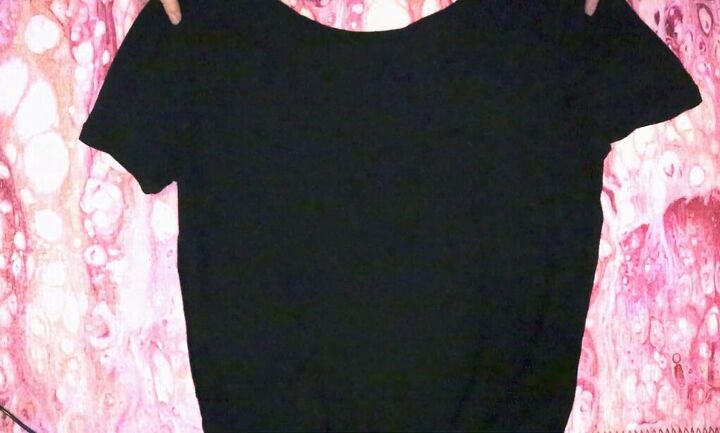
Here is the design, the white skull t-shirt looks awesome when worn over a black one underneath.
Jack-o'-lantern shirt
1. Turn t-shirt inside out
Turn your t-shirt inside out and lay it down front facing up.
2. Sketch design
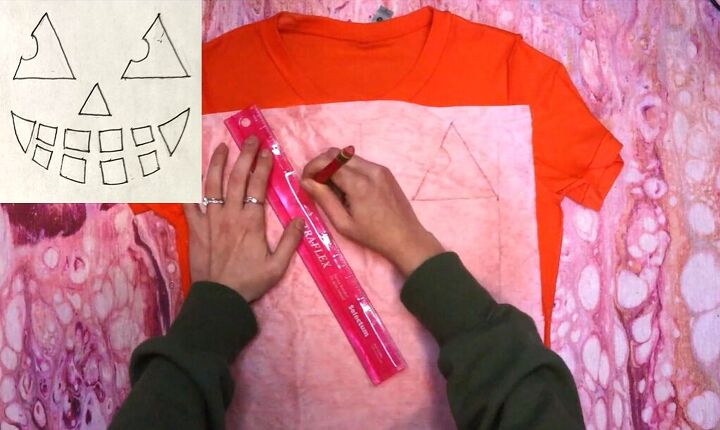
Lay out a piece of some fabric fusing sheet or scrap fabric and sketch out a jack-o'-lantern face.
Use a ruler to draw a line down the center, then two parallel lines on either side where you want the design to end.
We want everything to be symmetrical. For the eyes, draw a line across the shirt where you want the bottom of the eyes to be.
Divide it into thirds for the width and spacing, then draw two triangles with a half circle cut out one side.
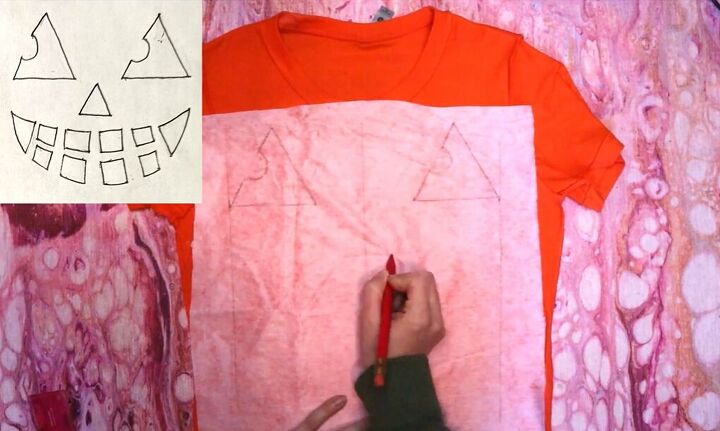
Make a smaller triangle just below the eyes in the center for the nose.
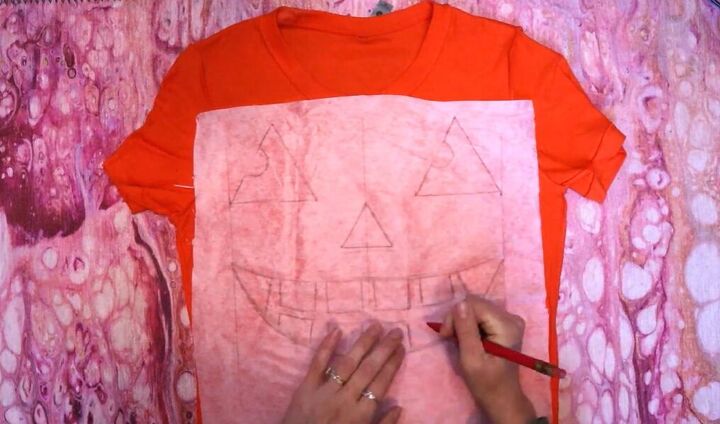
Then for the mouth, draw out the basic shape, fill it in with triangles in the corners, and draw square teeth in the center.
3. Cut out fusing sheet
Cut out the extra fabric or fusing sheet around your design and then center it on your shirt.
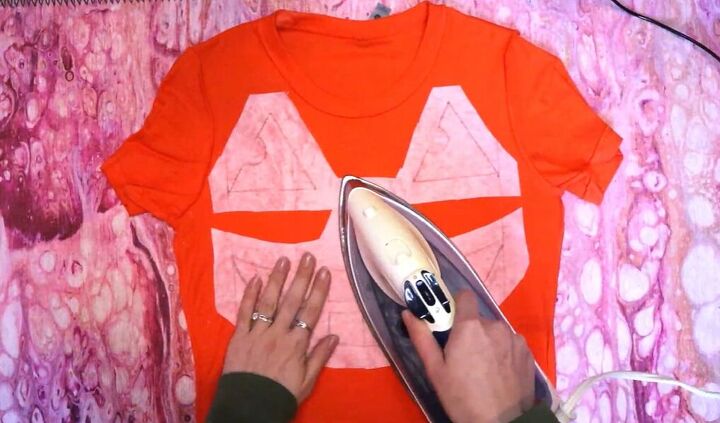
4. Attach to t-shirt
Attach the design to your shirt by either gluing it down or ironing it on.
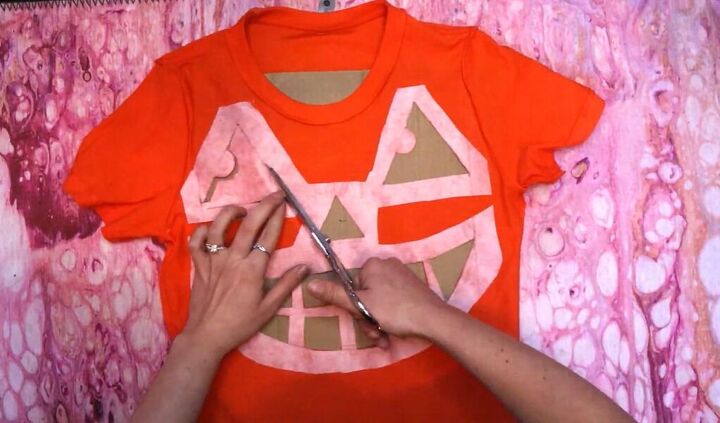
5. Cut out design
Then put cardboard inside your shirt and very carefully cut out all the triangles and squares.

I like this shirt with both yellow and black underneath. The yellow makes it look like a lit candle inside the pumpkin.
Spine and ribcage shirt
1. Turn t-shirt inside out
Turn your shirt inside out and lay it down flat, back side up.
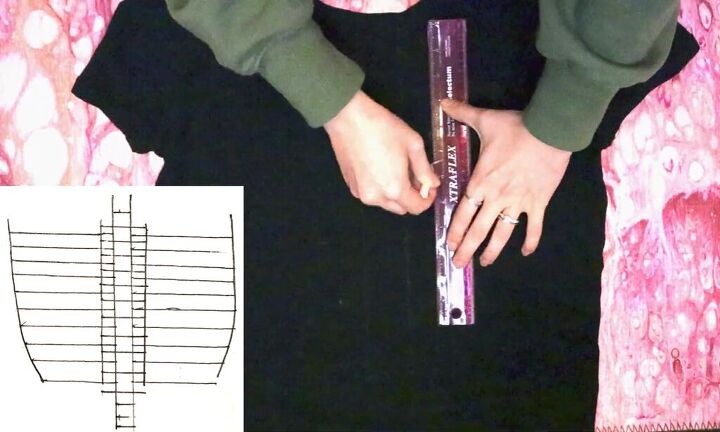
2. Sketch design
Start by drawing two lines down the center of the shirt about an inch and a half apart.
Then draw two more lines parallel an inch away from the first two on either side.
My markings don’t show up so well on the t-shirt but see the picture to the left for how it should all look.
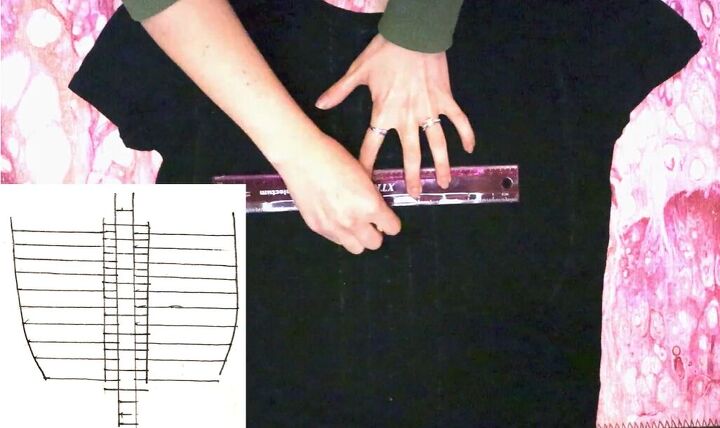
Draw a horizontal line just below the collar at the top of the width of the center two lines. Then draft out where the rib section will be.
Inside that rib section, start drawing horizontal lines the width of the outer center lines spaced an inch apart, starting under that first horizontal line.
When you get to the bottom of the rib cage section, draw a few more horizontal lines below, but only make them the width of the center two lines.

Then mark a tiny hole an inch below the last horizontal line, draw more horizontal lines across the rib section in between the center horizontal lines.
Go from the outside edge to the edge of the two vertical lines in the center.
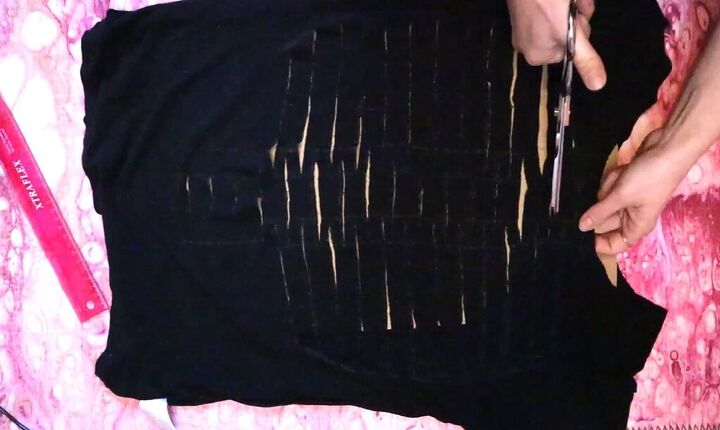
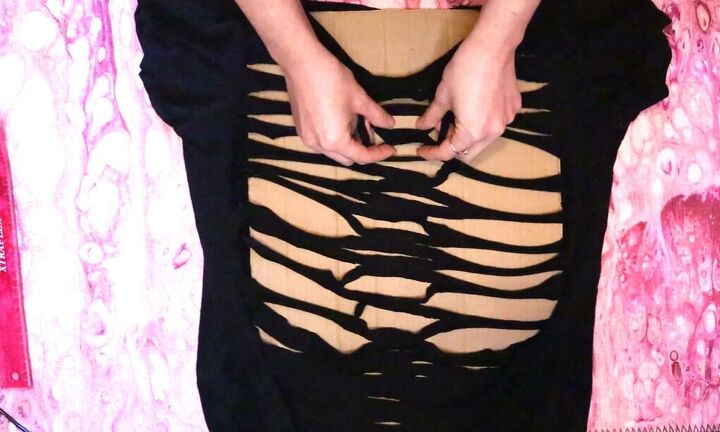
3. Cut along lines
Put cardboard inside the t-shirt and start cutting along all the horizontal lines.
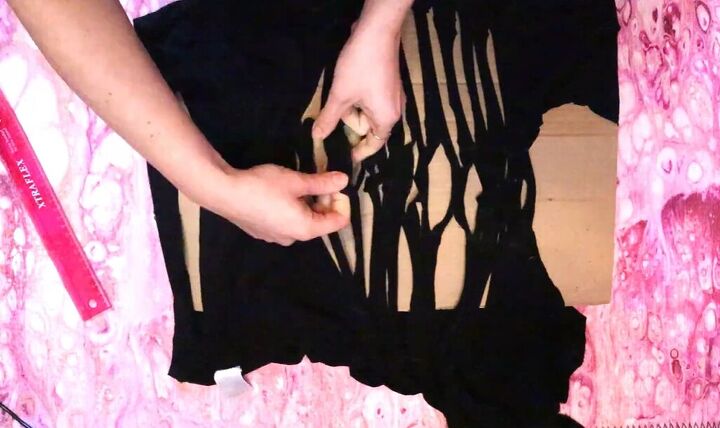
4. Stretch
Gently stretch all the strips. Then turn your t-shirt inside-in and put the cardboard back in.
5. Weave
Now we're going to do some t-shirt weaving down the center to create the spine.
Grab the second strip of fabric from the top in the center and pull it up under and over the first strip.
Then pull it down and grab the next strip of fabric. Pull that one up under and over the second.
Continue this all the way down to the bottom.
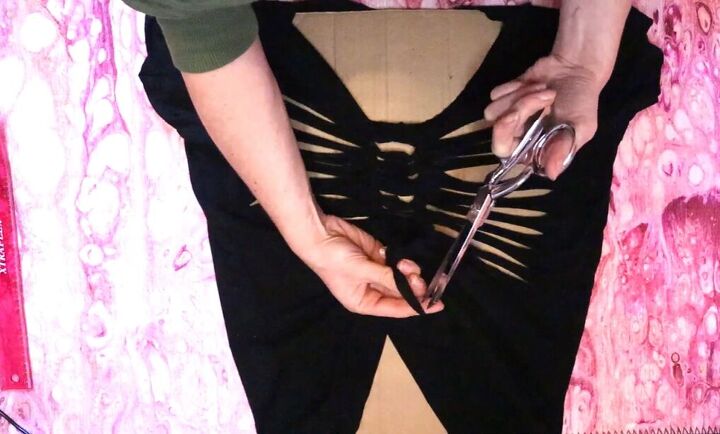
Cut the bottom strand and tie it back together through the little hole you cut at the bottom.
Adjust your pattern by stretching it and spreading the weave apart.

DIY Halloween t-shirts
Here is the finished design, along with the other two. All of these t-shirt designs are great for Halloween, and they didn’t involve any sewing at all.
Let me know which one you like best in the comments below!
Next, learn How to Cut Your T-shirt Neck Into a Witchy Pentagram for Halloween.
The author may collect a small share of sales from the links on this page.


Comments
Join the conversation
Those are very cute ideas for the kiddos to wear. Happy Halloween to you! 💀👻🎃
Great idea!