Transform a Black T-Shirt Into Something Trendy With the Reverse Tie-

Have a black, plain old, boring shirt lying around? Get your creative juices flowing and turn something so boring into a fashion masterpiece! In this tutorial, I am going to show you how to do a reverse tie-dye using bleach. Most of the materials used here are household items, so there will probably be no need to purchase materials unless you don’t stock the materials at home. I hope you enjoy this easy DIY reverse tie-dye tutorial!
Tools and materials:
- Bleach
- Gloves
- Black T-shirt
- Squeeze bottle
- Zip ties or rubber bands
Fold your black shirt in half
Get a clean, black T-shirt, lay it out on a smooth surface, and fold it in half. Make sure the T-shirt is smoothed out and that there are no creases present.
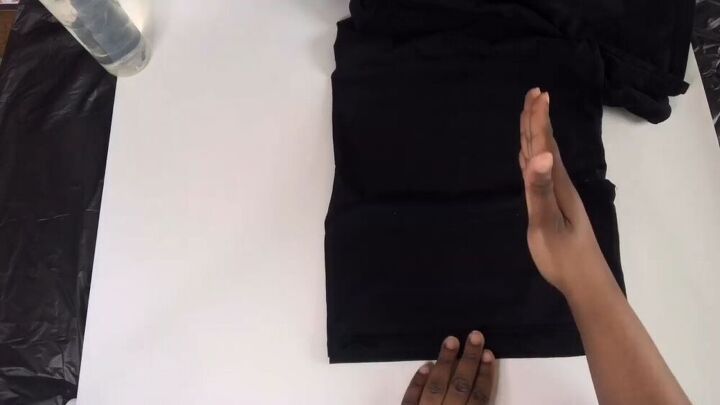
Pleat your T-shirt vertically
Start the pleating method by pleating your folded shirt vertically. Work your way from the bottom to the top and gather the material by making small pleats in the shirt.
TIP:
When pleating, fold the sleeve and come back to it when you’re done with the top itself.
Place zip ties
Once your whole shirt is pleated, hold it in place and add zip ties 2 inches apart. It is up to you how far apart you want your zip ties- it’s your call!
TIP:
If you don’t have zip ties on hand, you can use rubber bands.
Pleat the sleeve and place zip ties
Pleat the sleeve and add zip ties, too.
Make your bleach solution
Now here’s the fun part! It’s time to start bleaching. Take a squirt (or spray) bottle and fill it up with half water and half bleach. Also, remember to wear your gloves!
Spritz your bleach lightly
Spritz a little bleach along the front part of your cable-tied shirt. Don’t put too much and do this with ease.
Add more bleach between the cable ties
Then, between the cable ties, add more bleach on each section. I wanted to give it an interesting design so I did the process on every other section.
You will see some sections have more bleach than others.
Repeat the same steps on the back
Repeat the same method on the back of the shirt and let the shirt dry for about 20 minutes.
Cut the zip ties after the shirt dries
After the shirt is dried, cut the zip ties off and have a look at how your creation turned out.
Rinse the shirt in cold water
Rinse your reverse tie-dye shirt under running, cold water and let it air dry for 30 minutes, and pop it in the dryer for another 30 minutes.
This is how it turned out! I love this design, it’s funky and definitely on fleek! I hope you enjoyed this tutorial and good luck!
Enjoyed the project?
The author may collect a small share of sales from the links on this page.


Comments
Join the conversation
But bleach will eat the and weaken the material.
Wow...looks great.