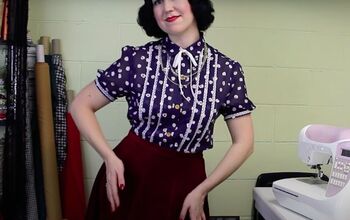
80’s Inspired Thrift Flip

I bought a cheap shirt that looked like something only my uncle would wear. I knew that the shirt had potential, I just had to think of how I was going to refashion it. I felt inspired by 80’s fashion which is what led me to upcycle my shirt and DIY something that I would actually wear. The thrift flip was a success and I love my new 80’s inspired top!
Tools and materials:
- Scissors
- Needle and thread
- Marker
- Elastic
- Safety pin
- Shirt
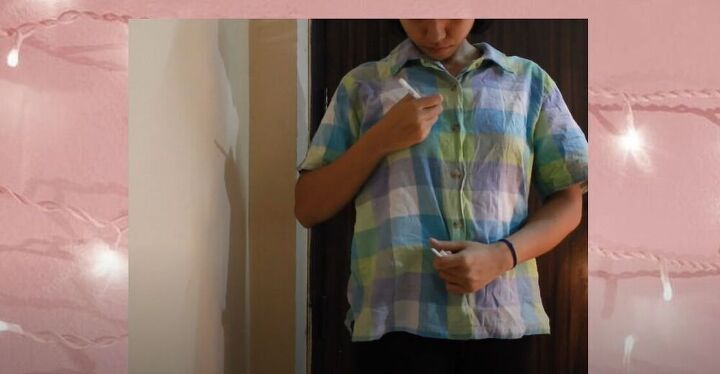
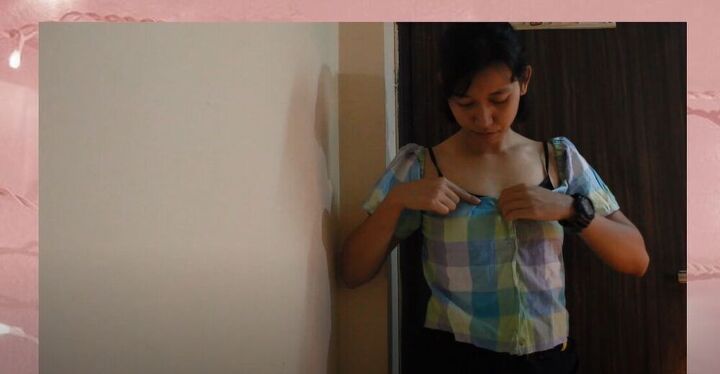
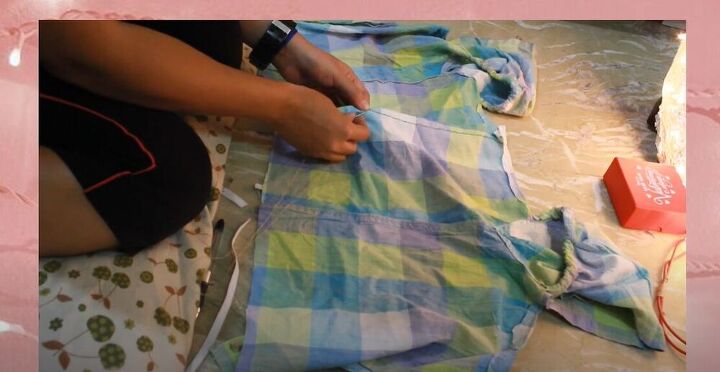
Cut the neckline
To start the thrift flip, I marked on the shirt where I wanted the new neckline. The fabric of the shirt made it easier because I could just follow the lines.
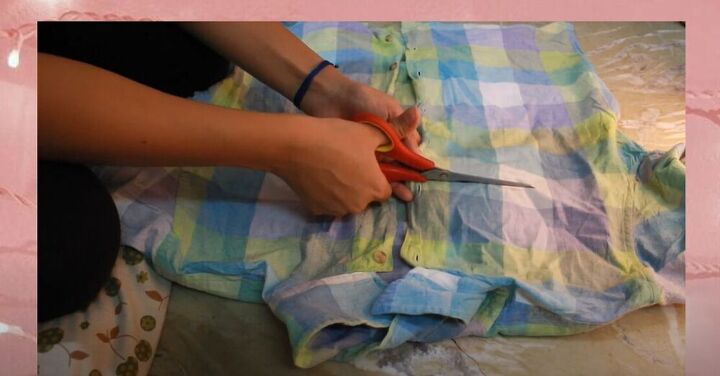
Once I had marked the fabric, I cut the front and back to get the perfect neckline.
Add volume to the sleeves
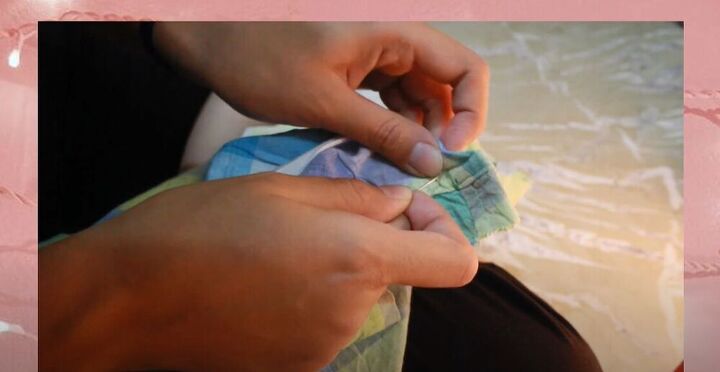
To give the sleeves some extra volume, I folded the top in a triangle and stitched to create small ruffles.
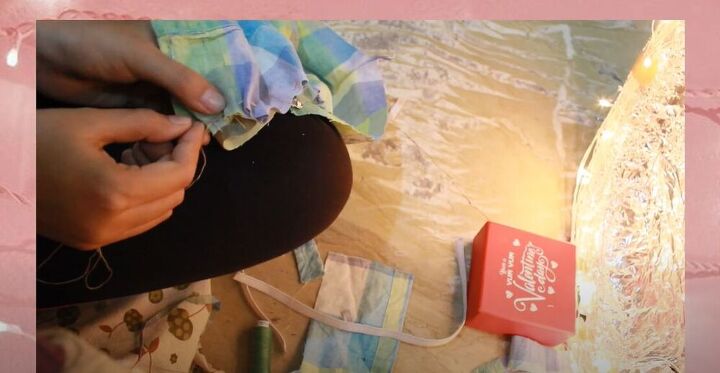
Mark any changes
I tried on the top so I could see that I liked the sleeves. I also checked to see how I wanted my neckline to be and I marked the extra fabric at the back so that I knew how much I needed to take off.
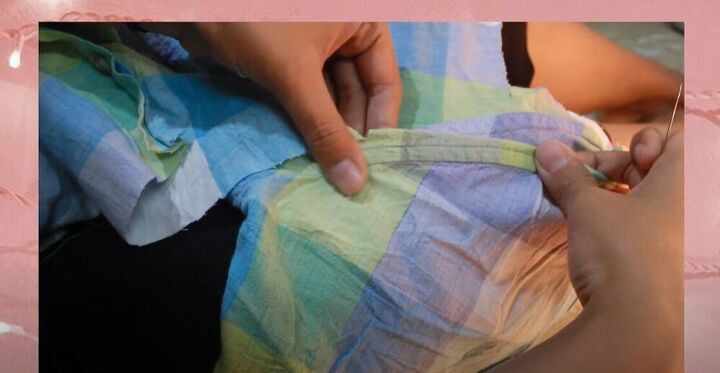
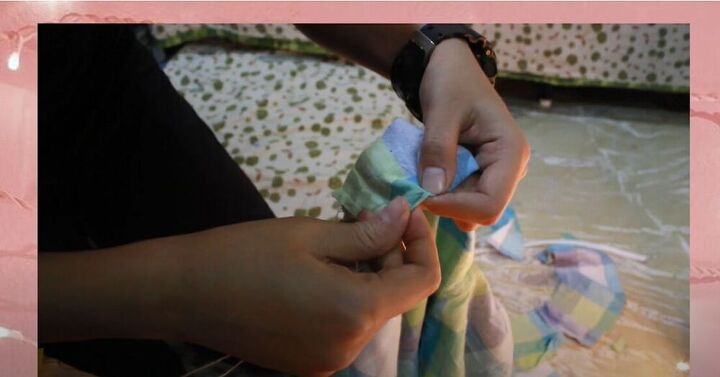
Add elastic
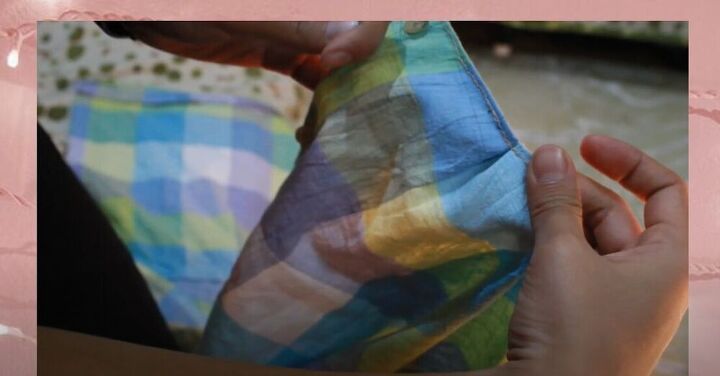
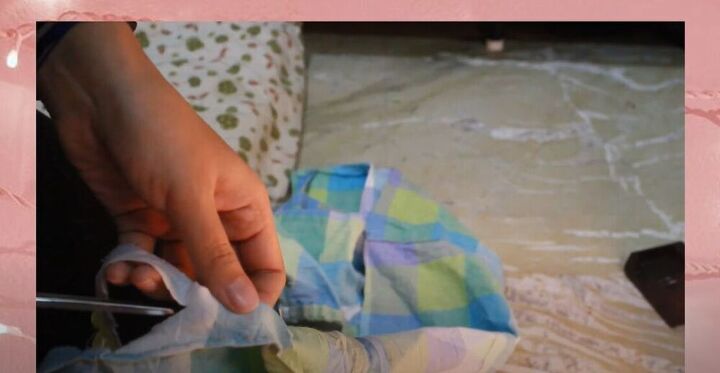
To make sure the sleeves would fit really well, I decided to add elastics. I folded the extra fabric at the bottom of each sleeve and sewed it to create a small channel to pass elastic through.
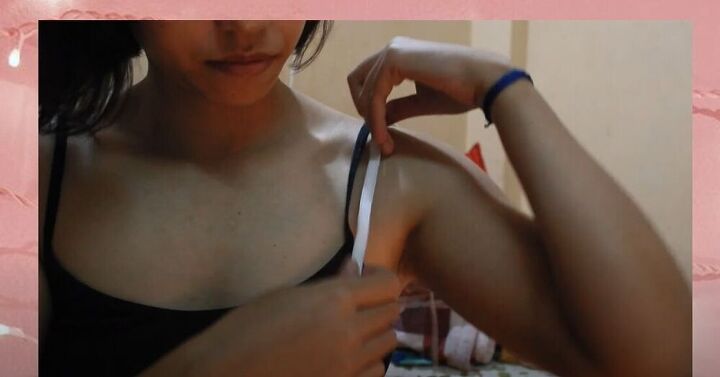
I then measured a piece of elastic around my arm so that I could cut two perfectly sized pieces.
To add the elastic, I hand sewed one end right next to the entrance of the small channel and used a safety pin to thread the other end through. When it was all the way through I stitched the second end down as well.
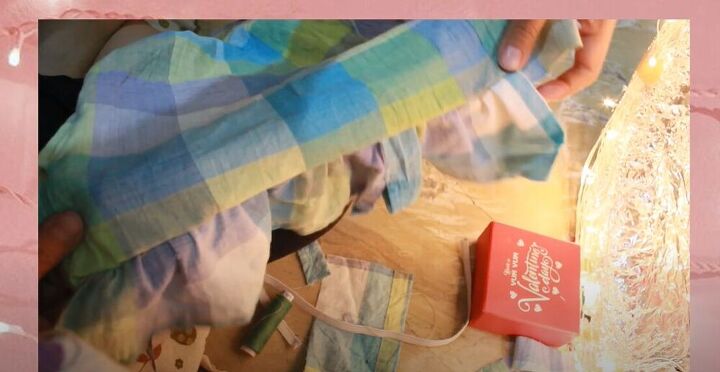
Ensure the perfect fit for you
Next, I cut off the excess piece of fabric that I had marked on the back of the top and then sewed the back closed again. I was careful to try to sew along the line of the fabric so that the top would have a professional finish.
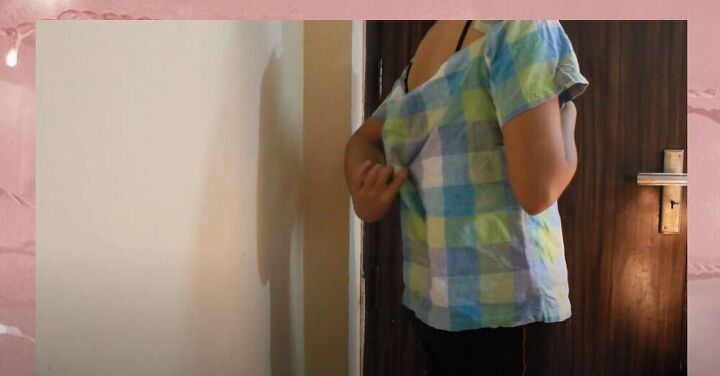
I wanted the neckline to have a bit more of a curve to it so I tried on the shirt and marked the changes to the neckline.
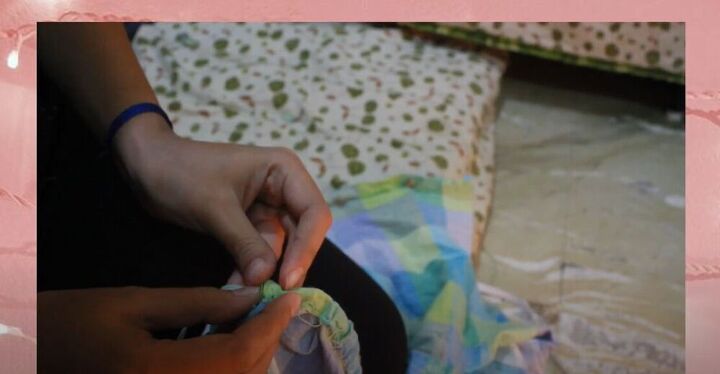
I folded my neckline according to my new markings and sewed it in place.
To create a fuller look on my chest, I decided to add two darts to the front of my top.
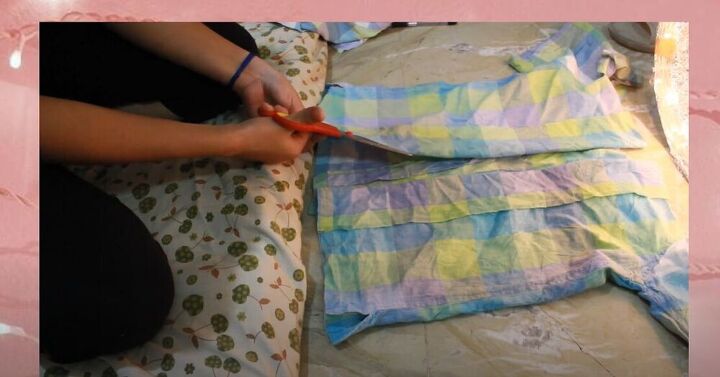
For a clean finish, I trimmed any extra fabric from the front and back.
I tried on the shirt again to make sure I was happy with it and I decided to take off some more fabric from the back and crop the bottom of the shirt.
Add ruffles
I used the extra strips of fabric, that I had from cutting earlier, to create the ruffles for the bottom of the top. I sewed a straight stitch along the strip and then pulled the thread to gather the fabric.
I placed the ruffled fabric at the bottom of the top, right sides together, and sewed them on.
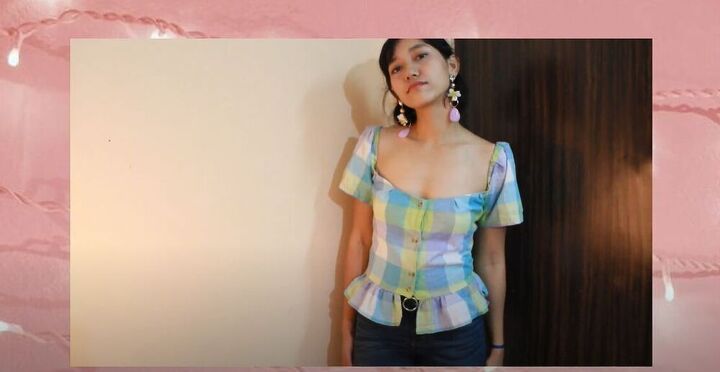
I really love how this shirt turned out! Do you have other 80’s inspired thrift flip ideas? Let me know in the comments!
The author may collect a small share of sales from the links on this page.


Comments
Join the conversation
This turned out so cute!