2 Fun Thrift Flip Ideas Inspired by Brandy Melville & Princess Polly

I love the look of the trendy, cool, and relevant Brandy Melville and Princess Polly brands, but I know I can recreate the same looks myself. Here are a couple of fun thrift flip ideas to help you wear fashion-forward and environmentally conscious looks.
Tools and materials:
- Plaid pants
- Silk or silky fabric tank top
- Sewing machine
- Scissors
- Pins
- Safety pins
- Marker
- Ruler
- Measuring tape
- Your own tank top as a pattern
- Seam ripper
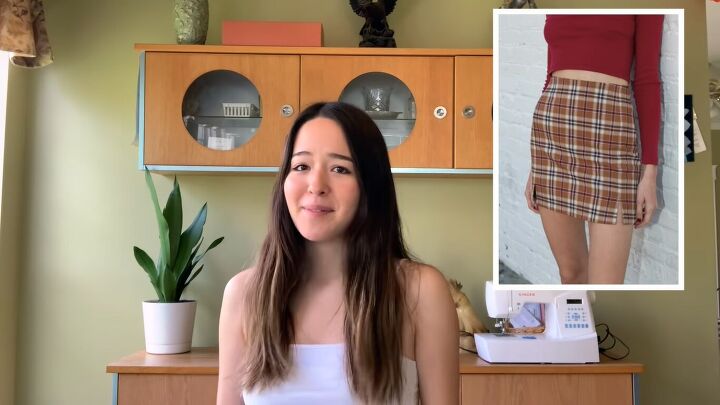
Brandy plaid thrift flip skirt
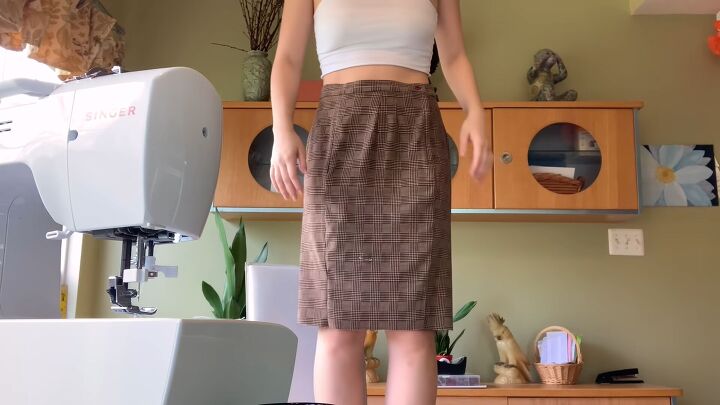
I bought a pair of plaid pants at the thrift store, so I could turn them into a Brandy-Melville-inspired schoolgirl skirt.
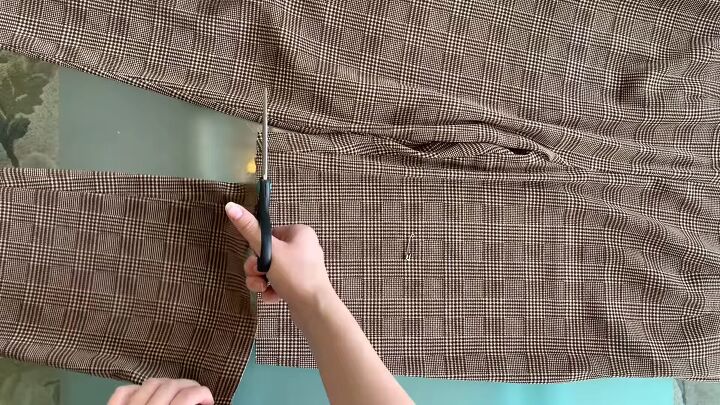
1. Cut the pants
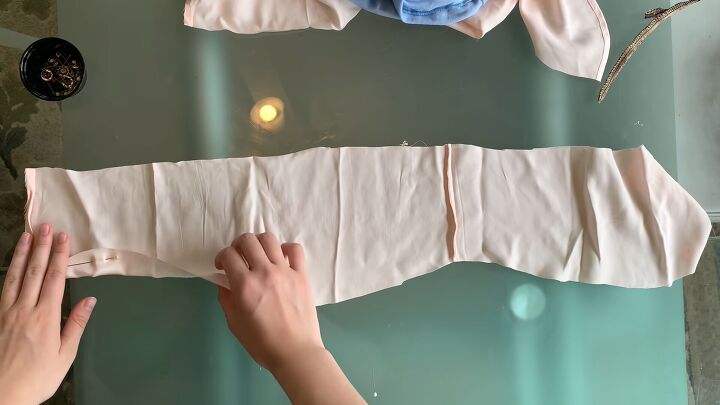
Lay the plaid pants on a flat surface. Cut the legs off above or around the knee.
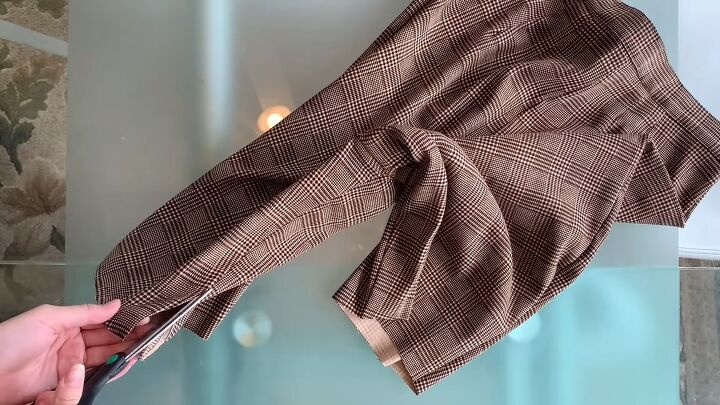
Cut open the inner seams up to and through the crotch so it looks like a skirt.
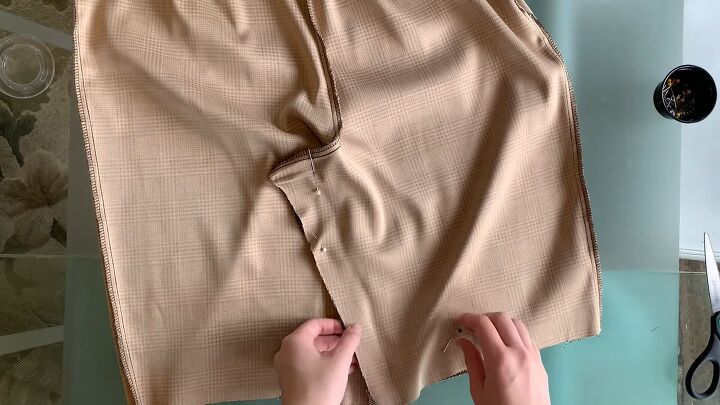
Flip it inside out and pin where the seams will be to sew it up. Pin straight down following the previous seams so it blends together. Do both sides.

2. Sew the skirt
Sew the skirt seams on the wrong side using a straight stitch.
3. Adjust the skirt
Try the skirt on to adjust the size and length. The button ended up being on the side and I like that look so I am going to keep it there.
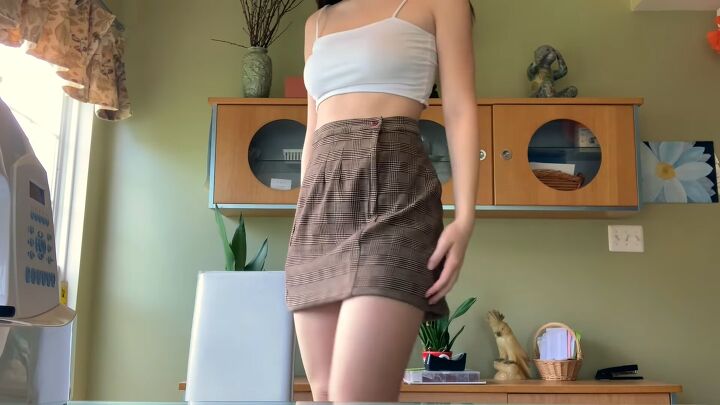
I like my skirts shorter so I will shorten this skirt and hem it. I needed to take this in at the waist. If this happens to you, do what I did. I sewed a dart to take in the waistband. Open the back seam and take in an inch. Sew it using a straight stitch.
Mark the desired length with a safety pin while wearing it. Cut off any additional fabric.

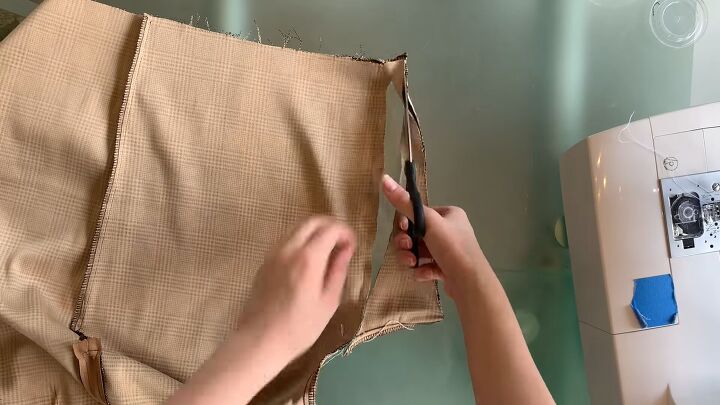
4. Finish sewing the skirt
After adjusting everything, sew the seams and hem on the wrong side.
If you’re nervous about turning pants into a skirt - don’t be! Keep trying it on before cutting any fabric. It is much easier to take in extra fabric, rip open seams, and re-sew than to cut too much and not have enough fabric. This is a great upcycle that’s so much fun to wear.
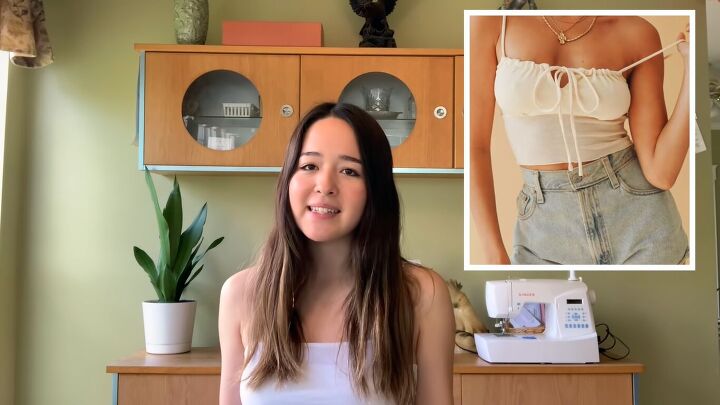
Princess Polly thrift flip shirt
I love the Princess Polly brand, so here I challenged myself to take a thrift store silk sleeveless shirt and upcycle it to a beautiful, silky Princess-Polly-inspired tie tank top.
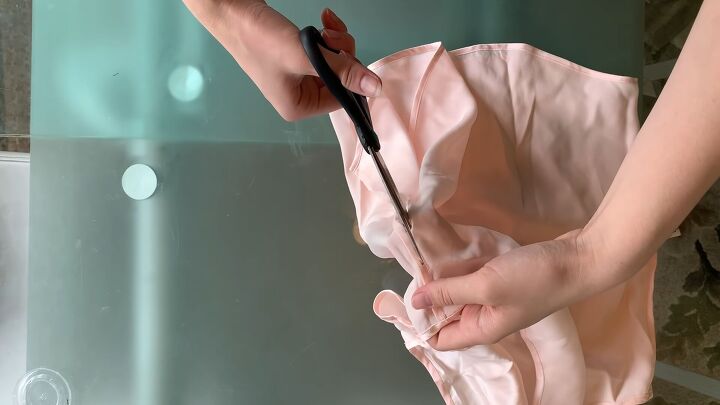
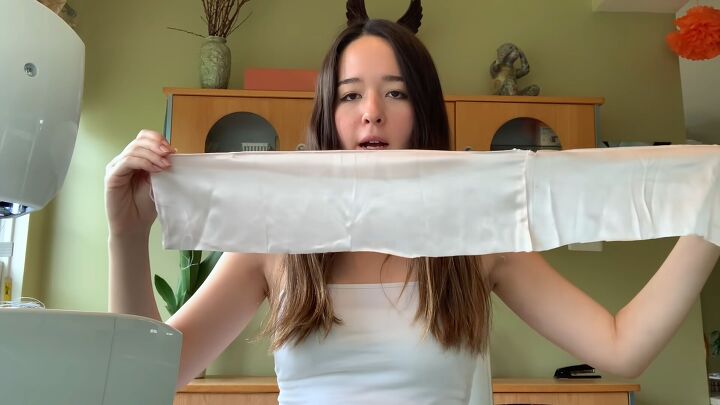
1. Cut the silk top
Cut a side seam and the shoulder seam to open the shirt completely flat.
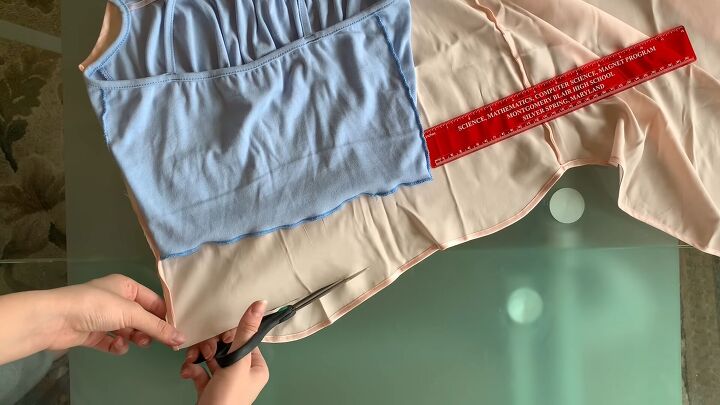
2. Create a pattern (of sorts)
Use a well-fitting tank top to serve as the pattern. Lay it directly on the open silk top. My tank is cotton (and sewn) so I doubled the fabric. I also measured my rib cage to make sure it fits.
3. Make the shirt bottom
Cut the bottom half of the shirt. Make sure it is long enough to wrap around the rib cage and long enough for the desired length. I cut a rectangle about 30 x 5 inches after taking my measurements. I wanted the top to end at my belly button.
Pin the bottom of the rectangle to be as straight as possible. Sew a straight stitch.

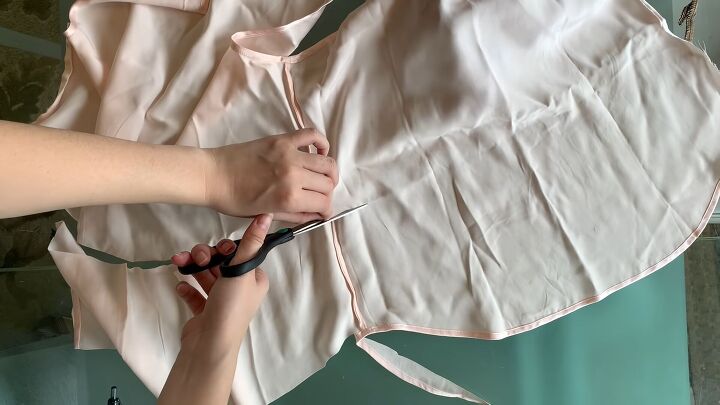
4. Cut the shirt top
Cut the neckline and sleeve of the silk tank.
There will be another long rectangle. Pin one side down to be as straight as possible.
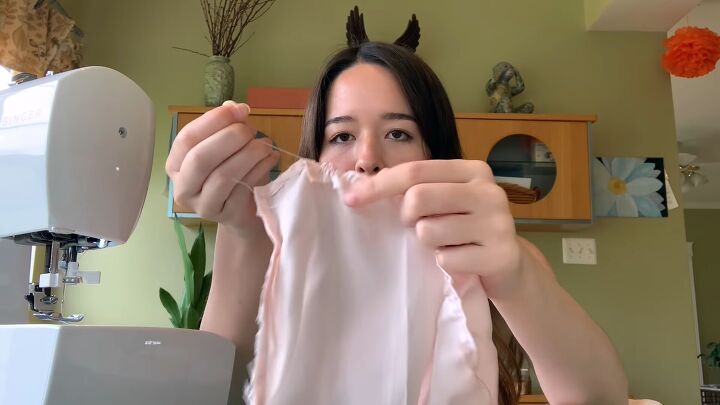
5. Ruche the top
Set the sewing machine on the widest possible stitch. Don’t do any backstitching, so you can pull on the loose threads and create a ruched effect. Pull gently on the loose thread so it creates a soft pleated or ruffled look.
It looks easy but it may be challenging. Don’t be discouraged. Spread out all the ruffles and ruching evenly.
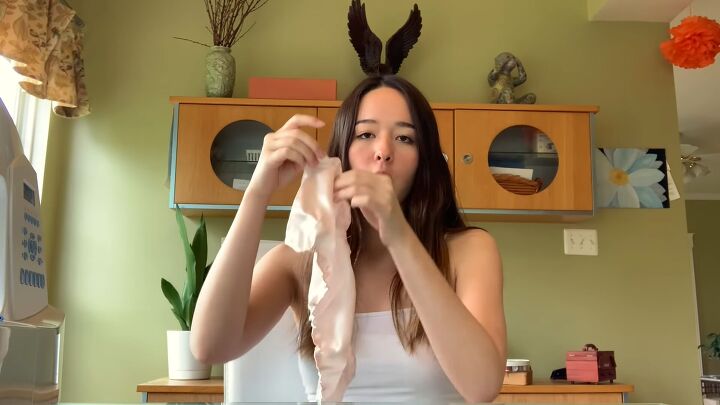
6. Tunnel the shirt top
Cut the ruched top piece in half. Choose the prettier part for the front. Create a tunnel on the unhemmed and unruched side by making a wide seam at the top.
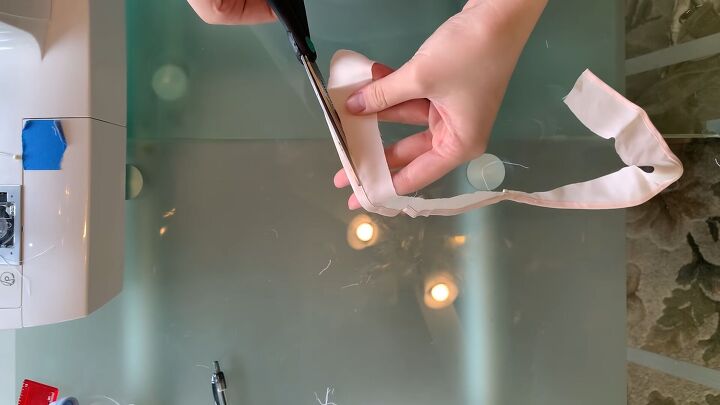
7. Make the straps
Create the straps from the cut-away seams of the original silk top. You could also use ribbon or string. Attach a safety pin at one of the ends of the tunnel and feed it through the tunnel to the other side.
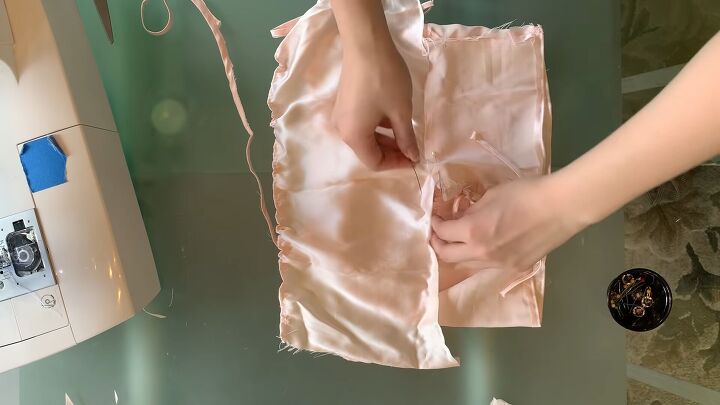
8. Attach the top and bottom pieces
Pin the top and bottom together. Keep the ruffles evenly distributed on the top. Make sure the ruching on the bottom lays on the right side. Sew together.

9. Adjust the fit
I had to cut the back bottom because this is silk. It doesn’t stretch and I didn’t take my chest measurement into account - only my ribcage!

So what I did is opened the back right in the center. I made a new seam on either side to finish the raw ends. I attached 4 ties on either side to close it up. Try the top on and if it doesn’t fit you, do the same thing.
Measure the top strips and how long you want them. Cut them from the silk, finish the raw edges and sew them onto the top.
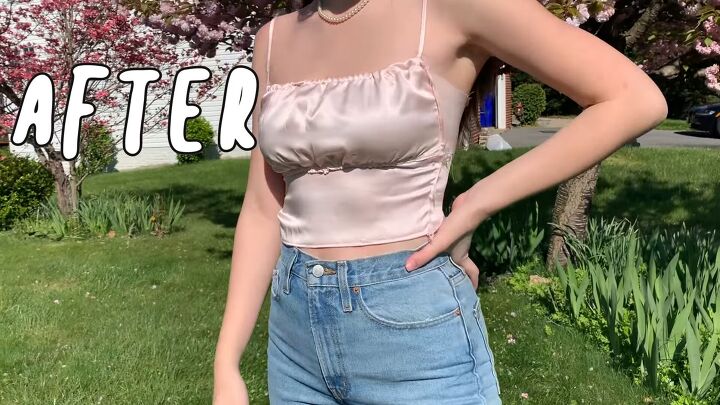
Wear this delicate top with anything because it goes with anything!
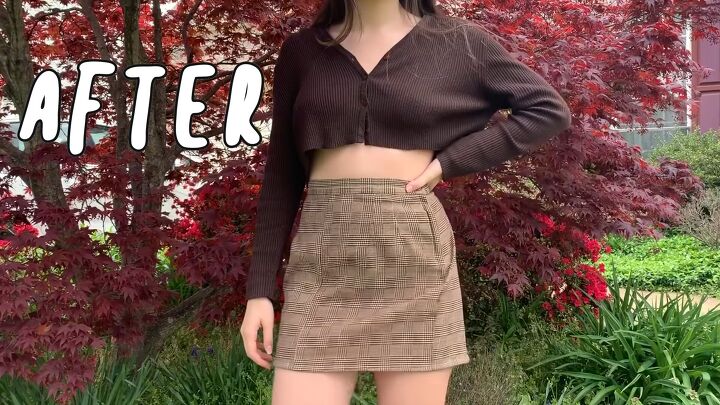
You can see how buying premade clothes from the thrift store can be upcycled easily to the hottest trends. Please give me a thumbs up and comment on the pieces I made. Let me know if you tried to make any of these thrift flips as well!
The author may collect a small share of sales from the links on this page.


Comments
Join the conversation