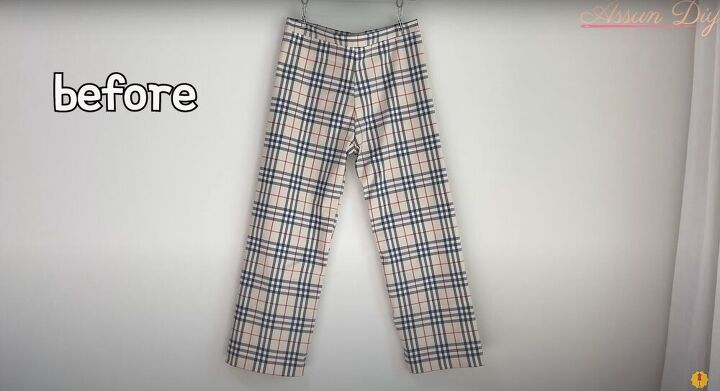
Thrift Flip: Pants to Vest and Tote Set

Today we are going to be turning a pair of plaid pants into a vest and tote set. I love getting creative with old and thrifted clothing. If you ask me, old clothes deserve to have a new life.
Tools and materials:
- Seam ripper
- Sweater
- Plaid pants
- Pins
- Sewing machine
- Tote pattern
- Quilted lining
- Interfacing
- Bias tape
- Zipper
- Bag handles
- Tailor’s chalk

Cut out the fabric
Lay the pants down and use a seam ripper to pick the hem on the bottom. Pull the hem out from the bottom and then fold the pants in half so that the legs are laying over each other. Next, grab a sweater that you already own and fold it in half (back sides together). Place the sweater over the pants and trace out the fabric. Remember to mark off small details like the placement of the neckline. Finally cut out the fabric (with a one-centimeter seam allowance). Once your fabric is cut, cut around the edges and down the middle of the front piece until you have three pieces: two front pieces and a back piece.
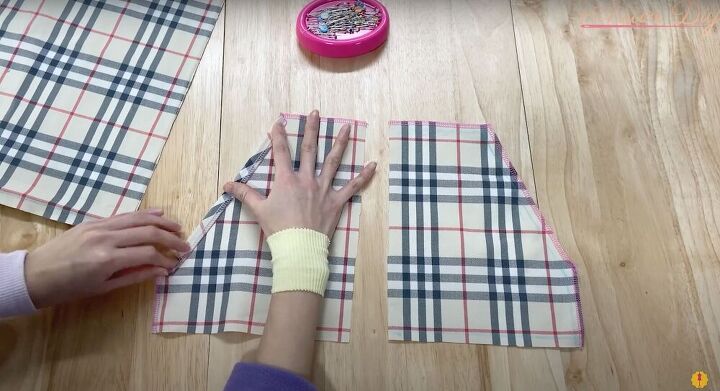
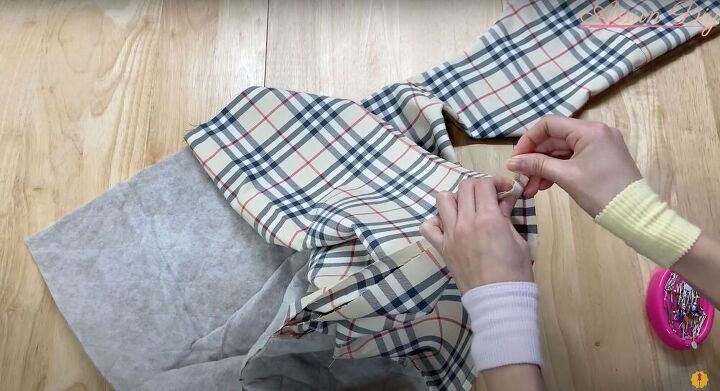
Create the pockets
Using the sweater again, trace out the top to create your pockets. The shape of the pockets will resemble the shape of the vest when you are done. Once your pockets are cut out, use a zigzag stitch around the edge to secure them. Next, fold the edge of the pocket over (as pictured above) and sew it down. After that, secure the pockets onto the front of the vest by pinning the raw edges in, placing the pocket into the vest (aligning the inside edges), and sewing down (remember to keep the edge we folded and sewed open so that the pocket will be functional).
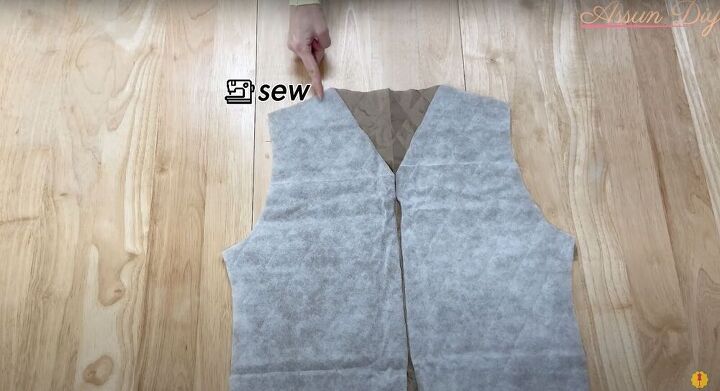
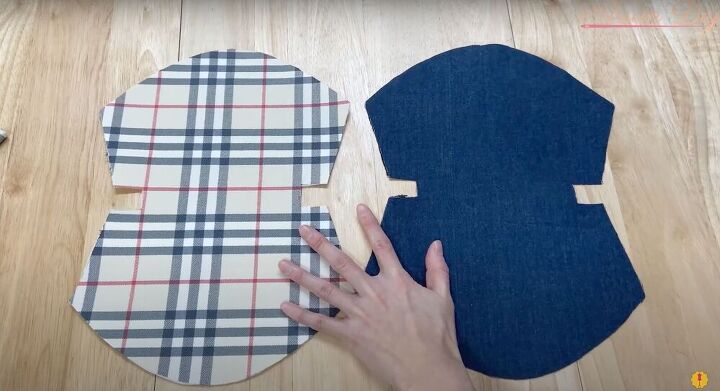
Create the lining
Place your front pieces onto some folded quilted fabric and cut out to more pieces using the vest as a guide. (Align one piece with the folded edge to get a complete back piece). You should finish with one big back piece and two front vest pieces. Next, place the front pieces and the back piece together, right sides touching, and sew the shoulders together. Repeat that same process with the plaid pieces of the vest.
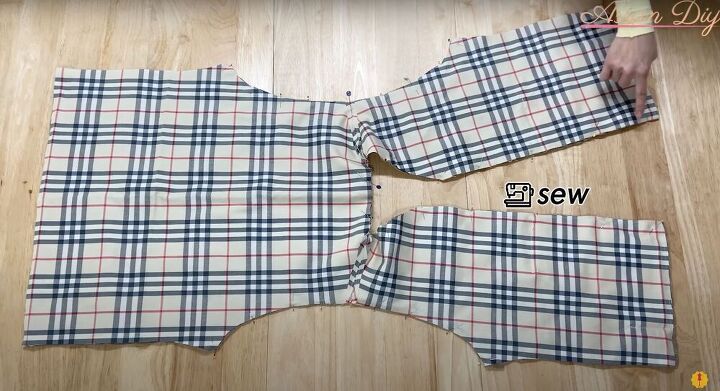
Connect the lining
Open up the lining and the fabric of the vest so that they lay flat with the shoulders attached and lay them together with the right sides together. Now connect both the pieces by sewing the edges together. Remember to keep the bottoms open so that you’ll be able to turn the vest right side out. Cut ridges into the edge to ensure the fabric lays flat and turn the vest right side out.
Finish the vest
Take the edges of the front and back pieces (where we did not sew) and connect them using pins - this will create the armholes. Pin both the fabric and the lining from the waist (where we stopped sewing) to the bottom. Repeat this on both sides until all the pieces are connected and sew them together. Finally, finish the vest by turning it inside out and sewing along the bottom to secure it shut, leaving a small hole to turn the vest right side out. Fold the edge of the opening in, pin it down, and then use a top stitch around the entire edge of the vest.
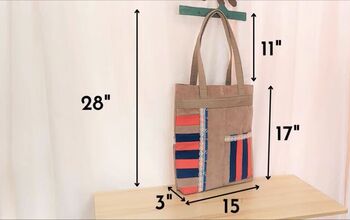
Create the tote
Place your tote pattern onto a folded piece of remaining fabric and cut it out. Repeat this process for the interfacing and the lining and then place the plaid and interfacing pieces together, wrong sides together. Iron the interfacing on. Now, take the lining, place it over the ironed on interfacing and sew it to the fabric using a zigzag stitch.
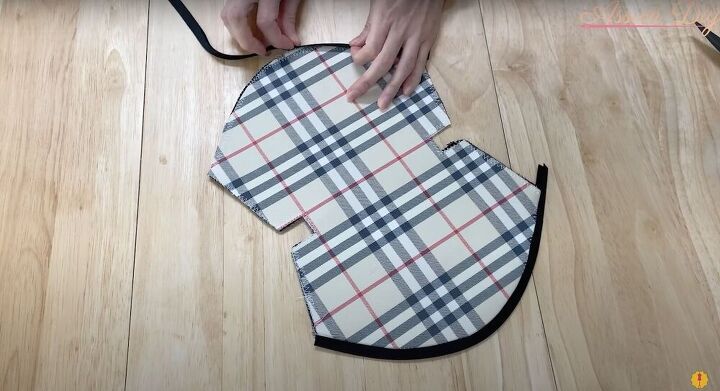
Attach the zipper
Grab some bias tape and wrap it around the bottom edges of your tote (as pictured above), and then sew the bias tape into place. Now, grab a zipper and open it up, connecting one end to each of the strips of bias tape. Pin the zipper into place and then sew it to the tote.

Finish the tote
Turn the bag inside out, close the zipper, and cut off any excess pieces. Pin the sides down and then sew them closed. Add another piece of bias tape to the edges we just secured and sew it into place. Finally, to finish the tote, push the corners together and sew them shut. Cover with some more bias tape, sew it down and you’re done!
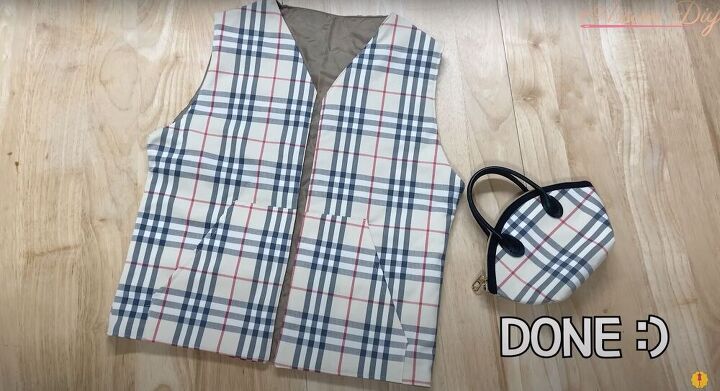
To finish the DIY tote, turn it right side out and attach bag handles. I got some nice faux leather ones, but you can get whatever looks best to you. Pin them into place and hand sew them into place. Pair it with your DIY vest, find some basics to wear underneath, and watch your new set come to life!
The author may collect a small share of sales from the links on this page.


Comments
Join the conversation