Thrift Flipping Tutorial: How to DIY Cute Crop Top and Cardigan Sets

Today, we're making three different two-piece shirt sets. If you enjoy thrift flipping, this is a great project for you. Let's get started.
Tools and materials:
- Scissors
- Three shirts
- Ruler
- Tailor's chalk
- Safety pins
Ruched tube top and cardigan set
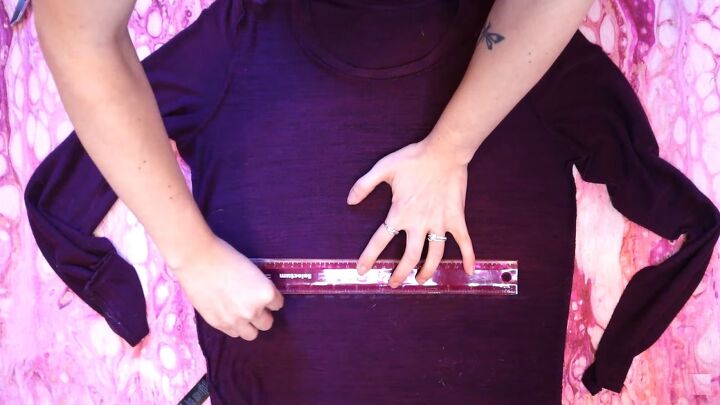
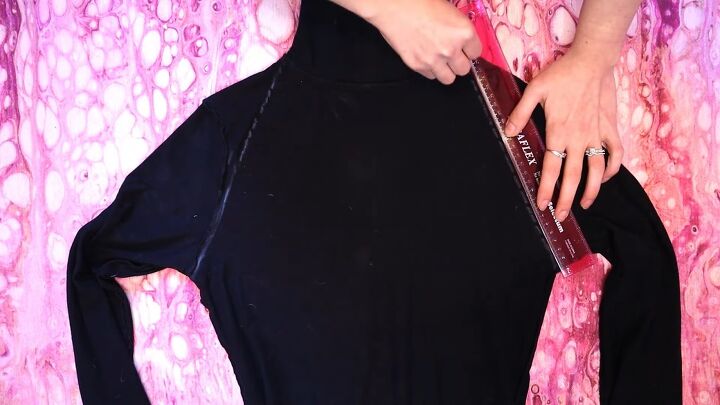
1. Mark the length
Put your shirt on inside out and mark where you want the bottom of the cardigan to be.
Lay your shirt down, measure your marks to ensure they are even, and draw a line across the shirt.
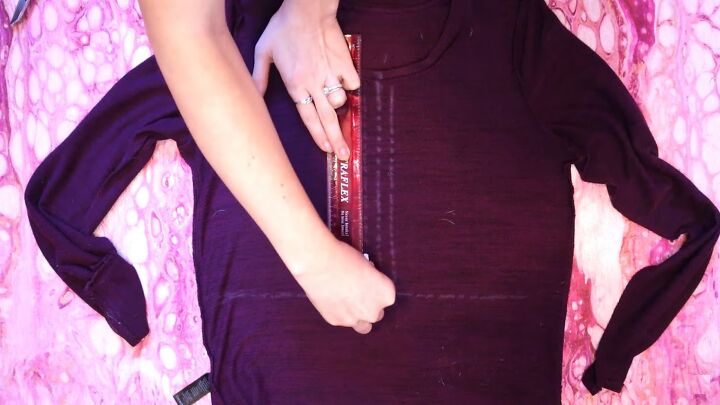
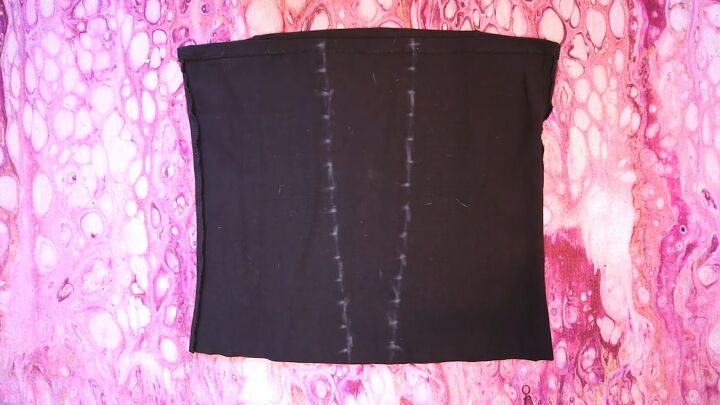
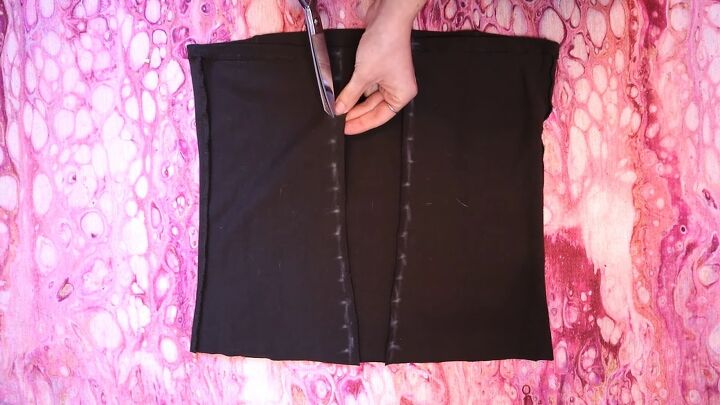
2. Draw vertical lines
Draw a line vertically down the center of the shirt from the collar down to the horizontal line.
Draw two more vertical lines parallel to that one half an inch away on either side.
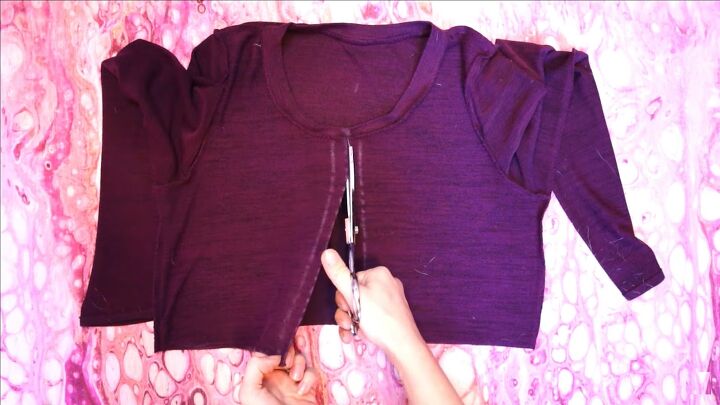
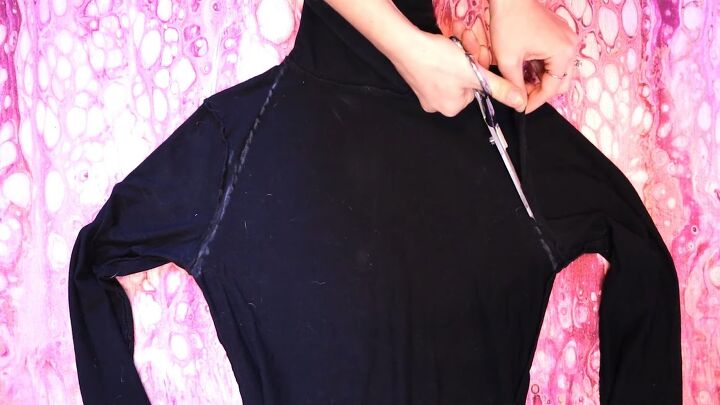
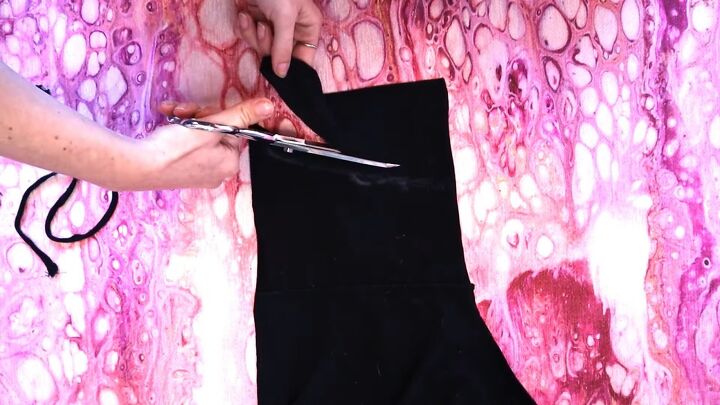
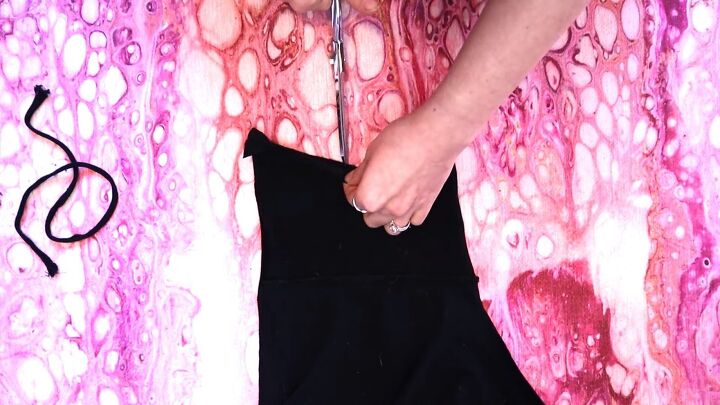
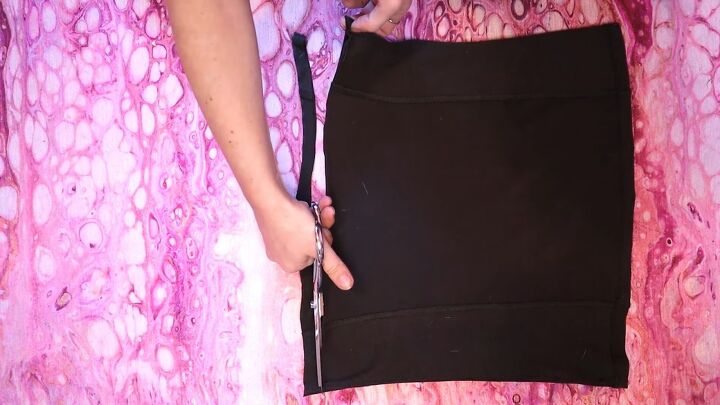
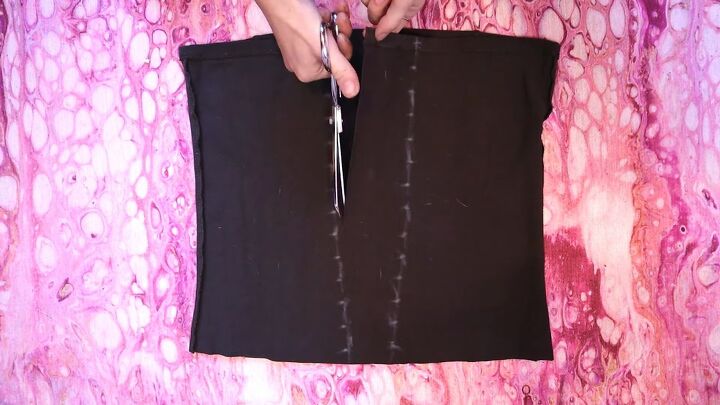
3. Cut the top
Cut the crop line through both layers of fabric, cutting through the collar.
Cut across the vertical lines on only the top layer, stopping just under the collar.

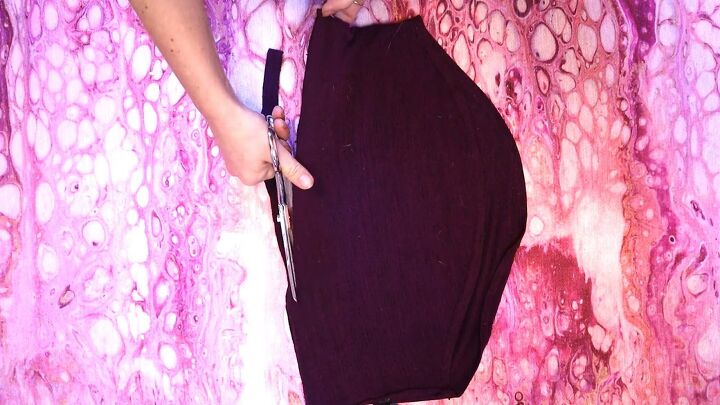
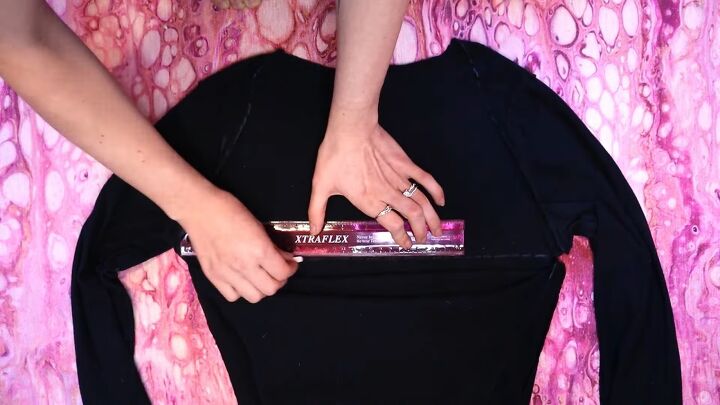
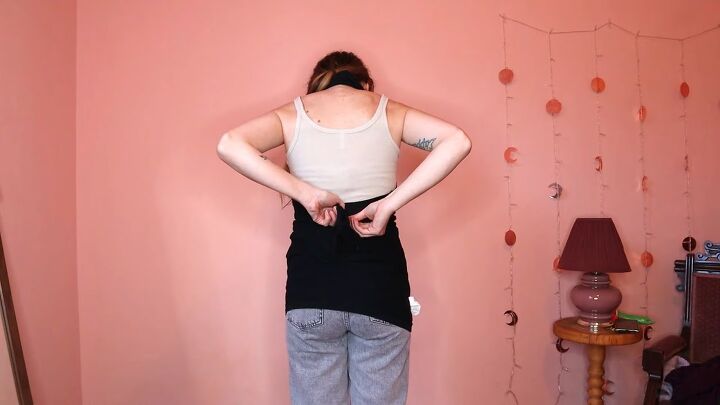
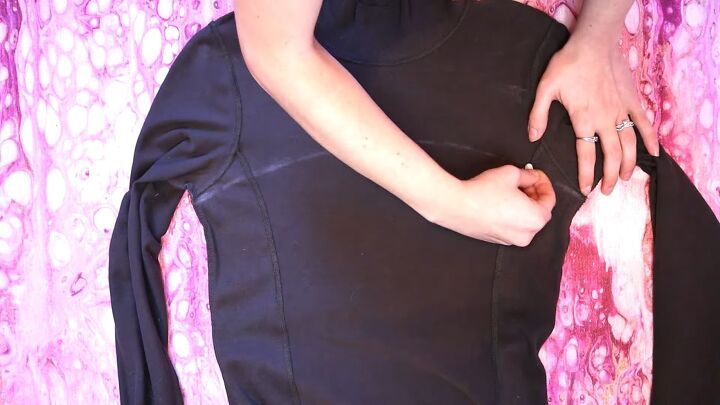
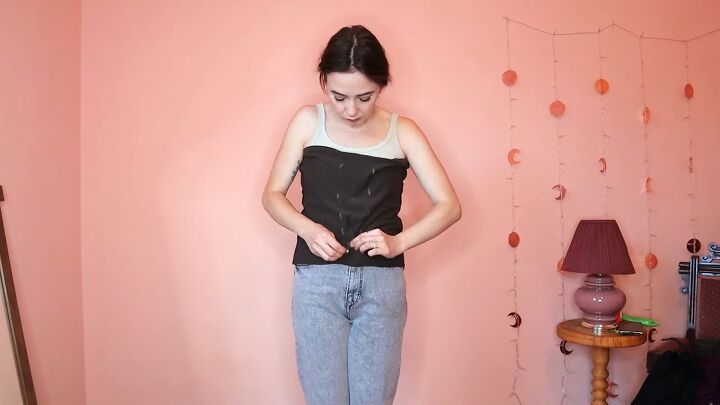
4. Do up the top
Stretch the strips of fabric and turn the top right side out.
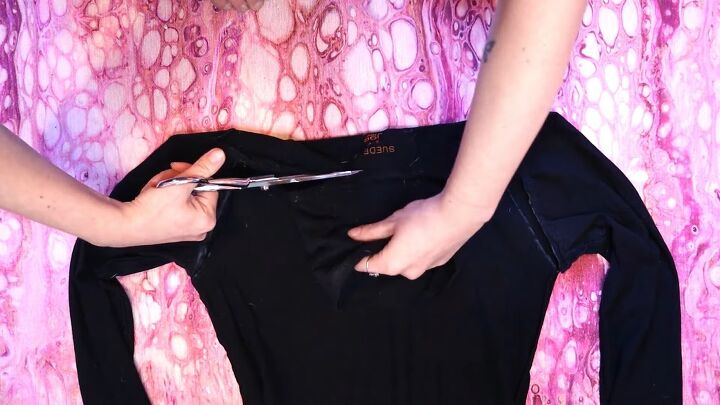
5. Cut a strip
For the tube top, cut a strip of fabric off the bottom piece of the shirt and stretch it.
6. Fit the tube top
Put it on and pinch the fabric together at the front, so it fits tightly.
Mark where your fingers are on either side. Lay your fabric down, and trace the marks into lines.
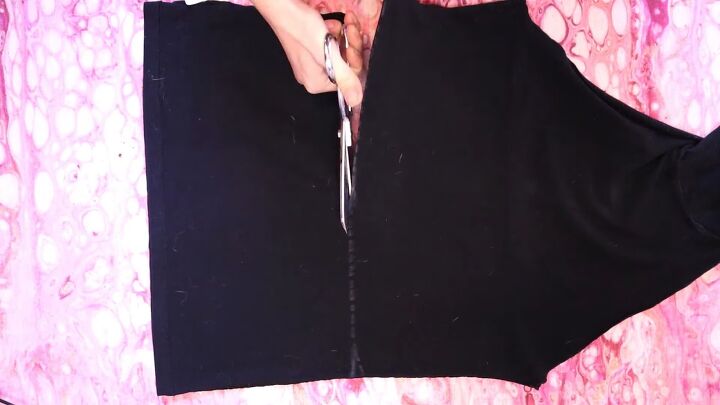
7. Cut
Grab the top layer of fabric at the top and bottom in the center of your two lines. Fold the fabric tube sideways so you can only see one of the lines.
Cut out the center piece of fabric an inch away from that line.
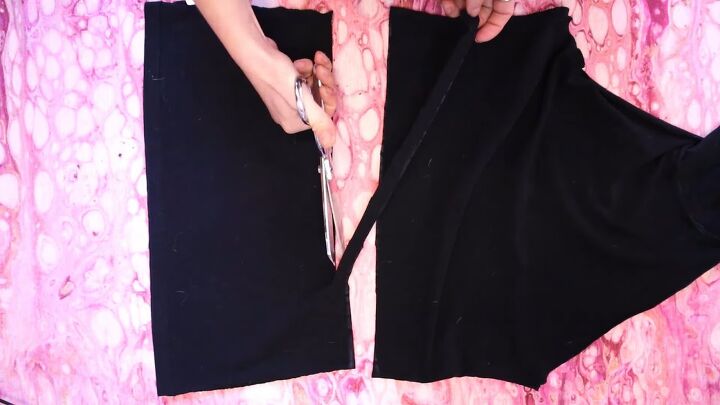
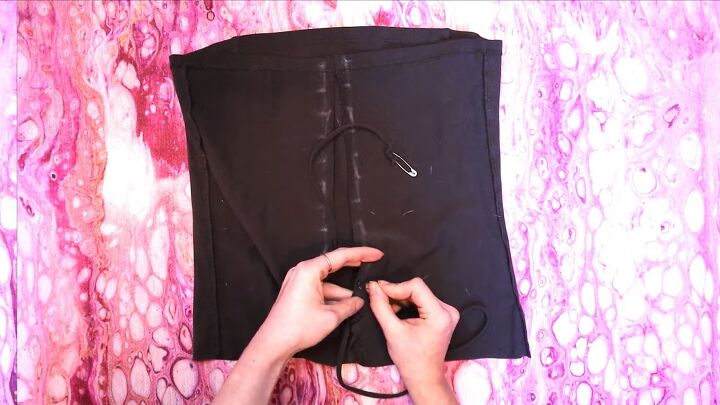
8. Make little holes
Fold the edge over at the line and cut tiny holes through both layers of fabric, spaced half an inch apart.
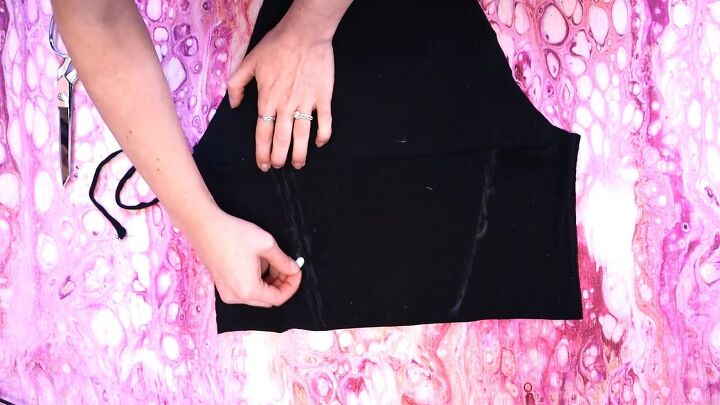
9. Thread the top
Take the strip of fabric and cut it at the seams. Attach a safety pin to one end and weave it through the first two sets of holes. Pull it to the end and tie it in a knot.
Continue to weave the strip to the other side.
When you get to the end, pull the strip to cinch up the fabric, tie the bottom and trim the end. Turn the top right side out.

Sleeves and a halter top
1. Cut off the sleeves
This works best with a skin-tight shirt.
Turn your shirt inside out and lay it down, front facing up.
Draw a line from just under the arm to the side of the collar and repeat on the other side.
2. Cut
Cut along these lines on the top layer of fabric.
3. Trim the back
Cut under the back of the collar to connect the lines on the back layer.
4. Cut down the back
Fold the front center section down, draw a line across the back layer of fabric under the sleeves, then cut it.
5. Adjust the size
Mark where to crop the shirt in the front if it's too long.
Grab the fabric in the center at the back and pinch it together tightly. Make marks where your fingers are.
6. Crop the top
Lay your shirt face up, draw a crop line and cut along it.
7. Cut a strip
Cut a strip of fabric from the excess, stretch it, then cut it at the seams.
8. Mark the back
Flip your shirt back side up and draw two lines following the shape of your marks.
9. Cut the back
Fold the shirt in half sideways so you can only see one line. Cut out the center piece of fabric an inch away from the line.
10. Cut holes
Fold the edge over at the line and cut tiny holes through both layers of fabric spaced about half an inch apart.

11. Thread the top
Take the strip of fabric and attach a safety pin to one end. Weave it through the first two sets of holes, pull it to the end, and tie it in a knot to hold it there.
Continue to weave the strip to the other side. Tie the bottom off and trim the end. Turn it the right way out.

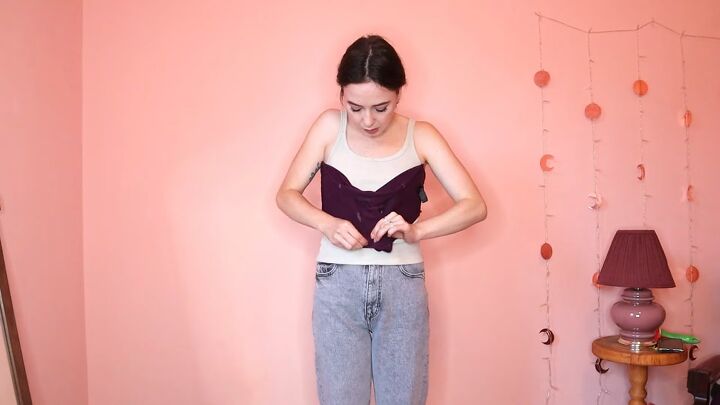
Shrug with a lace-up tube top
1. Mark the crop
Put your shirt on inside out and mark where you want the bottom of the shrug to be.
Lay your shirt down, right side up, and draw a curved line from under the sleeve up to the mark.
Cut along this line through both layers of fabric.
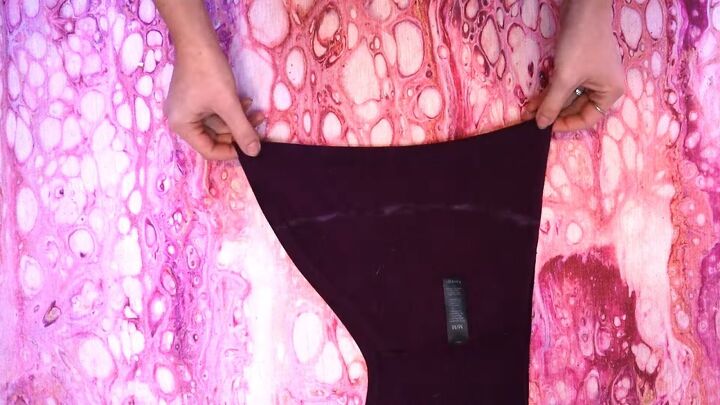
2. Cut the tube top
Draw a straight line across the shirt widthwise to cut off the curved part. Cut along that line through both layers of fabric.
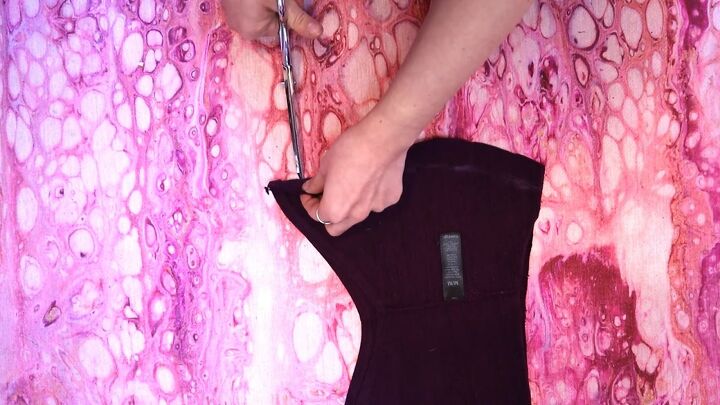
3. Cut a strip of fabric
Cut a strip of fabric and stretch it.
4. Fit the top
Grab the top in the front and pinch the fabric together, so it fits tightly. Mark where your fingers are on either side.
5. Mark the lines
Trace out the lines. Make marks an inch apart all the way down the lines.
6. Cut next to the lines
Cut through the top layer of fabric about a centimeter away from the lines towards the inside.
7. Cut holes
Cut tiny holes through the top layer of fabric on all the marks.
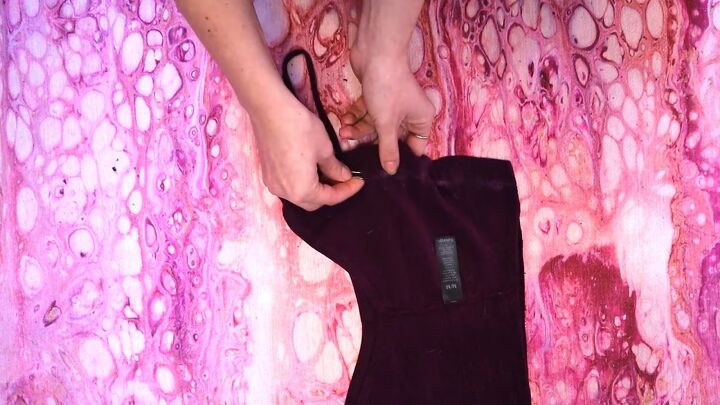
8. Lace the top
Cut the strip of fabric at the seam and attach safety pins to each end.
Lace it up. When you get to the top, tie the ends together. Turn your shirt back right side out.

DIY two-piece sets
Here we have the three finished DIY two-piece sets. Let me know which one you like best in the comments below!
And, for more DIY content, check out my post on How to DIY a Cute Woven Crop Top.
The author may collect a small share of sales from the links on this page.


Comments
Join the conversation
These are brilliant, great job!