How to Upcycle a Dress Into a Cute Peplum Top

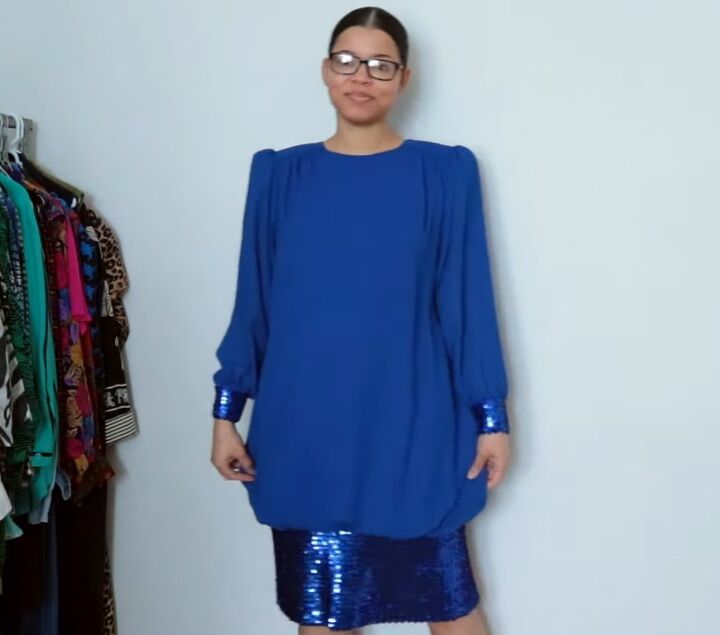
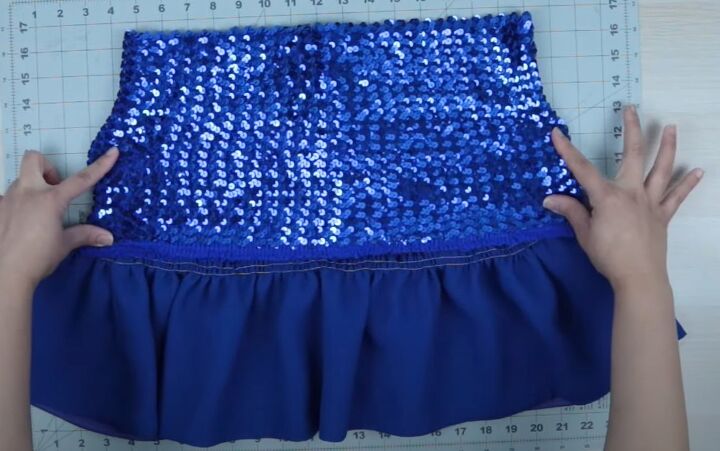
I thrifted a fully-lined vintage drop waist dress with a stretchy sequinned lower band.
My original thrift flipping idea was to cut it below the bust and turn the skirt top to bottom, with the band at the top of the skirt.
But, when I tried it on, it just wasn't flattering at all and not something I would wear.
At my second attempt, my upcycled dress became a stunning blue peplum top. Take a look at how I did it!
Tools and materials:
- Drop waisted dress with stretch lower band
- Button
- Seam ripper
- Safety pins
- Fabric clips (optional)
- Scissors
- Sewing machine
- Ruler
- Measuring tape
- Tailor's chalk
- Sewing machine
1. Cut the top
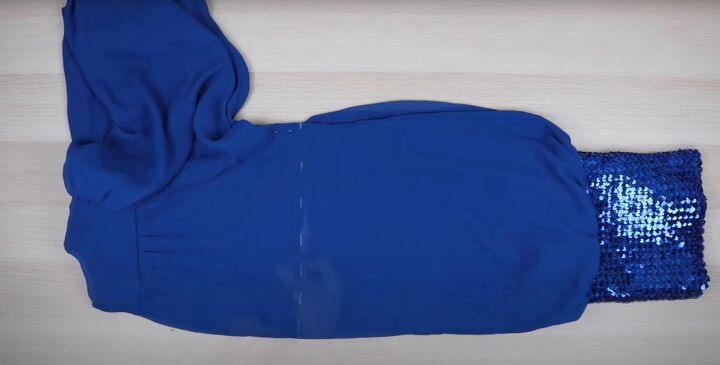
Remove the zipper.

Fold the dress in half lengthways, matching the shoulder, side and underarm seams. Pin it to stop it sliding as you cut.
I found safety pins and fabric clips worked better than regular pins with this fabric.
Measure 1 inch down the side seam from the armhole and add a half inch seam allowance.
Draw a straight line across the dress at this point and cut it.
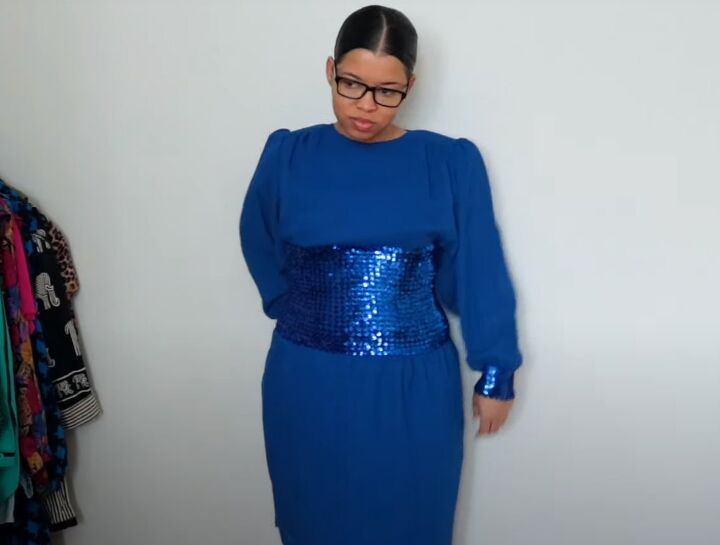
2. Try the dress on
This was my initial thrift flip idea, but in reality it didn't look as I'd imagined it.
What I did establish though was that the sequin panel needed to end at my waist and not below it.
I realized that I needed to make the sequin panel smaller so I started there.
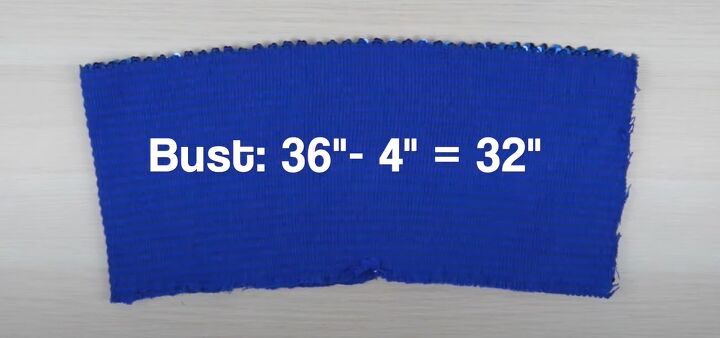
3. Resize the stretch panel
Remove the stretch sequin section from the skirt and unpick the center back seam.
Measure around your bust and deduct 4 inches if the panel is very stretchy, or 2 inches if it has less stretch to it.
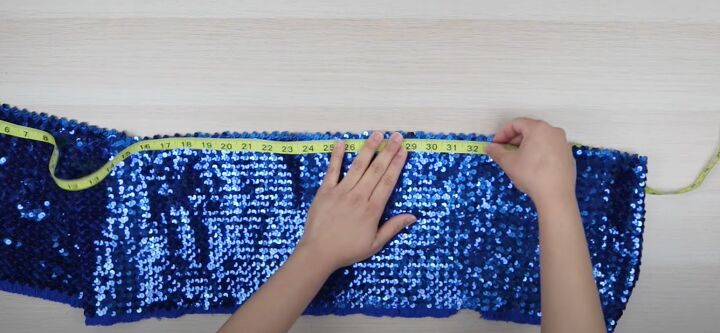
Measure and cut the panel and sew the new center back seam.
I was able to reuse the original bias tape to finish the seam edge, so the seam would feel more comfortable against my skin.
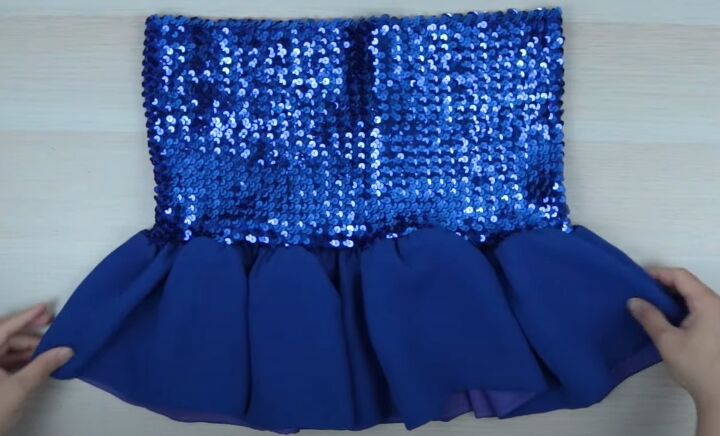
4. Refashion the skirt
I wanted to incorporate as much of the dress as possible.
As the main fabric was completely non-stretch and the sequins were very stretchy, making a peplum top was the most logical solution I could think of.
Separate the lining and the main fabric.
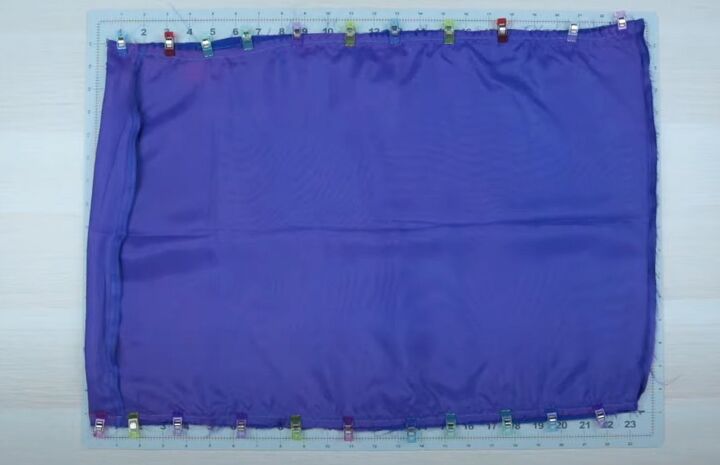
Cut a rectangle from each fabric, 49 inches wide and 18 inches deep. Join the side seams of each, so you have two tubes each 24 inches by 18 inches.
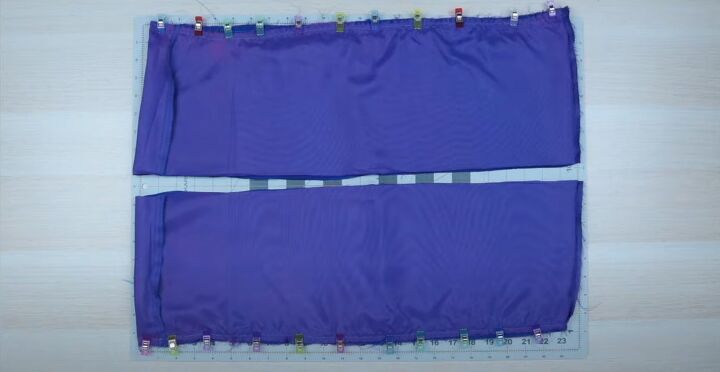
Cut the panels in half so each is 9 inches deep.
Join the halves together to make two continuous pieces, one of the main fabric and one of the lining.
Sew the main fabric and lining back together with right sides facing.
Close the lower edge of the circle to finish the hem.
Sew two rows of gathering stitches around the top edge and gather it to be the same width as the stretched sequins.
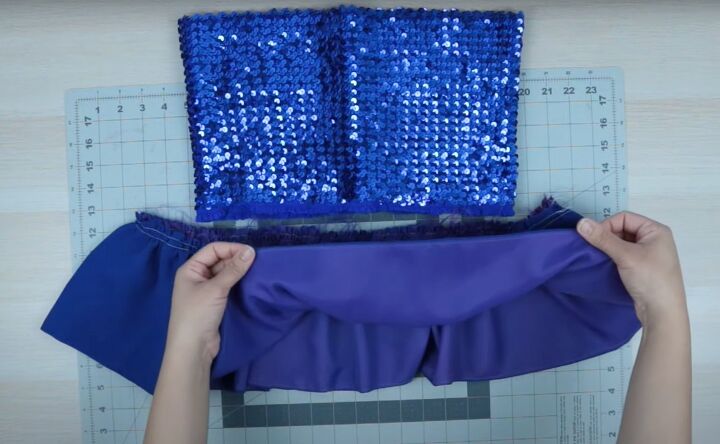
5. Attach the peplum
With right sides facing, tuck the sequin panel inside the peplum and pin in place.
Sew the pieces together, stretching the sequins as you sew.
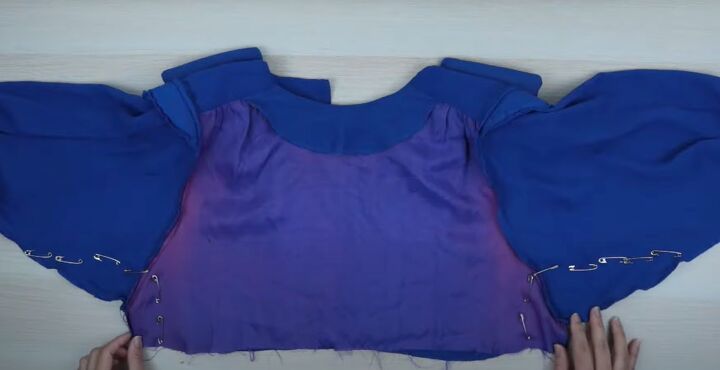
6. Modify the top half
Try on the top section and take in the side and sleeve seams, if necessary.
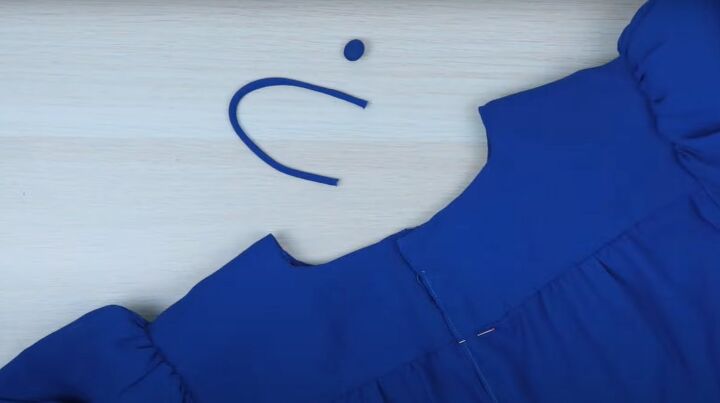
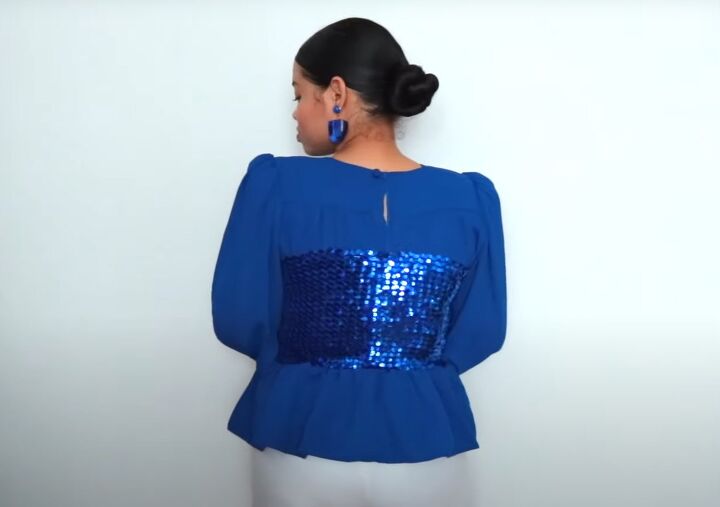
Sew the center back seam, adding a loop and button closure at the top of the yoke.

7. Join peplum to bodice
Turn both pieces right side out. Place the top half up to the armhole inside the sequin panel.
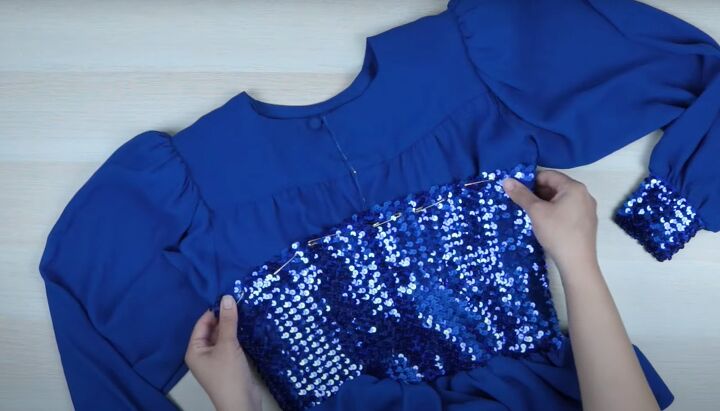
Align the center back seams. Pin the sequins to the top section. This is where I found safety pins worked best.

Sew them together on the right side, stretching the sequin panel to fit as you sew.
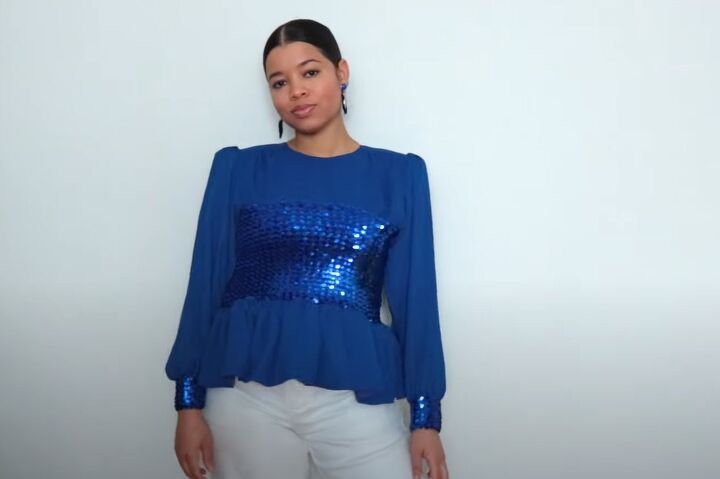
DIY blue peplum top
My upcycled dress became such a stylish and glamorous blue peplum top! I'm over-the-moon happy with it.
I would wear this with pants or an evening skirt to any smart function and feel just beautiful in it.
I hope you enjoyed seeing a bit of my creative process and how I arrive at my final designs.
I would love to know your thrift flip ideas for vintage clothing in the comments and especially if you make anything like this.
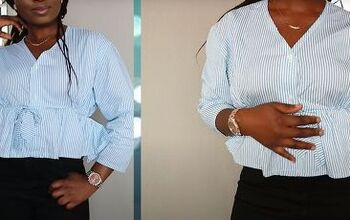
Check out my post on How to DIY Cute Rhinestone Bow Heels.
The author may collect a small share of sales from the links on this page.


Comments
Join the conversation