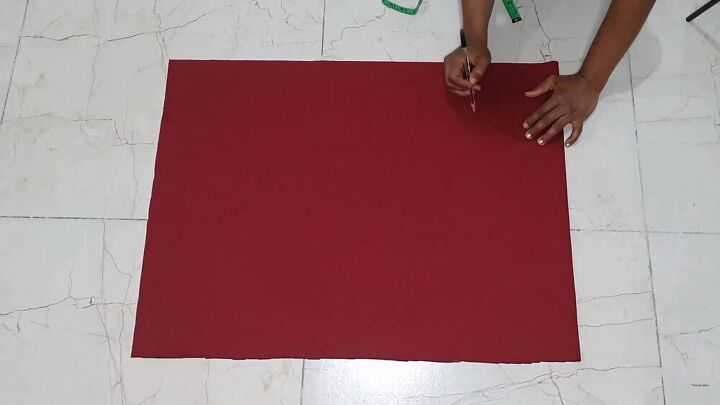
Make a Beautiful No-Sew Wrap Top in 30 Minutes

Want to learn how to make a wrap top? Great, because today I'm going to show you my no-sew wrap top tutorial. That's right- it's a no-sew which means you don't need to stress taking out your sewing machine. I will be using my all-time favorite fabric to make this wrap top; thin scuba fabric. You can use the same or simply choose any fabric you have on hand. This tutorial is so simple and truly remarkable for those DIY sewing projects that don't involve much effort or time. Ok, let's start and make a wrap top!
Tools and materials:
- 1 yard of thin scuba or any other stretchy fabric
- Scissors
- Measuring tape
- Paper
- Pencil

Practice on paper
Since this wrap top is a no-sew project, you'll need to practice your cutting skills. Take a piece of paper, fold it in half, and snip the fold to create the armhole. Then on the top edge, cut a straight line for the belt.
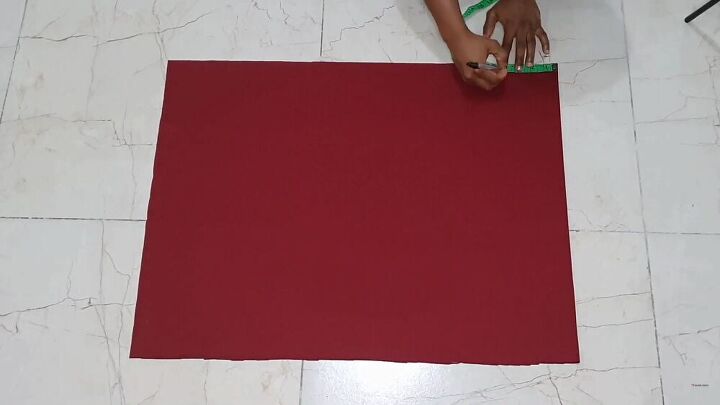
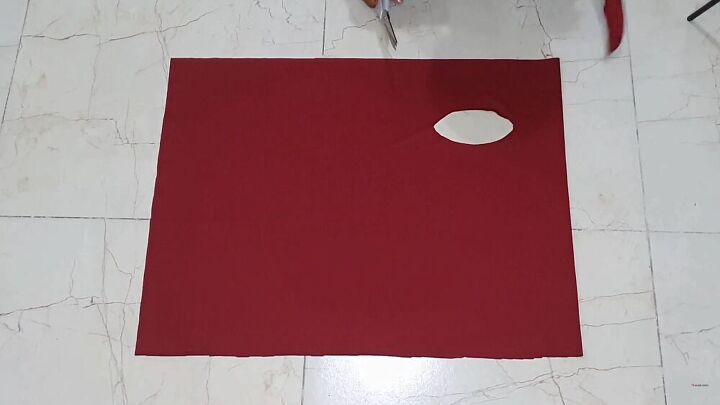
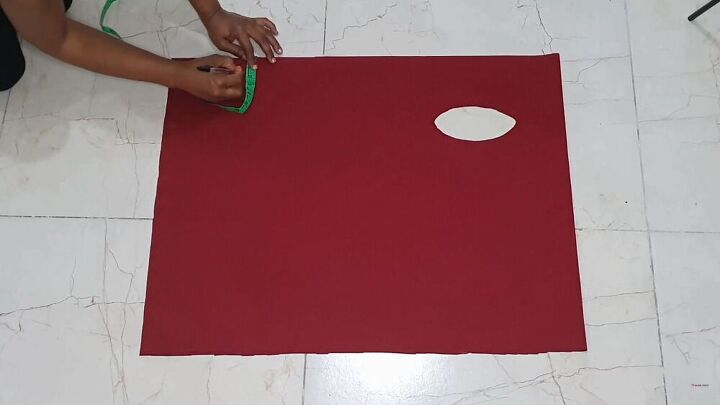
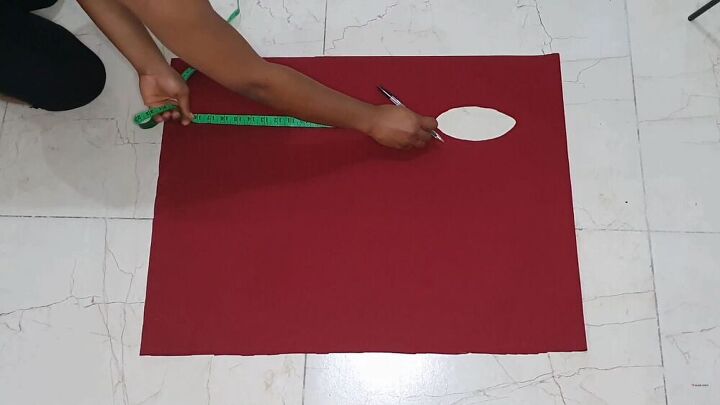
Measure and cut the fabric
Now, follow the same process but with the correct dimensions. Fold your fabric in half, and from the top edge starting from the fold, mark 5 inches.
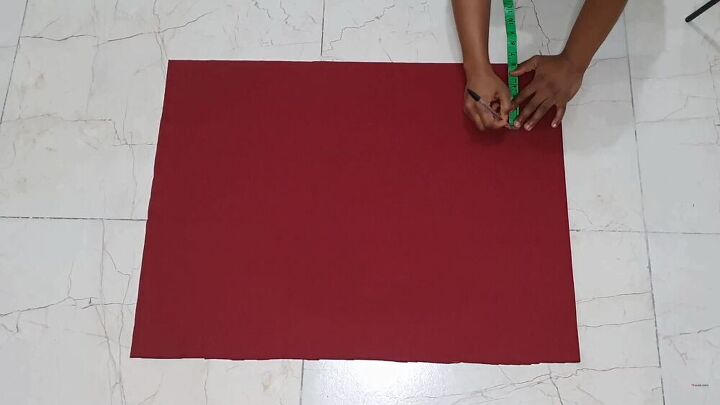
Next, from the 5-inch point, mark 6 inches down.
Then, from the 6-inch point, mark 5.5 inches across, as shown. Trace the line, as this serves as the length of your armhole.
For the width of your armhole, measure 3 inches up. The circumference of my arm is 12 inches, and that's why I have these specific measurements that are true to my size.
TIP-
The length and width of the armhole vary between everyone, so be sure to measure your armhole circumference first.
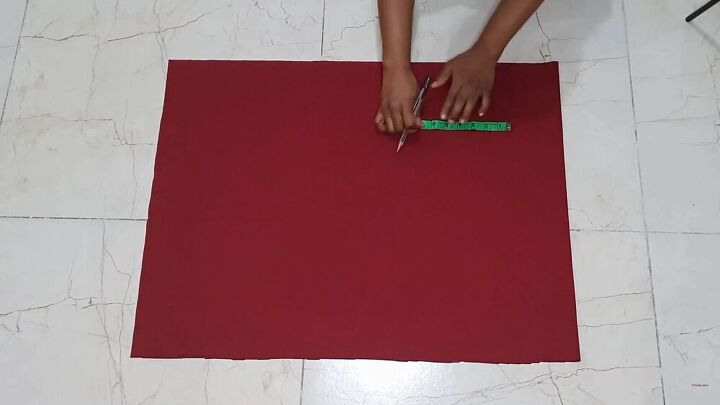
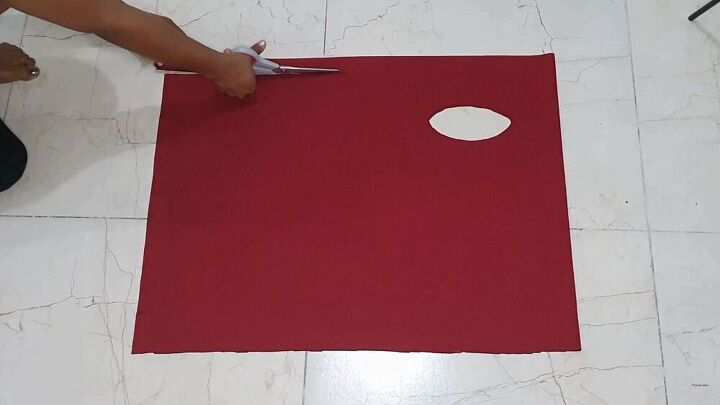
Trace an oval shape at that point.
Then, make a hole in the center and cut around the oval shape. Make the cut as neat as possible.
Make the belt
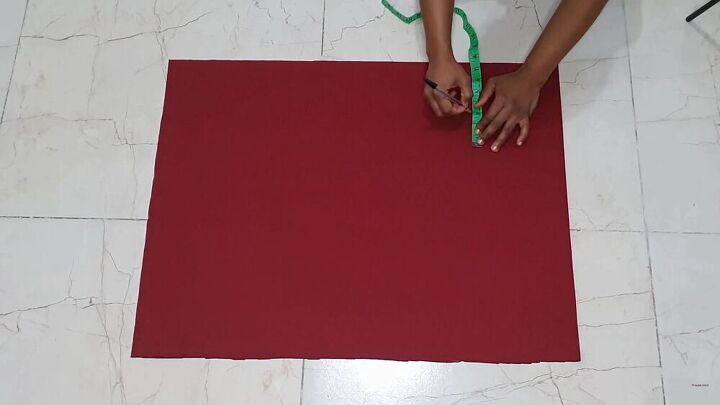
Now, mark a one-inch width from the bottom, as shown. Continue marking it along with the fabric.
With your measuring tape, mark 8 inches below the armhole and make a mark; this will be the point where you'll cut the belt.
Now, carefully cut a straight line with your belt until that 8-inch mark.
Make adjustments
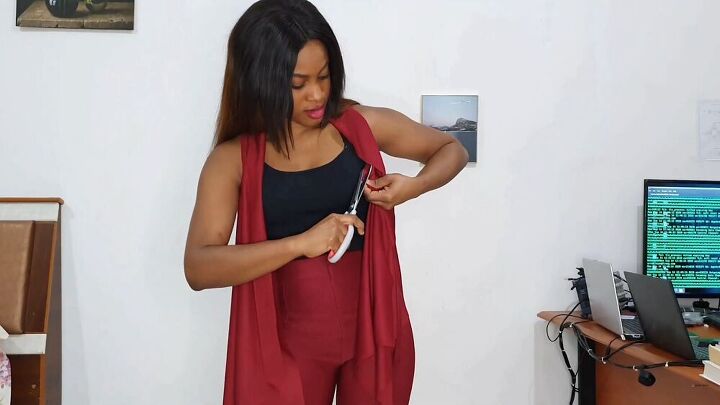
Ok! We're almost there. Now, wear your wrap top, on one of the sides, below the armhole, make a hole with your scissors.

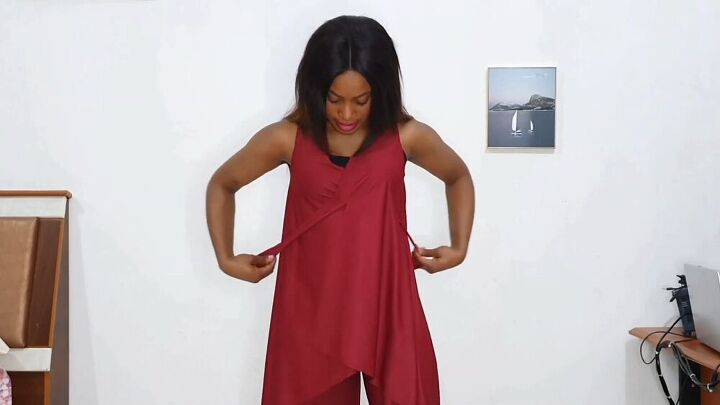
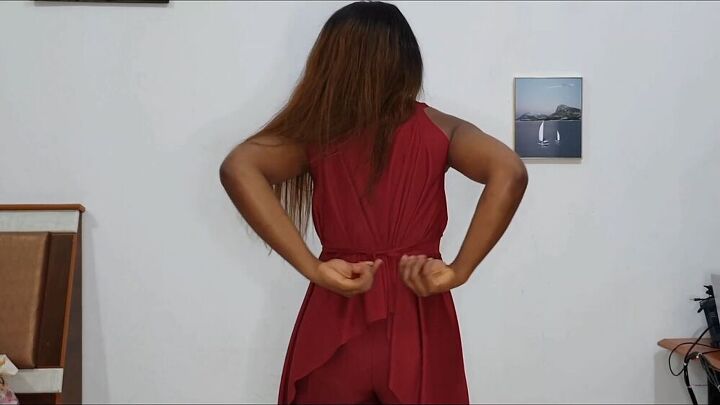
Now feed the adjacent belt through that hole and wrap that, together with the other belt around your body. Finish off the look by tying it at the back.

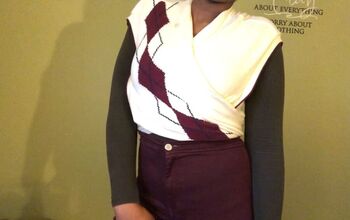
That's it! Simple and easy. There's not much to this wrap top, just a few measurements, of course. How do you like this quick DIY wrap top? I absolutely love it, and I hope you do too. Thanks for taking the time to go through this tutorial, and I hope you feel inspired to do the same for your next project.
The author may collect a small share of sales from the links on this page.


Comments
Join the conversation
Great job...looks great and easy to make. . thanks for sharing.
Such a great project, I’m sending it to my daughter. She could make one for herself & her daughter. Such an easy, but elegant top!