Make a Fab Button-Front Top With This Free Pattern

I love sewing tutorials with a free pattern! Today, I'm going to show you how to make a button-front top with an easy-to-follow button-up top pattern. I'm also into upcycling and sustainability, so for this project, I used a thrifted tablecloth. The whole process is relatively easy, and the outcome…. You'll have to see for yourself! Are you ready to make this DIY button-front top? Keep scrolling!
Tools and materials:
- Fabric
- Free pattern- Download it here
- Pins
- Measuring tape
- Scissors
- Sewing machine
- Thread
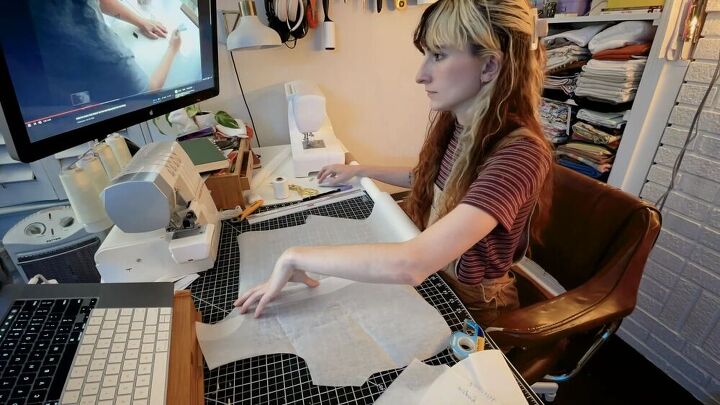
Download, trace, and adjust the pattern
To get the free pattern, simply click here and trace the pattern accordingly. The pattern is called an Elliot tie front top, but I went ahead and made some adjustments to accommodate the new neckline and button placket to the shirt's front part. To see the hack, click here and then come back to my detailed tutorial to assemble everything.
Cut the fabric
Once your pattern pieces are cut and ready to go, go ahead and cut out the fabric pieces. Be sure to follow the pattern instructions.
Don't forget to cut some bias tape, too.
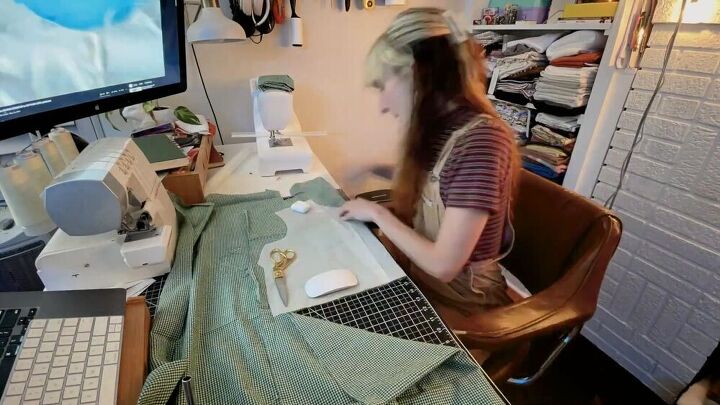
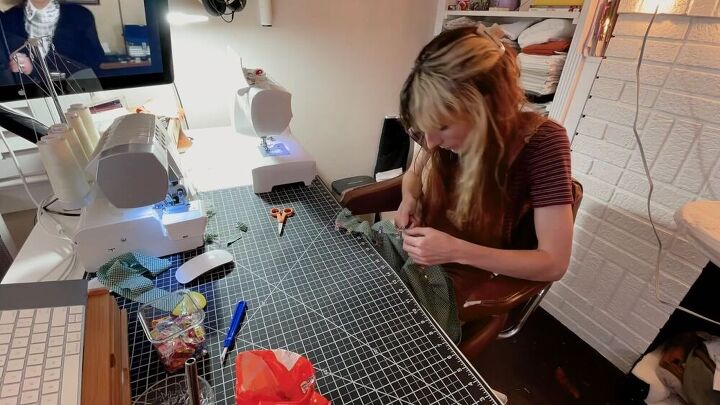
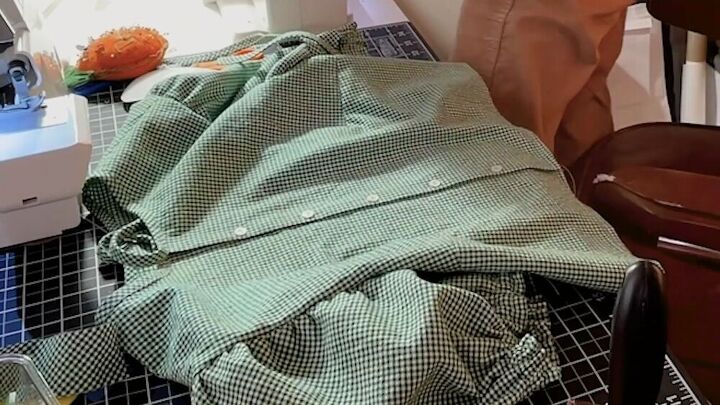
Mark the button placket
Before you start assembling your simple button-front top, mark the button placket, fold it over, press it down, and sew so that it gives more stability where the buttonholes are.
Make the bust darts
Pin and sew the bust darts as marked by the free button-front top pattern.
TIP-
When sewing down the bust darts, curve them towards the point so that it hugs the bust area a little bit better.
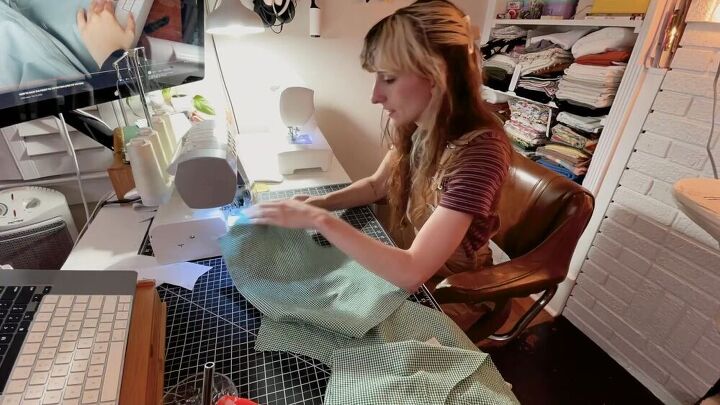
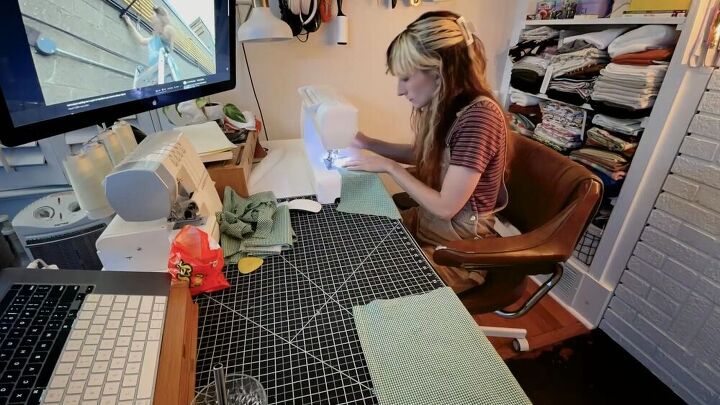
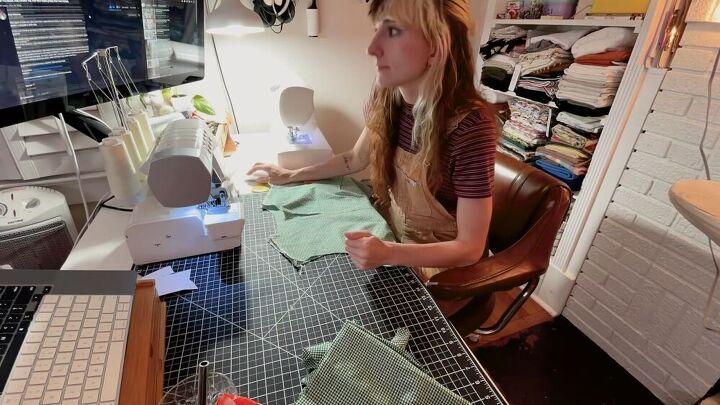
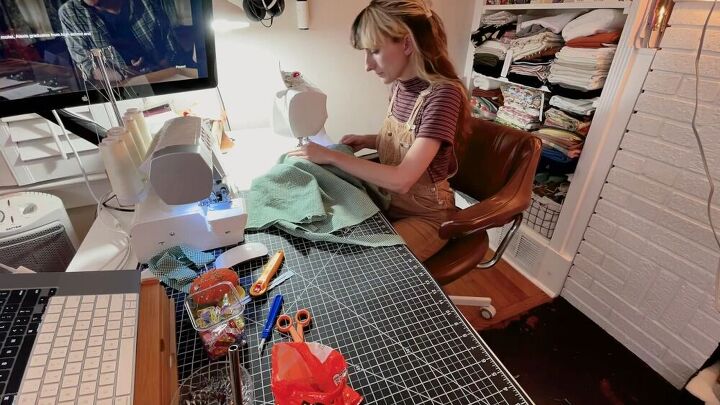
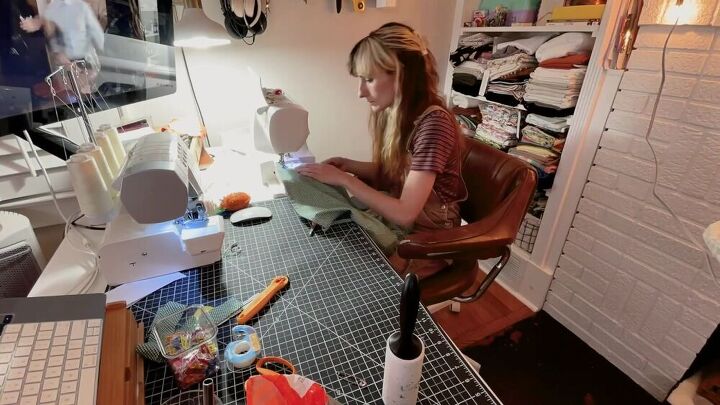
Finish the raw edges
Go ahead and serge the raw edges of all your pieces. This will ensure that the fabric won't fray over time. If you don't have a serger, you can do a zigzag stitch.
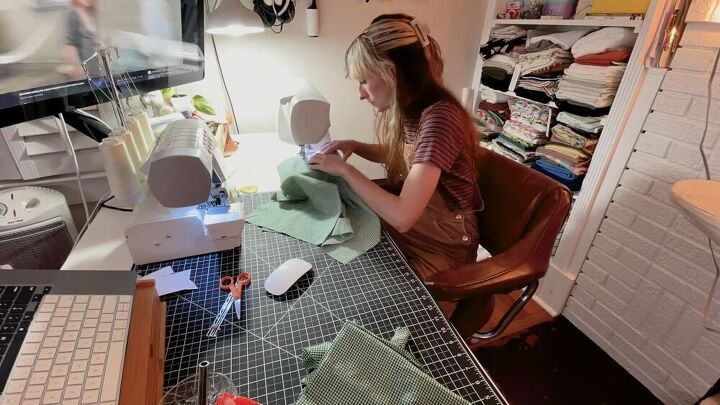
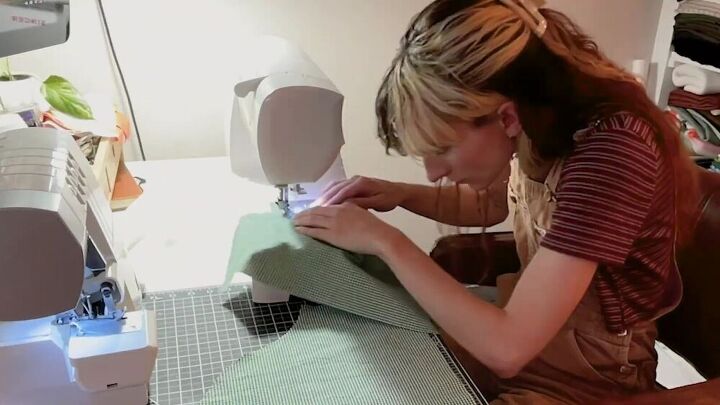
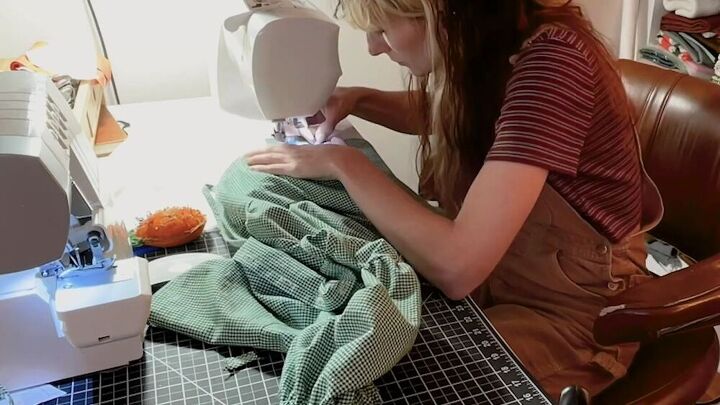
Assemble the shirt
Attach the shirt at the shoulder seams.
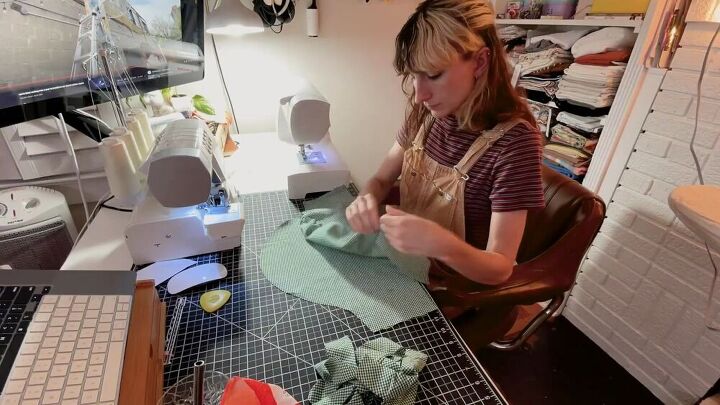
Then, go ahead and gather the sleeves. To do this, increase the tension on the basting stitch, automatically gathering the fabric a little bit. Manually pull the thread even more to create a more ruffled effect.
Pin the sleeves to the armholes, making sure the gathers are evenly distributed. Now, sew the sleeves to the armholes, paying close attention to the gathers. Make sure they are not shifting.
Sew the side seams from the sleeves to the hem.
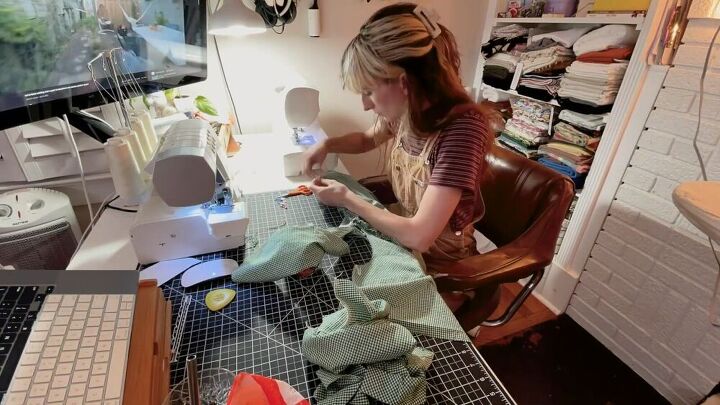
Add the bias tape
Attach the bias tape to the neckline and sew the edge to secure. Then, fold it over and pin it down.
Then, sew it in place.
Now, finish the raw edges of the bottom and hem it, too.
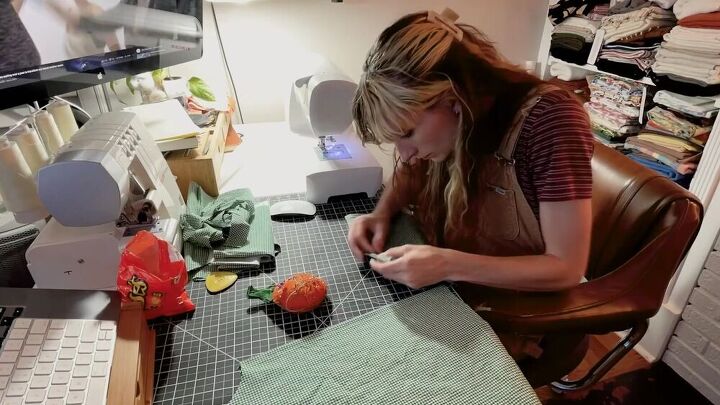
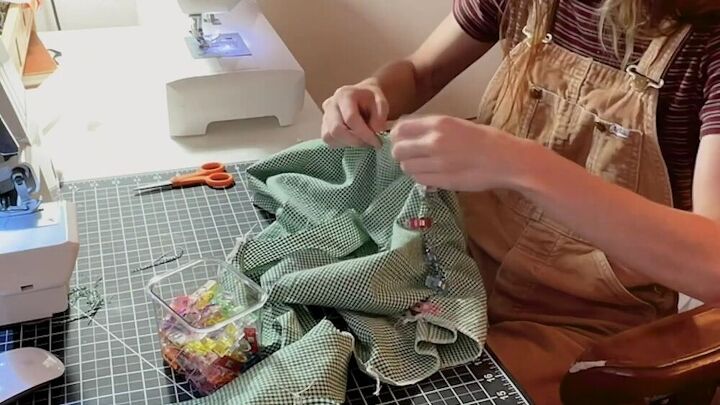
Make the buttonholes and sew the buttons
Take your stash of buttons and lay out the buttons evenly on the placket. Then, mark where the buttonholes should go.
Go ahead and make the buttonholes and manually sew the buttons.

We are all done! Quick and straightforward, right? Look at this stunning button-front top. It's so classical and elegant, and the cut just fits right. I hope you enjoyed this tutorial on how to sew a button-front top. Also, don't be shy; go ahead and get the free DIY button-front top pattern and try it yourself!
The author may collect a small share of sales from the links on this page.


Comments
Join the conversation