Need an Easy, No-Pattern Sewing Project? Make This Simple Circle Top

Circle tops are a great addition to anyone’s closet. They go best with just about anything and are the perfect top for those days where you just want to feel comfortable.
In this circle blouse tutorial, I’ll be showing you how you can sew your own circle top from scratch. It’s a no-pattern top, which means you can do this quickly and efficiently. I’m going to show you every step on making this fun and fabulous cape top. So, let’s get started!
Tools and materials:
- Fabric (2 yards)
- Bias tape (2 yards)
- Chalk
- Pins
- Scissors
- Measuring tape
- Ruler
- Sewing machine
- Thread
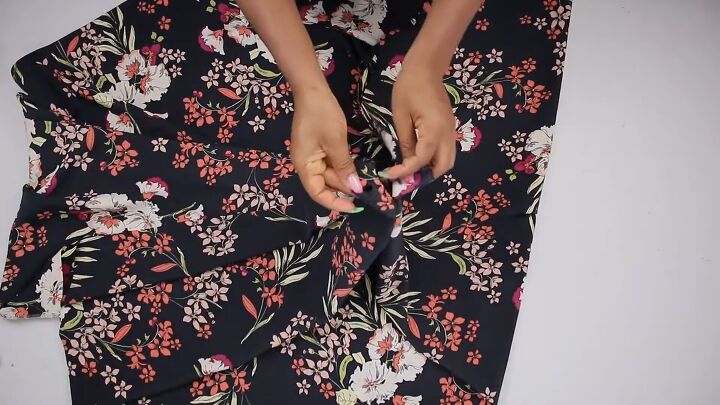
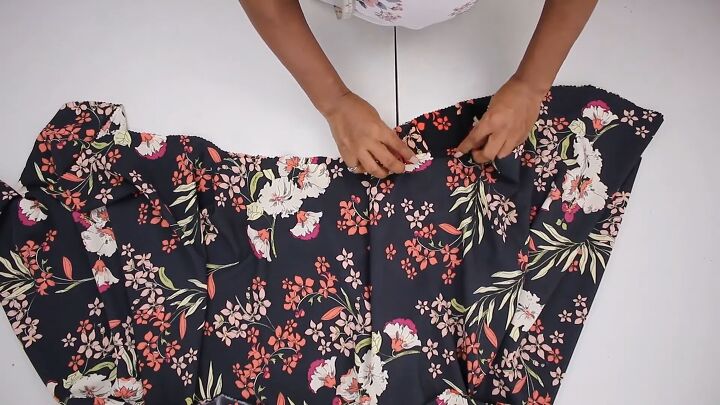
1. Make the pattern
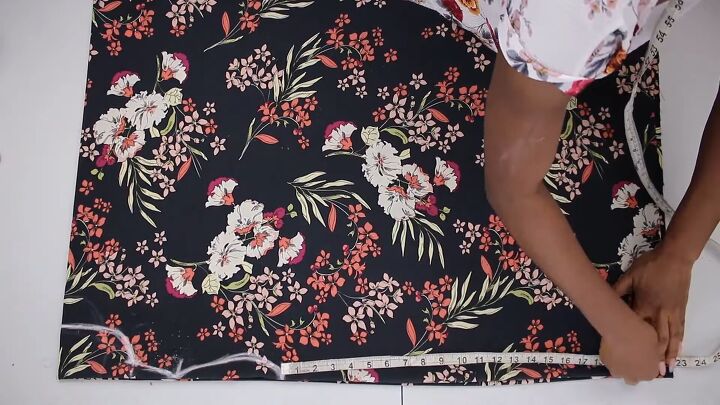
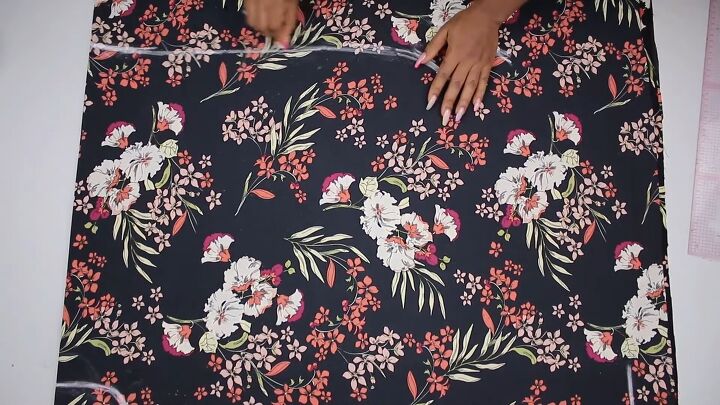
Fold your entire fabric in half, and then in half again, to make a square.
Once your fabric is folded in four, mark 3.5 inches on the folded corner, as shown. This will be the depth of your neck.
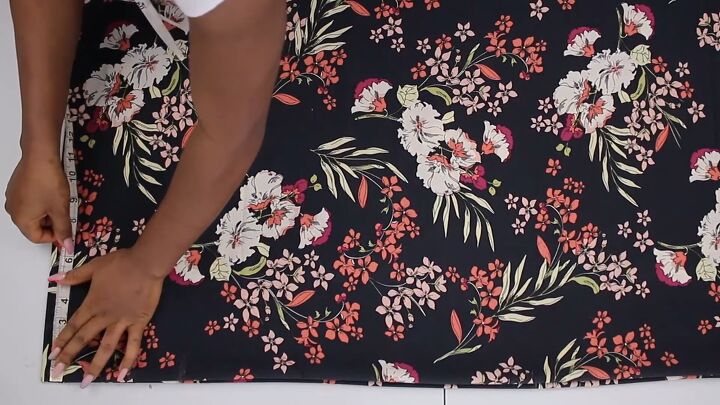
Then, on the adjacent side, mark 7 inches horizontally.
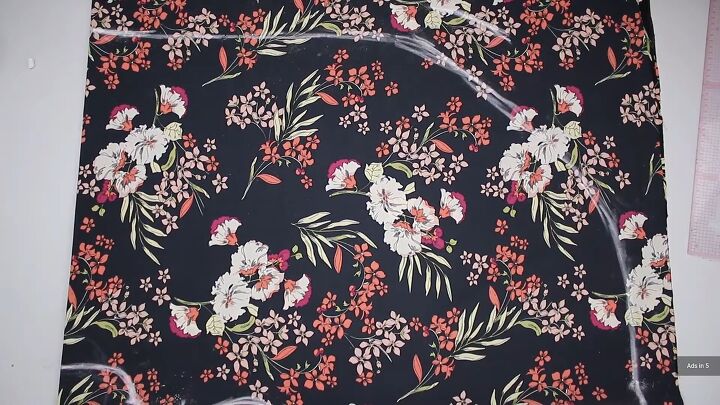
From that 7-inch point, take 2.5 inches backward and make a mark.

From the 2.5-inch mark, go down my 1 inch and make a mark.
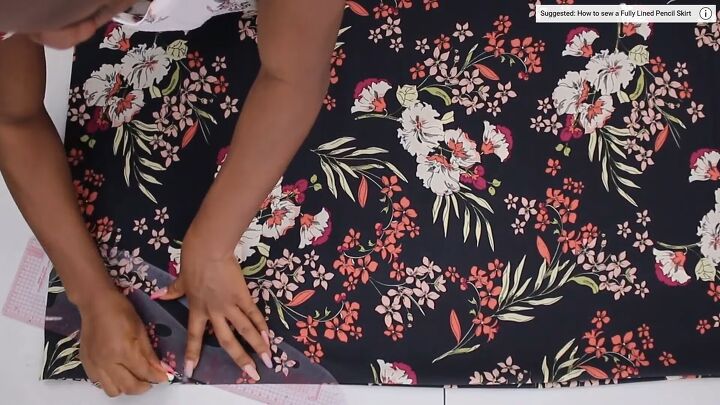
Connect the 2.5-inch mark back to the 7-inch mark, as shown. You should have a small triangular shape.
Then, connect the 2.5-inch mark to the adjacent 3.5-inch mark by drawing a curved line.
Now, measure your biceps to determine your armhole measurement. Don’t make it a loose size; you want it to be fitting. Divide that measurement into two and mark it on your fabric. For me, it was 6 inches, so I measured 6 inches from the 7-inch mark, as shown.
Now connect the 6-inch mark back to the original 7-inch spot by drawing a curved shape.
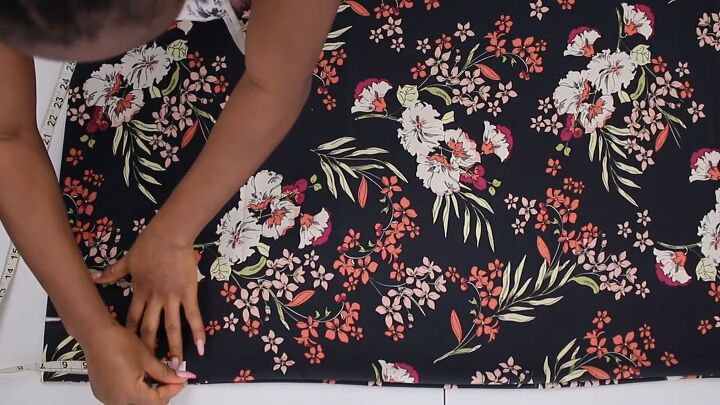
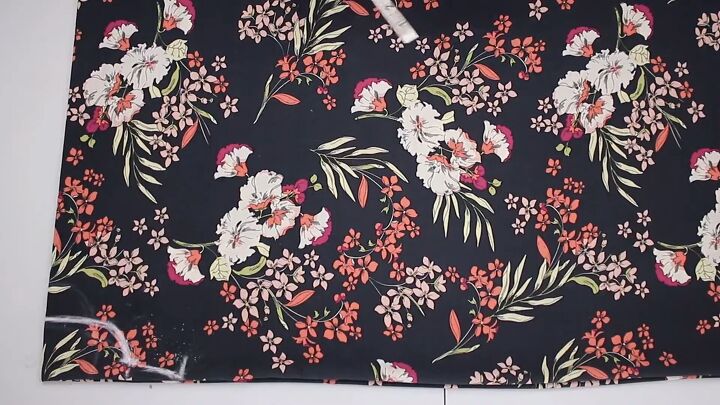
Determine how long you want your side seam to be from under your underarm and make a mark.
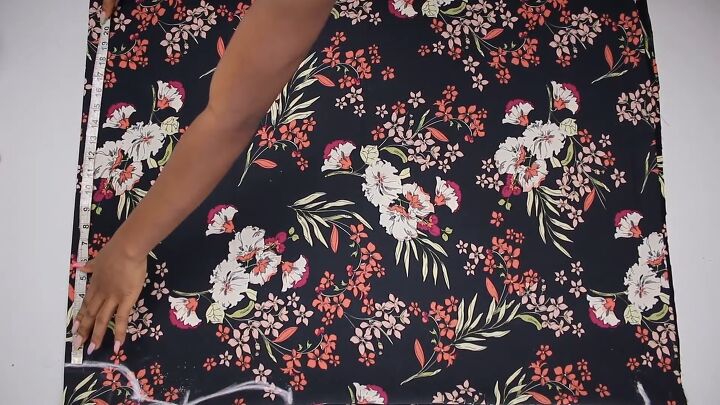
Then, make a mark from your neckline downward (on the other side of the fold) and make it around 20 inches as well.
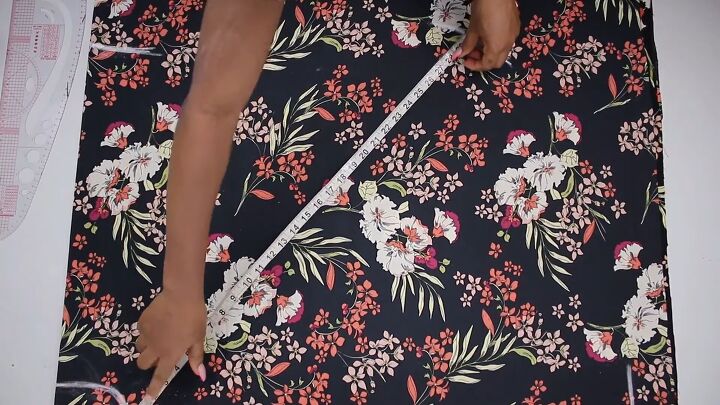
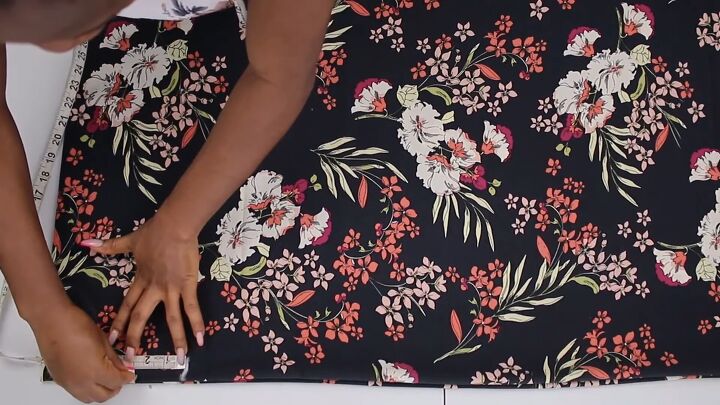
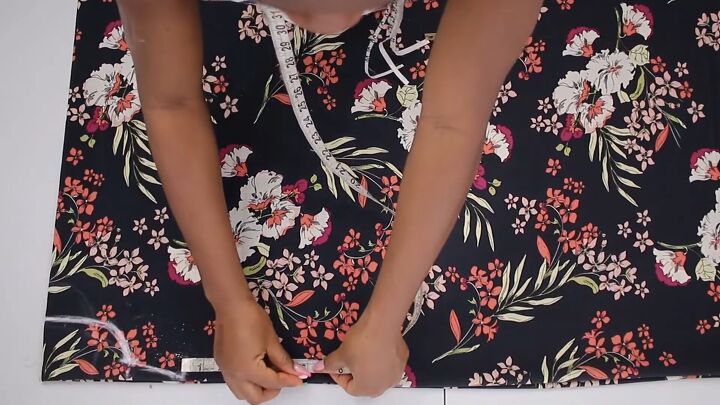
Connect the bottom two points by making a center point first. So, take your measuring tape and place it on the upper center point as a guideline. Then, mark a point that would safely connect the other two lower points.
In this case, 27 inches works great for me. Now, mark to points and connect the other two from either side.
Draw the line with a ruler, and then use your free hand for the curved part.
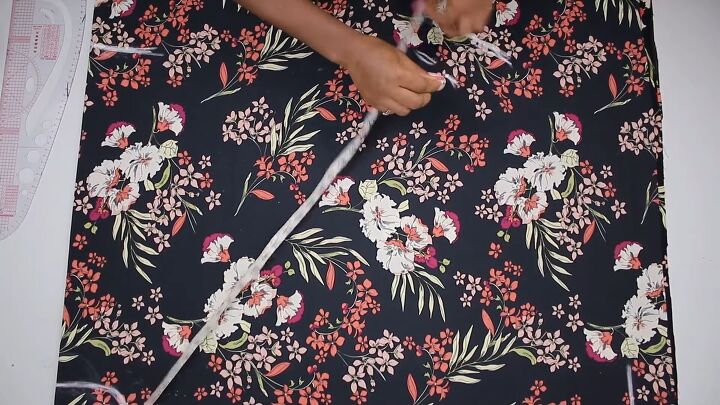
Yay! Our circle blouse pattern is complete! Now, time for the fun part- let’s sew this baby together!
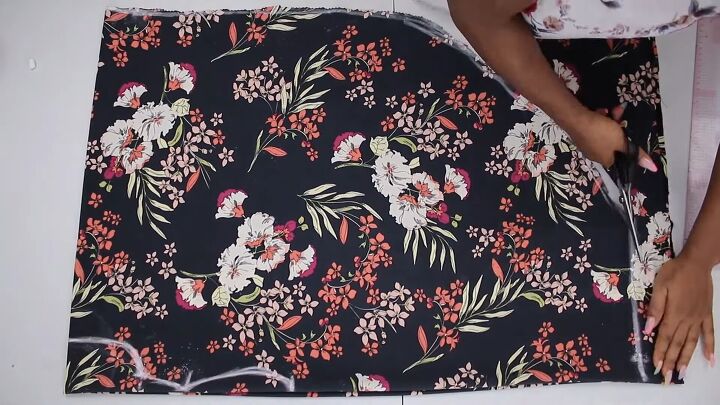
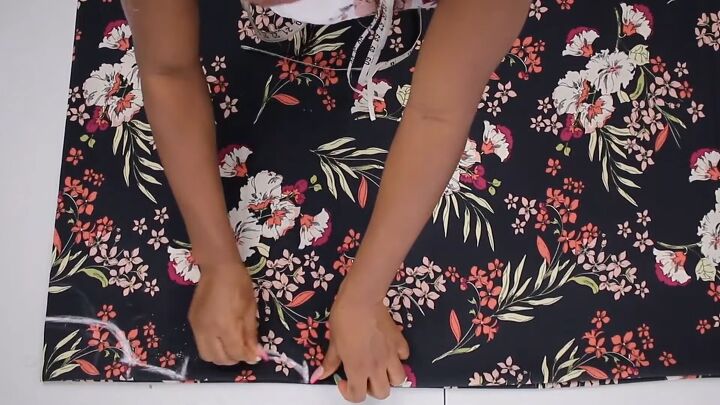
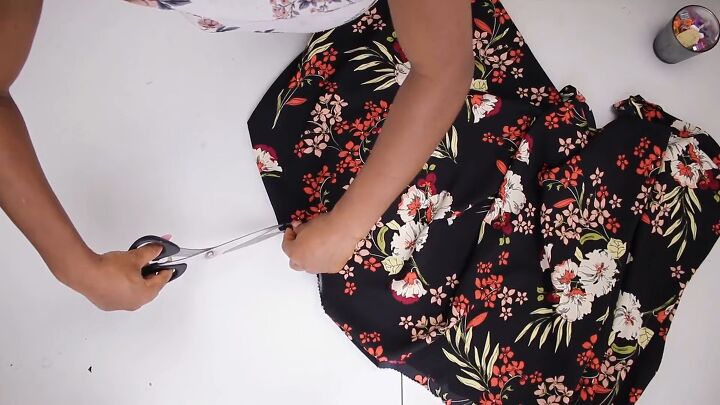
2. Cut the circle top
Now, go ahead and cut the circle top pattern.
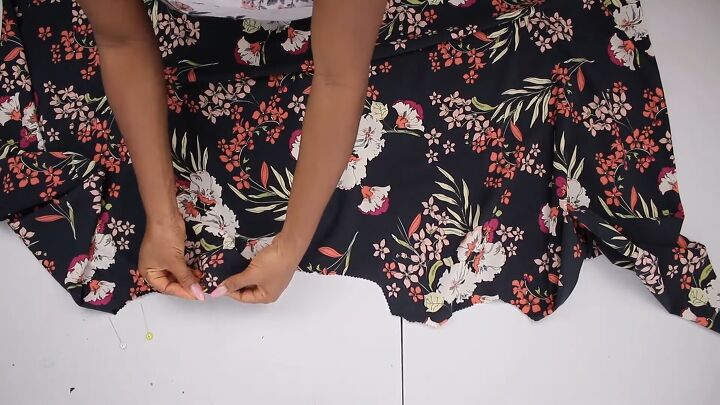
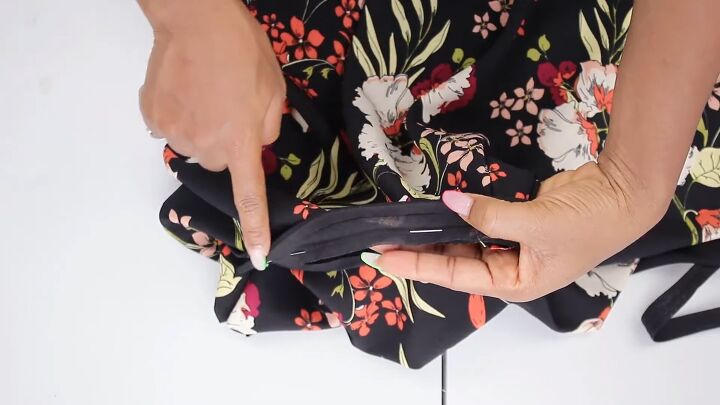
3. Sew the circle drape cape top
Starting with the shoulder seams, pin both layers together, right sides facing, and sew.
Then, hem the circle top by folding it twice, pinning around, and sewing to secure it. This was the longest step in the whole tutorial, but it’s definitely worth it!
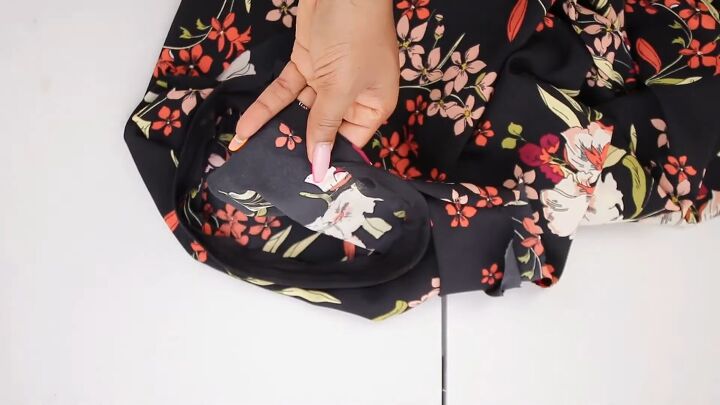
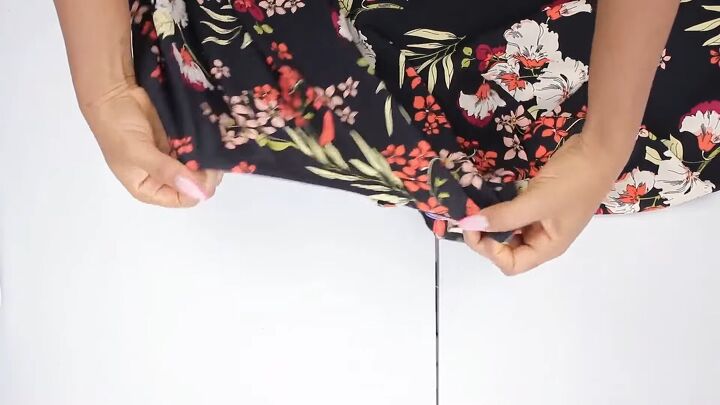
Next, it’s time to make a minor alteration to the armhole. Wear your armhole, and see if you can raise your arm all the way up above your head. If this proves to be a little complicated, then go ahead and cut the front part of your armhole a little.
Simply draw a curved line with chalk, making it a bit deeper. Then, cut along the line to free up some more armhole space.
To do the same on the other armhole, place the trimmed-out piece from the first armhole on the second, and use that as a guide to cut the second armhole.
4. Add bias tape
It's time to add a professional touch! To finish up the neckline of the circle blouse, add some bias tape. Start from the middle part of your neckline, and pin the bias tape all around, as shown. Remember to open up the ½ inch side of the bias tape.
Tip: When stitching the bias tape, be sure to stitch along the crease of the ½ inch side.
Now, flip the bias tape on the wrong side of your fabric, and pin it all around. Then, topstitch all around.
This is what the neckline looks like after attaching the bias tape. It makes a world of difference, don’t you think? Now, repeat the process to your two armholes, and then you’re ready to go!

DIY circle top tutorial
Now you can rock your new circle top! It’s absolutely stunning, and the flowy feature gives it a lovely vibe, too. Thanks for tuning in, and good luck!
The author may collect a small share of sales from the links on this page.


Comments
Join the conversation
It would have shown better if the fabric wasn’t so patterned and black—made it very hard to see what you were marking.