How to Make a Cute Fall-Inspired Bodysuit With Long Sleeves

This tutorial will show you how to make a bodysuit, including the pattern and how to sew it. This bodysuit was inspired by the fall season, when it’s starting to get a bit chilly outside. The long sleeves mean you won’t have to throw on another sweater, and the lettuce trim takes the style up a notch.
Tools and materials:
- Stretch-knit fabric, medium weight
- Bodysuit as a template (or a fitted top and underwear)
- Scissors
- Pins
- Measuring tape
- Thread
- 3 snap buttons
- Snap button tool
- Sewing machine
1. How to make a bodysuit pattern
Use an existing bodysuit (or fitted top and underwear) as your template. Trace the bodysuit, front and back, adding a half-inch seam allowance to all raw edges.
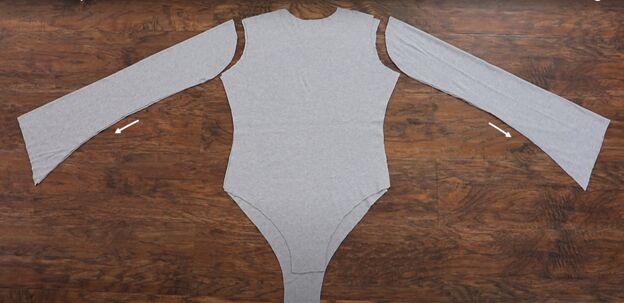
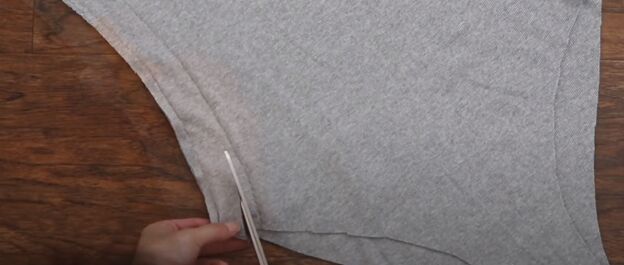
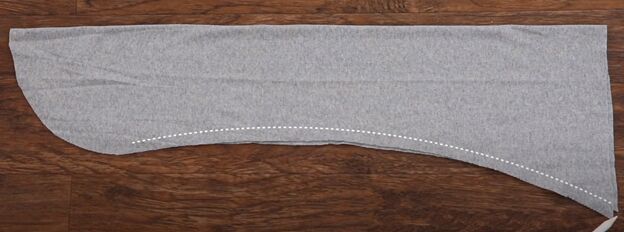
Use sleeves from an existing garment and trace those out as well with the top of the sleeve on the fold of the doubled fabric. Add a small bell curve at the bottoms of the sleeves. Cut all the pieces of fabric.
2. Sew the bodysuit bodice
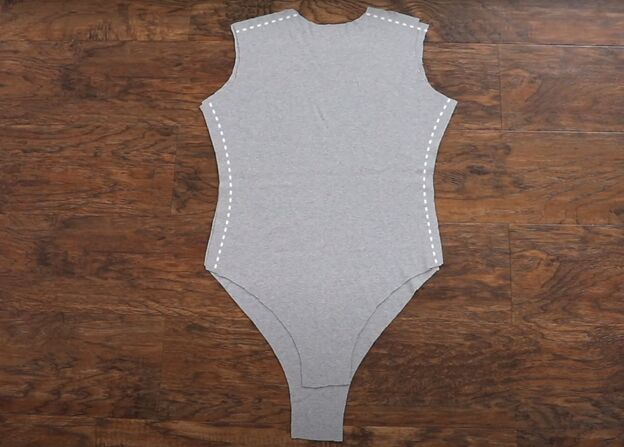
With the right sides together, sew the front and back pieces together at the shoulders and side seams.
3. Check for fit
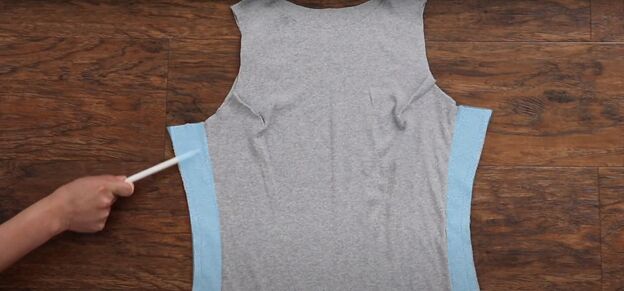
Check the bodysuit for fit and add darts at the armholes or take in the sides if you need to.
If you do take it in, trim off the excess seam allowance after sewing your new side seams.
4. Sew the bodysuit sleeves
For each sleeve, with the right side facing in, sew the raw edges together.

5. Pin the sleeves in place
Turn the sleeves right side out, and the bodice inside out. Now, insert the sleeves into the bodice armholes and pin in place.
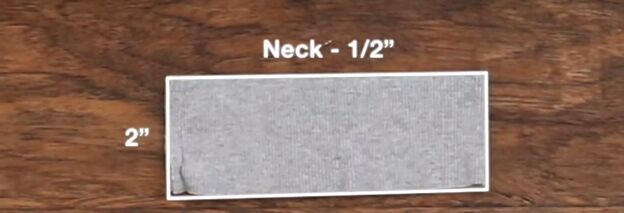
6. Create the neckband
Cut a piece of fabric that is 2-inches wide and a half inch shorter than the circumference of the bodice neckline. Sew the ends together so you have a ring.
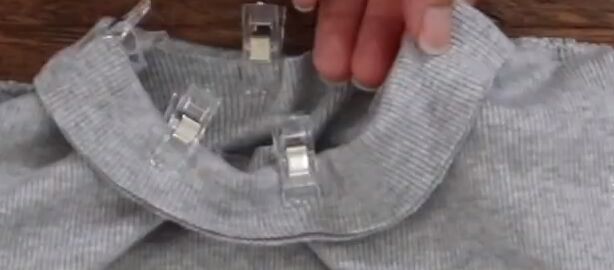
7. Pin the neckband in place
Fold the neckband in half lengthwise and pin it to the neckband with right sides together. Make sure the folded edge of the neckband is lined up with the raw edge of the neckline.

8. Attach the sleeves and neckband
Sew the sleeves and neckband to the bodice at the edges. You will need to stretch the neckband slightly as you sew to fit the neckline.
Trim the neckband if necessary, so it is completely aligned to the neckline.

9. Create lettuce trim
Sew a zigzag stitch around the raw edge of the neckline. The stitch should be narrow and have a very short length. As you are sewing, stretch the raw edge. That’s what will make the wavy lettuce effect.
Use the same method for creating the lettuce trim around the bottom of the sleeves.
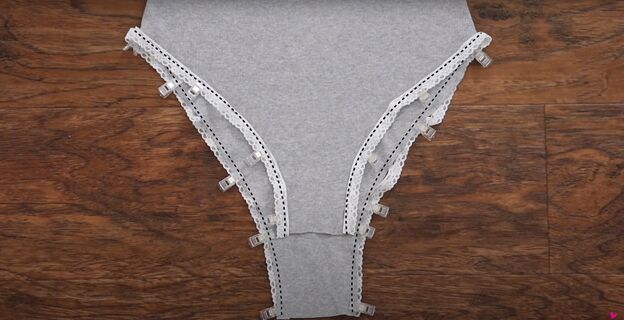
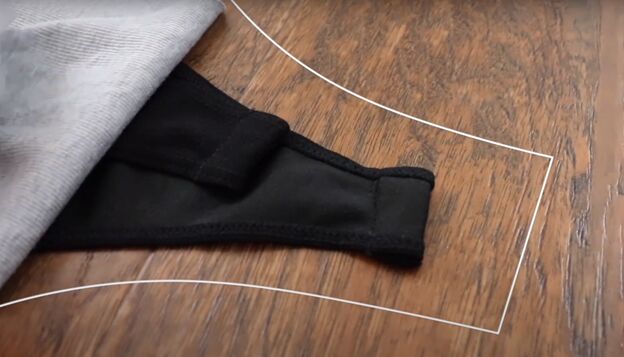
10. Complete the underwear section
Use a zigzag stitch to sew lace trim on top of all the raw edges of the underwear part of the bodysuit. This will help prevent an underwear line when you are wearing the bodysuit.

Fold the tails of the underwear section under 1-inch and sew in place with a zigzag stitch.

Add three snaps to the tails of the underwear section.

How to make a bodysuit tutorial
Enjoy wearing your bodysuit this fall, under any other piece of clothing. You will feel cozy and look fantastic. Let us know in the comments how your DIY lettuce-trim bodysuit came out!
The author may collect a small share of sales from the links on this page.


Comments
Join the conversation