How to Make a Cute, Short DIY Tiered Dress With Long Sleeves

In this sewing tutorial, I will show you how to make a DIY tiered dress. The dress has long sleeves, a tie at the front, and a beautiful tiered bottom. Follow along as I take you through the process step by step.
Tools and materials:
- 3 meters of fabric (3.28 yards)
- Paper
- Pen
- Ruler
- Sewing machine
- Elastic
- Pin
- Knitting needle
1. Make the pattern
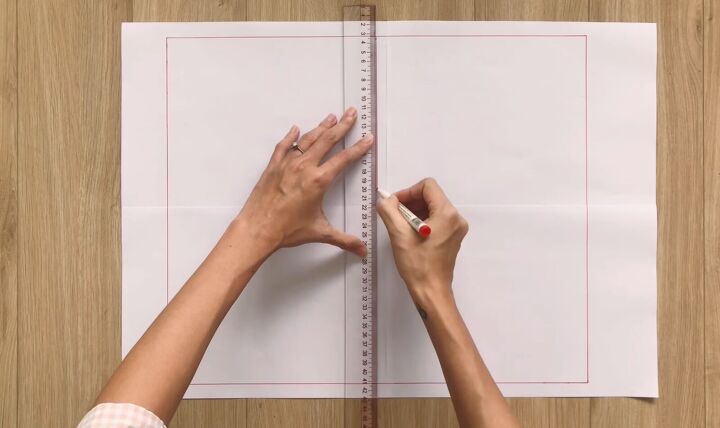
First, you need to make the pattern. Follow the video from 0:50 to see how to draft the pattern according to your own body measurements. You'll end up with a front pattern, back pattern, and sleeve pattern.
2. Cut the fabric
Cut out two pieces of the front pattern, one piece of the back pattern, and two pieces of the sleeve pattern.
Connect the two front pieces in the middle. Then mark 13cm [5 inches] from the top and sew the fabric below that mark together.
3. Sew the neckline
Fold the fabric at the top of the front inside two times and sew.
4. Sew the shoulders and sides
Pin the front and back pieces together at the shoulders and the sides and sew.
5. Sew the sleeves
Fold the sleeve pieces in half with the good sides touching, pin the long open side, then sew it.
6. Hem the sleeves
From the end of the sleeve, mark a line at 3cm [1 inch]. Fold the end in by half a centimeter [0.2inches] and fold it again until it reaches just before the marked line. Proceed to hem it.
Remember to keep a small hole open as you will later thread elastic through.
7. Insert elastic
Cut some elastic that is 1cm [0.4 inches] by 20cm [8 inches] (the width of the wrist + 3-4 cm or 1.2-1.6 inches). Thread the elastic opening, using a needle to help you. Sew the elastic closed as well as the fabric.
8. Gather the sleeves
At the top of the sleeve, sew a basting stitch, then pull the thread to gather the fabric.
9. Attach the sleeves
Pin the sleeves to the top and sew.
10. Gather the neckline
At the front of the neck, sew a basting stitch and gather the fabric.
11. Attach the neck tie
Cut a long strip of fabric 8cm [3 inches] by 80cm [31 inches]. Pin the middle of the line to the front of one of the sides of the neck. Pin all the way around and then sew.
12. Sew the neck tie
Fold the outside part of the fabric together to create a tie and then sew it. When done, push a knitting needle through the strip to help you turn the fabric right side out.
For the front of the neck, fold the fabric inside by 1cm [0.4 inches], then fold it again over the first seam and sew.
13. Create the skirt tiers
To create the two tiers for the bottom part of the dress, cut two long fabric rectangles.
The first is 25cm [10 inches] by 150cm [59 inches] (1.5 x the width of the top part). The second is 30cm [12 inches] by 225cm [89 inches] (1.5 x the width of the first tier).
Sew the width sides together to create a circle of fabric.
14. Hem the second tier
Take the second tier and fold the fabric in twice on one of the long sides to hem it.
15. Gather the fabric
Along the other long side, sew a basting stitch, then gather the fabric.
16. Connect the pieces
Pin the two pieces together, starting at either end and then across the whole length. Then sew.
17. Gather the fabric
At the top of the first tier, sew a basting stitch, then gather the fabric.
18. Sew the skirt to the top
Connect the top and the bottom part to form the dress. First, pin (starting at either side) and then sew. Turn the dress right side out, and you’re done!
DIY tiered dress tutorial
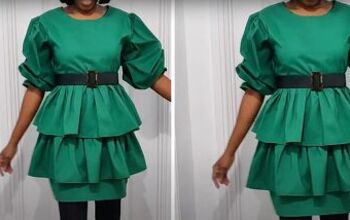
Here is the finished DIY tiered dress and I think it’s so cute. I love the mini-length, the necktie and the two gathered tiers.
Although this sewing project takes some time, it is so worth it! I know I’m going to get a lot of use out of this dress.
Let me know your thoughts in the comments below.
Enjoyed the project?
Suggested materials:
- 3 meters of fabric (3.28 yards)
- Paper
- Pen
- Ruler
- Sewing machine
- Elastic
- Pin
- Knitting needle
The author may collect a small share of sales from the links on this page.


Comments
Join the conversation