Ready For a Fun Fall Sewing Project? Here's How to Make a Turtleneck

In this DIY, I’m going to be showing you how to make a turtleneck. I’m going to be using a serger and cover stitch machine, but don’t get tripped up by that because if you don’t have those machines, all you need to do is use your zig-zag stitch on your domestic sewing machine, and that works just as well.
Turtlenecks are an essential part of any woman's wardrobe, so pick a stretchy fabric in a color that you like and will wear a lot, and let’s get started!
Tools and materials:
- Fitted turtleneck pattern
- Stretchy jersey/knit fabric (mine is rayon with stretch in it; you could also find a good rib knit or a cotton jersey with spandex in it for stretch)
- Pins and/or weights
- Fabric scissors or rotary blade with cutting mat
- Ruler
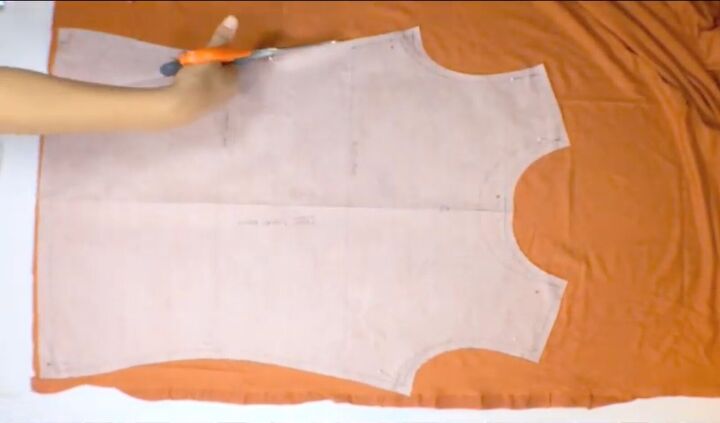
1. Cut out the body pieces
First, watch this video on how to make the turtleneck pattern to your body measurements.
Then, get yourself a nice stretchy fabric, lay it out, and place the grainline parallel to the selvage edge. Pin the pattern of the body of the turtleneck to the fabric and cut it out right close to the lines. You can use scissors or a rotary blade to cut the fabric out.
Repeat this step so that you have two pieces, one for the front and one for the back.
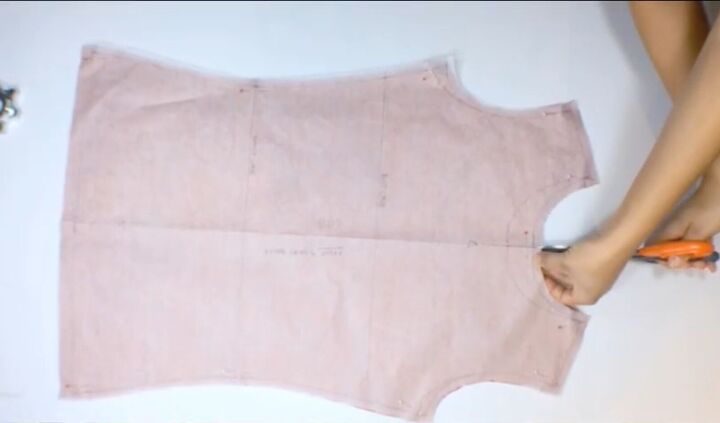
2. Cut a snip
Cut a tiny snip at the center neck and the waistline on either side.
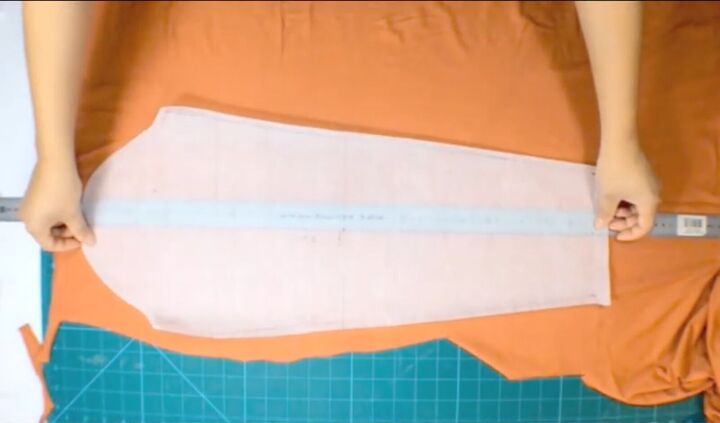
3. Cut out the sleeves
You’re now cutting in the middle of the fabric and don’t have the selvage to show you where the grainline is. Line up a ruler with the grainline of the fabric and place the pattern on top. Line up the grainline to the ruler, so you know that you’re getting this on grain.
Cut both sleeves out, making sure that you turn your pattern over so that you’re not getting two left sides or two right sides. Once done, snip on both pieces at the center and the front.
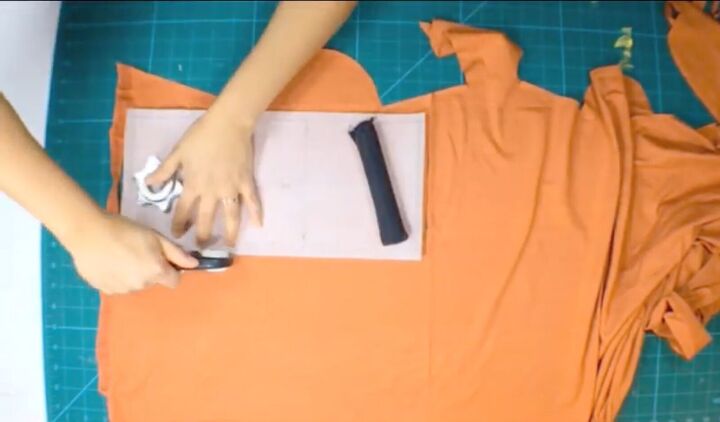
4. Cut out the neckpiece
Line up the neckpiece with the selvage edge. Cut it out and put a snip in the center on both sides.
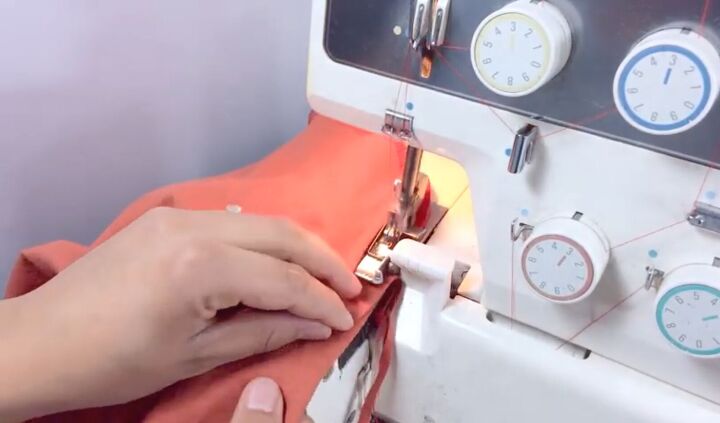
5. Sew the shoulders and sleeves
Sew the shoulders of the turtleneck by placing the two pieces of fabric right sides together and then stitch, leaving a ⅜-inch seam allowance. I am going to stitch with the serger.
Then, sew the sleeves to the body of the top. Line up the center notch on the sleeves to the one that you made on the top.
6. Sew the sides
Once you’ve sewn the sleeves on, line up the side seams and make sure that the underarm is lined up nicely.
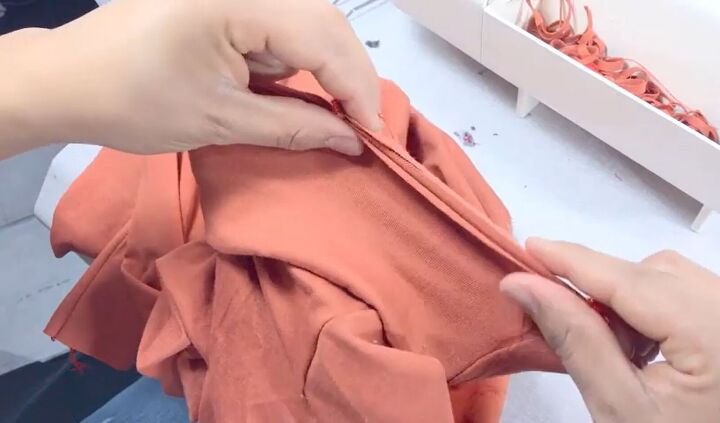
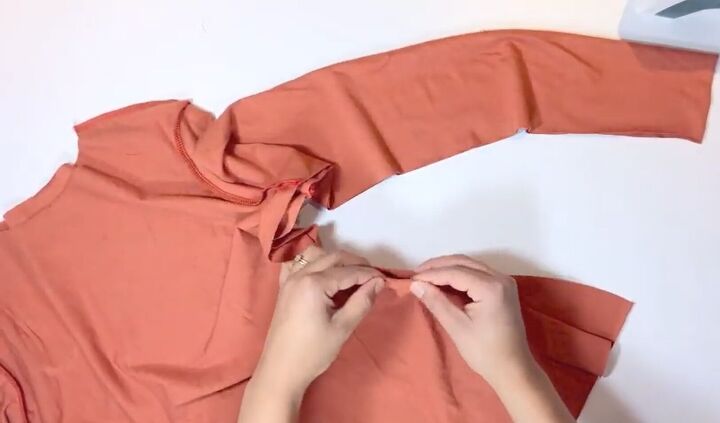
7. Sew the neck
With the neck, fold it in half with the right sides facing each other and sew that up. Then, just flip that out so that you have the turtleneck. Join the neckpiece to the front center notch and back center notch you made on your top.
The back center notch lines up with the seam on the neckpiece because you want that seam to be in the back, not in the front. Stretch the neckpiece and add pins in and then proceed to sew. You will need to stretch and pull the material while you’re sewing.
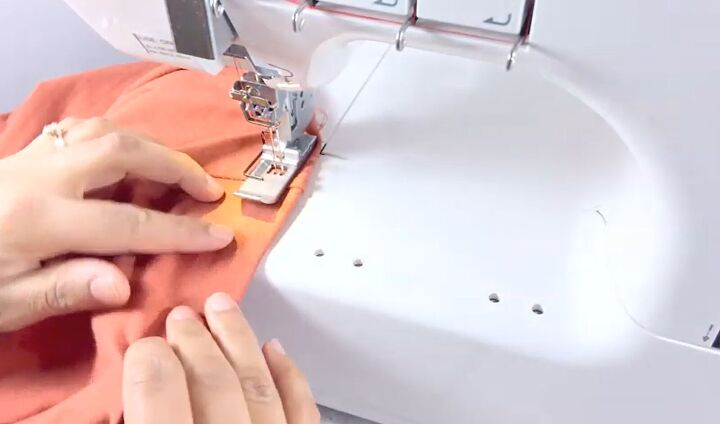
8. Sew the hems
The last step is to sew the hems, fold over the edges by ⅜ inch and keep this same width along as you sew.

How to make a turtleneck tutorial
There we have our DIY turtleneck top. I like styling mine by tying a little scarf around my neck and then having the turtleneck poking out the top; this is a really cute way to style a turtleneck top.
I hope you enjoyed this turtleneck sewing tutorial and get lots of wear out of your top.
The author may collect a small share of sales from the links on this page.


Comments
Join the conversation