2 Cute and Easy French Braid Hairstyles

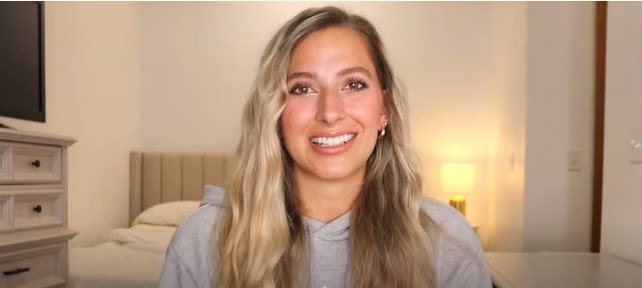
Today, I'm going to walk you step by step through two French braid hairstyles.
The first one is a simple side French braid for fall and the second side braid is also a French braid, but it's angled differently. They are both easy, cute fall hairstyles that I know you’ll love.
Tools and materials:
- Hair tie
Simple side French braid
1. Divide hair
You’ll make a regular braid to start out with. On one side of your head, divide your hair into three equal sections.
2. Front section
Take the front section of hair and cross it over the middle section of hair.
3. Back section
Take the back section of your hair and cross it over your middle section of hair.
4. Repeat front section
Take the front section and hold on to it. Pick up a section of hair right next to it. Add it into that front section.
5. Cross over the middle section
Once those strands are combined, cross that whole section over the middle section.
6. Repeat back section
Repeat with the back section. Hold onto the back section, pick up a section of hair right next to it and combine the two sections of strands.
7. Cross back over to middle
Take that back section of hair and cross it over the middle section of hair.
8. Repeat steps 4 and 5
Repeat steps 4 and 5 by taking the front section again. Grab a section of hair right next to the front section, combine it, and cross it over that middle section.
9. Repeat steps 6 and 7
Repeat steps 6 and 7 by taking the back section of hair. Grab a section of hair right next to it, combine it, and cross it over that middle section.
10. Keep repeating steps
Continue repeating all of these steps until you run out of hair to braid.
11. Smooth it out
As you create your braid, make sure you’re smoothing out your strands before you cross them.
Make sure you’re doing them nice and tight. You don’t want to make them too tight or too loose.
12. Tie it
Once you’ve added in all your hair, finish it off into a regular three-strand braid, and tie it off.
13. Pinch and pull
Once it’s tied, begin to pinch and pull on the French braid to make it look bigger and thicker.
This is my favorite part of braiding. I can make it look so much thicker than what my actual hair looks like. If you feel like you’ve pulled too much, you can stick bobby pins to make it feel more secure.
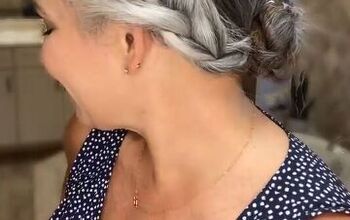
I love a good side braid for fall, especially with chunky sweaters or cardigans. It’s a fall hairstyle in my opinion.
Cascading French braid
1. Grab a back section of hair
Grab a section of hair on one side of your head but more from the back of your head and divide it into three strands.
We’re just repeating the first braid, but it’s just angled differently, and it appears a little looser. It’s angled differently because you’re starting the braiding further towards the back of your head rather than in the middle or front.
2. Braid that section
Cross the front section over the middle and the back section over the middle.
3. Add hair to the section
Pick up a section of hair right next to that front section, add it in, and cross it over the middle section.
4. Keep braiding
Do the same thing with the back section, pick up a section of hair right next to it, add it in, combine it, cross that section over the middle.
You want to make sure you’re grabbing hair right next to those strands, just kind of working your way up and across the side of your head.
5. Work backwards
For the back section, work your way back. Add in a section of hair, combine it, cross it over that middle section.
6. Repeat steps
Keep doing this until you run out of hair.
7. Finish it off
Once you’ve added in all your hair, just finish the braid off into a regular three strand braid tying it with the hair tie.
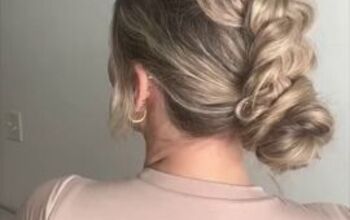
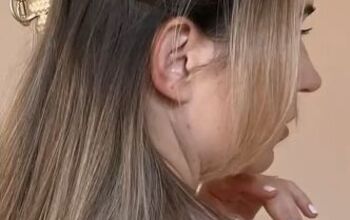
It looks like a normal braid from the front. But when I turn my head…
The side view is totally different. It looks so cool and beautiful. This is my new favorite way to do French braiding.
Two French braid hairstyles
If you try this, let me know how it worked out! Let me know which one is your favorite!
These are such easy and cute fall hairstyles, and they take no time at all to create.
Enjoyed the project?
Suggested materials:
- Hair tie
The author may collect a small share of sales from the links on this page.






Comments
Join the conversation
Beautiful!!!! And you are not having to constantly push your hair away from your face. You do a wonderful job!!!!