Fun and Easy DIY Geometric Resin Earrings Tutorial

In this tutorial, I’m going to show you how to make resin earrings. UV resin earrings are so easy to make so let’s get started!
Tools and materials:
- Resin tape
- Earring frames
- Protective gear (gloves/respirator)
- Mica powder
- Resin
- Glitter
- Lighter
- Mixing cups
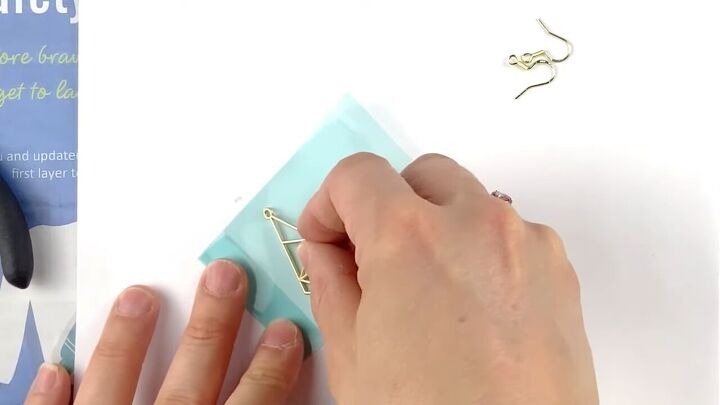
1. Apply resin tape to the bezels
Apply resin tape behind both earring bezels. I recommend bending the tape over, so you have a place to put your fingers to hold it down.
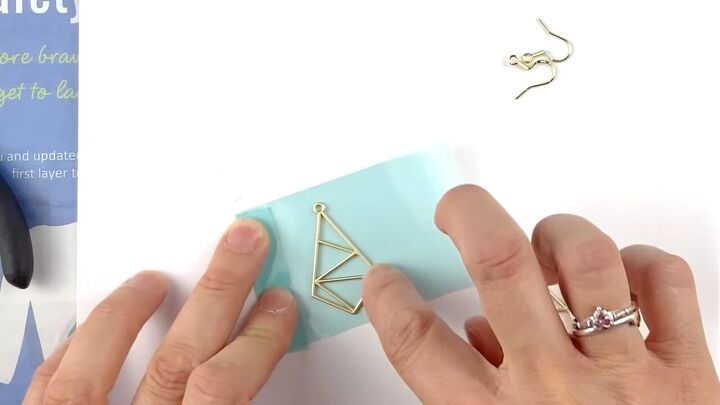
Press down along the edge of the metal to make sure it’s completely stuck to the tape.
Since we’ll be pouring liquid, it will seep under the tape if it’s not completely stuck.
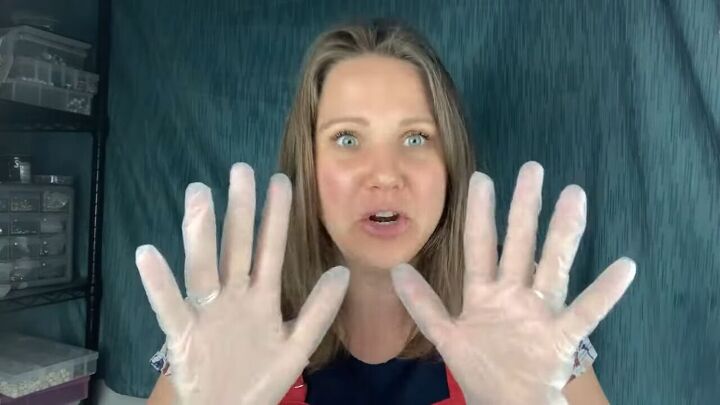
2. Put on protective gear
Put on your gloves and respirator before working with any kind of resin!
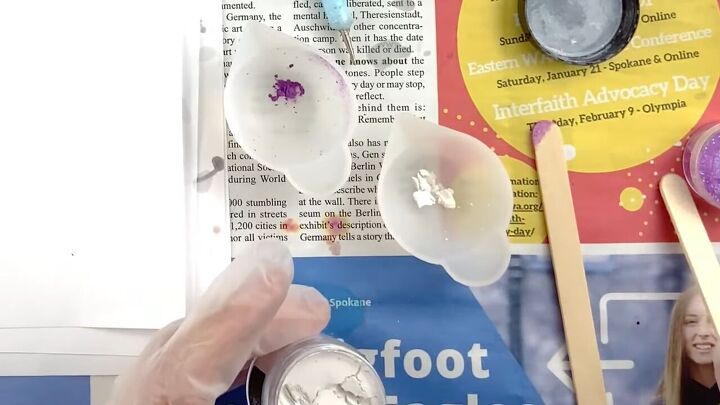
3. Add mica powder to the cups
You don’t want UV resin to be too dark because it can take forever to dry, but also because the UV light won’t be able to penetrate and it won’t cure properly.
So, add only a little bit of purple. I add a lot more white to my second cup because white can be kind of transparent.
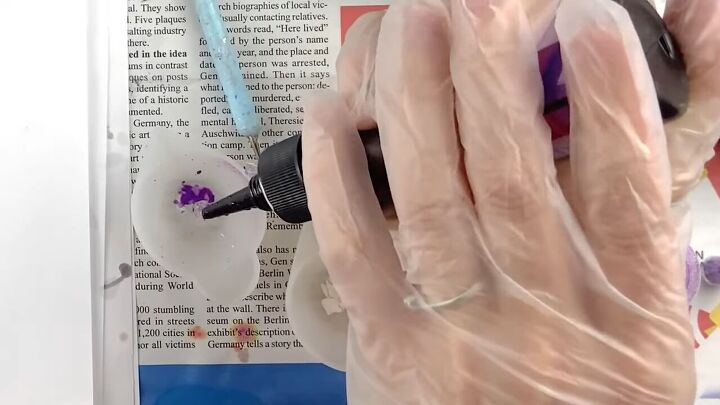
4. Pour in the resin
Add resin to your cups. Make sure to squeeze it away from the powder first so it doesn’t scatter the powder.
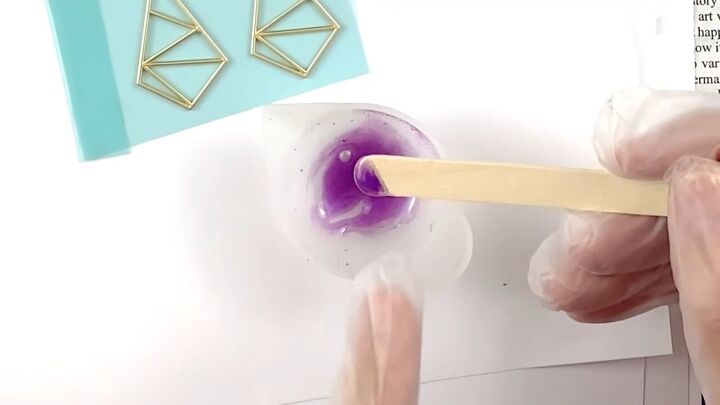
5. Mix
Mix the resin until it’s entirely incorporated. When you drip it, that’s the color you’ll get. If you need to add more color, you can do so.
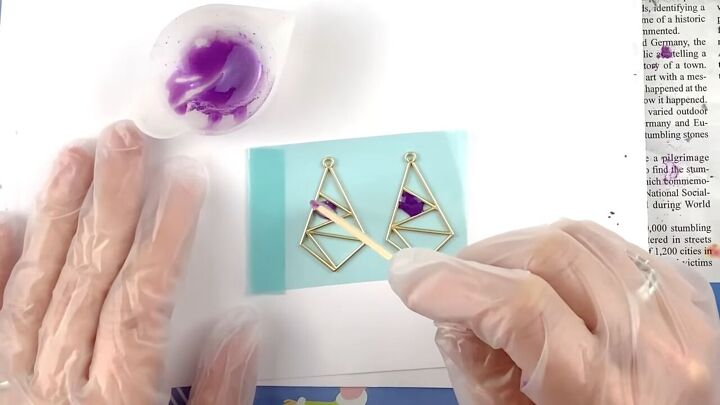
6. Place the resin in the bezel
Very carefully drip the colored resin into the triangles.
7. Spread the resin to the edges
Use a toothpick or any tool you have to spread the resin so it touches every edge. Try not to get it over top of the bezel.
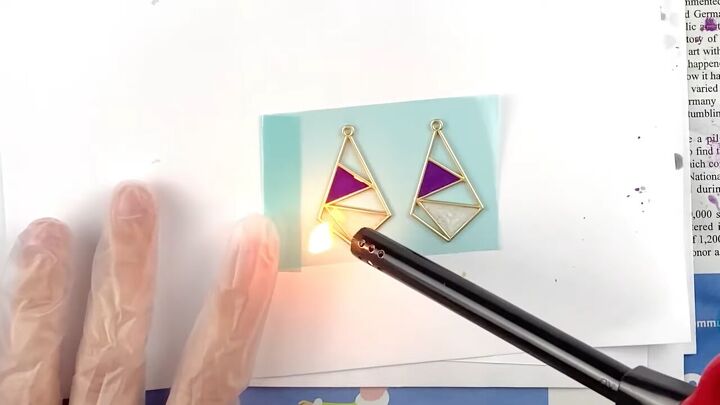
8. Apply heat to get rid of the bubbles
Bubbles are very visible after it dries under UV, but you can use heat to get rid of the bubbles.
You’ll be able to see them pop as you apply the heat.
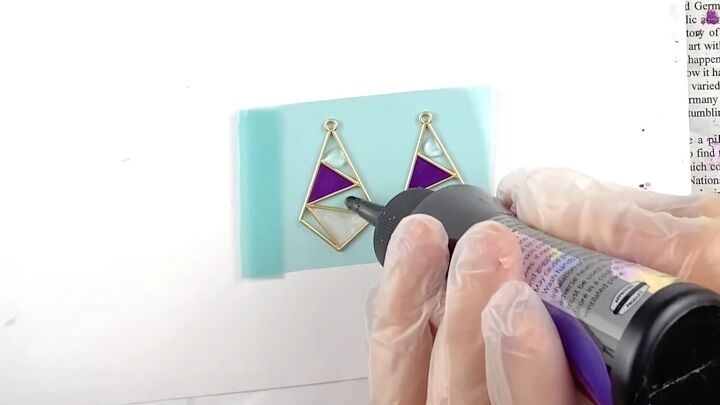
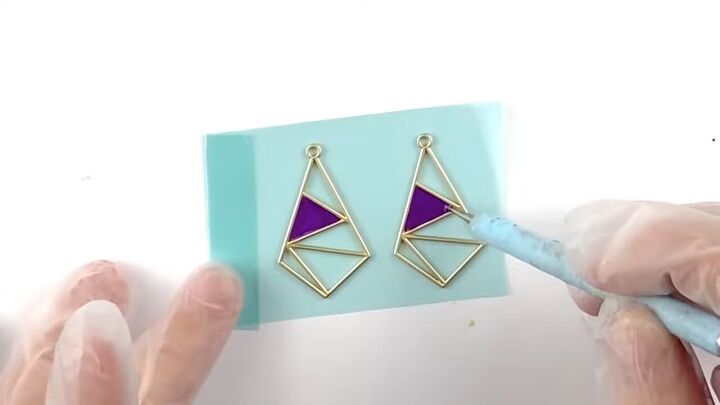
9. Place regular resin into the bezel
Finish the mold by applying light dots of just resin into the rest of the triangles. Spread it out like in the previous steps.
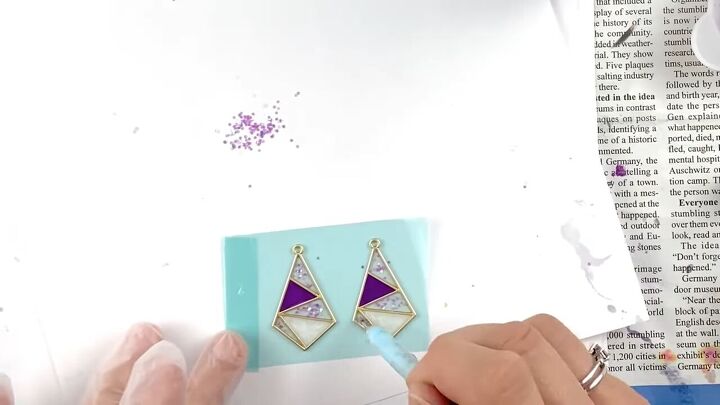
10. Add glitter
Spread tiny pieces of glitter into the clear resin. Make sure it’s easily dispersed.
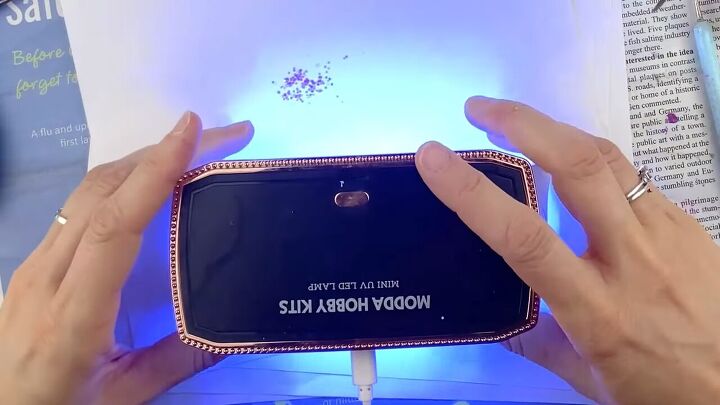
11. Dry
Use a UV lamp to dry the earrings on both sides. A cool tip is to place a mirror under the earrings and it’ll dry much quicker.
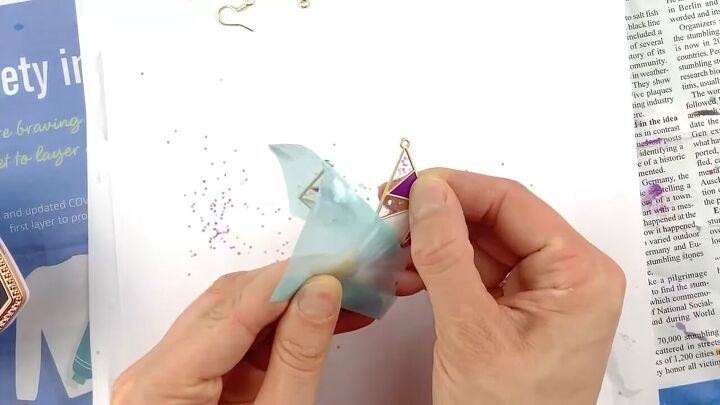
12. Remove from the tape
Carefully peel off the tape from the earrings. You should be able to rub off any tape residue with your fingers.
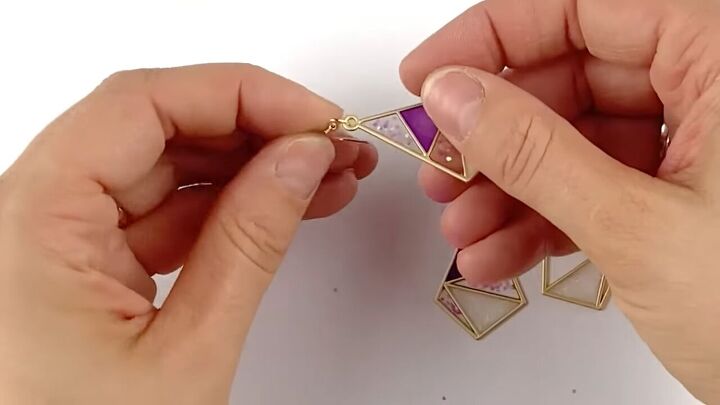
13. Add the hook
Add the hook to the hole in the bezel and you’re done!
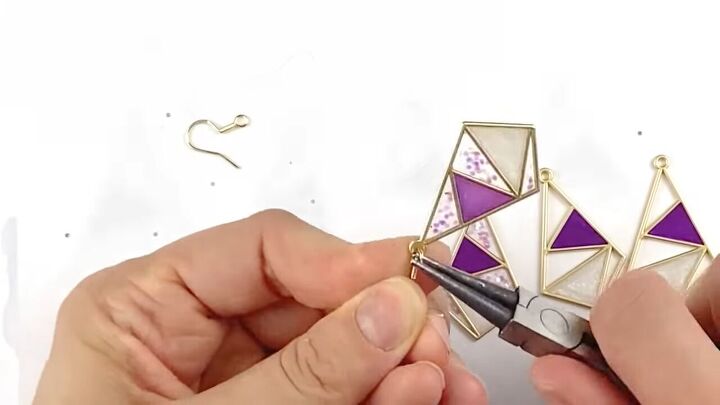
You can open and close it with round nose pliers.
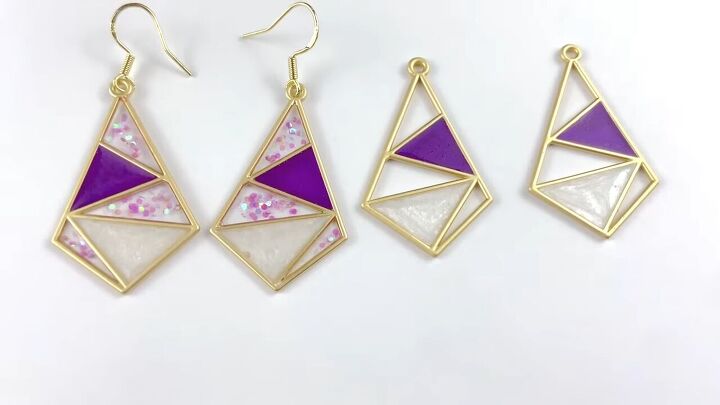
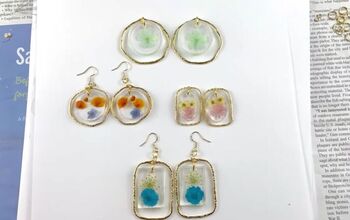
DIY UV resin earrings
Here are the finished UV resin earrings! I made two pairs using this method.
For the second pair, I did without the clear resin and just left the triangles empty.
Let me know in the comments which version you prefer.
Stained Glass Earrings Have Never Been This Simple to Create!
The author may collect a small share of sales from the links on this page.


Comments
Join the conversation