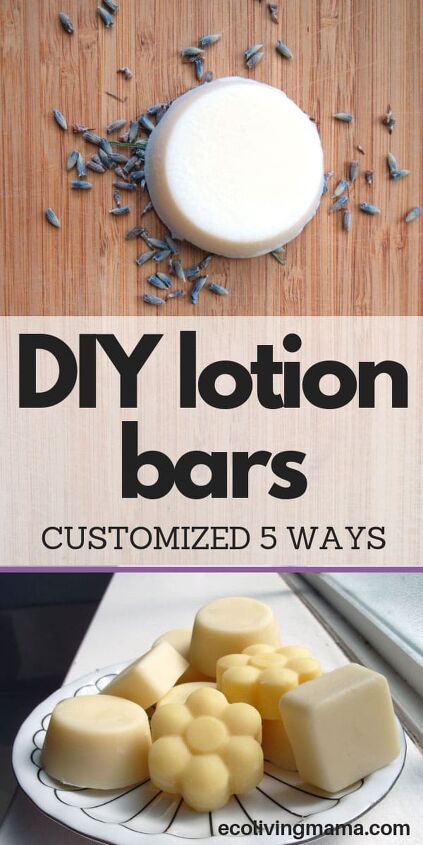
What is a Lotion Bar? + A Basic Lotion Bar Recipe, 5 Ways

This post may contain affiliate links and we will earn a small commission if you make a purchase through these links.
Lotion bars are a wonderful, natural alternative to traditional lotions that are easy to make at home. I’m sharing my basic lotion bar recipe with you today, and 5 easy ways to customize it to make it your own.
Want to know a secret? This is the very same recipe I used when I sold my own products for several years. These little lotion bars were a customer favorite, and I could hardly make them fast enough!
What is a Lotion Bar?
A lotion bar is a solid, concentrated bar of moisturizing goodness. It is made of natural, nourishing oils and beeswax combined to make a body lotion that is in solid form.
Lotion bars are far more concentrated than a typical liquid lotion because they do not contain any water, and the handheld bars look like a bar of soap. Because they contain no water, lotion bars do not require any preservatives and are shelf stable for at least 6 months.
Why Should I Use a Lotion Bar?
There are lots of amazing reasons to skip traditional lotion and use lotion bars instead! Here are my top 5 reasons to use lotion bars:
- Lotion bars are made with completely natural ingredients and they are SO fabulous for your skin!
- Lotion bars are super concentrated because they contain no fillers, additives or preservatives – just the good stuff your skin needs.
- Lotion bars are extremely portable, especially if you store them in a metal tin like I do. They fit perfectly in a purse, diaper bar or car console for any dry skin emergency (but don’t leave them in the car during summer months – they melt!).
- Lotion bars are completely customizable if you make them yourself. With my lotion bar recipe you can use any scent you like and even customize the oils to meet your own skin’s needs.
- Lotion bars are inexpensive. A little goes a long way when you are using a lotion bar, so they are very cost effective.
How Do I Use a Lotion Bar?
It is easy to use a solid lotion bar! You simply rub it on your skin, and the heat from your body slowly melts it. I especially love them for dry feet and hands, but they can be used all over the body just like a traditional lotion.
I find lotion bars do not absorb as quickly as many traditional lotions, so I like to spend a little extra time rubbing it in.
What Do I Need to Make Lotion Bars?
If you already make some of your own skincare products you will likely already have some of these ingredients. You’ll need:
- Beeswax
- Shea Butter
- Cocoa Butter
- Almond oil
- Jojoba oil
- Essential oils (optional)
- Vitamin E (optional)
- In addition, you will need some type of silicone mold. I like to use candy molds for my lotion bars because they make a perfect, handheld sized bar and the bars pop out very easily once cooled. You could also use a silicone pan mold and cut these into whatever size lotion bars you like once they cool, or use silicone baking cups to make slightly larger lotion bars.
I have used all of these molds for lotion bars, and they all make similar sized bars. These will also all fit in these metal travel tins that are perfect for storing and gifting lotion bars.
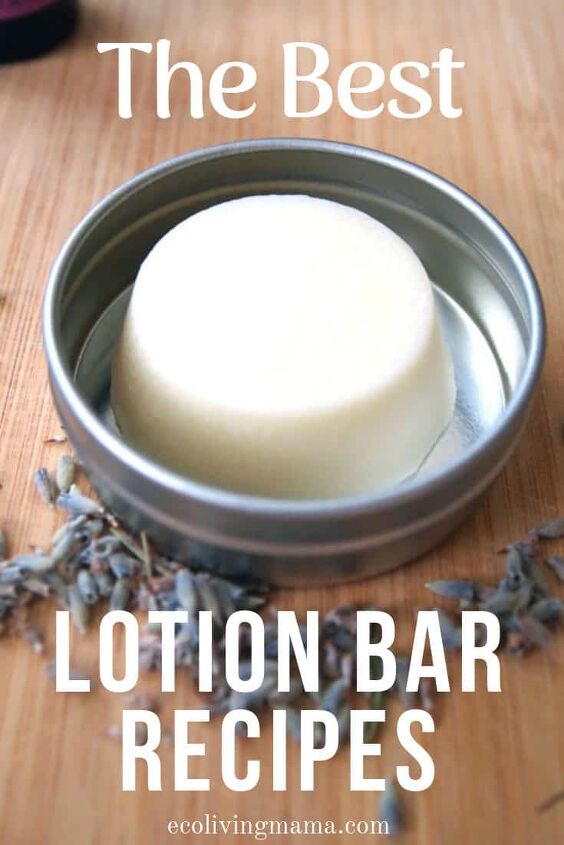
Lotion Bar Recipe
These basic bars will have a slightly sweet, chocolatey scent because of the cocoa butter. They are perfectly wonderful as is with no additional scent added! I actually prefer them unscented for babies (and have a special baby lotion bar recipe below). However, I do love them with a variety of different essential oils added.
Lotion Bar Recipe by Weight
My preferred method for creating any body products at home is to measure my weight because it makes a more consistent product. This is easy to do with a normal kitchen scale ( I use this one). If you don’t have a kitchen scale, use the recipe below that measures by volume.
- 1.2 oz Beeswax
- 0.4 oz. Shea Butter
- 0.7 oz Cocoa Butter
- 0.9 oz. Almond Oil
- 0.3 oz. Jojoba Oil
- 50 drops (apx. 1/2 tsp) essential oil of choice (optional)
- 1/2 tsp vitamin e oil (optional)
Lotion Bar Recipe by Volume
- 1/4 cup Beeswax
- 1 Tbs. Shea Butter
- 2 Tbs. Cocoa Butter
- 2 Tbs. Almond Oil
- 1 Tbs. Jojoba Oil
- 50 drops (apx. 1/2 tsp) essential oil of choice (optional)
- 1/2 tsp vitamin e oil (optional)
Directions:
- Add beeswax, shea butter and cocoa butter to a double boiler and slowly heat the oils until melted.
- Once melted, turn off the heat and add the almond and jojoba oils.
- Lastly, add essential oils and vitamin E if using.
- Pour into silicone mold.
- Let bars sit until completely hardened, then carefully remove from mold.
- Best if used within 6 months.
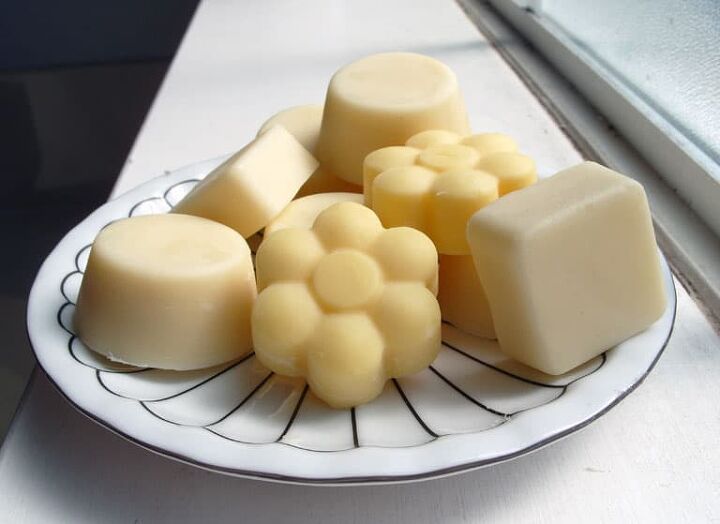
This recipe makes 5 small, handheld lotion bars using a mold very similar to this round silicone mold. Each finished lotion bar is approximately 0.7 oz.
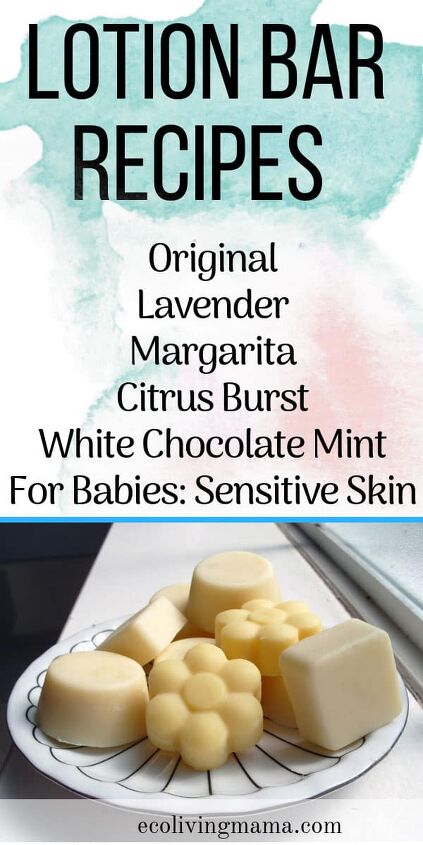
5 Versions of Lotion Bars
Margarita Lotion Bars
Use the basic recipe above and add 35 drops lime + 15 drops lemon essential oils at the end before pouring into molds.
Lavender Lotion Bars
Always a favorite, add 50 drops (1/2 tsp) lavender essential oil in the basic recipe above.
Citrus Burst Lotion Bars
Use the basic recipe above and add 20 drops of orange and 30 drops of grapefruit essential oils.
White Chocolate Mint Lotion Bars
Skip the shea butter and use all cocoa butter instead for a subtly chocolate scent. Combined with peppermint essential oil these lotion bars smell almost edible!
- 1/4 cup Beeswax
- 3 Tbs. Cocoa Butter
- 2 Tbs. Almond Oil
- 1 Tbs. Jojoba Oil
- 25 drops (apx. 1/4 tsp) peppermint essential oil
- 1/2 tsp vitamin e oil (optional)
Lotion Bars for Babies
This gentle version for babies uses avocado oil instead of almond oil and contains no essential oils. These lotion bars work wonderful for baby massage before bed.
- 1/4 cup Beeswax
- 1 Tbs. Shea Butter
- 2 Tbs. Cocoa Butter
- 2 Tbs. Avocado Oil
- 1 Tbs. Jojoba Oil
- 1/2 tsp vitamin e oil (optional)
Customize your own Lotion Bars
There are really endless possibilities for lotion bars. You can use the basic lotion bar recipe above and customize with your favorite scents and oils.
You can also customize the base oils you use in this recipe if you do not have all of the ingredients, or to suite your own preferences. The proportions for this recipe are 34% beeswax, 32% plant butter (cocoa, shea or even mango!) and 34% liquid oil.
I have had success using avocado oil, coconut oil, olive oil and grapeseed oil. The results will be slightly different based on the properties of these oils, but you will still have a solid lotion bar that is wonderful for your skin. I encourage you to play around with your favorite oils to see what works best for you!
How do I Store Lotion Bars?
To maximize their shelf life, lotion bars should be kept in a closed container when not in use. My favorite way to store lotion bars is in these small, metal tins. They are easy to transport in these and they very giftable in these reusable metal tins.
Lotion Bars Make Great Gifts!
These little bars of oily goodness are perfect stocking as stuffers, teacher gifts and shower favors. My personal favorite way to gift lotion bars is paired with my homemade cuticle oil in a gift bag as a ‘Mini Mani’ gift set.
Let me know how these turn out if you make them! I love hearing what scents you choose!
The author may collect a small share of sales from the links on this page.


Comments
Join the conversation
Great idea!
Super…what can I replace beeswax with….want it completely vegan. Can I make them just with the butter+oils+EO combo…if yes what ratios??? Thxxx. God bless.