Tools and Materials:
- Blouse
- Sewing machine
- Fabric scissors
- Elastic
After recently doing a huge clothing haul, I found a blue-collared blouse which was a piece I just had to have! I loved the fabric and pattern but I couldn’t shake the feeling that the shirt had a lot more potential. I decided to create my own peasant style top from the blouse and I am so thrilled with the results! If you are looking to do a quick and easy cottagecore DIY on an old shirt sitting in your closet, then the tutorial below is definitely for you!
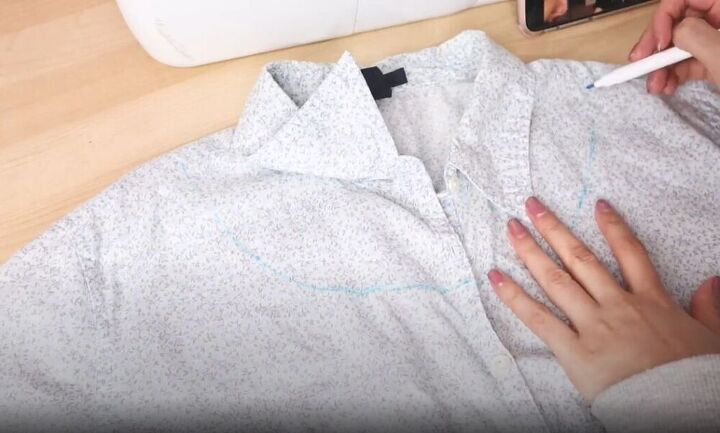
Start by drawing a wide neckline about an inch more than a regular top’s neckline. This peasant top definitely calls for a gorgeous low neckline!
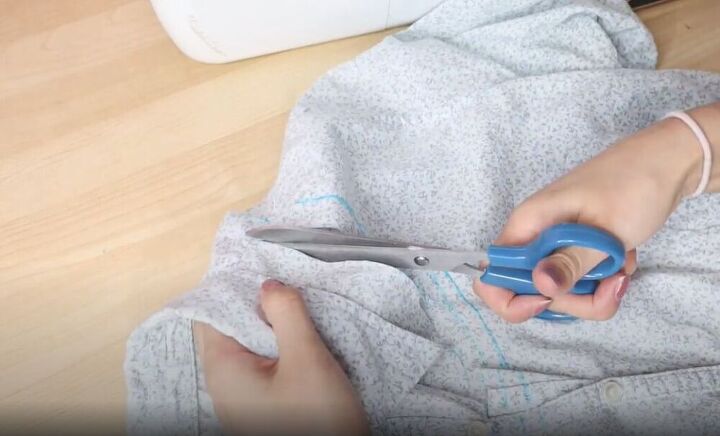
Following your marking, cut the neckline leaving about an inch for seam allowance.
I’m a bit of a perfectionist and I need to have symmetry in my DIY clothing! To make sure the neckline is symmetrical use the piece you just cut as a template to measure and cut on the other side.
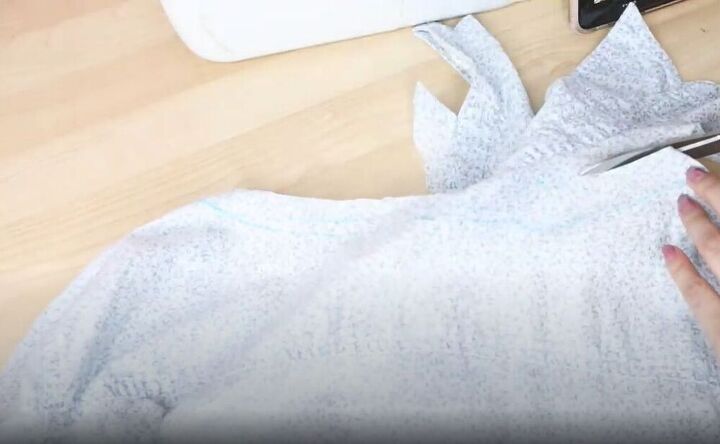
Now that your front neckline is cut, turn the shirt over and cut the back about one inch below the collar.
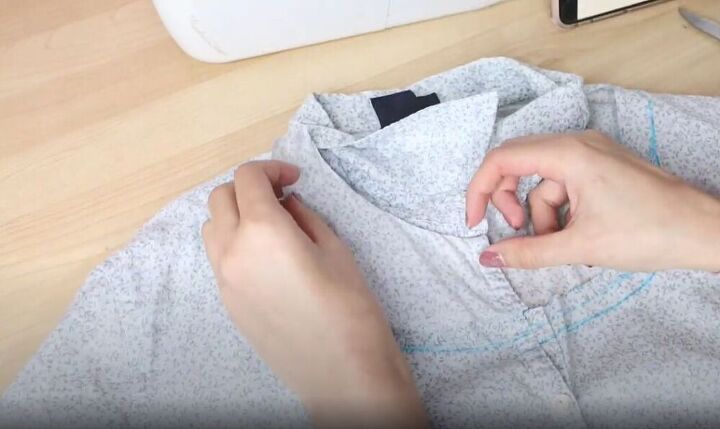
To get perfect results when hemming, start by creating two small folds in the neckline. Pin the folds in place and you should be left with about half an inch of folded fabric. This folding process makes a fabric tunnel which we will put the ribbon through later on!
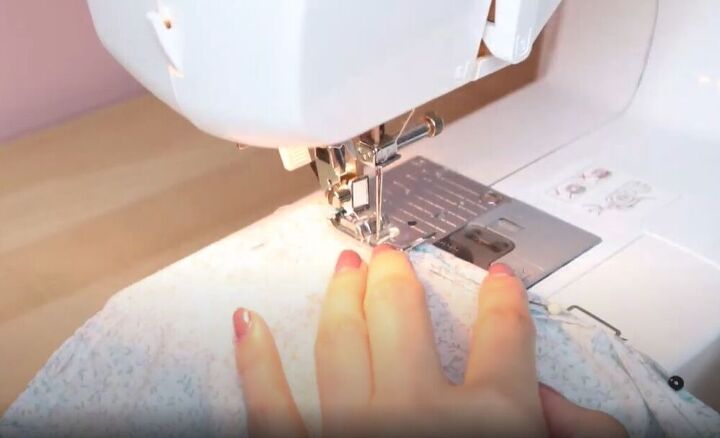
Once you have fully pinned your neckline, it’s time to get out the sewing machine and sew a simple straight stitch along the new neckline. I like to sew as close as possible to the edge to get a beautiful finish!
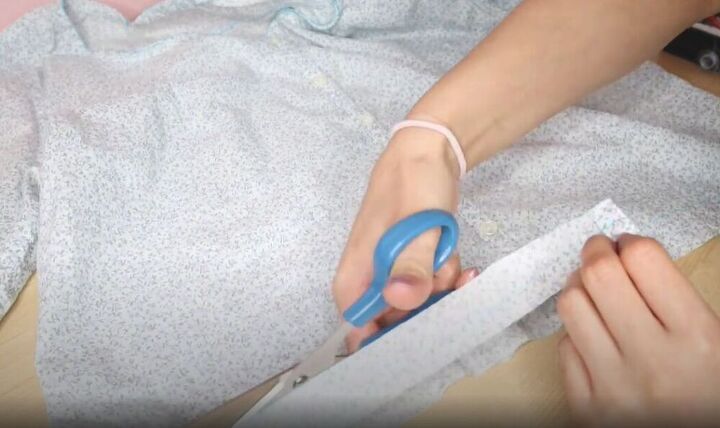
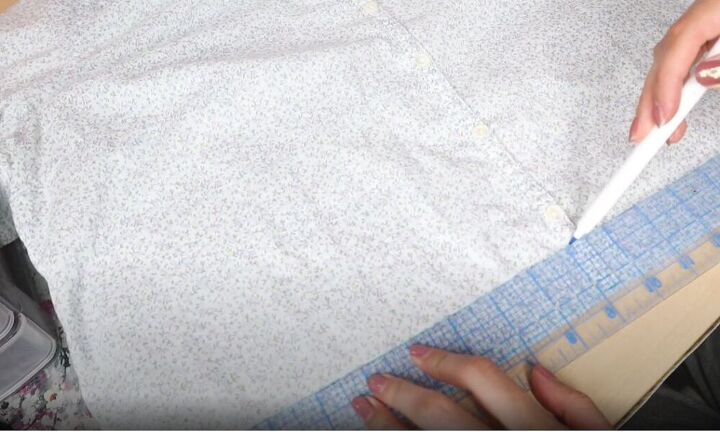
With your peasant neckline now ready, It’s time to move to the bottom of the shirt. Measure and cut an inch off the bottom. This extra piece of fabric is going to be used as your ribbon so try to cut in a nice straight line!
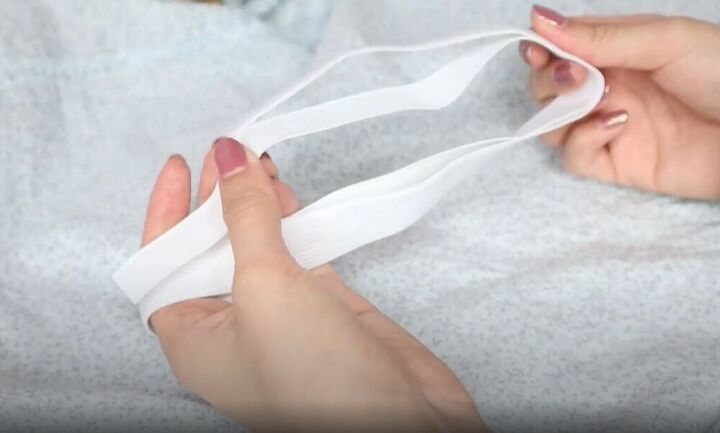
Start by folding your fabric in half. Fold both of the edges towards the middle and do one last fold in half. I wanted my ribbon to be the same fabric as the shirt but you can choose a different fabric design to use for your ribbon. Using different fabrics can create a stunning color and pattern contrast!
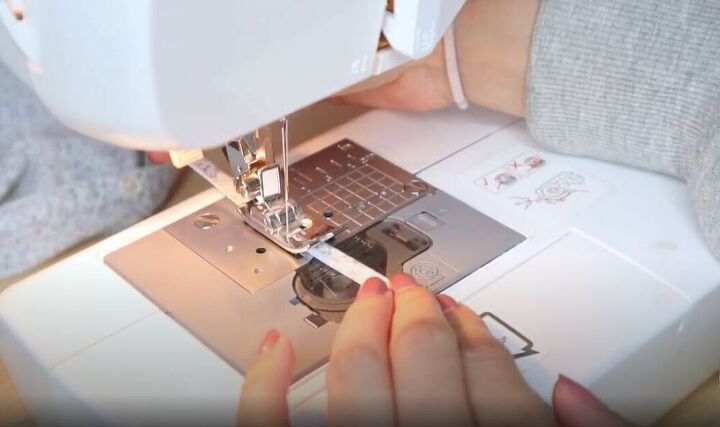
Sew the ribbon from start to end.
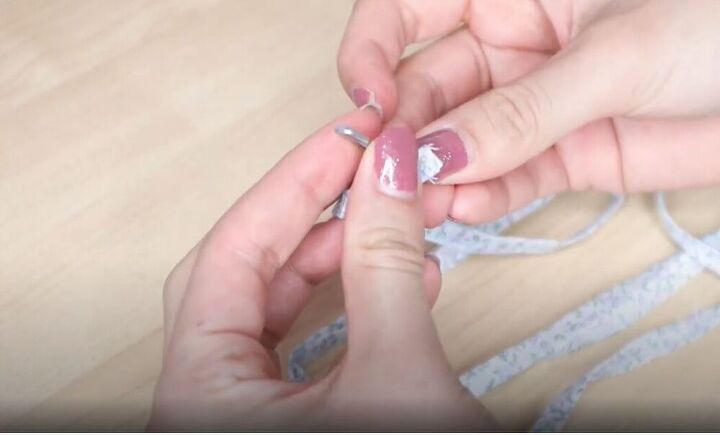
With your ribbon at the ready, attach a safety pin to one end and pull it through the fabric tunnel in your perfect, peasant neckline. This can take a little time, but it’s totally worth it!
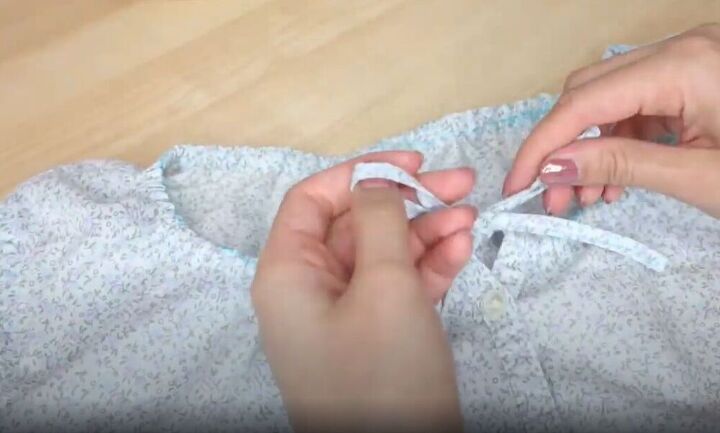
Once your ribbon is all the way through and you have removed the safety pin, you can gather the neckline as much as you want for your cottagecore peasant look. I added a cute little bow detail to the ribbon but you can tie a small knot or leave the ribbon loose depending on what style you prefer.
Mark the length you want for the bottom of the top, making sure to add an extra one and a half inches.
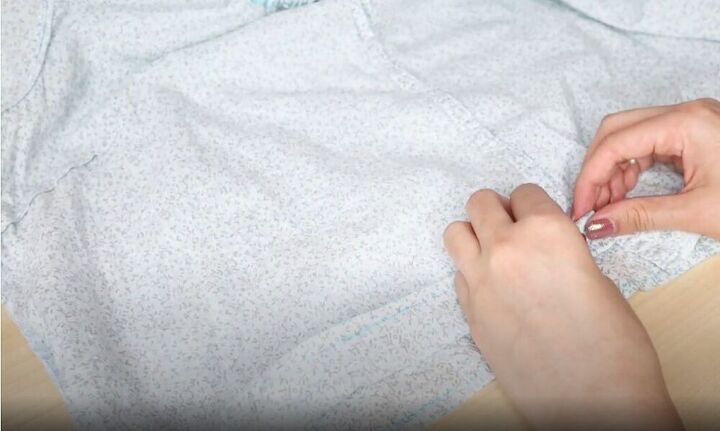
Next, turn your top inside out and fold the bottom till it reaches your marking. Fold the small raw edge inside and pin it. In this step, you’re basically repeating what you did on the neckline but on a bigger scale. To make sure I would get the best end result, I sewed closed the button flap at the bottom of the shirt.
While you pin the hem, leave a two-inch gap. I used two vertical pins to mark the gap and help make my life a little bit easier when sewing. Now you can sew the edge of the tunnel but make sure to stop at the gap!
Cut some elastic about the size of your waist and just like we did with the neckline, use a safety pin to insert it into the fabric tunnel. When your elastic is in, sew its two ends together and sew the opening of the tunnel shut. I love seeing this amazing DIY top finally come together!
I am so obsessed with this upcycled peasant top! What other cottagecore clothes would you like to make? Let me know in the comments below!
I love vintage style – even more so around the holidays. I think it is their ability to illuminate...
I am a firm believer that everyone should have at least one pair of sneakers in their wardrobe....
I added a pattern for women’s sports leggings (ideal for yoga and other types of exercise) to my...
Comfy and cozy loungewear is my favorite type of outfit! In this tutorial I show you how I like to...
Mending and upcycling used clothing are not only part of a greener, more sustainable lifestyle, they...
I got this gorgeous midi skirt second hand off Poshmark. I love to wear it and am so excited to show...
Big, chunky, loose knitwear has become a bit of a staple in our wardrobes. In this tutorial, I want...
Oversized sweaters are everyone's favorite thing right? I mean I know they are mine. I just love how...
Many people get nervous about wearing prints that clash, but I’m here to show you that it’s not as...
Timeless, classic, and feminine!You’re going to fall in love with this skirt, I promise…
This DIY Embellished Sweater project was originally created for Darice. This post may contain...
And now it's time for our very first sewing tutorial of the year! I'm pretty excited for this one,...
To celebrate the start of the sewsustainablefabric challenge we're running with Candice from...
If you have been keeping up with fashion trends this fall or winter, you know that faux leather is...
Make a leather tote bag by upcycling an unwanted thrift store find. Leather bags are expensive, but...
I was making a DIY out of old Christmas ball ornaments the other day and as I was ripping off the...
I made a too-cool-for-school Ms. Sporty Sporterson sweat suit. I love it, and I do believe it loves...
Welcome back to another tutorial! Today, I’m going to be sharing with you how to make these super...
So, I read somewhere that January was denim month, I don't know if it's true or not but I playing...
And just like that, we have a brand new sewing tutorial! This week we are covering how to sew a...
I recently posted a pair of DIY bleached shorts with that DIY Kimono that kicked my butt. I had a...
It is challenging to find a skirt for my daughter because if I go with the age on the tag most...
The weather in northern California can be unpredictable with wild swings from morning to night, so I...
It is never a bad idea to learn some extra sewing technique, so today, I am going to show you how to...
A poncho is a perfect way to spruce up any winter outfit! Whether you are going for a casual,...
My daughter saw some denim jewelry at a fancy shop while on vacation, but the prices were...
As the year draws to a close, I’ve been thinking about my general work habits a lot. It seems my...
This tutorial is so exciting because it features a DIY I have wanted to do for ages! I took men’s...
On a recent trip to the thrift store, I bought a bit of an oversized, unflattering dress with a...
Mending and up-cycling used clothing are not only part of a greener, more sustainable lifestyle,...
Need some new shoes for the summer? These DIY rose slides are the perfect pair! Completely transform...
Everybody loves pockets! Learn how to add inseam pockets to your skirts and dresses! This small...
There is no better surprise than a DIY tie-dye! The uniqueness of tie-dye means that every piece...
This post has been a long time coming. At this point, I can’t even recall what inspired me to smash...
Finding your personal style is an ongoing journey for all of us. Our tastes change and are more...
This holiday season make it your priority to add a little cheer. This DIY cross back apron is the...
Pixie skirts otherwise known as handkerchief or square skirts are timeless! These super-cute and...
Join the conversation
A Giant THANK YOU for this idea.....I am going to try it immediately...I have several shirts that are too pretty to just hang in my closet unworn...I will have a new wardrobe.
Ditto both of the above comments. I have a lot of older shirts (like 16 years or more old). I love the colors and patterns but the styles are kind of "preppy" and look dated. Also, my husband grows out of his shirts every year due to increasing collar size, and that would be quite a source for other ladies including my grown up girls and their teen girls who are a little bit larger size.