Create a Crystal Headband

In this tutorial, we will be making beautiful crystal headbands. In just a few easy steps you will have a gorgeous and elegant new hair accessory. These crystal headbands make the perfect gifts so why not make a few extras for your friends and family as well. Choose your crystal colors, shapes, and sizes, and let's begin!
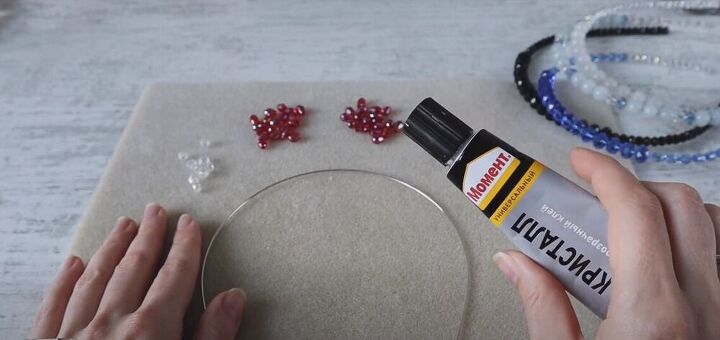
Tools and materials:
- Glue
- Thin metal headband
- Crystal beads
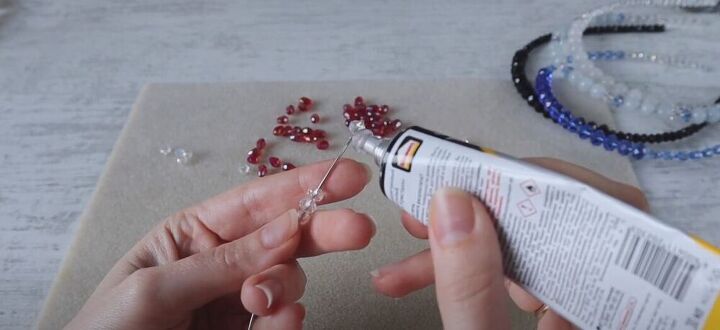
Apply glue
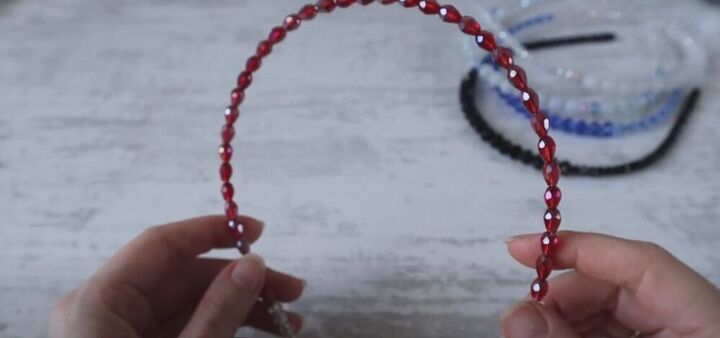
For this headband, I have chosen to use red and clear crystal beads but feel free to use any colors you like! I started by adding a bit of glue to one end of the headband.
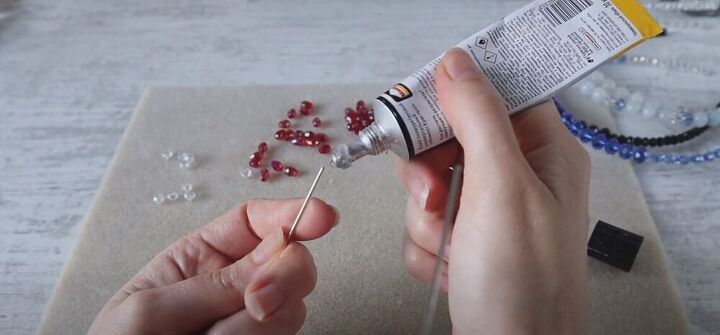
Slide on the first crystal
I then slid a clear crystal bead, onto the end, over the glue.
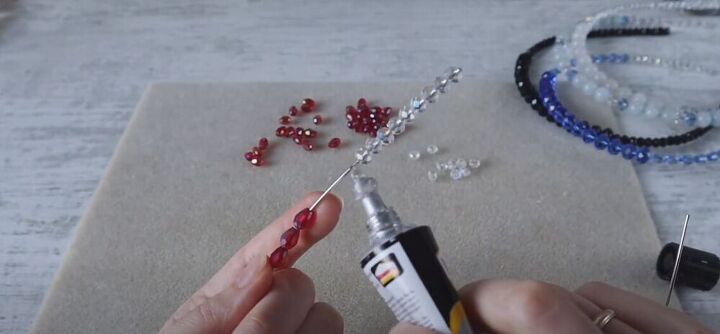
Add glue to the end
To seal the headband and keep the crystal from sliding off, I added a bit more glue to the end of the headband.
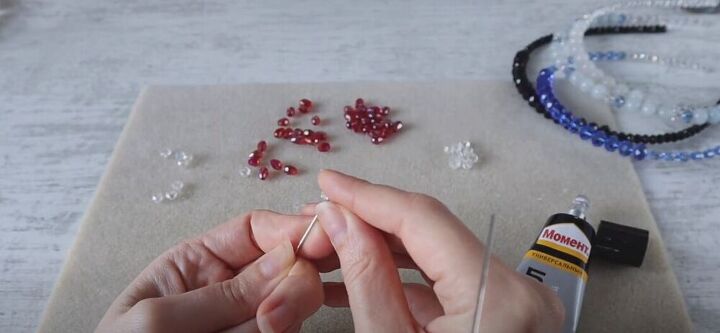
Add more clear crystals
I wanted to have 9 clear crystals at the start so I slid on 3 more and then before pushing them all the way to the end, I added some more glue, to the metal headband, so that the crystals would be secure and stay in place. Make sure not to add too much glue. I repeated this, 3 crystals at a time until I had all 9 clear crystals in place.
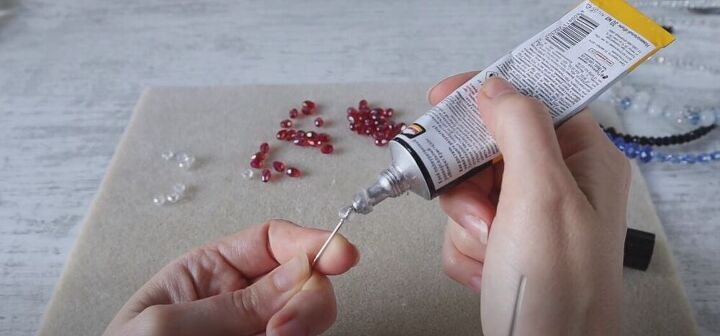
Add red crystals
I repeated the same process with the red crystal beads until I had 19 on the headband.
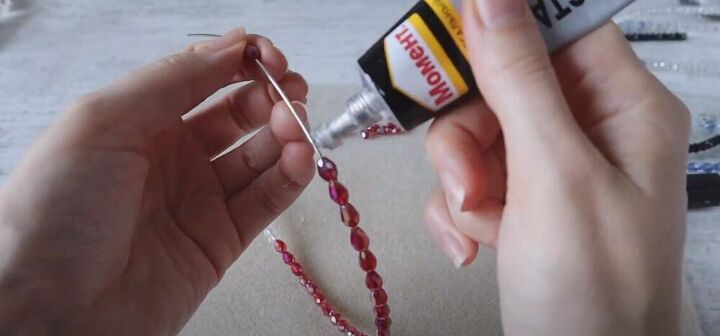
I then added another 19 red crystals, only this time, I slid them on facing the other way.
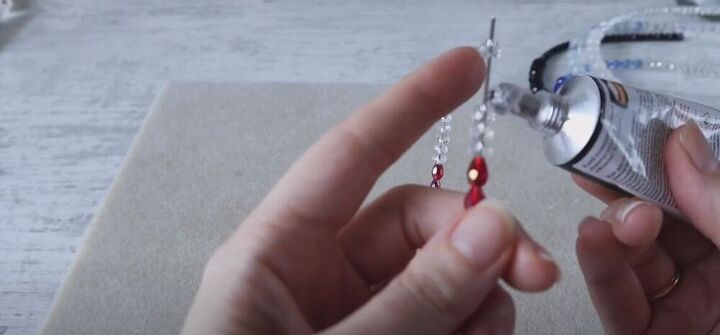
Finish off the headband
All I had left to do was finish off the headband with another 9 clear crystal beads. I made sure to add a little glue to this end as well. I left the headband for at least 24 hours to dry.
It is so easy to make these pretty, crystal headbands! I would love to know what crystal design you would choose for your headband! Let me know in the comments!
The author may collect a small share of sales from the links on this page.


Comments
Join the conversation
Where did you find the thin metal headband? I love this design!
So cute! Thanks for sharing!