DIY Vintage-Style Silky Top

Lately, I have been seeing so many puff sleeve pieces! I wanted to jump on the trend but in a unique way. I decided to make a silky, vintage style top with puff sleeves and a square neck. The top is so flattering and can be styled in so many different ways!
Tools and materials:
- Fabric
- Measuring tape
- Scissors
- Chalk
- Sewing machine
- Elastic
- Safety pin
- Sewing machine
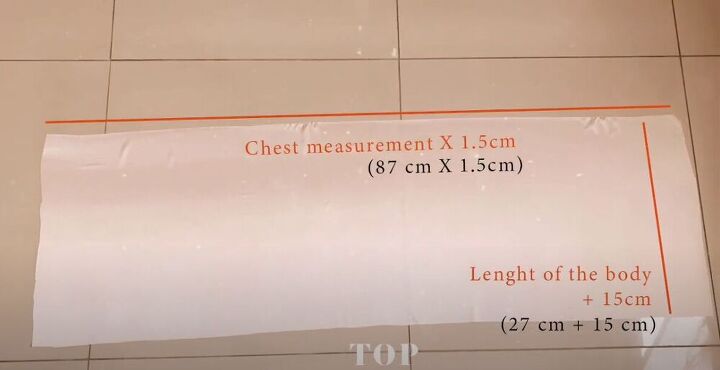
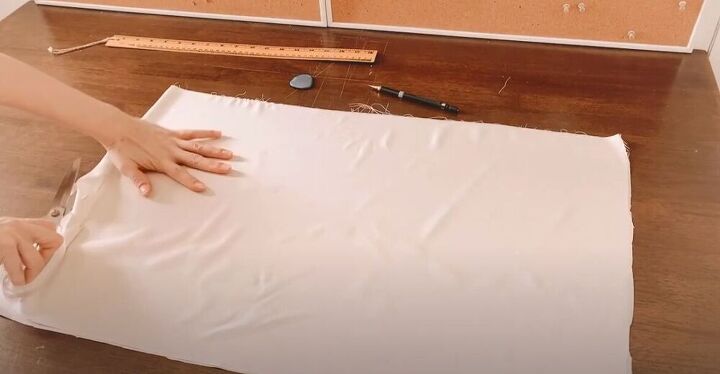
Measure the fabric
For the top, you will need to cut a rectangular piece of silky, lightweight fabric. Cut the length of your body plus 6 inches. For the width, cut to your chest measurement multiplied by 0.6 inches.
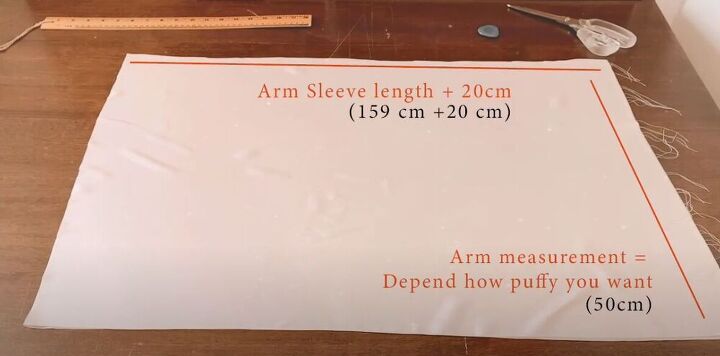
For the sleeves, cut a piece of fabric to your desired sleeve length plus 7.9 inches. The width should be at least the size of your arm width but add to make the sleeve as puffy as you want it.
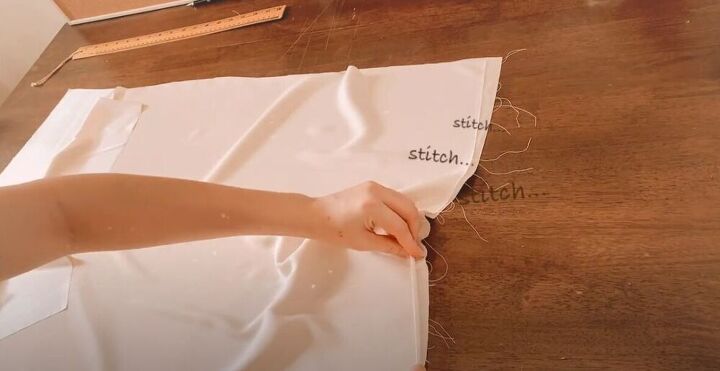
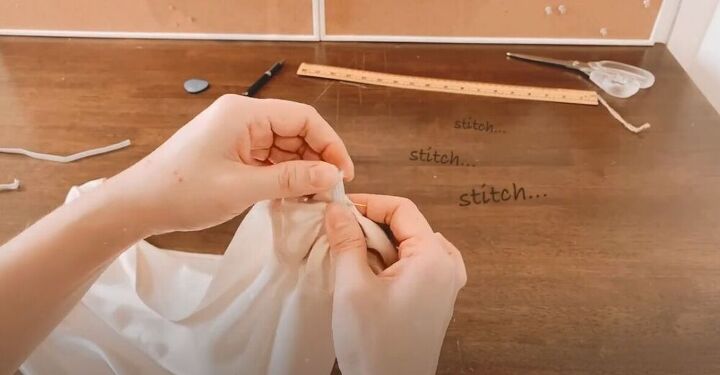
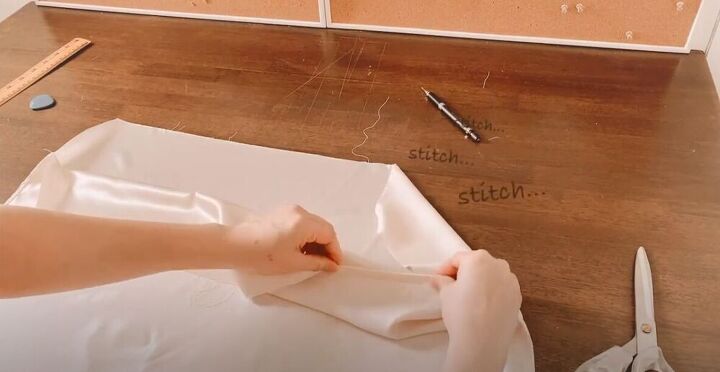
Stitch channels in the sleeves
To start off, stitch each side of the sleeve fabric.
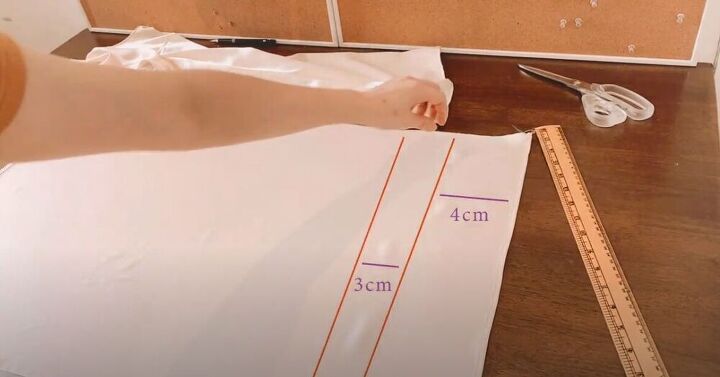
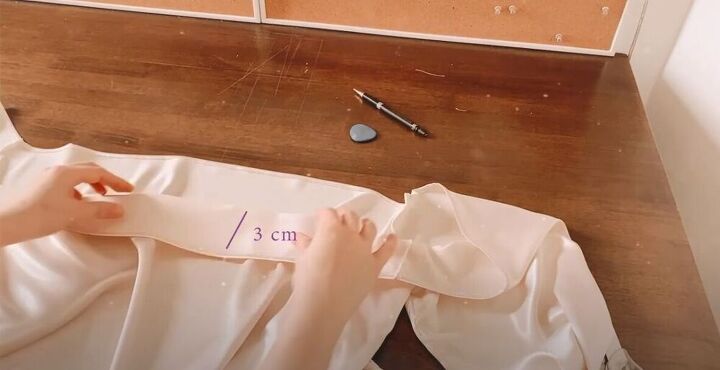
From one side of the fabric, measure 4cm (1.6 inches) and mark a line down. Then from that line, measure 3 cm (1.2 inches) and mark down.
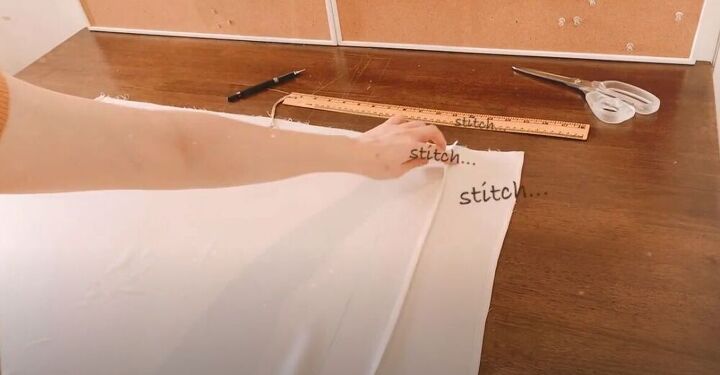
Fold the fabric over and stitch at the 1.6-inch line. Then fold again and stitch the second line.
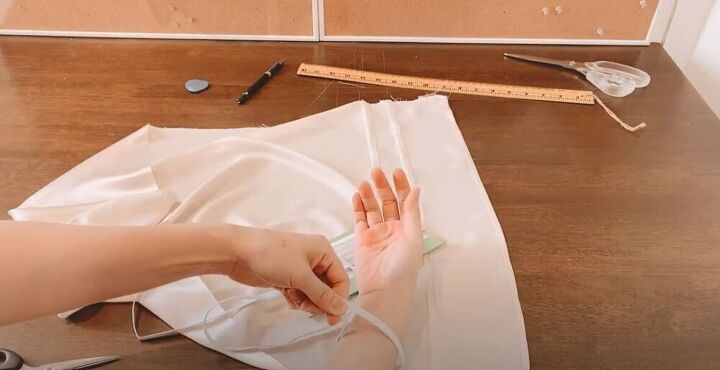
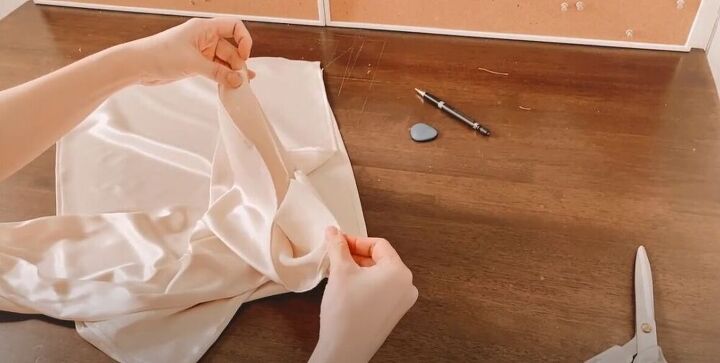
Add elastic to the sleeves
Take a piece of elastic and measure it around your wrist.
Then cut the piece to size.

Take a safety pin and attach it to one end of the elastic.
Take the elastic and thread it through the first channel you stitched in the sleeve piece.
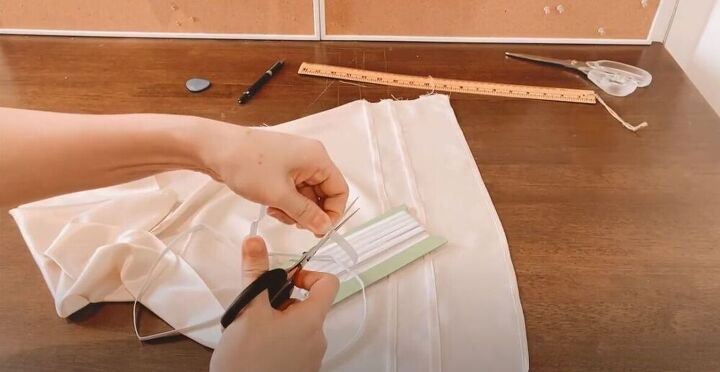
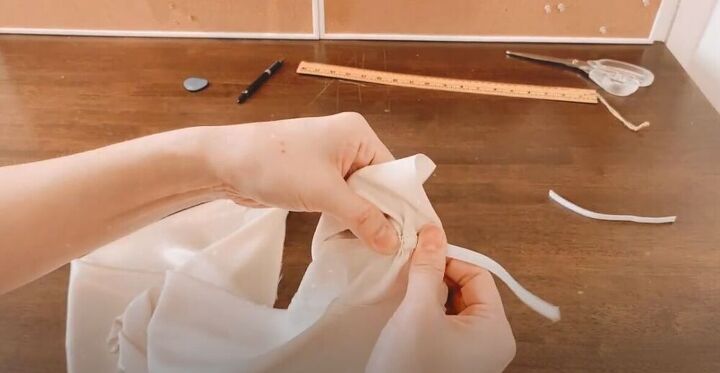
Once the elastic is all the way through, stitch the ends of the elastic together. Then repeat this for the second channel you created.
Cut the sleeves
Fold the sleeve in half, mark, and cut the diagonal line at the top of the sleeve. Then stitch closed the sleeve up until the point of the diagonal cut.
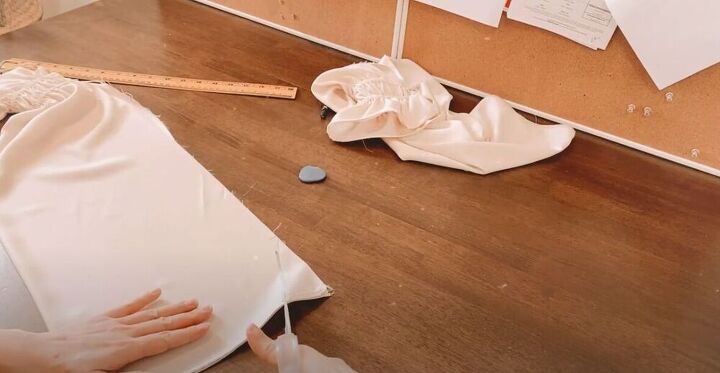
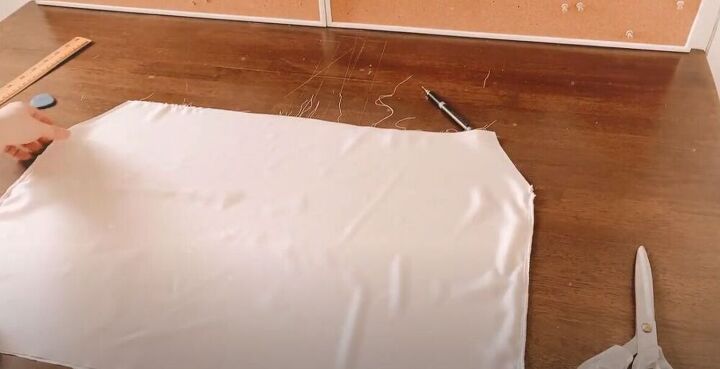
Cut the top
Moving on to the body of the top, cut the piece along the fold. Then cut a diagonal on each top corner of the fabric.
Next stitch the sides of the top but not along the diagonal cut parts of the fabric.
Then go ahead and hem the raw edges of the fabric. Fold over the edges twice and stitch at the top and bottom of the fabric.
Match up the diagonal ends of the top and sleeve and stitch to attach the sleeves to the top.
Sew a channel along the neckline
Fold over the neckline by 3 cm (1.2 inches) and stitch to create a channel leaving a small opening.
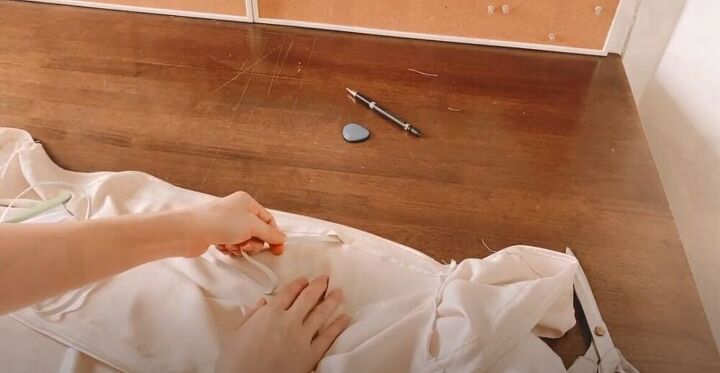
Then just like you did with the sleeves, thread the elastic through the channel in the neckline. Make sure to sew the small gap closed when you are finished.
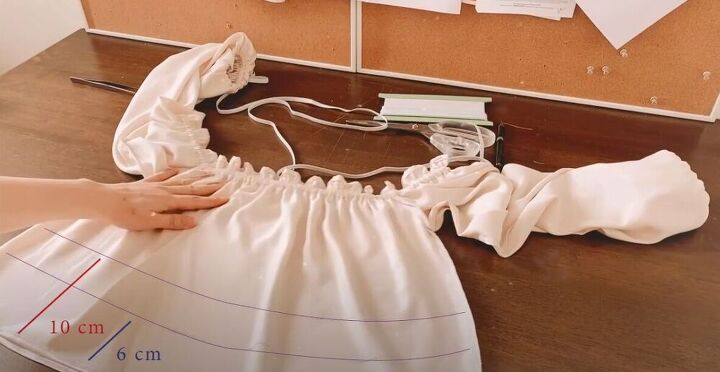
Sew two channels on the bottom of the top
Your top is almost finished. Grab a measuring tape and mark a line 10 cm (4 inches) from the bottom and then another line 6 cm (2.4 inches) from the bottom. Go ahead and stitch two channels at these points just like you did for the sleeves earlier. Don’t forget to leave a small gap in each channel.

Lastly, thread the elastic through each channel and then sew the gap closed.

This vintage top is absolutely beautiful! I am so in love with the puff sleeves!

The elastic detail at the bottom of the top is just stunning!

The best part is, you can wear this top on or off the shoulder. I would love to hear your thoughts on this vintage-style DIY! Share in the comments below!
The author may collect a small share of sales from the links on this page.


Comments
Join the conversation
This is such a romantic top! Love it.